Well..... Due to health issues, that time in life has unfortunately come when I can no long do any more builds in the workshop.. Sooooo
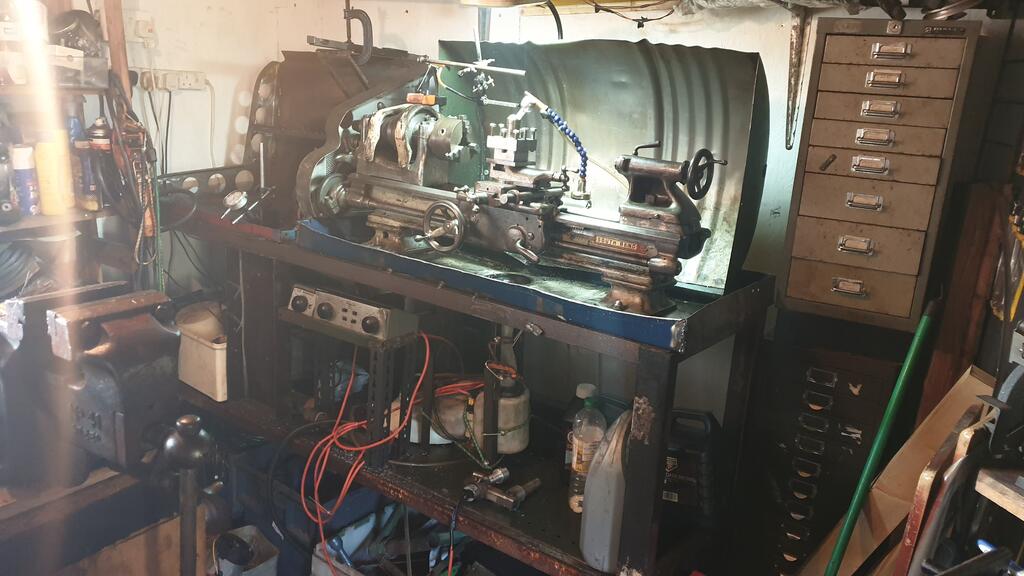
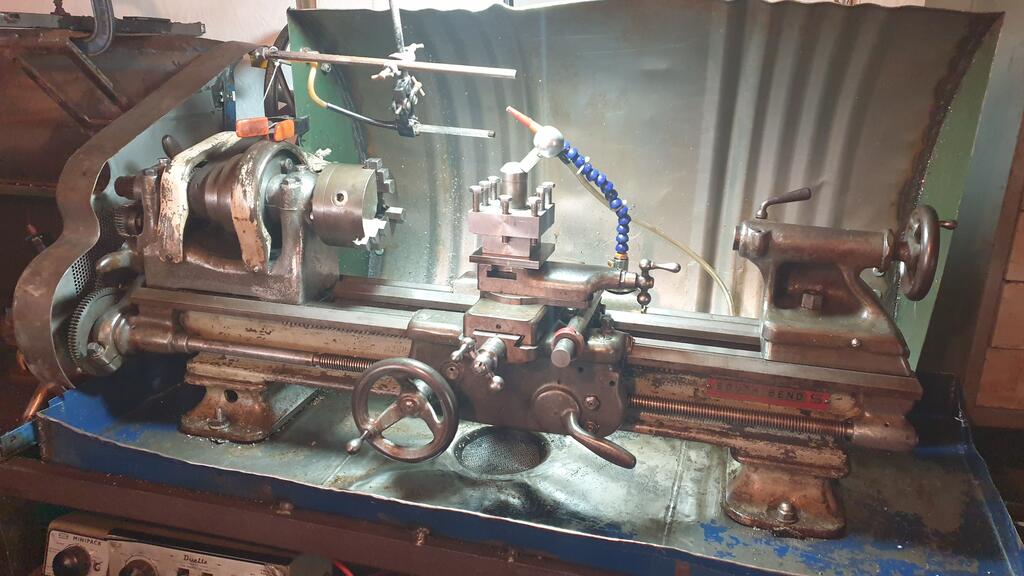
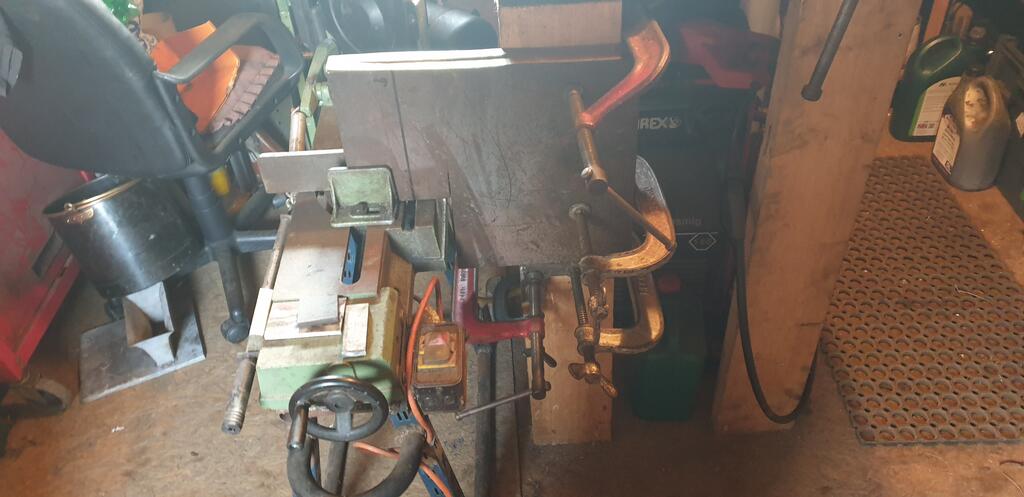
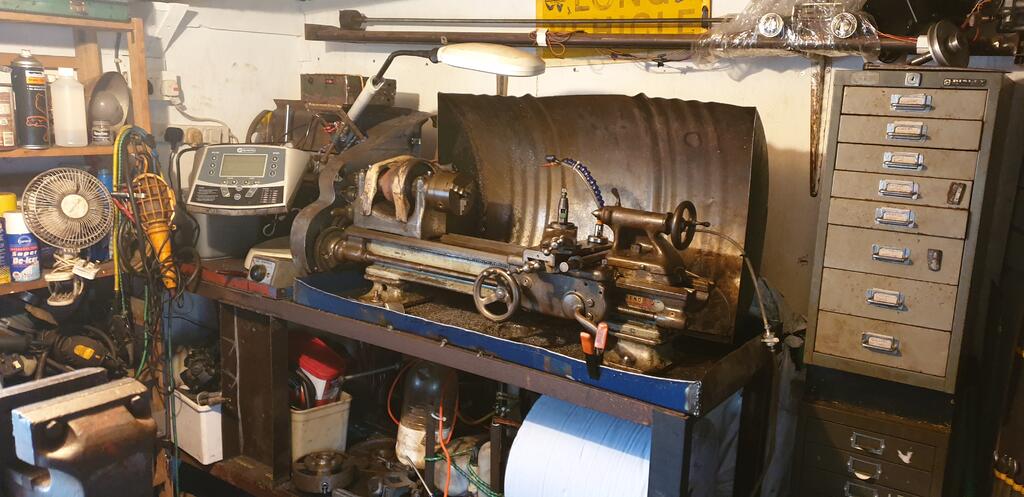
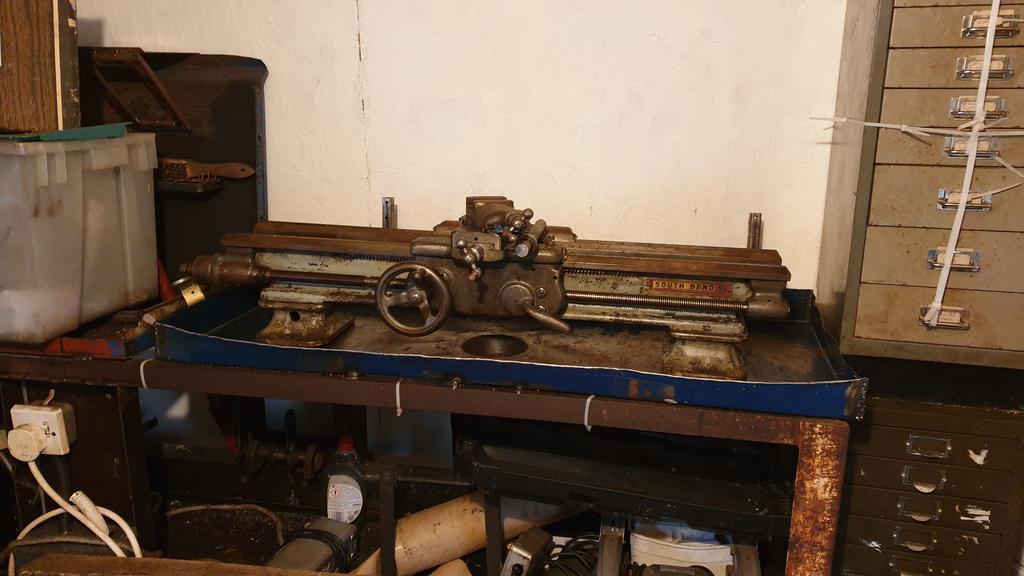
The time has come to sell a few bits, the 1st being my Southbend Model 5 "Workshop" 9" lathe..
As you know this has done me very proud over the many many years I have owned it..
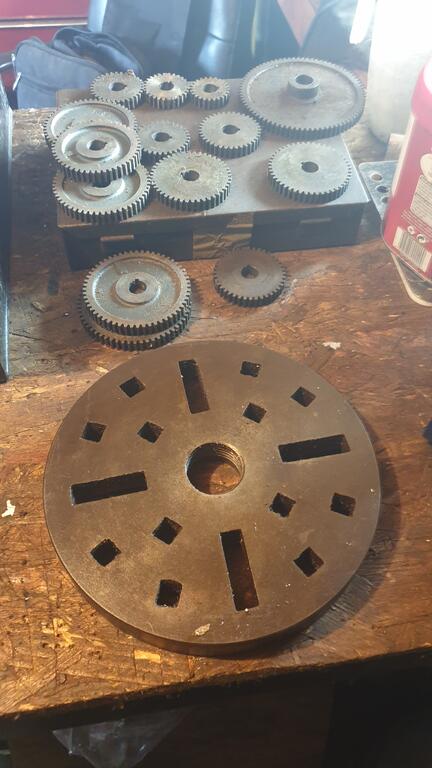
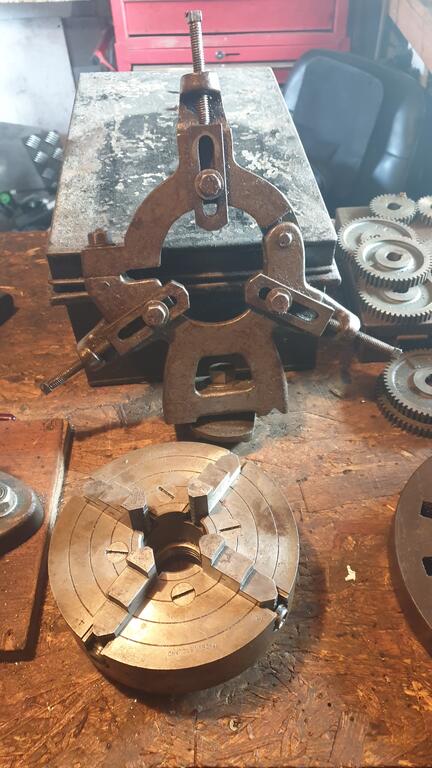
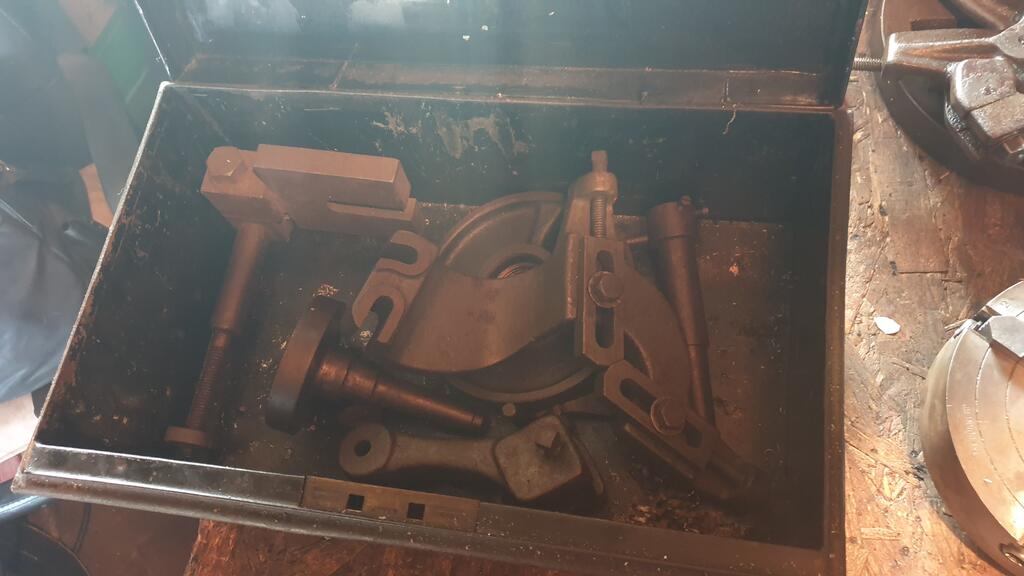
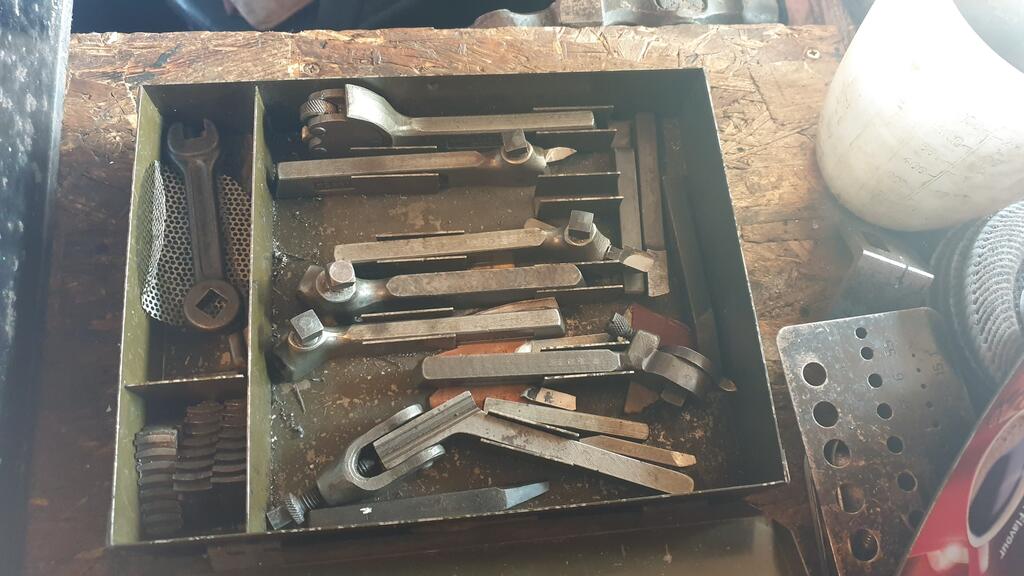
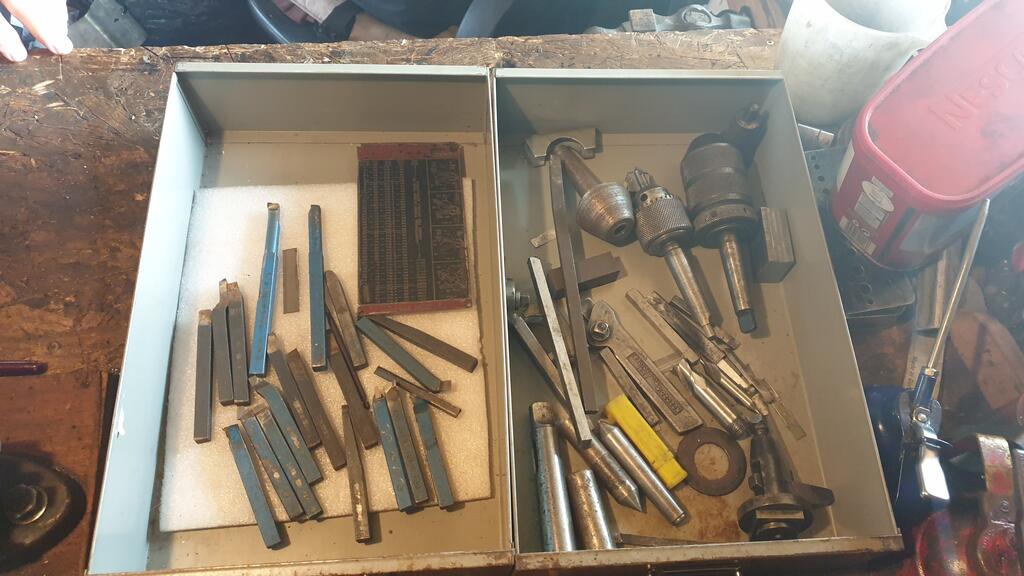
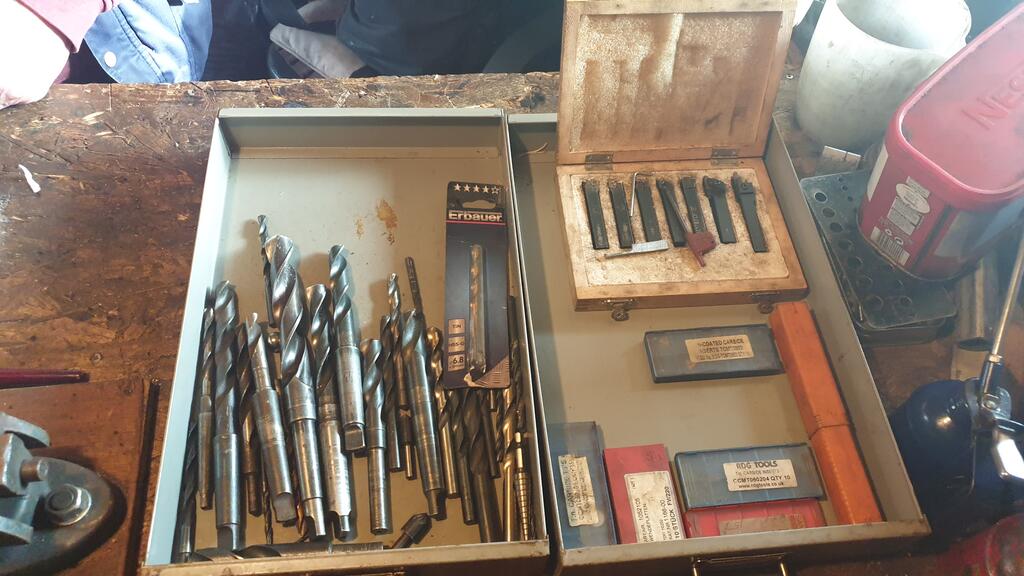
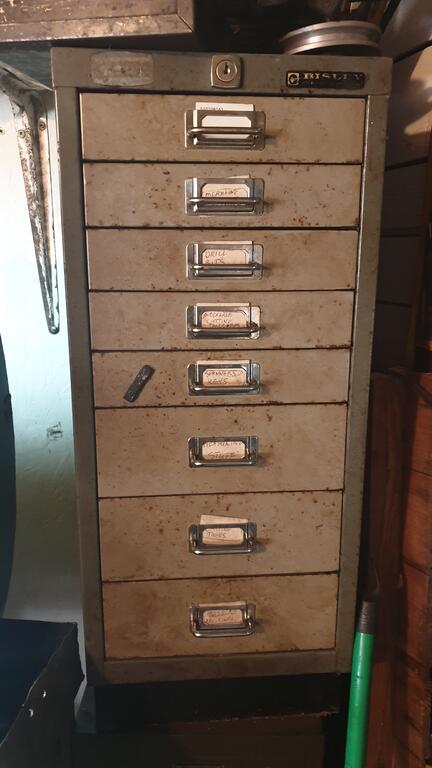
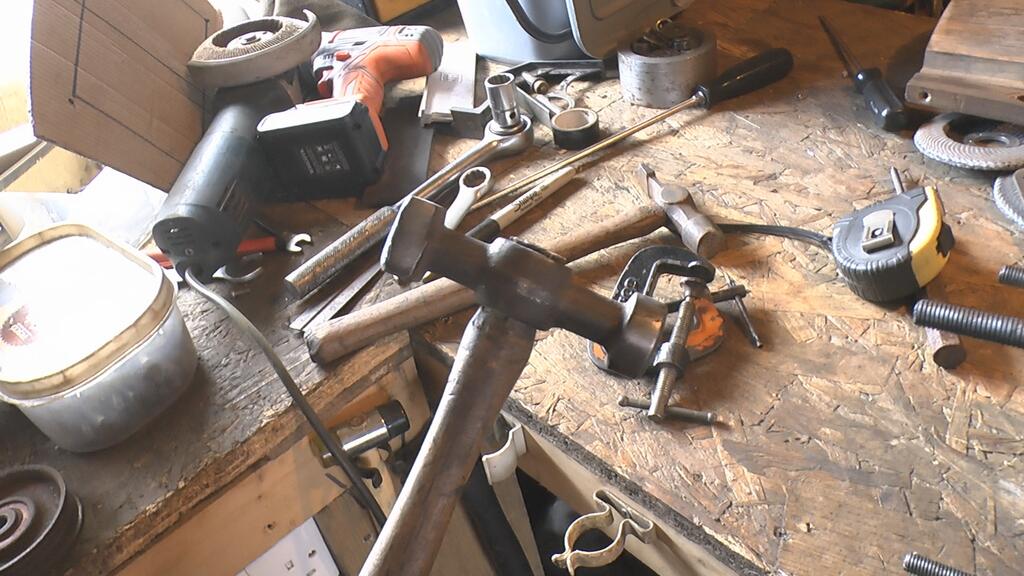
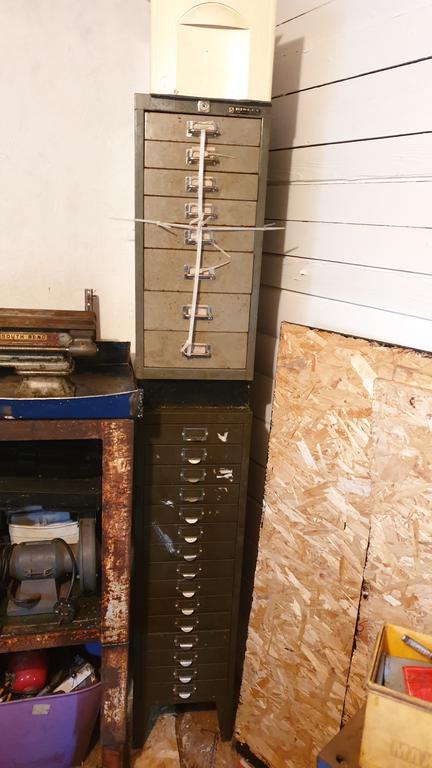
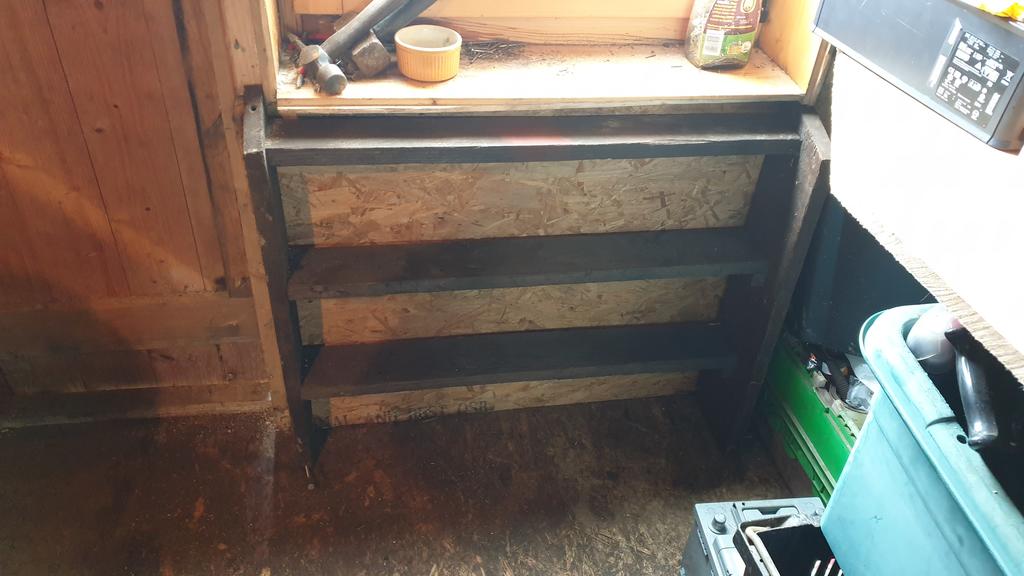
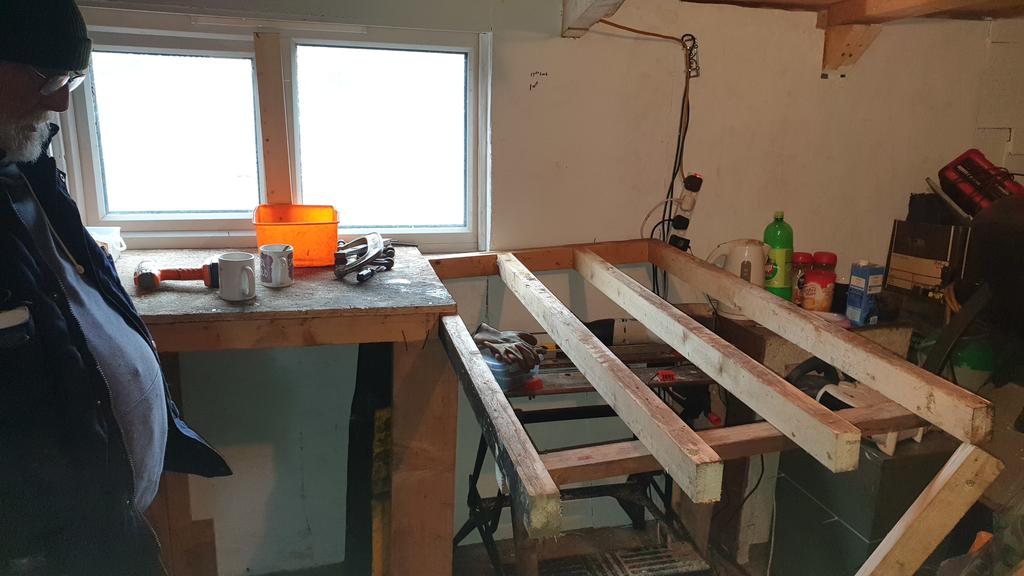
As you can see from the photo's the Lathe comes with a vast amount of tools, 3 and 4 jaw chucks, a facing plate, a center rest, Armstrong tool holder set, even the small drawed cabinet I keep the Lathe tools in.
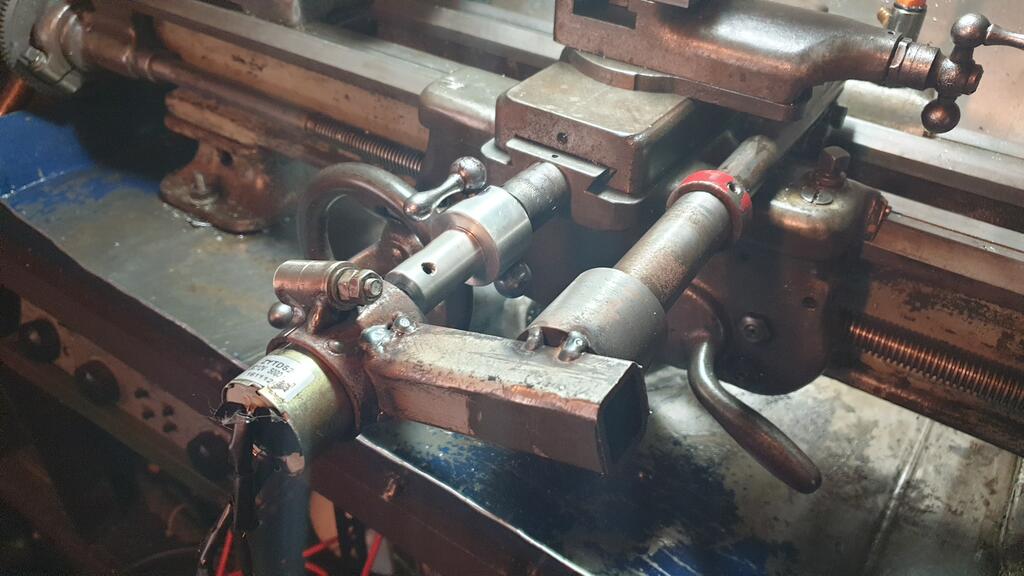
I made a "power cross-feed" do-dat years ago which works quite well and does save a lot of hand winding!
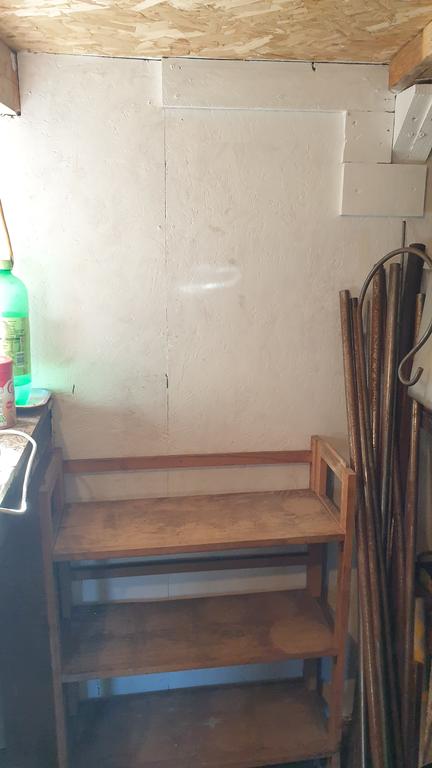
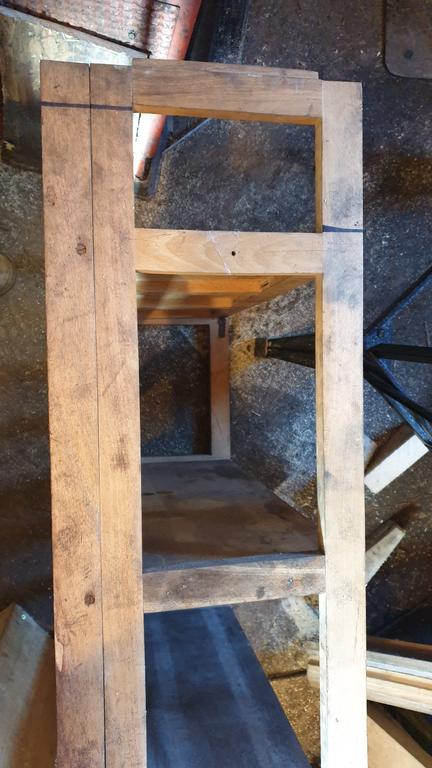
The bench the lathe is bolted to can be part of the deal "if you want it" at no extra cost.. Be quite nice to have the space back..
The bench with the Lathe bolted to it measures 6ft long, 2ft 6" deep and 5ft 4" tall...
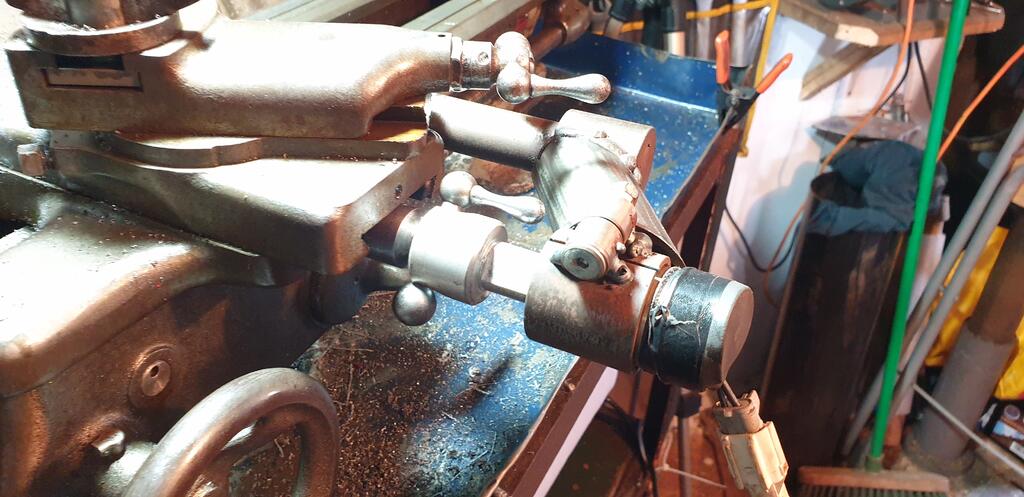
Also bolted to the bench is a "quick change" (bits of WH's) system for changing pulley speeds, a lever is much faster than having to unbolt and move the pulleys each time you need to change speeds.
If you don't want the bench the pulleys and motor can be easily taken off.
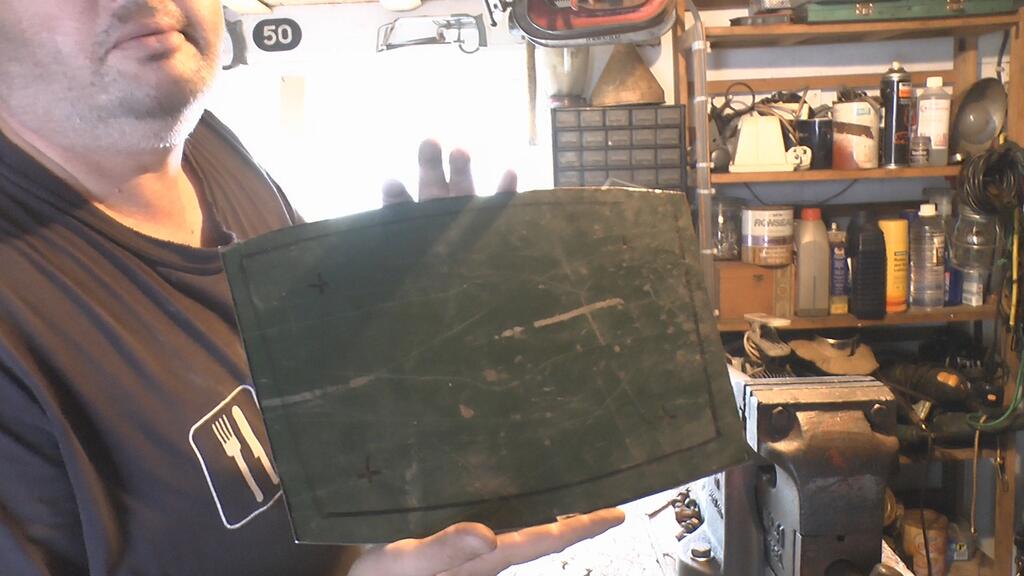
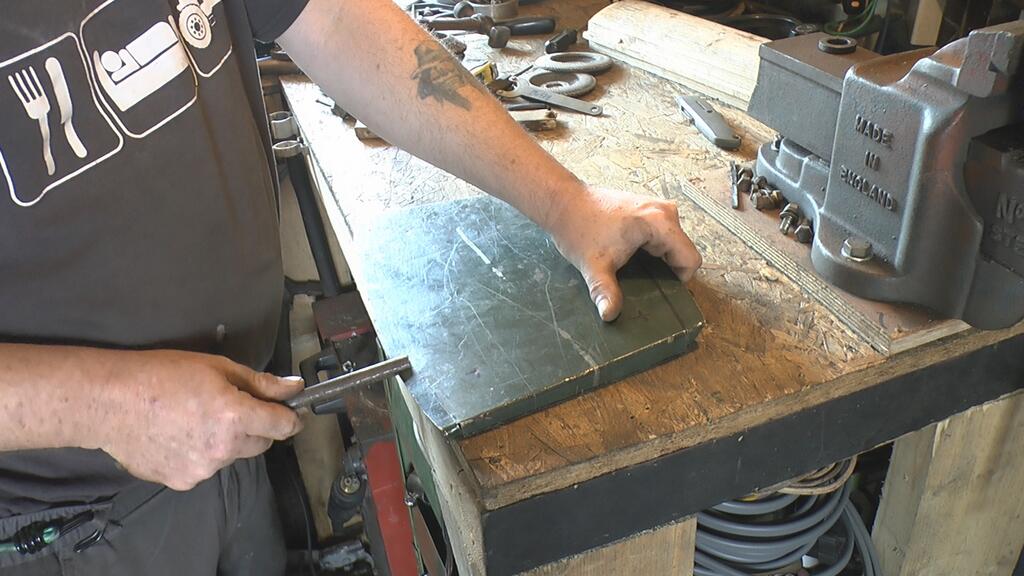
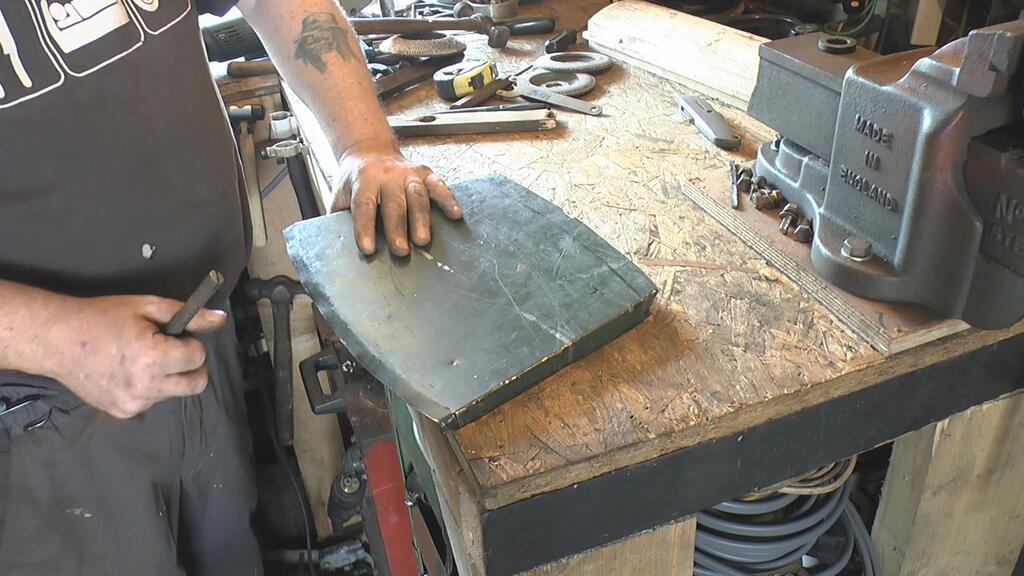
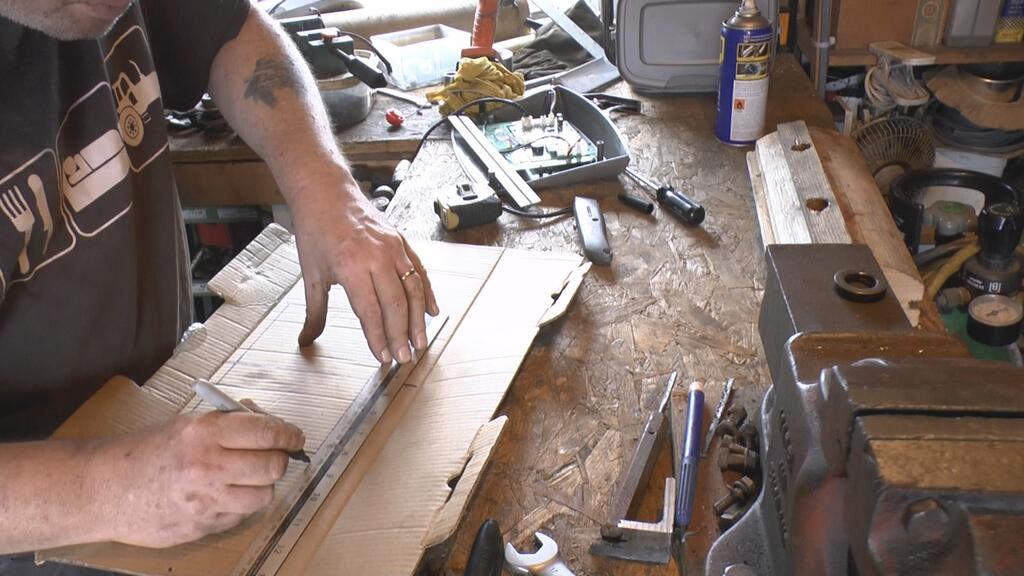
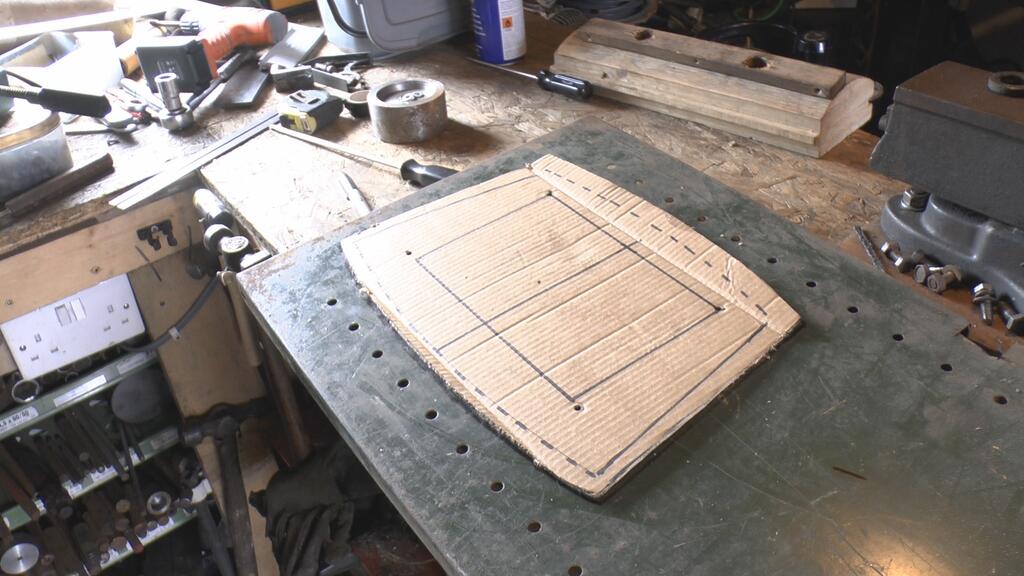
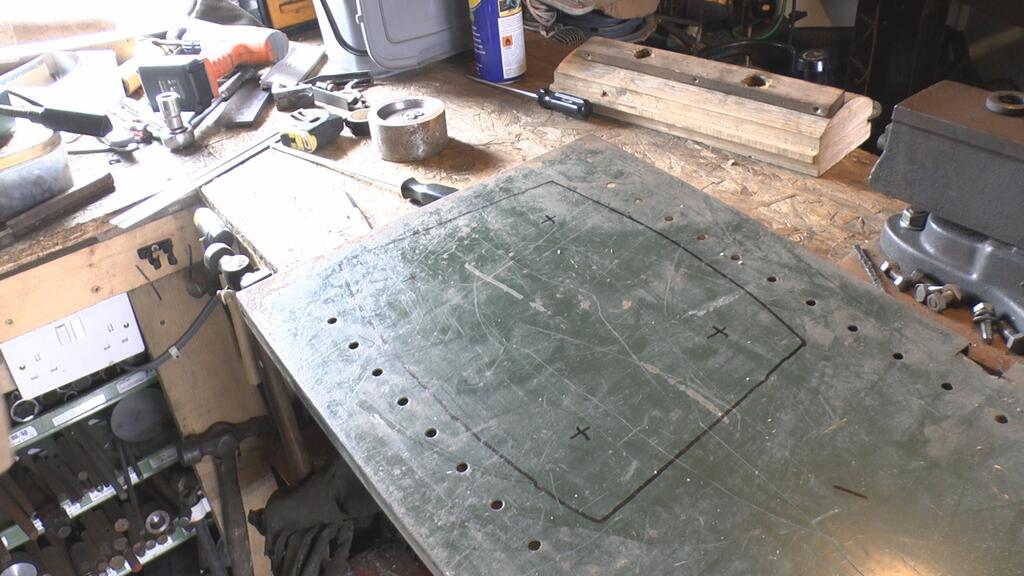
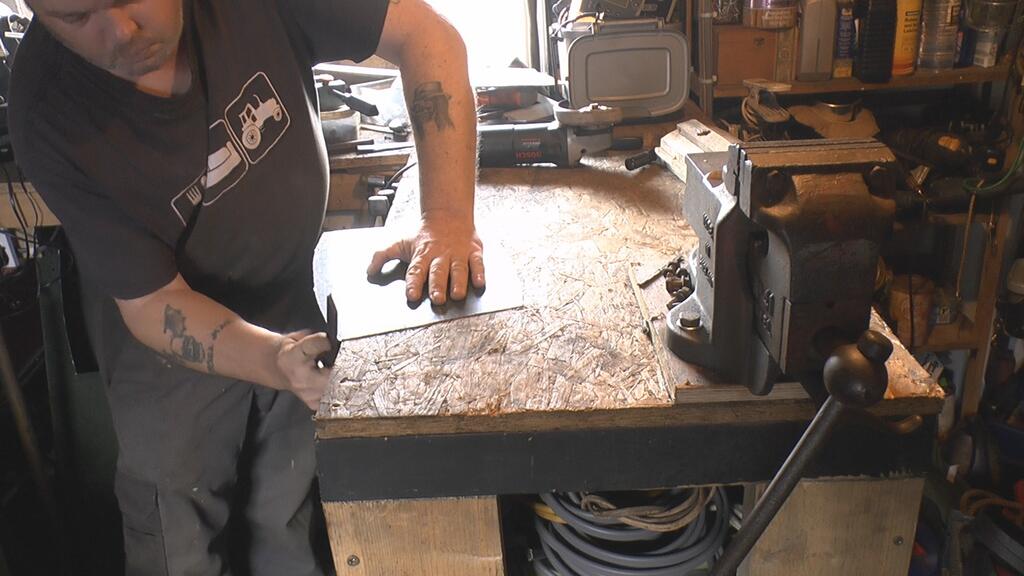
With the green side up, fold lines and the 4 screw holes were marked out..
A bit like this..
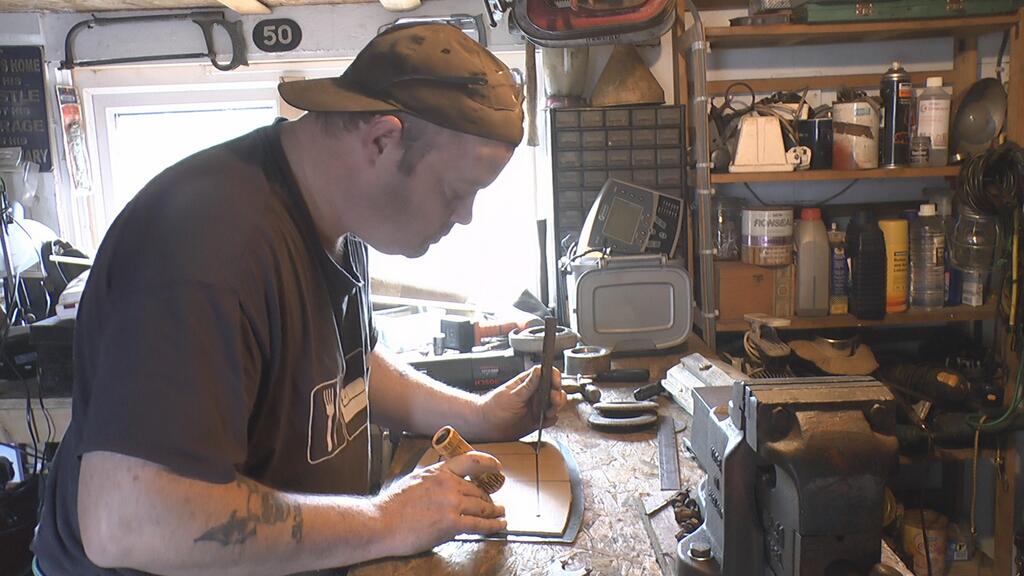
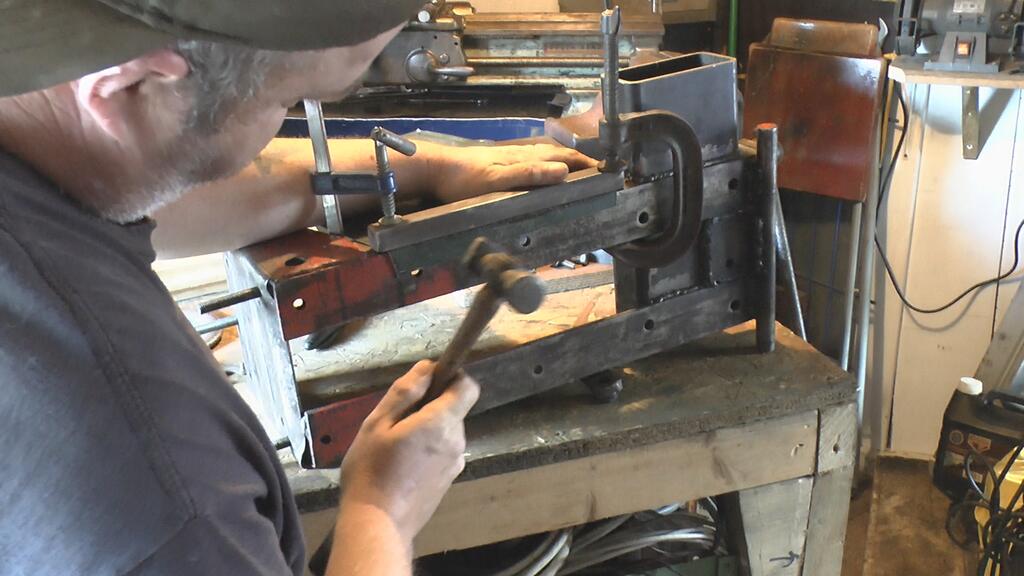
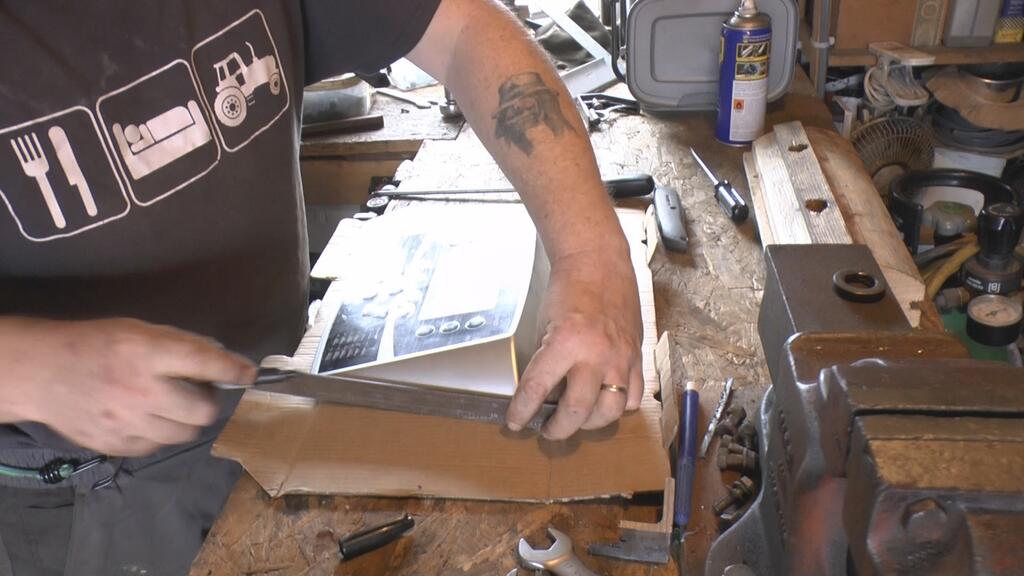
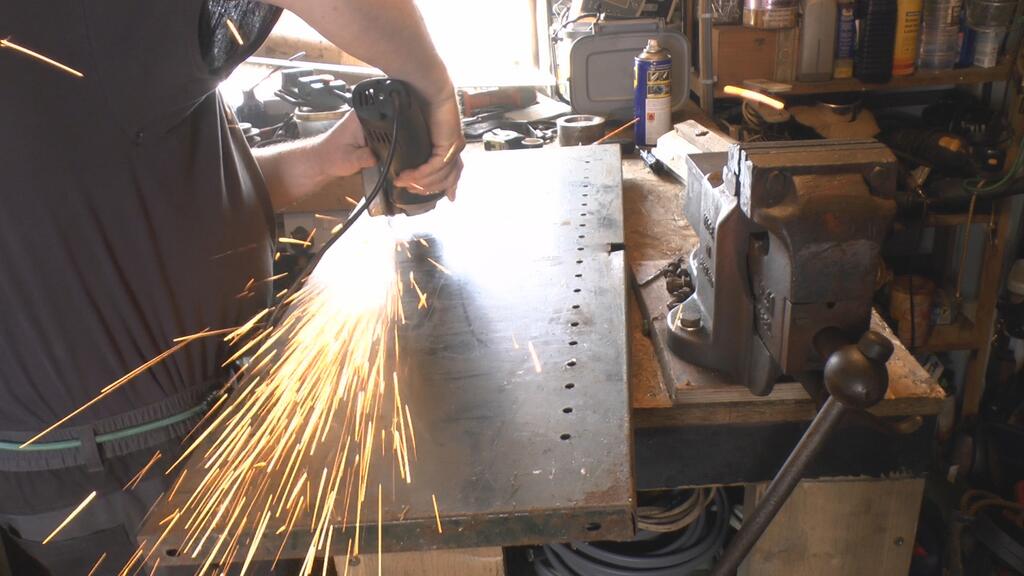
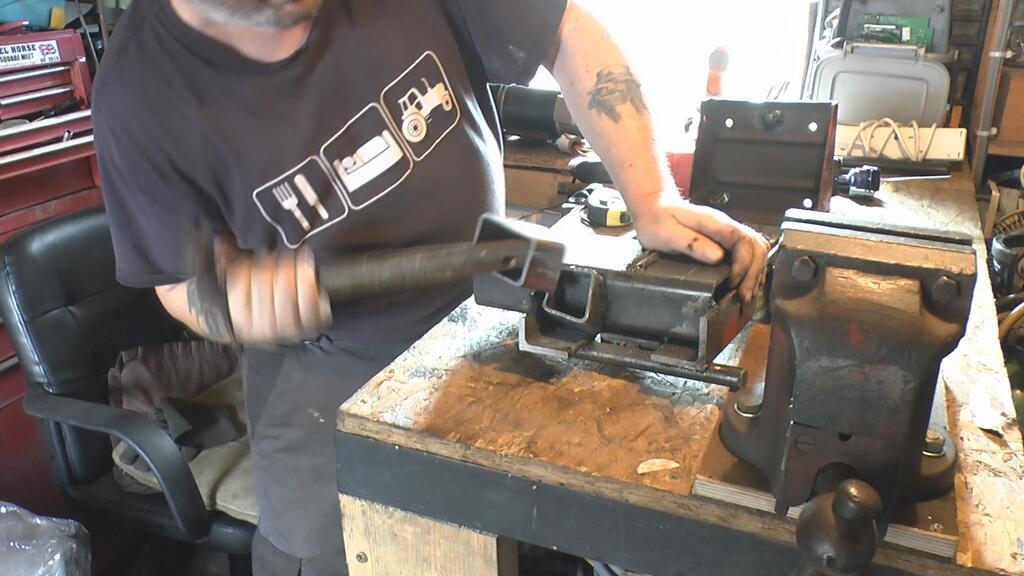
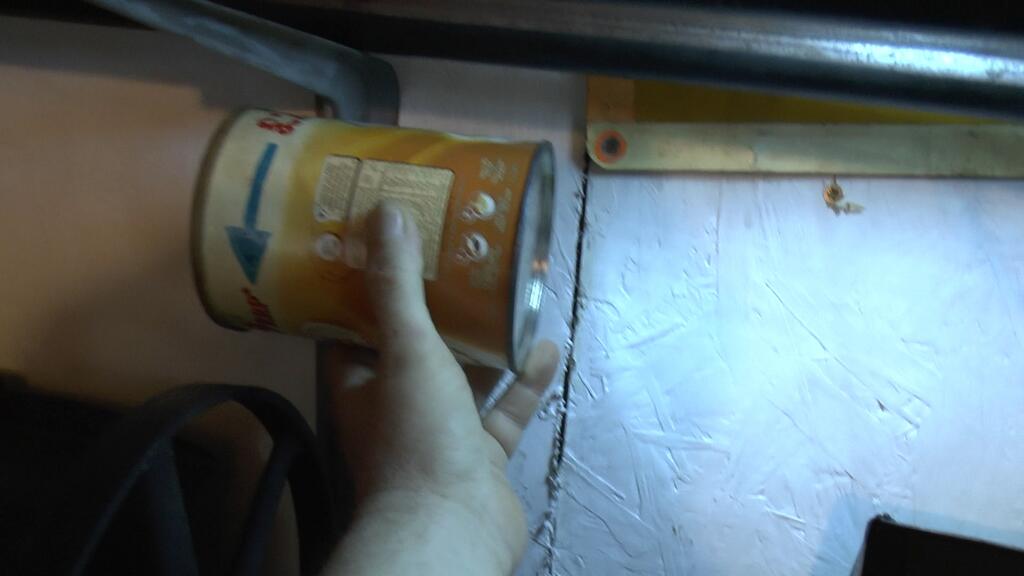
The two short folds were easy as they were straight folds.. My (now dismantled) metal folder couldn't handle the thickness of the steel, so the control panel cover (just realized, I've not actually told you that's what I was making, so I hope you'd guessed right?) was clamped to the lathe pulleys tilt thingy/ex Wheel Horse chassis using a length of solid square bar... Can a bar be square?
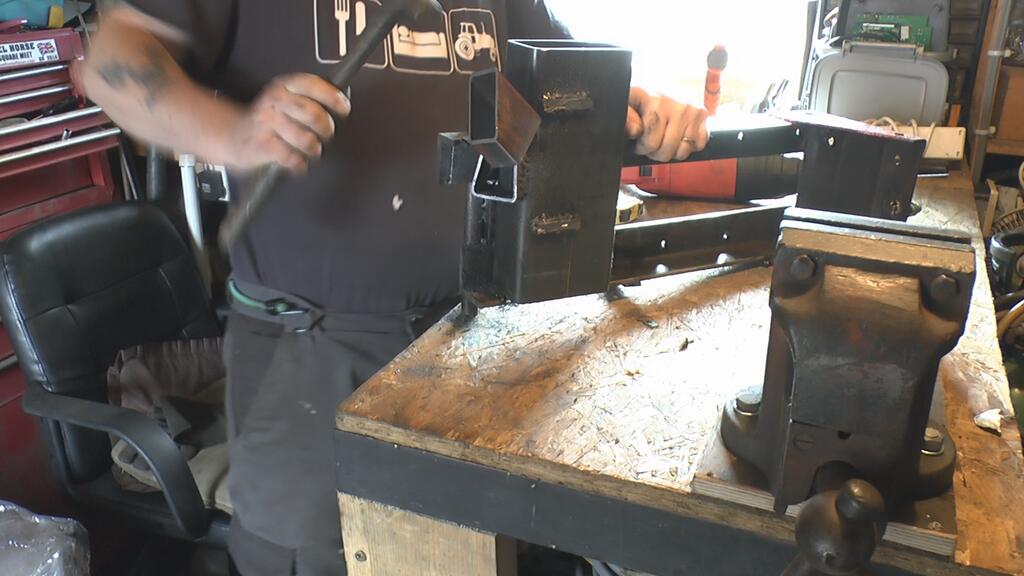
A bit of hitting stick action....
Soon had the edges bent around..
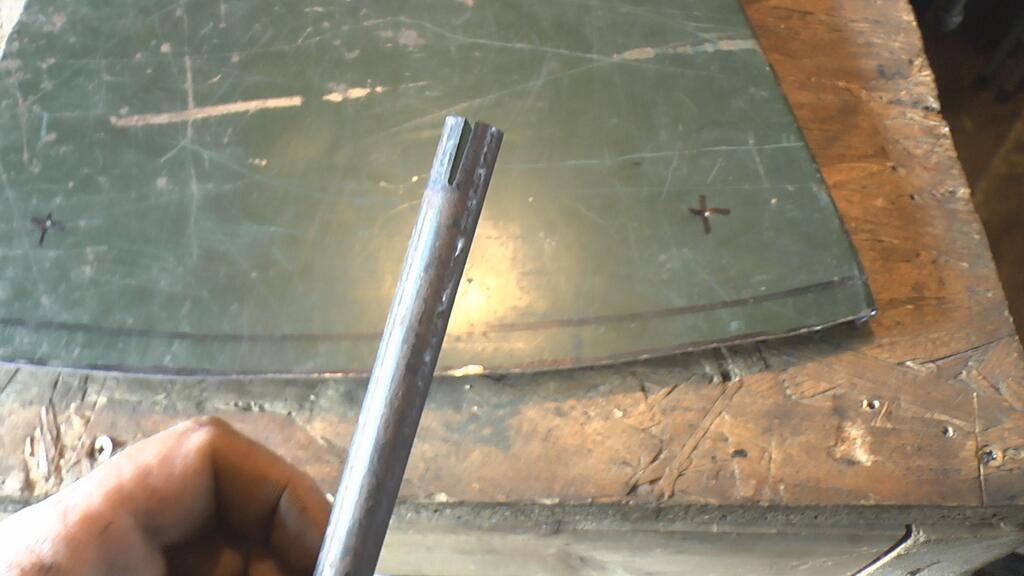
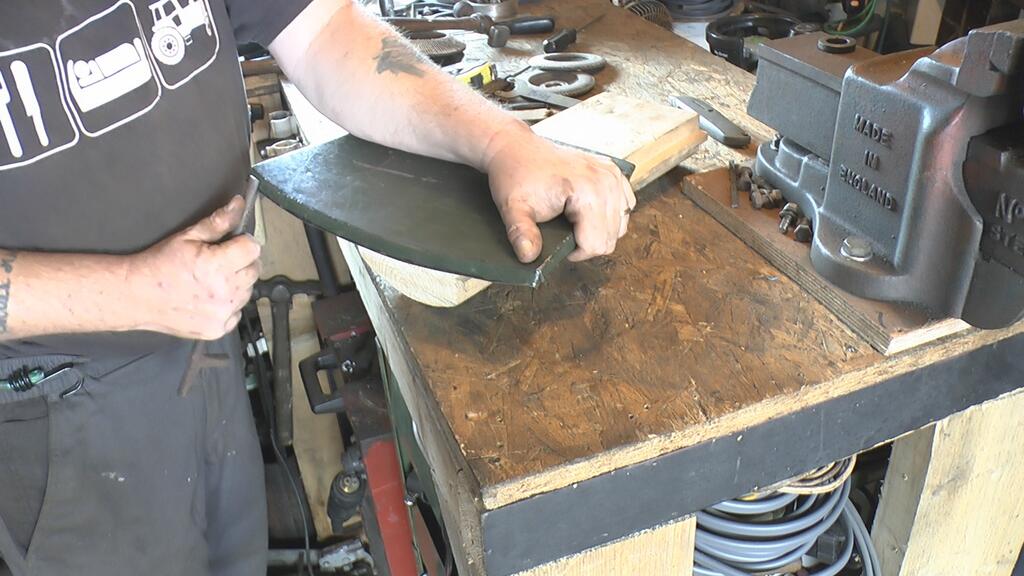
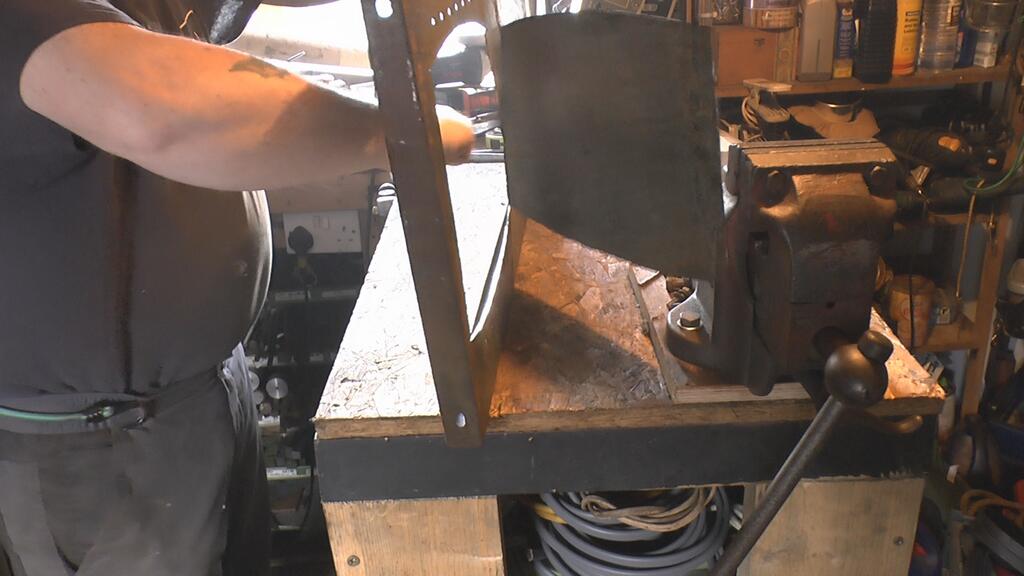
Bending the curved parts was not quite so violent for the steel, but it did take longer.... It also involved a "Bending stick"... One of these in fact..
Take this part slowly and don't try to bend too much down at once or the steel will kink..
Slot the "Bending stick" on and push down slowly.. This is the first bend..
Third (I think) bend..
And the almost finished bend..er bend
From this point on wards, I forgot to take any pic's of making the cover.. For some reason I took a pic of the heavy rain through the window instead
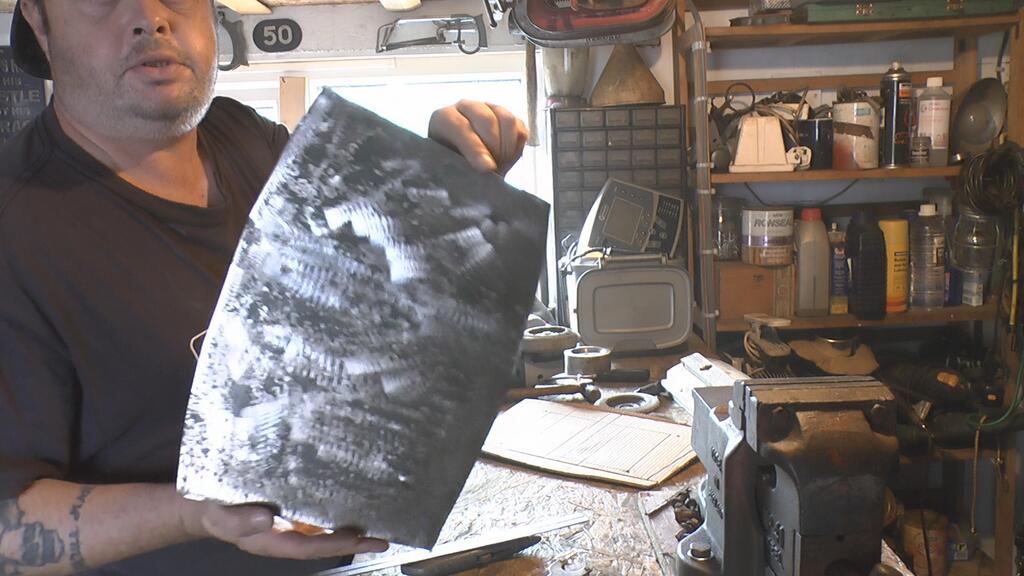
The finished control panel cover... Mounting it to the lathe bench will come later..
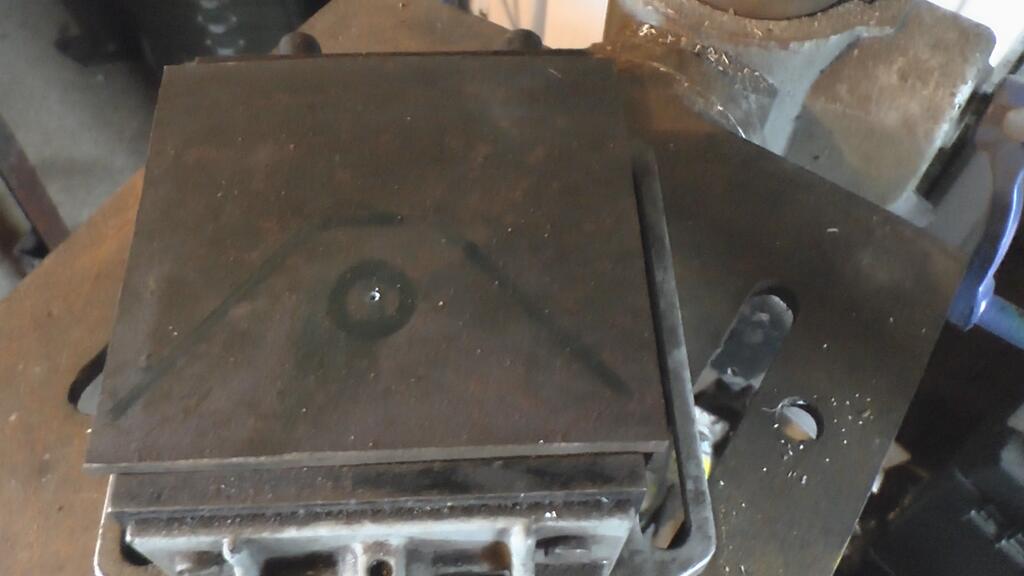
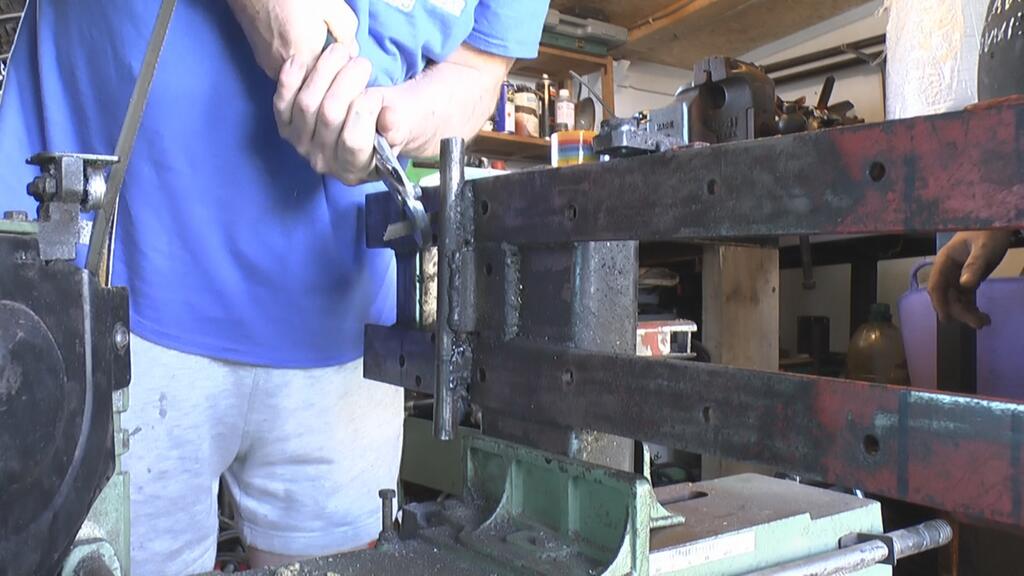
Back to the back and time to sort out this hinge problem..
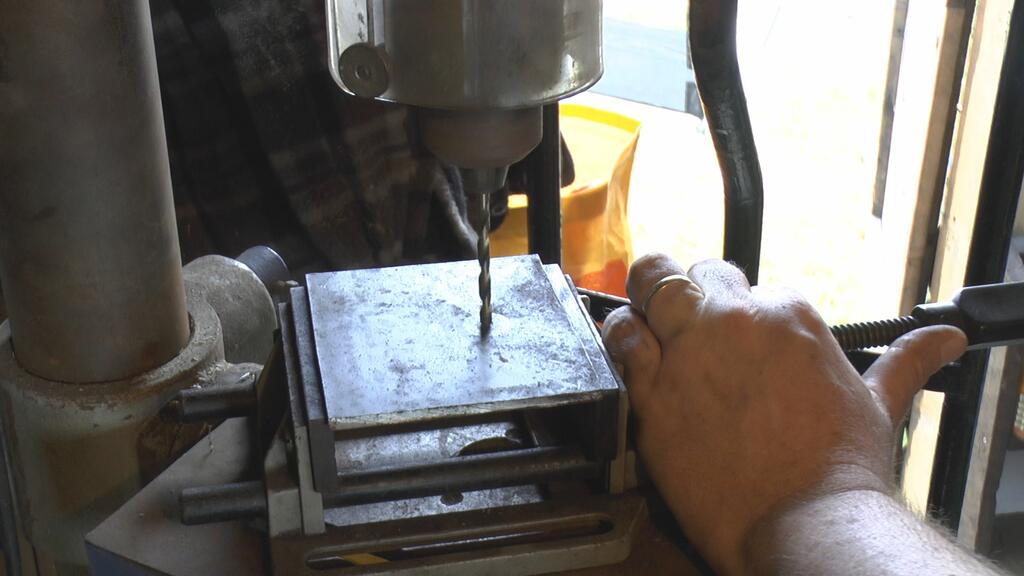
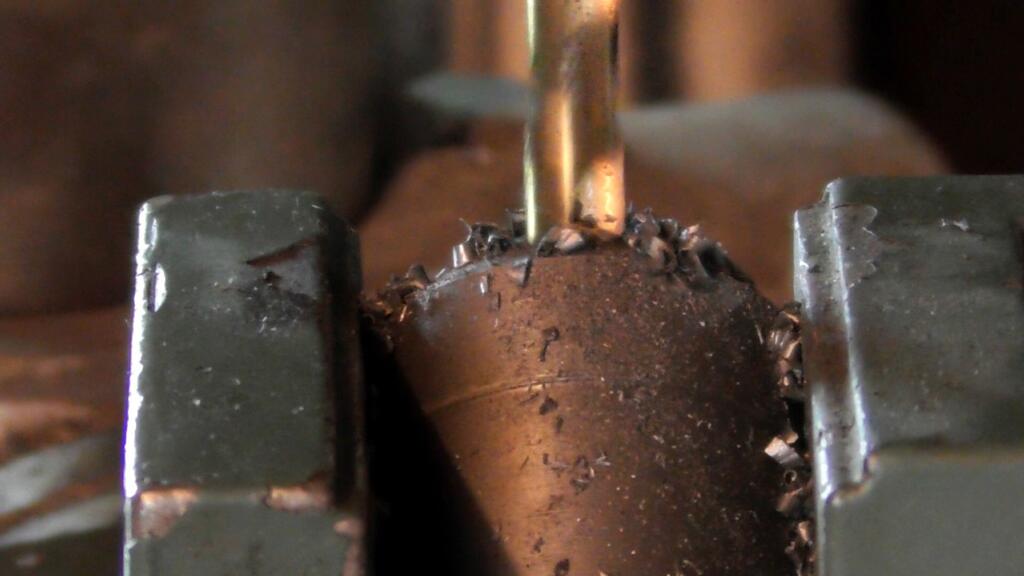
A quick bit of marking out.
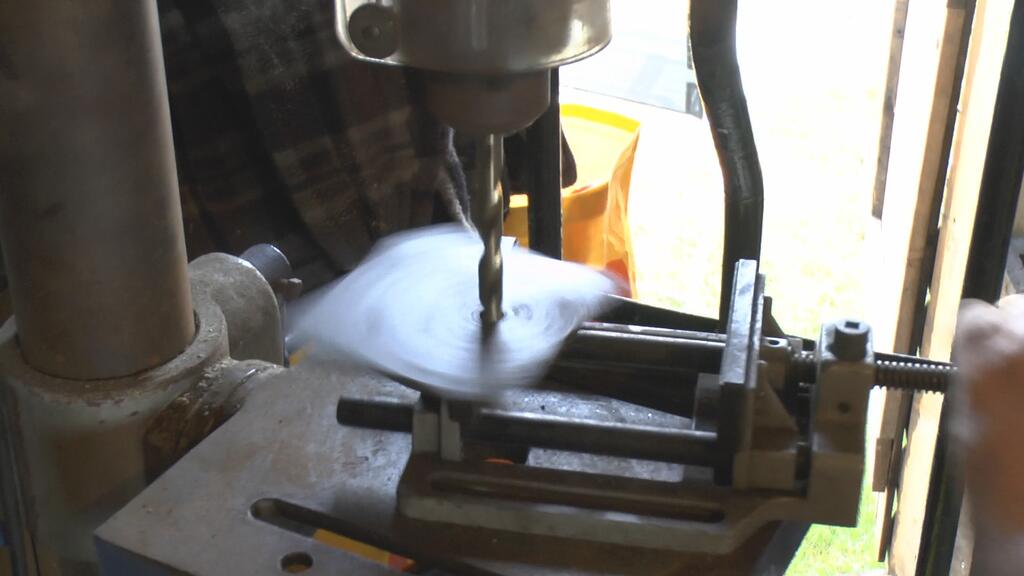
Small drill..
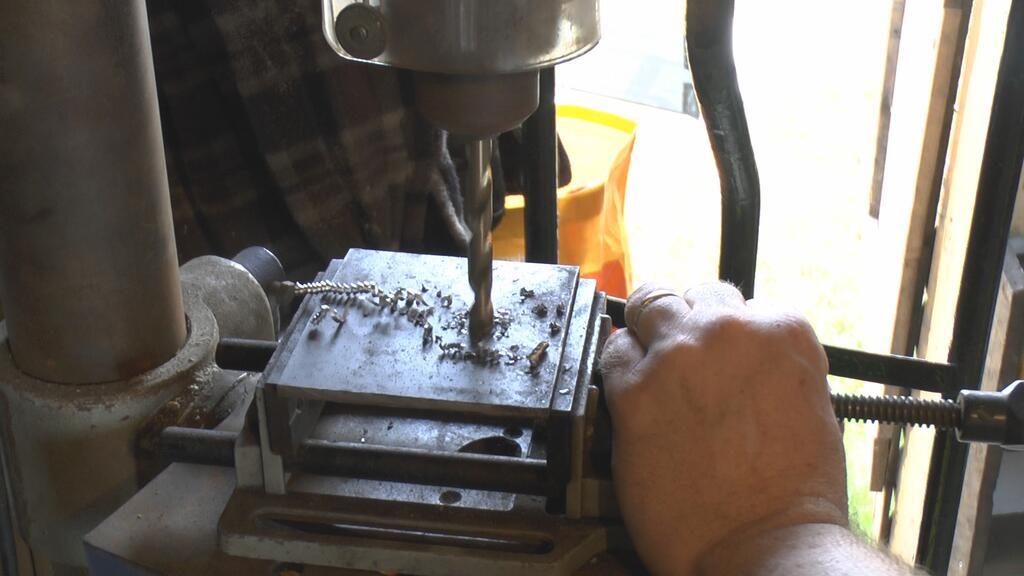
A bigger drill...
Don't you just hate it when this happens?
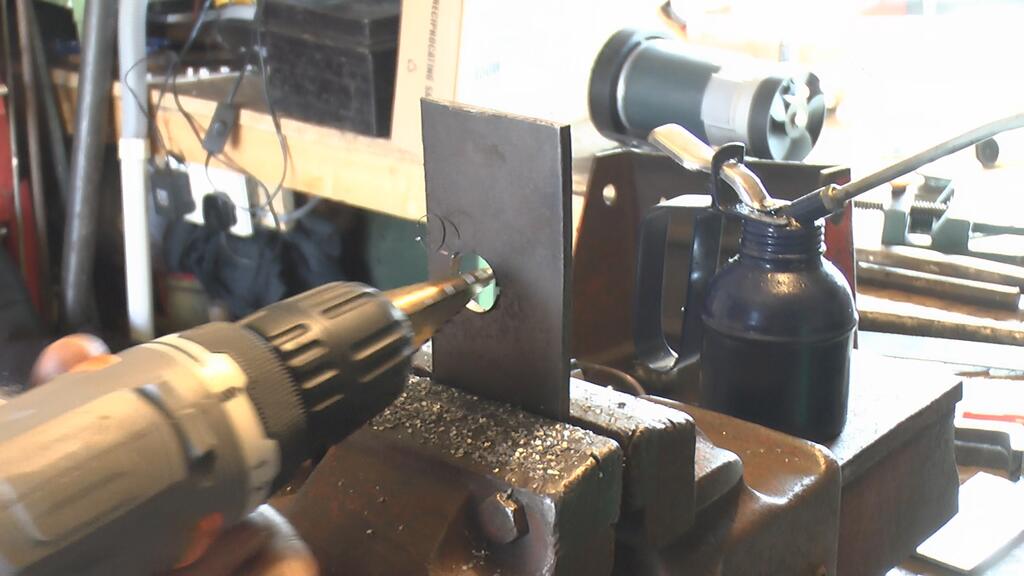
So I finished it by hand with a step drill... very handy things
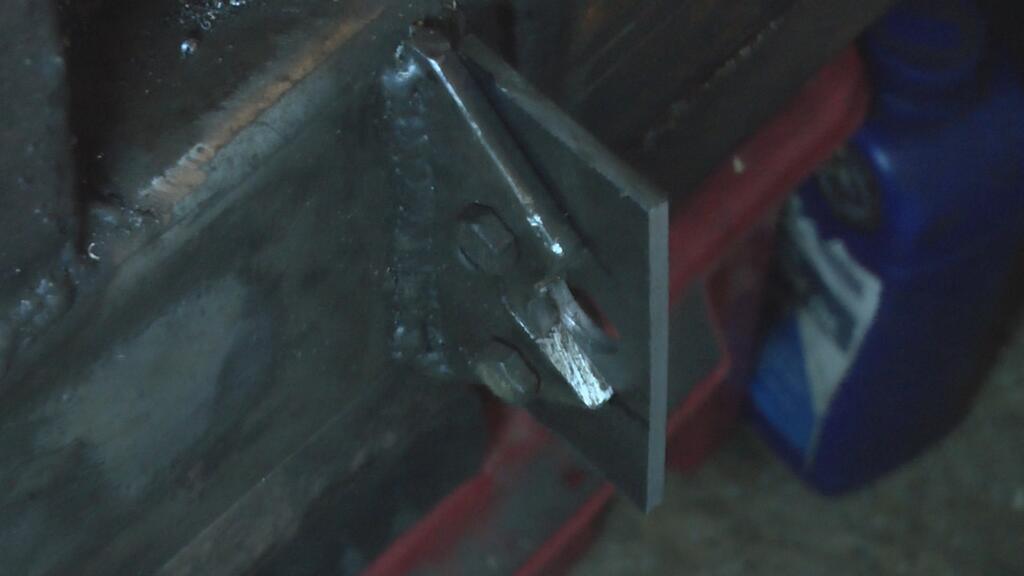
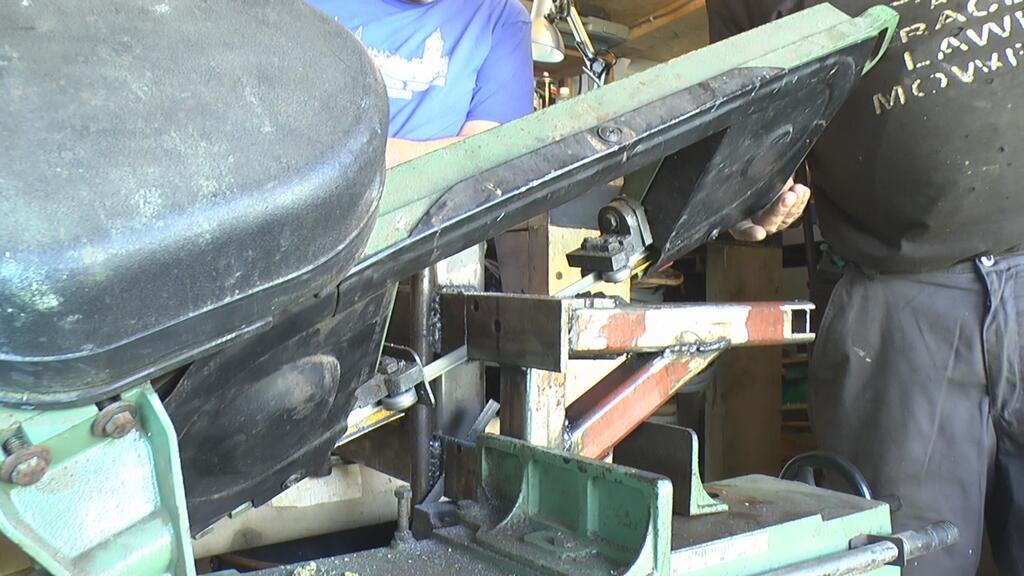
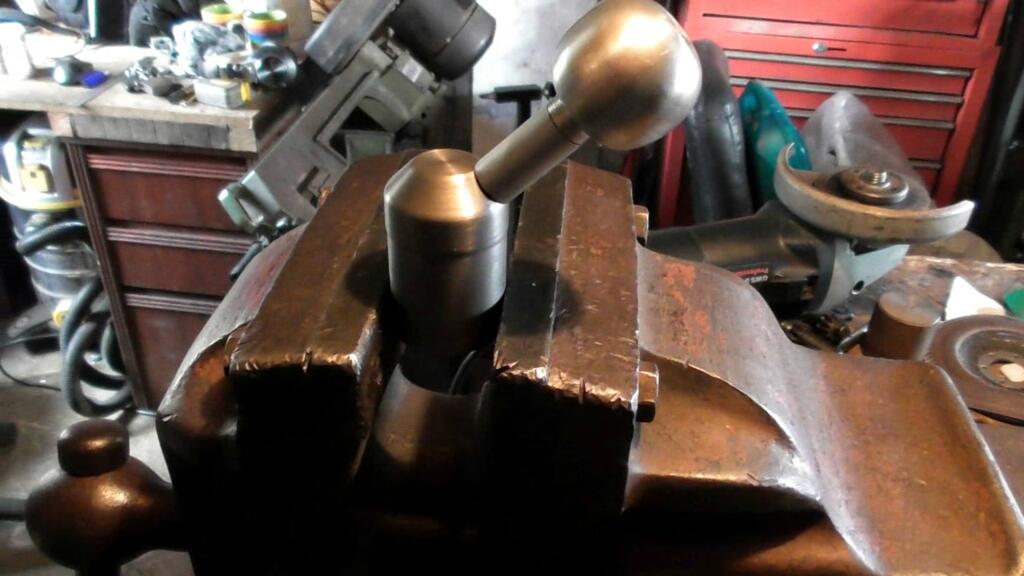
A bit of trimming and a couple more holes and with it bolted on the hinge repair was done... Now I know this is steel on steel, but as I don't have to change "speeds by belt" that often there will be very little ware..
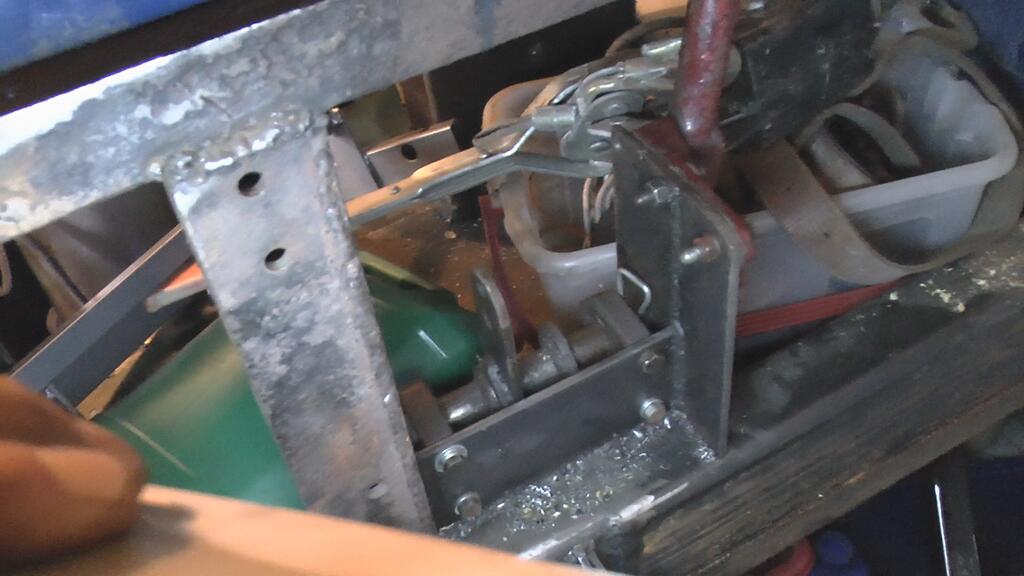
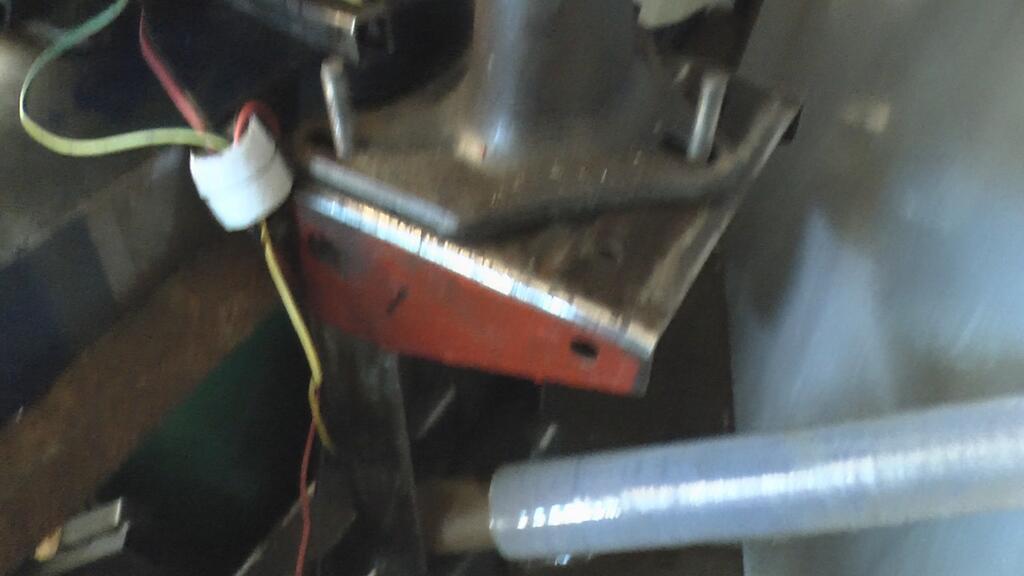
Whilst I was down that way, I bolted the "belt tension arm" back in place.
The "beltey tiltey bit was fitted on.. Sorry about the naff pic.
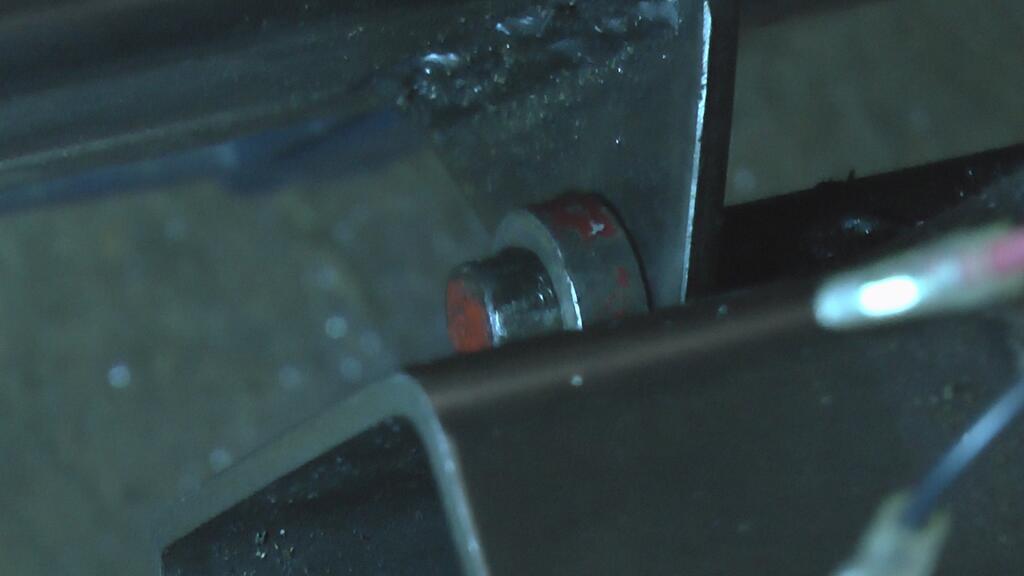
And this little collar stops it from moving side to side.
Loads more to come, so tune back at some point for more..
Hi all, it's about time I put this lathe re-power thread up. I first mentioned it a long time ago in this This Thread .
For some reason I did not take any photo's of the build, so all the pic's you see have been grabbed for video footage, which means sometimes the pic's are not as sharp as they could be... sorry..
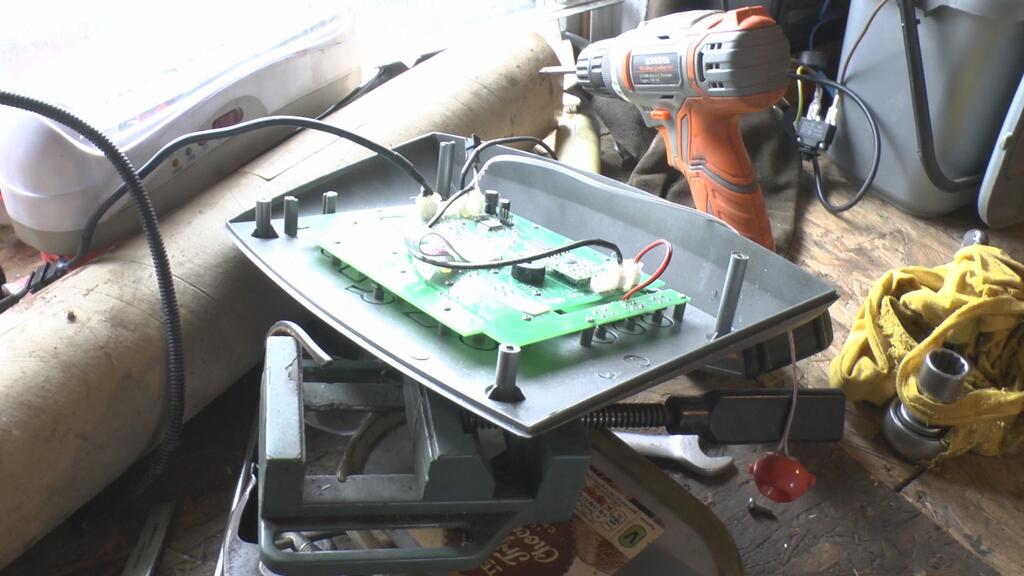
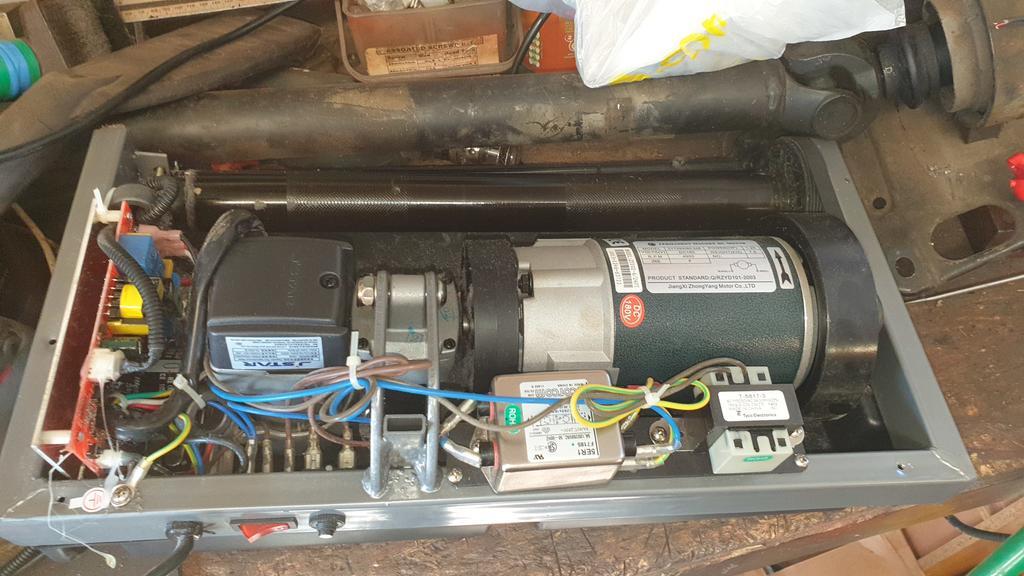
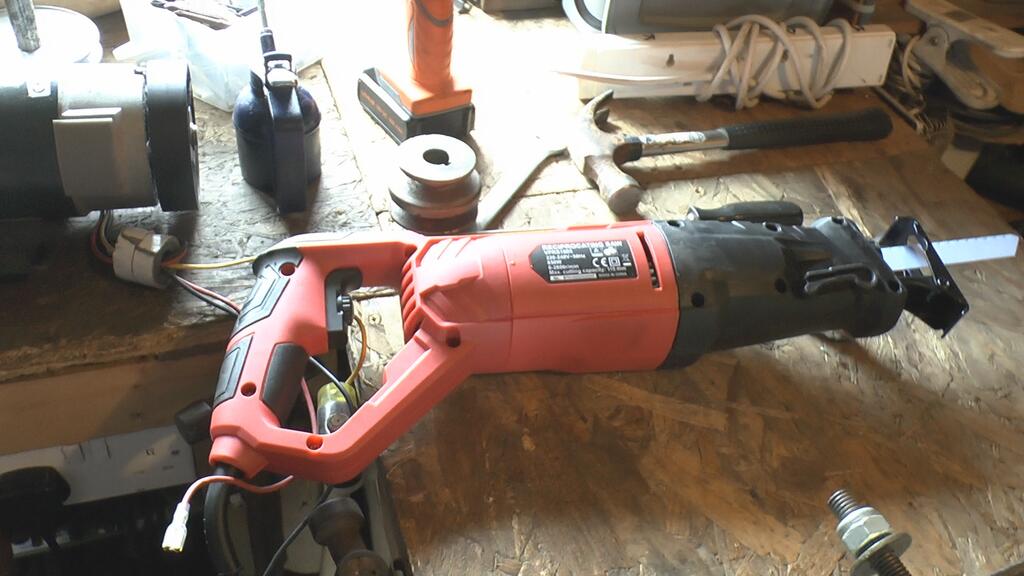
Before I moved out of my old workshop, i stripped down the treadmill leaving only the parts I needed...
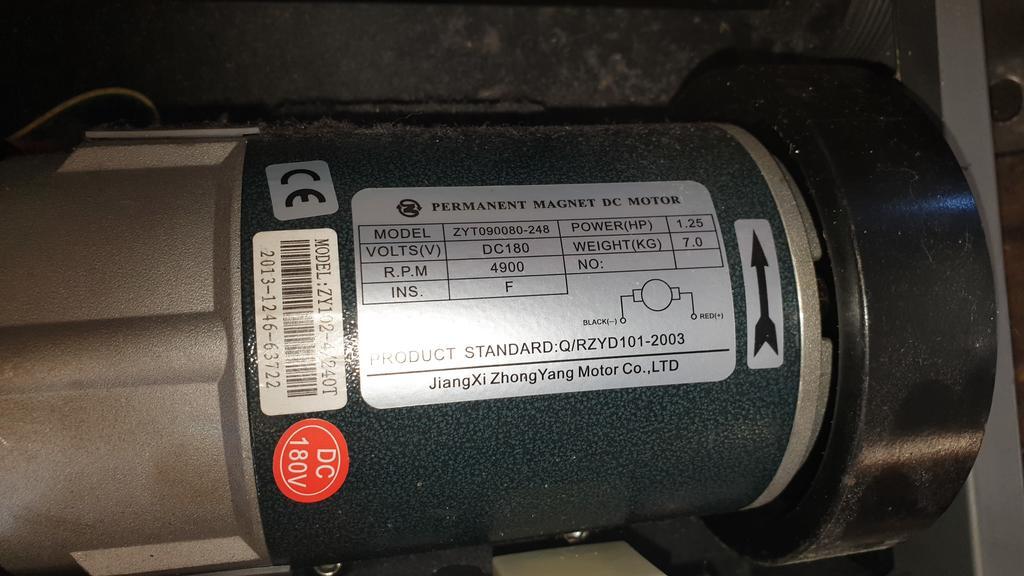
The motor and all the wiring/circuit boards..
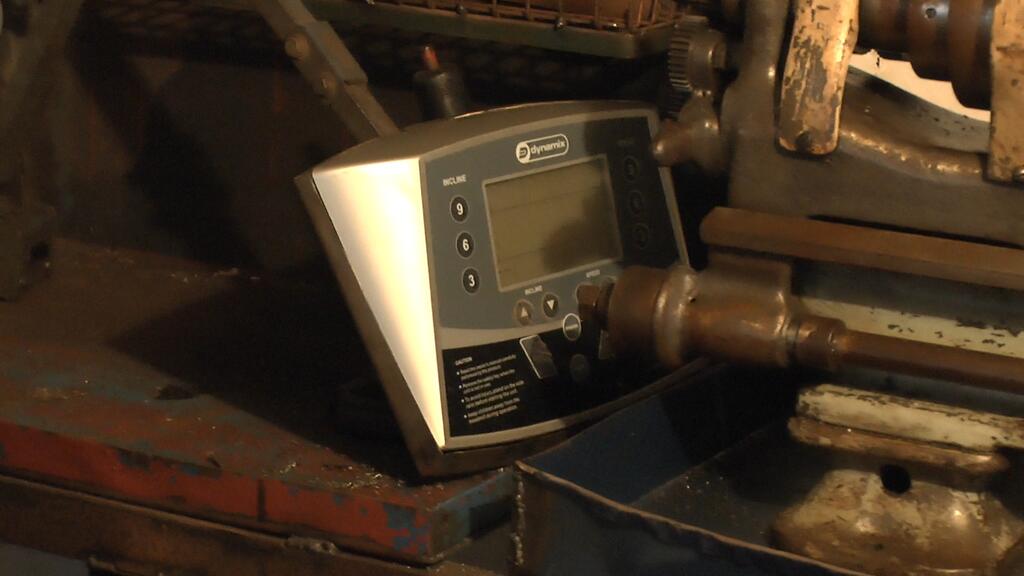
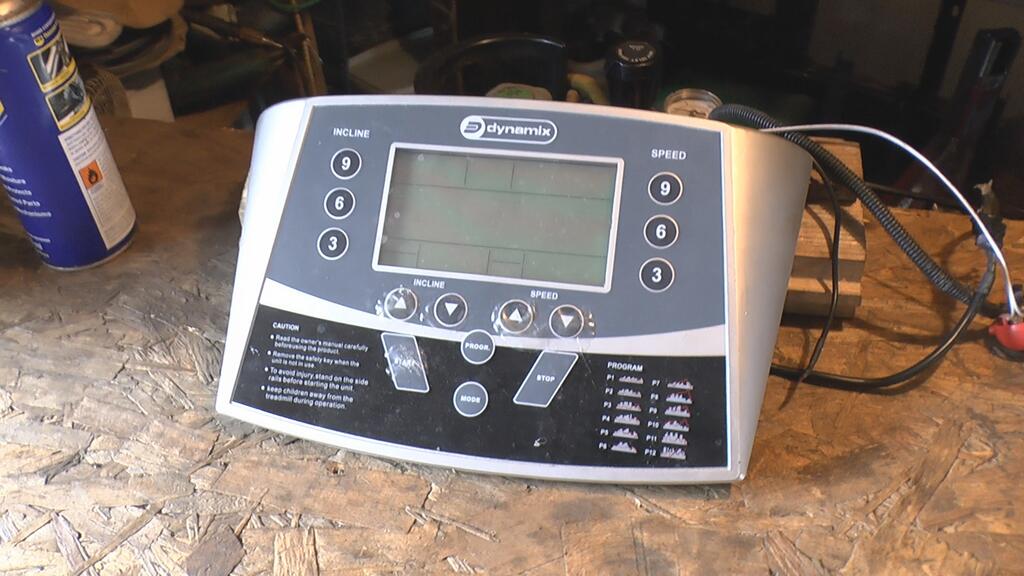
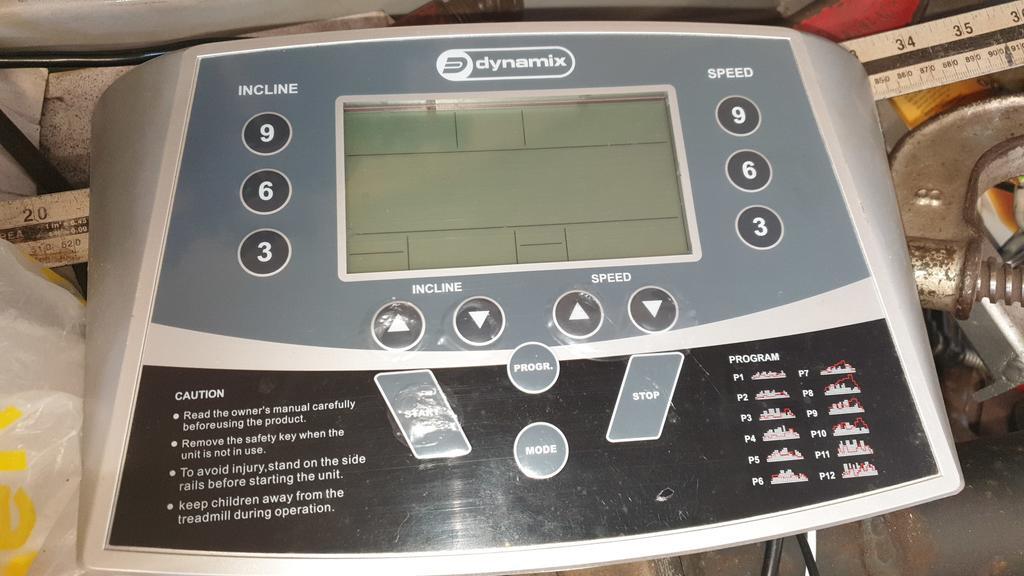
And the control panel..
A closer look at the motor. 1.25 HP, but 180 volts DC which means I have to use the electrical gubbings that powered it in the treadmill..
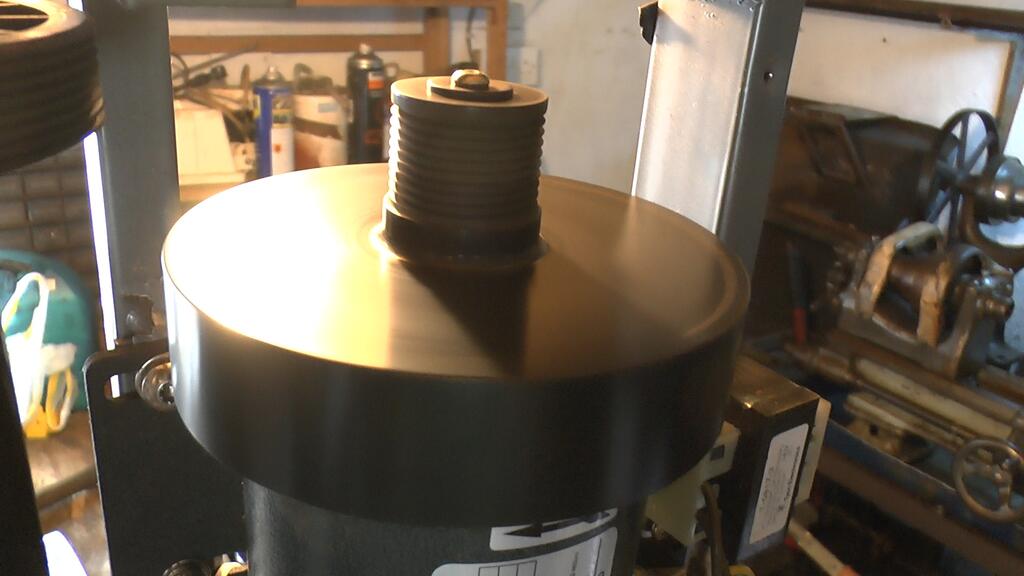
So the question is... How do I get power from this little ribbed pulley...
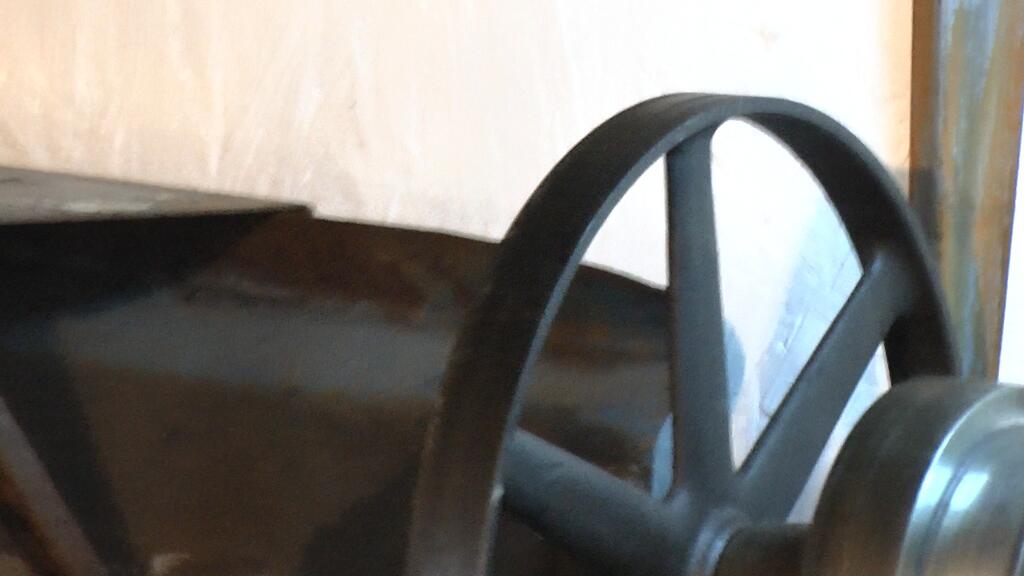
To this big pulley on the lathe
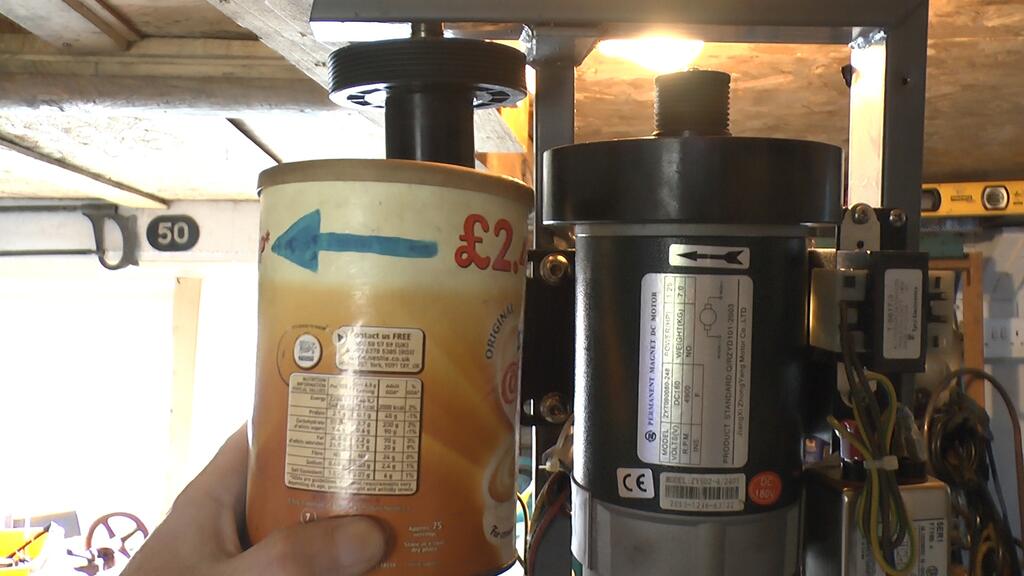
First lets make a mock motor with direction of travel, as it's much lighter than trying to hold the real thing in place..
The easiest place to mount it would be on the wall above the lathe, but making something to tension a drive belt could be awkward!
Also mounting the "speed change pulleys" would be fun as it would have to sit somewhere in the catch tray.. Somewhere about here..
Despite the amount of space it would take up behind the lathe, I decided to go with the mounting system I made for the lathe years ago.
Here's a view from the back when the lathe and I were still at the nursery workshop..
Thankfully I can make it a bit less "hangin out da back" or else I'd have to cut a hole through the wall in my new Workshack!
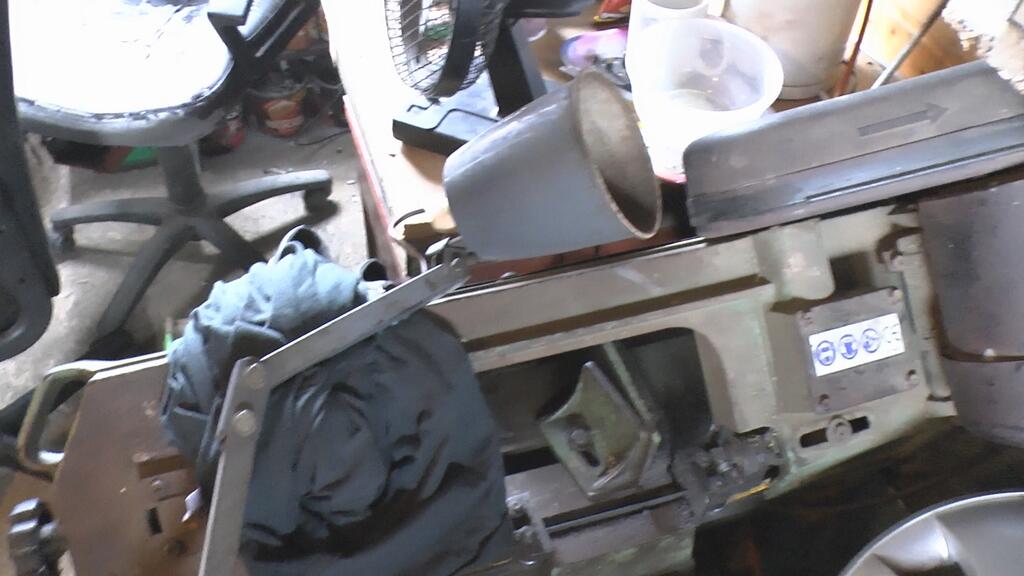
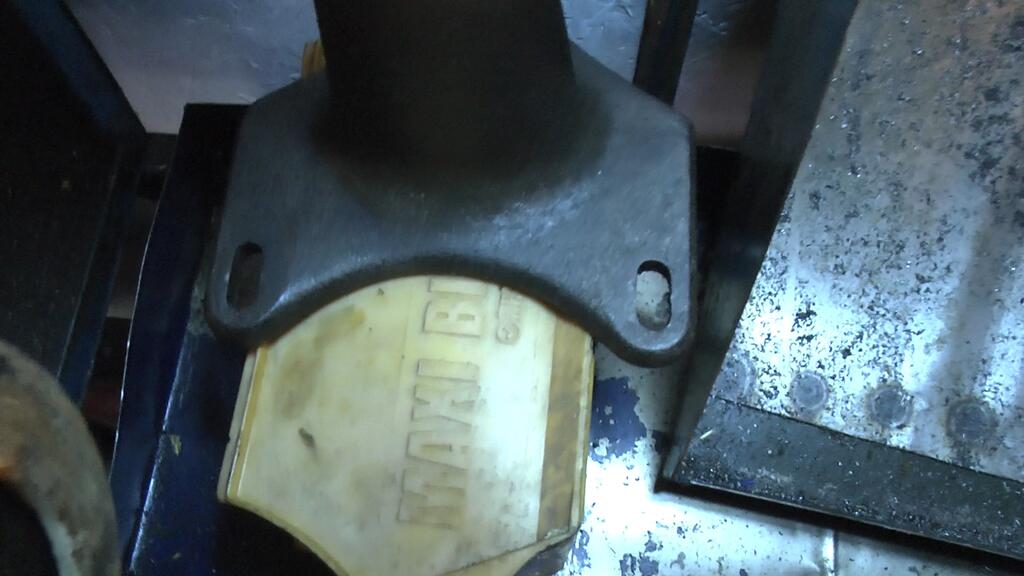
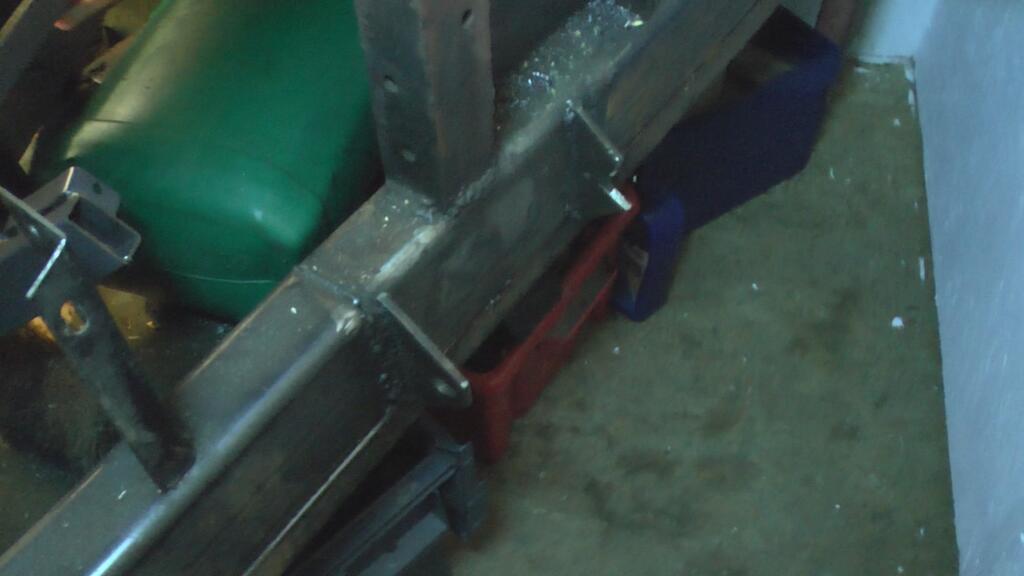
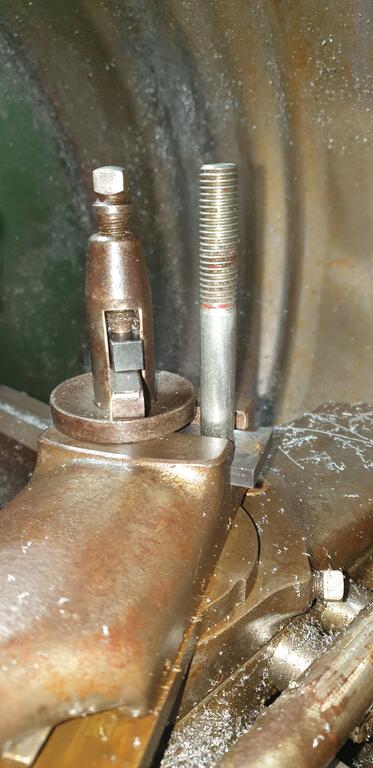
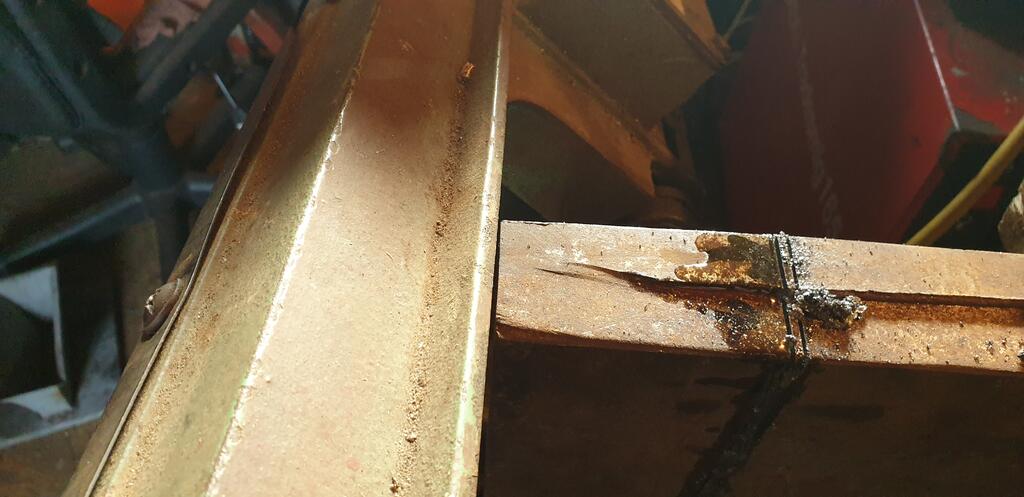
It used to pivot on the back of the bench on this steel rod.
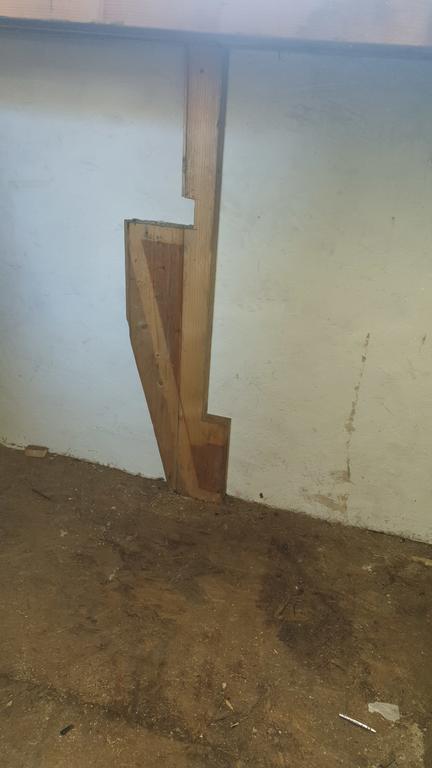
The trouble was I'd cut one of the hinge brackets off to make the lathe bench easier to move to my new Workshack!
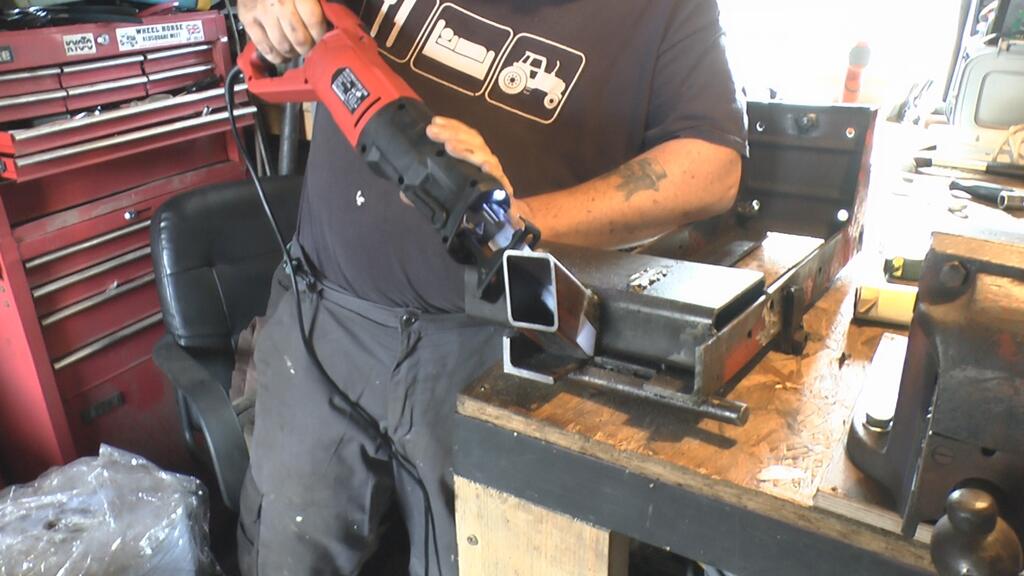
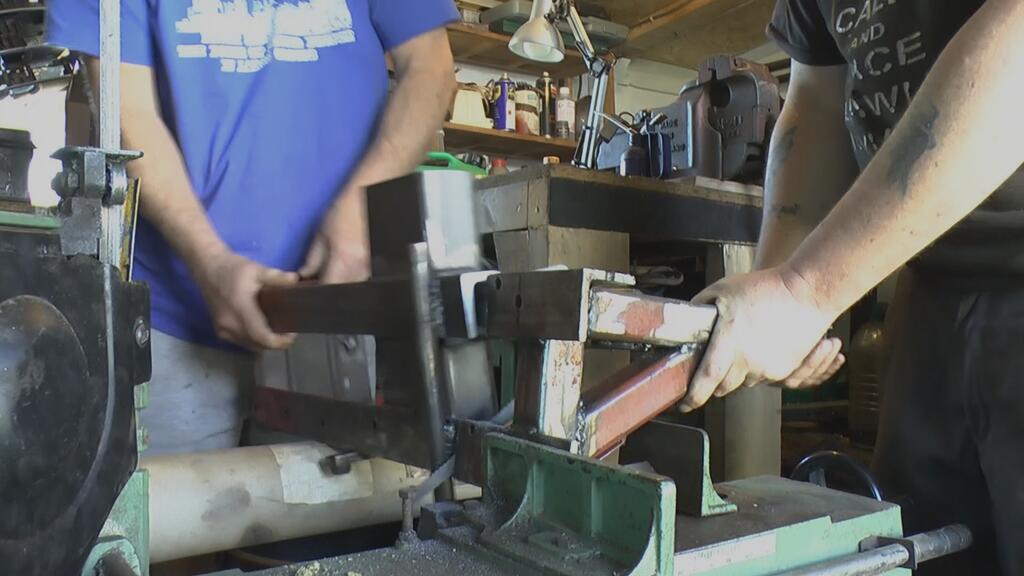
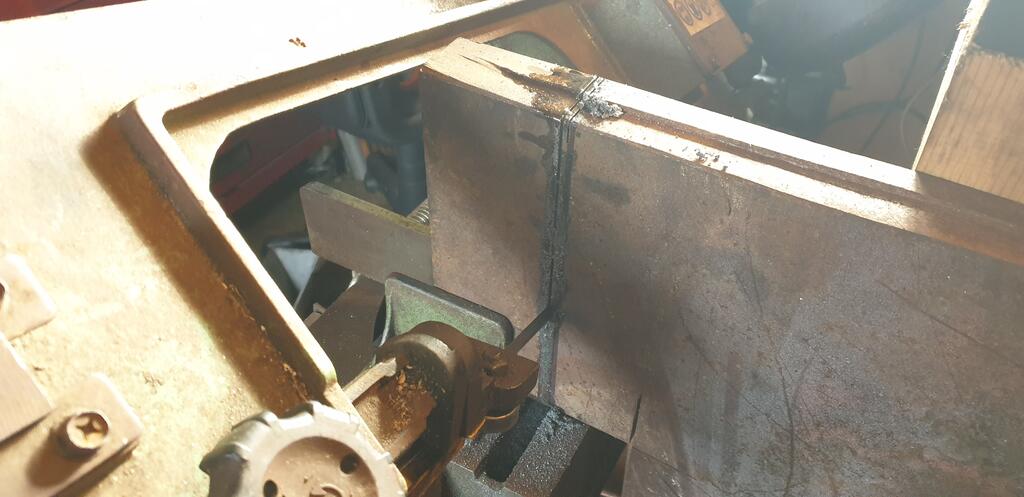
Never mind. let's lighten it a bit and cut off an unneeded bit in the saw..
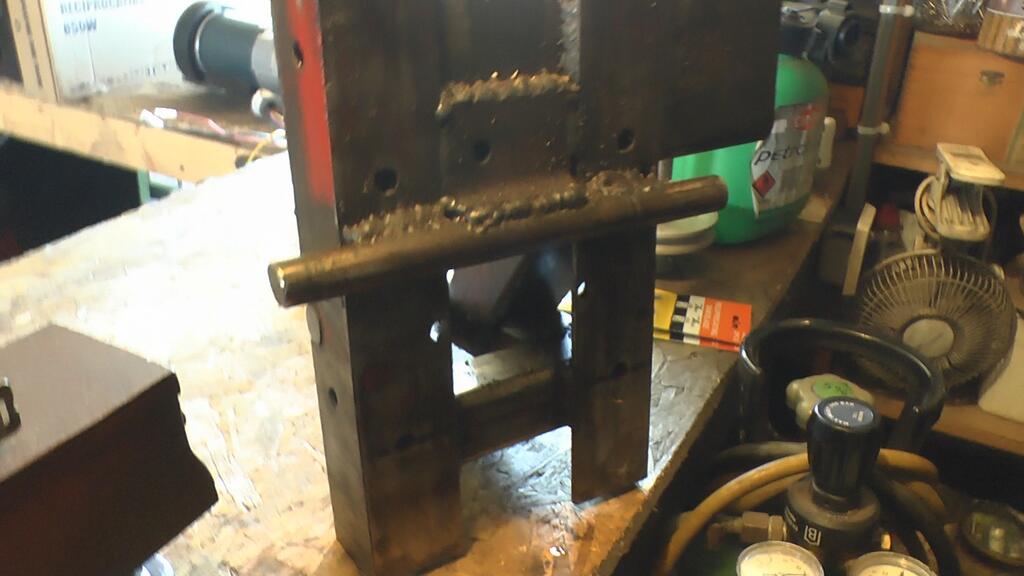
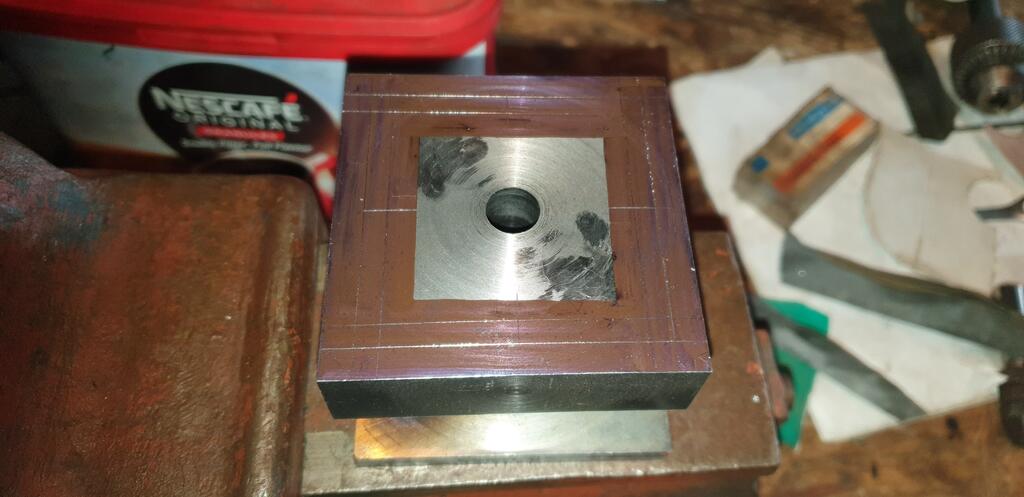
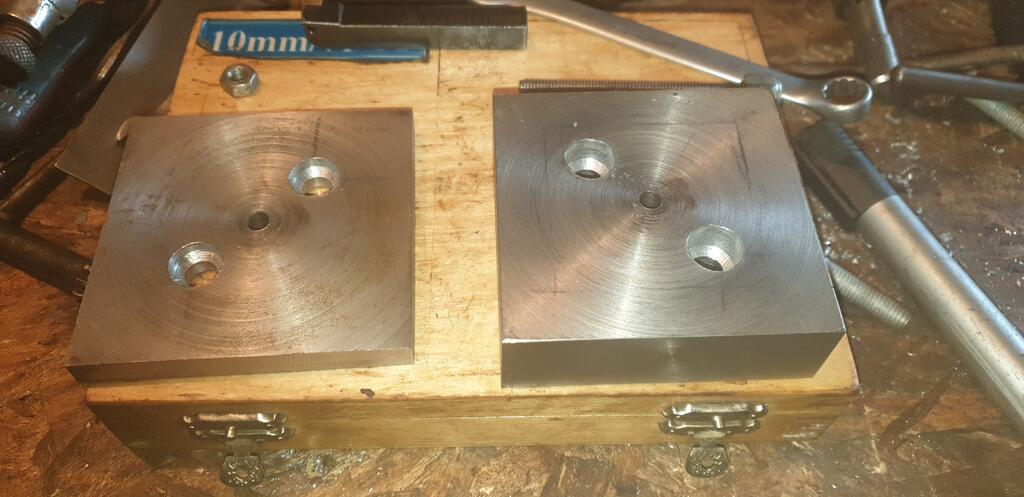
So, having created an odd shaped lump of metal with a hole through it, a few more holes were needed... Marking the holes out..
Drilled..
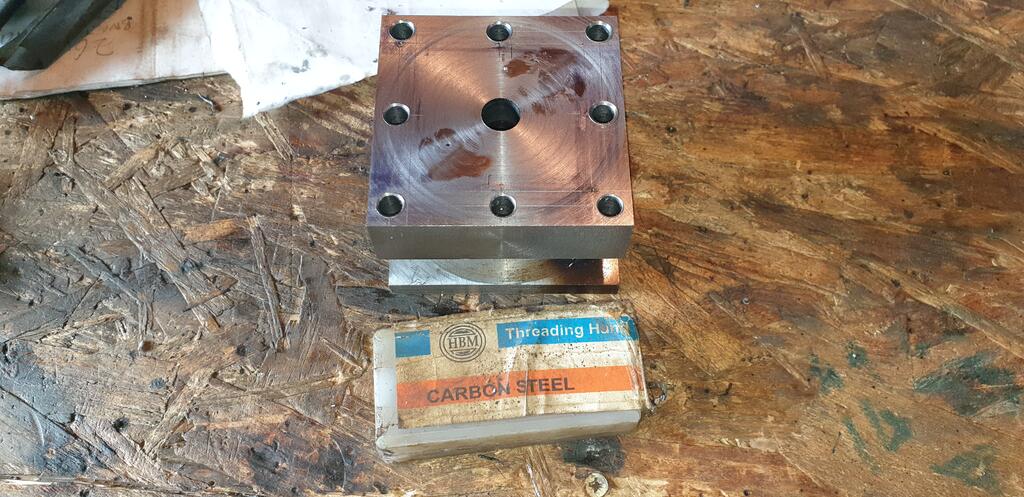
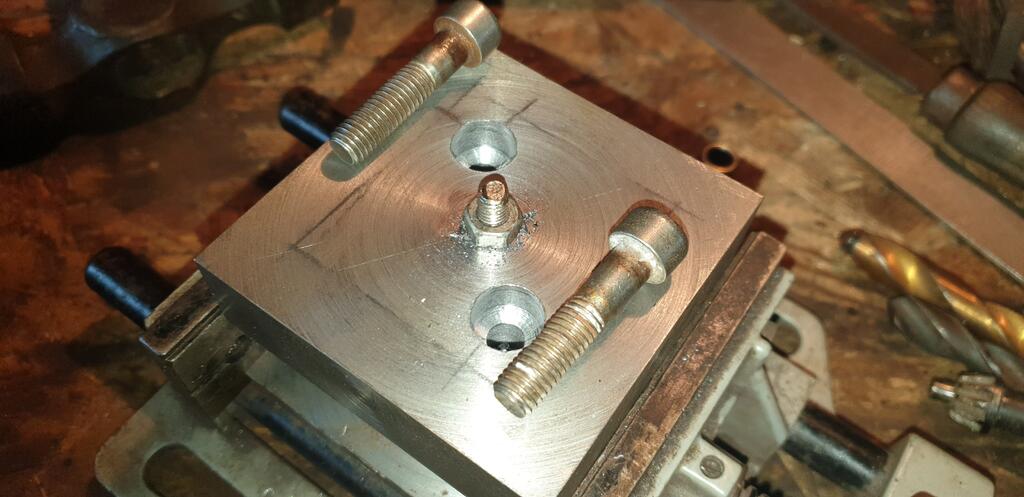
The with the aid of one of these..
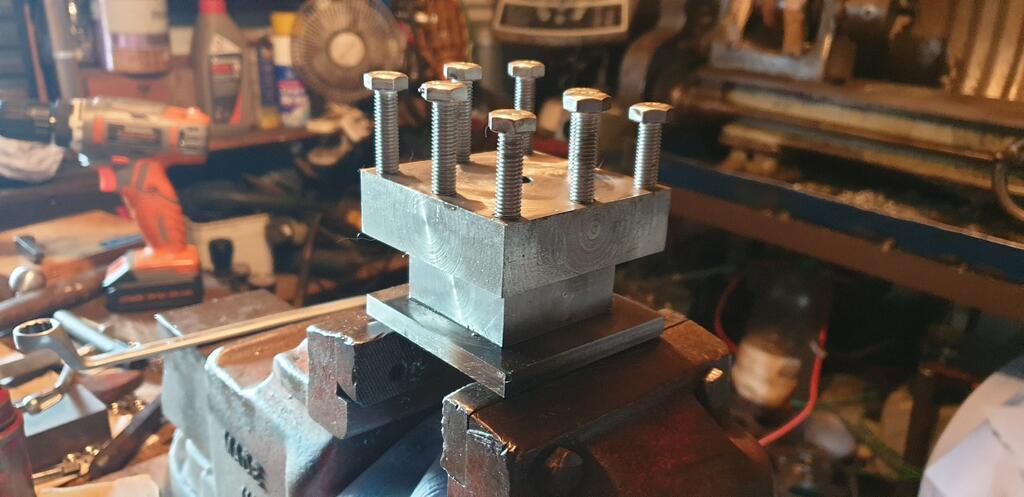
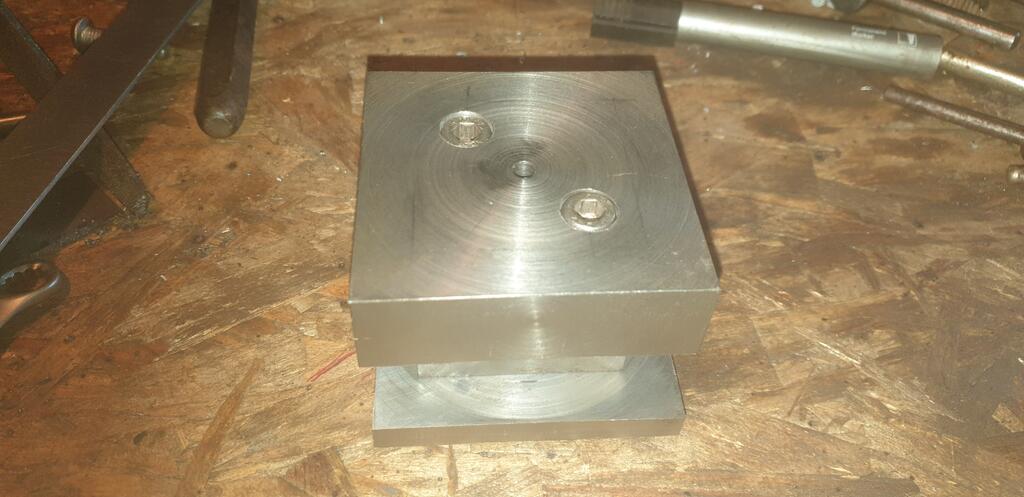
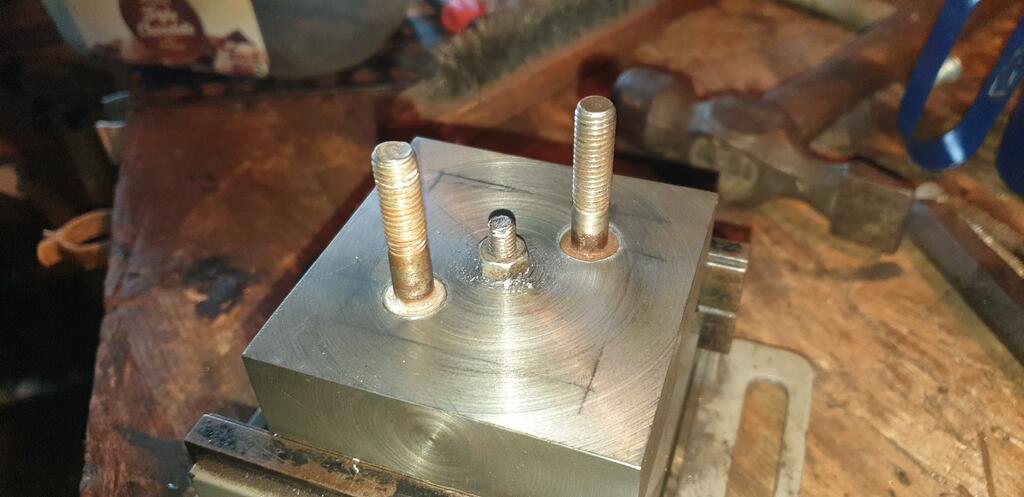
I was able to fill the holes with bolts
Me likey even more
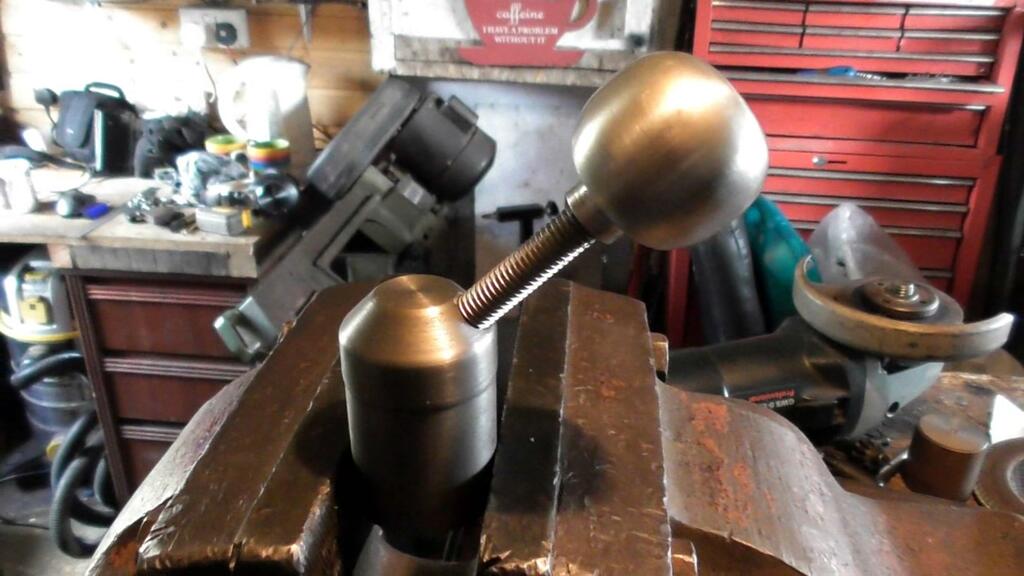
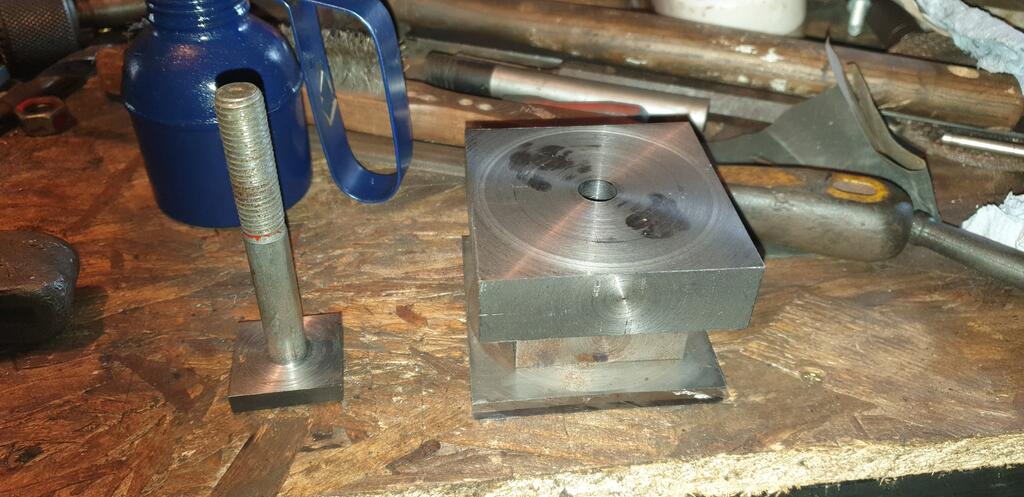
Next on the hit list was to make a handle so the holder could be clamped down tight.. Having a nut to fit the big bolt was handy, but a nut alone wasn't enough..
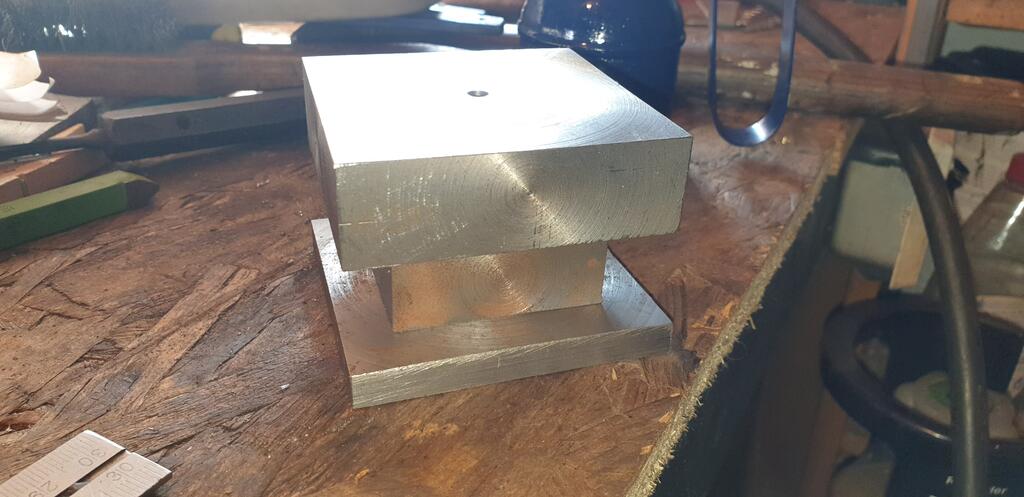
So in the lathe went a random "useful" bit of steel which was turned down and bored out..
To fit the nut most of the way in but still give plenty of gap to weld the nut on.
Hi all, sorry for the lack of posts from me in...ooooo... quite a while!
Life changed a great deal when Covid appeared and my Wife started working from home.... Spare time is something that is very very hard to come by!
That's not to say I have not been busy in my little Workshack, it's finding Workshack time and the time to post anything anywhere that's been the problem....
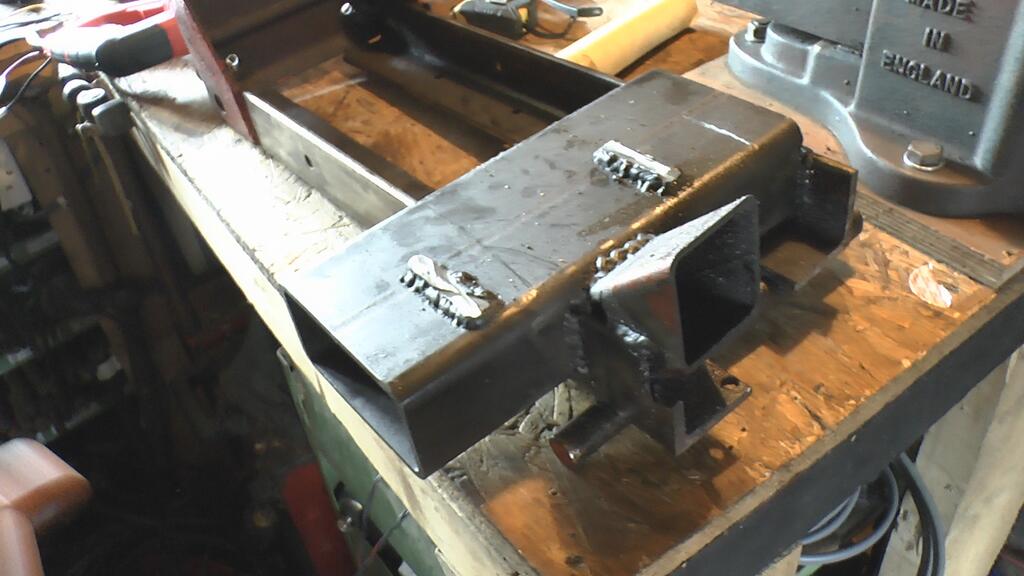
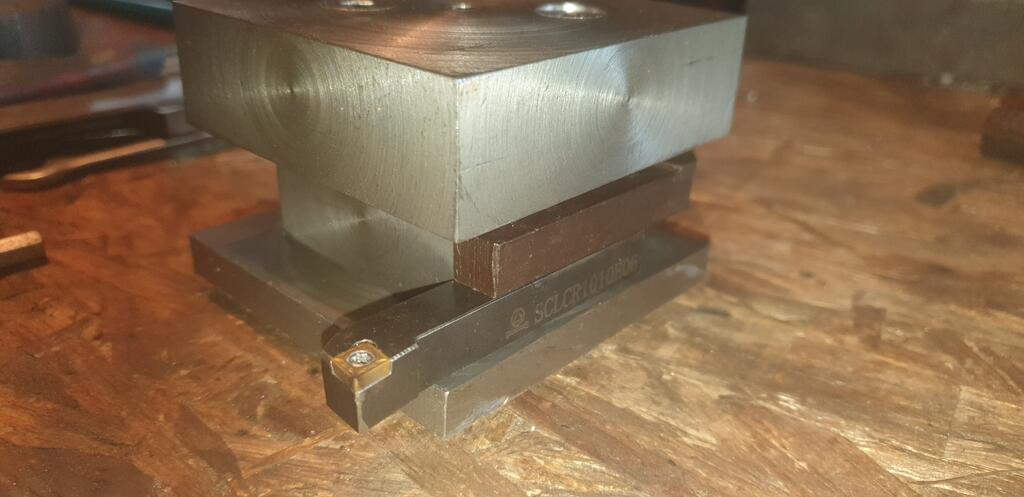
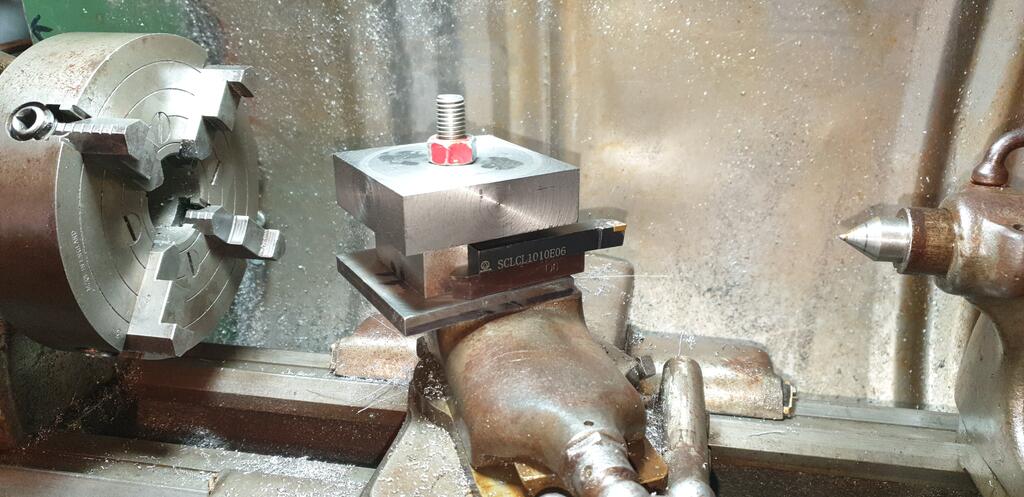
Sooooo.. With my new Workshack finally (well, almost as they are never finished) and the lathe re-power done (I will update the Re-power thread), it was time to make something that my Southbend lathe has needed in a long time.. Yep a new tool holder that can hold more than one cutting tool at a time
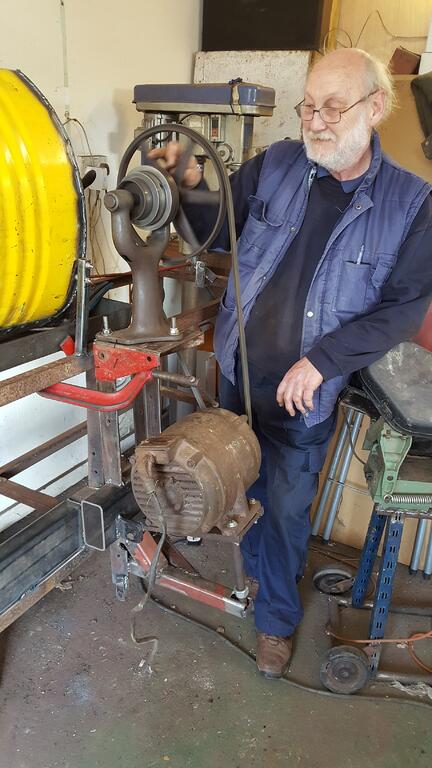
The said lathe in question..
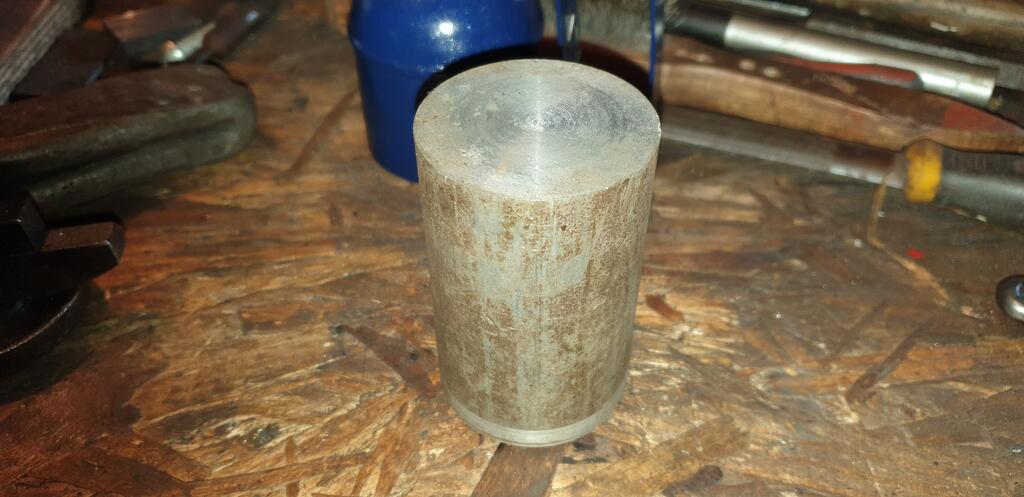
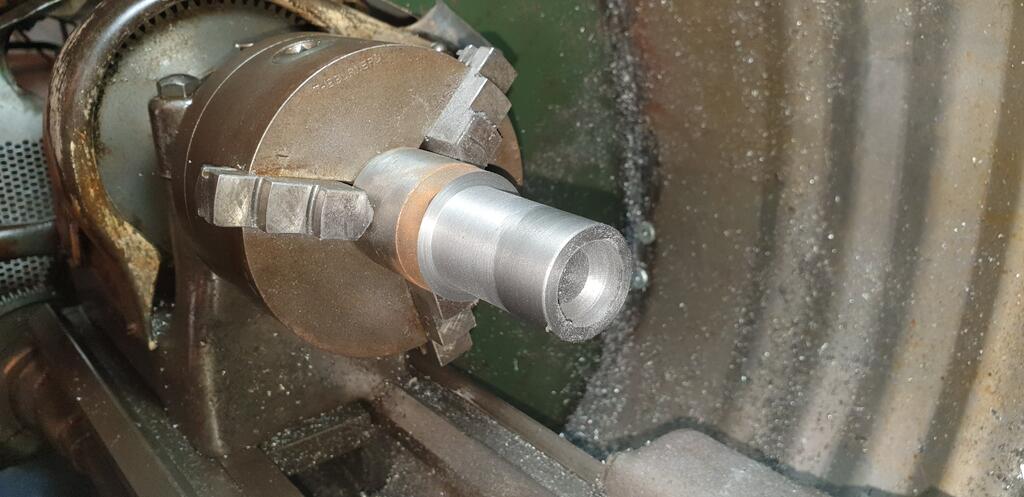
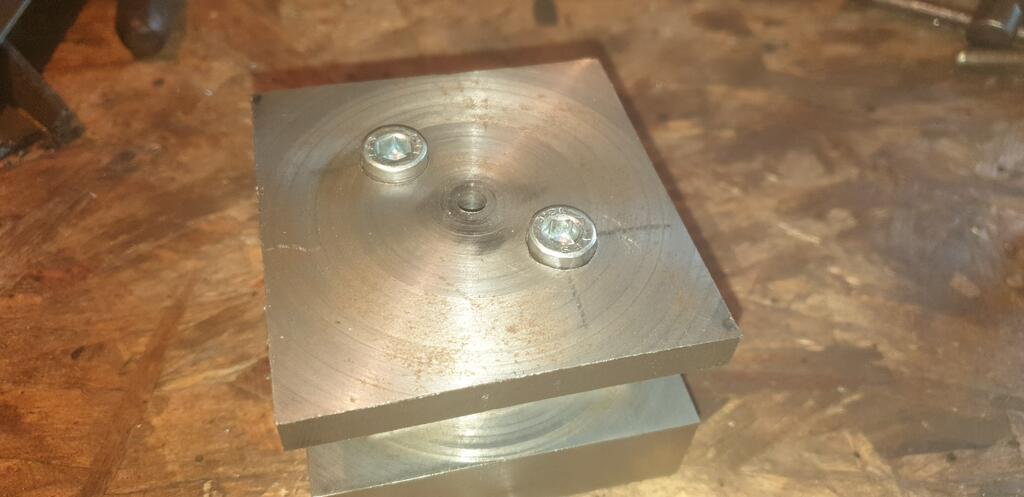
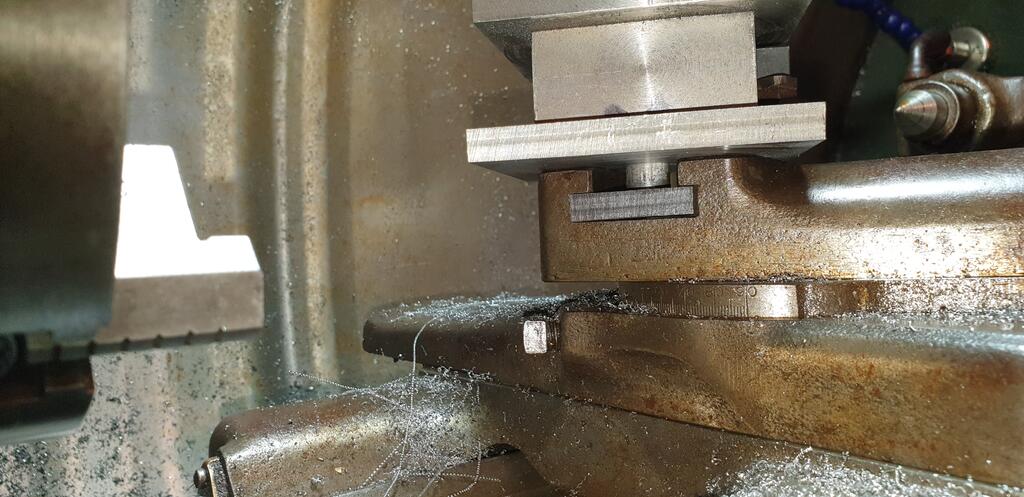
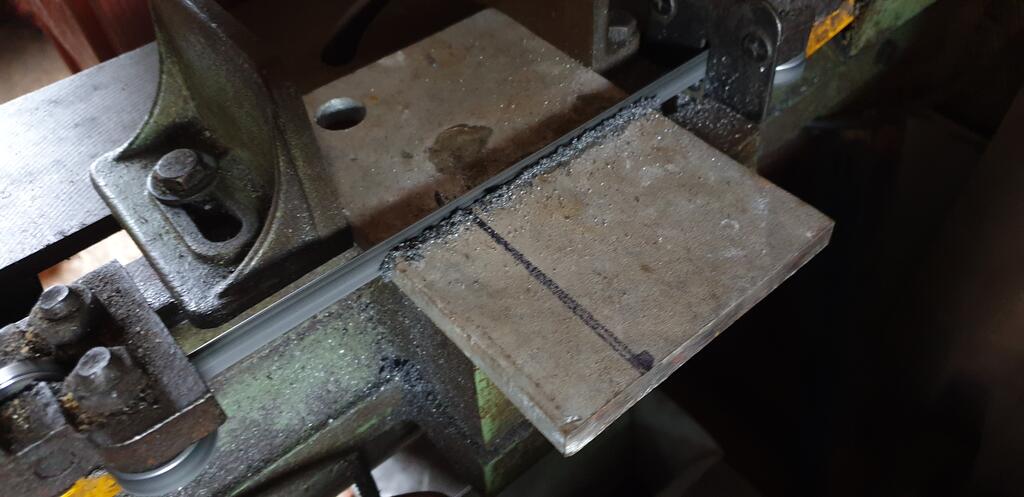
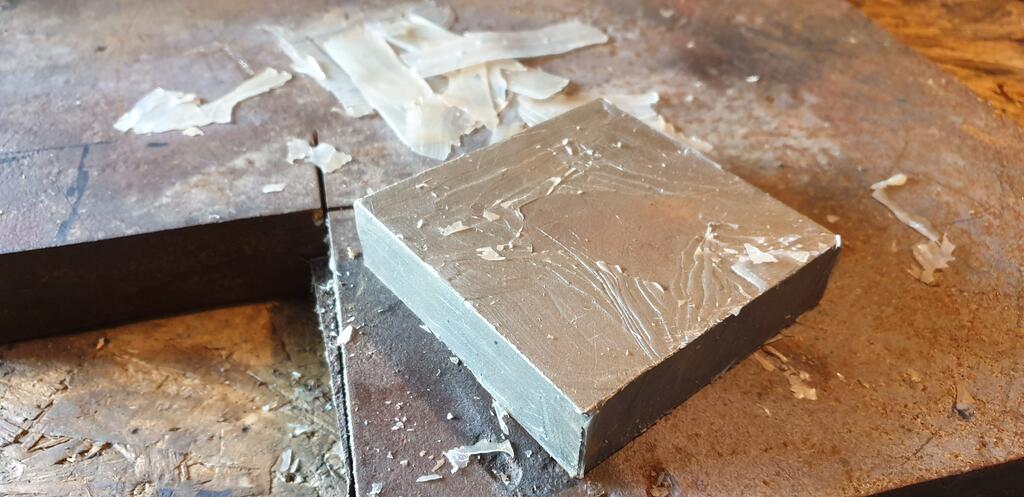
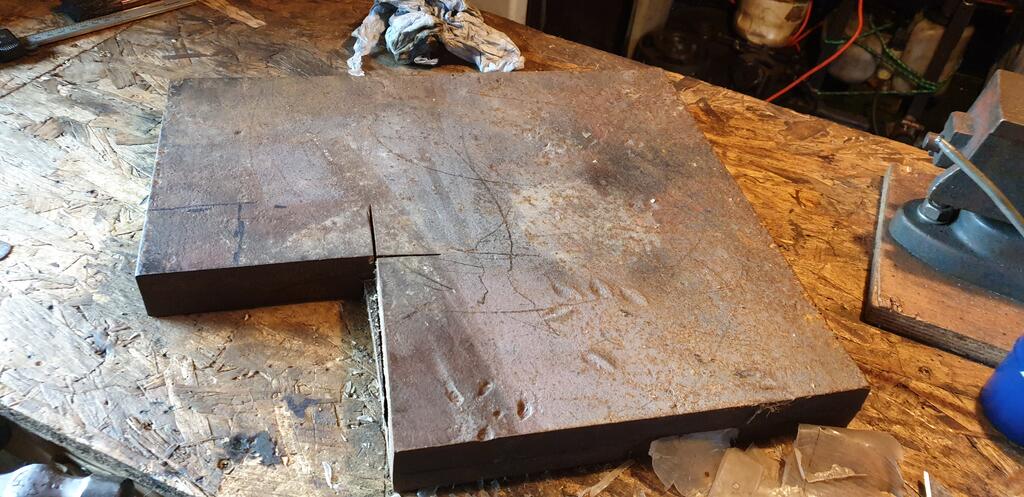
To make the TH I needed three different size lumps of steel.. Here's the base part being cut to size.
The middle part will be cut from this odd lump of steel that was coated in clear rubber, then bolted to a Volvo bulkhead! No idea what it did in the Volvo!
The third and top bit will have to be cut from this rather big slab!
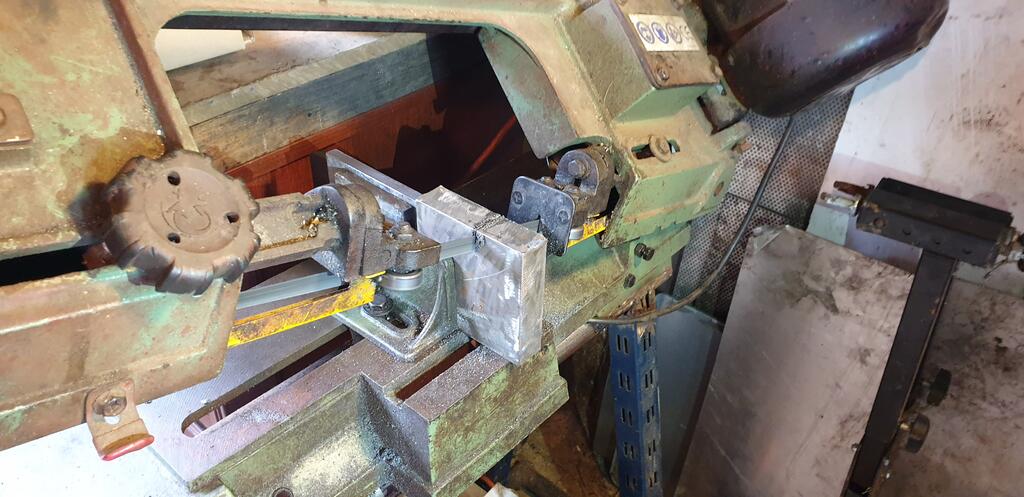
While the middle part was being cut roughly to size..
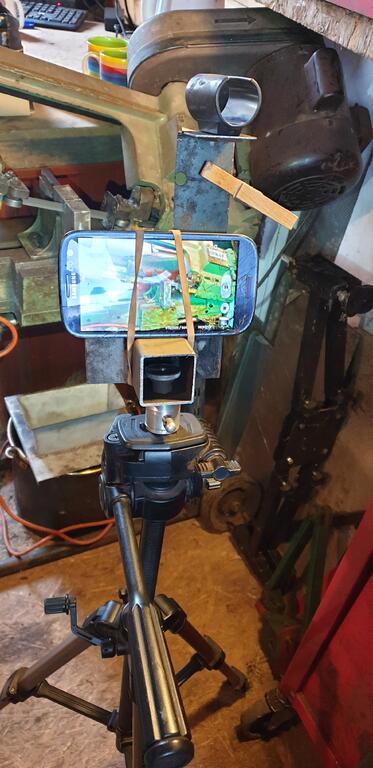
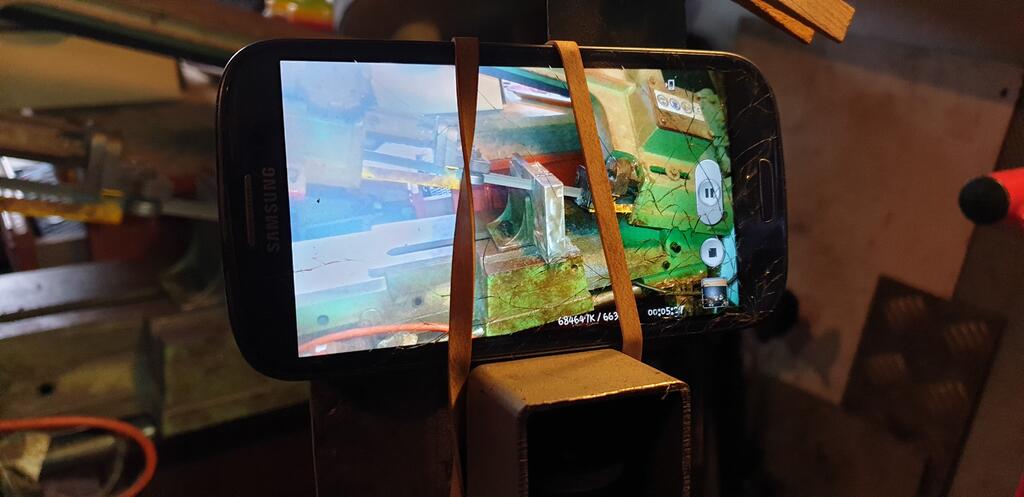
It was filmed on an old phone that was rubber banded to a tripod! My faithful video camera had snuffed it you see..
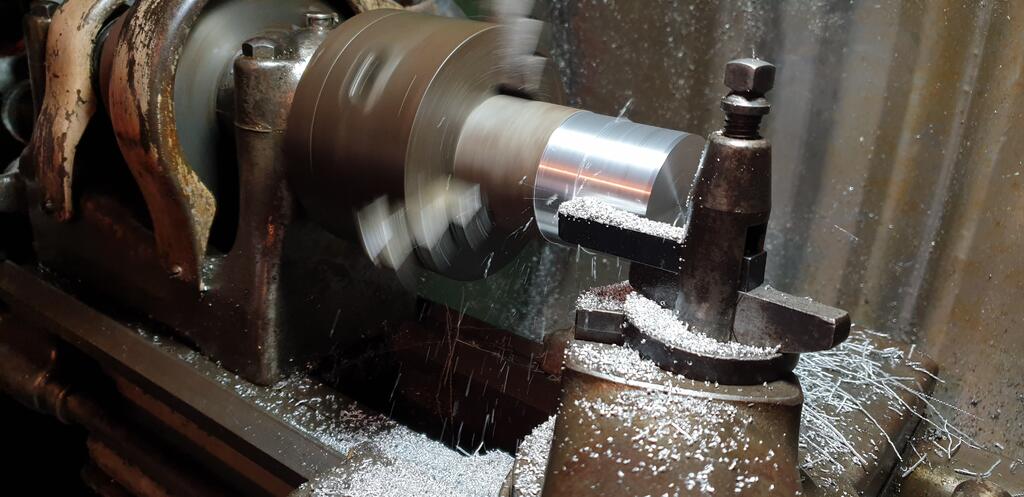
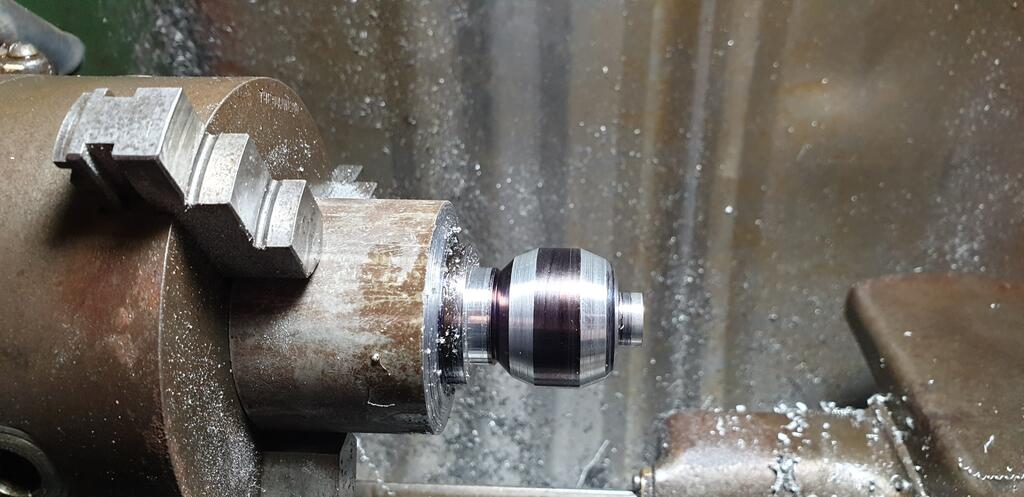
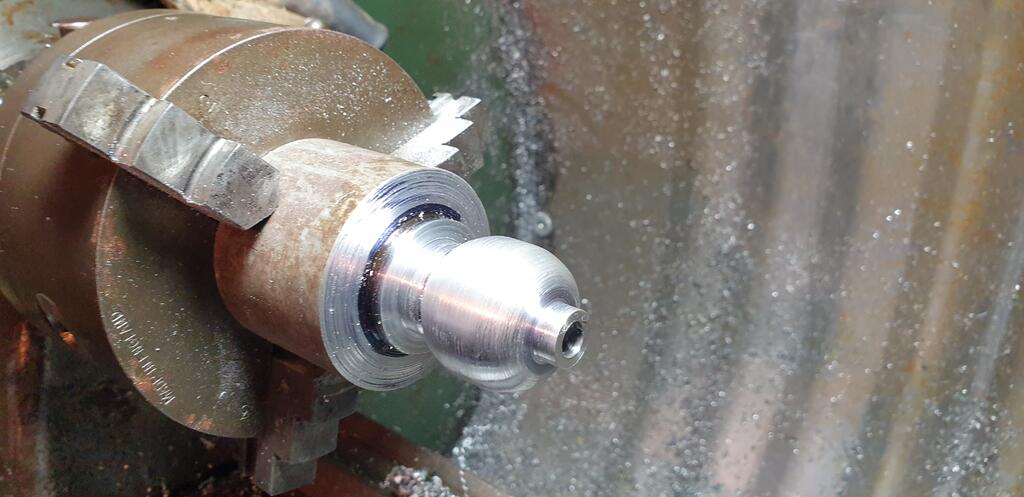
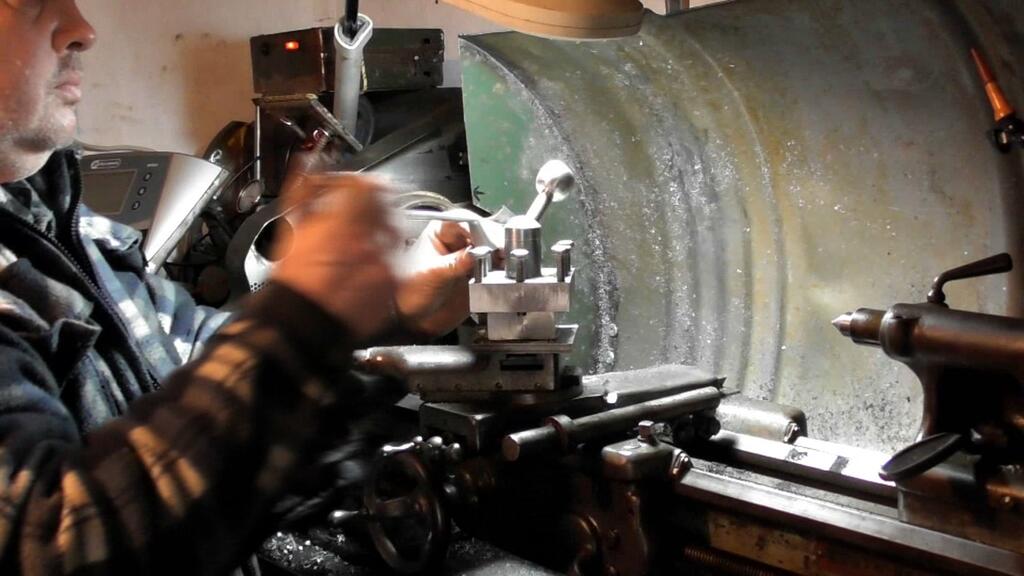
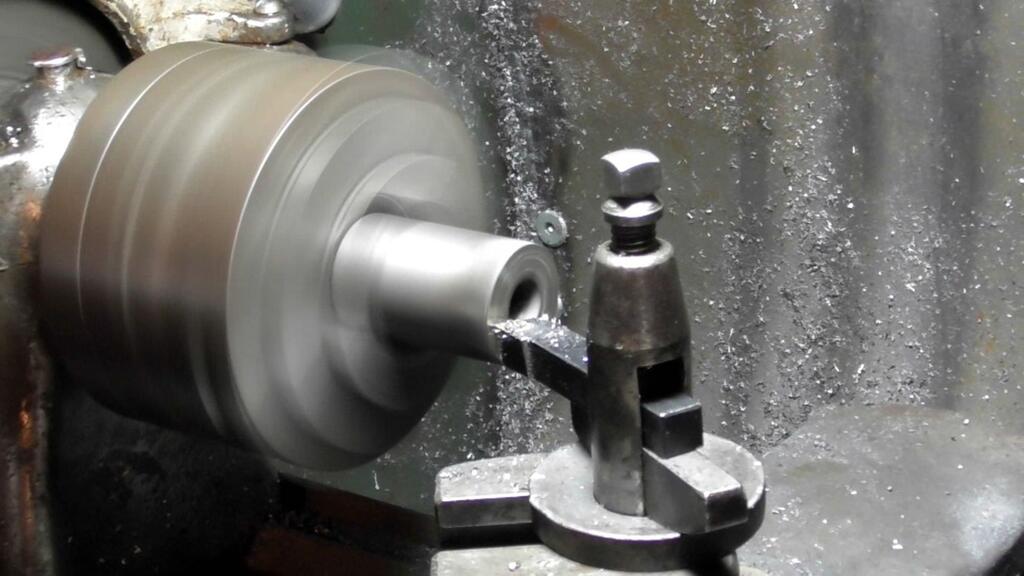
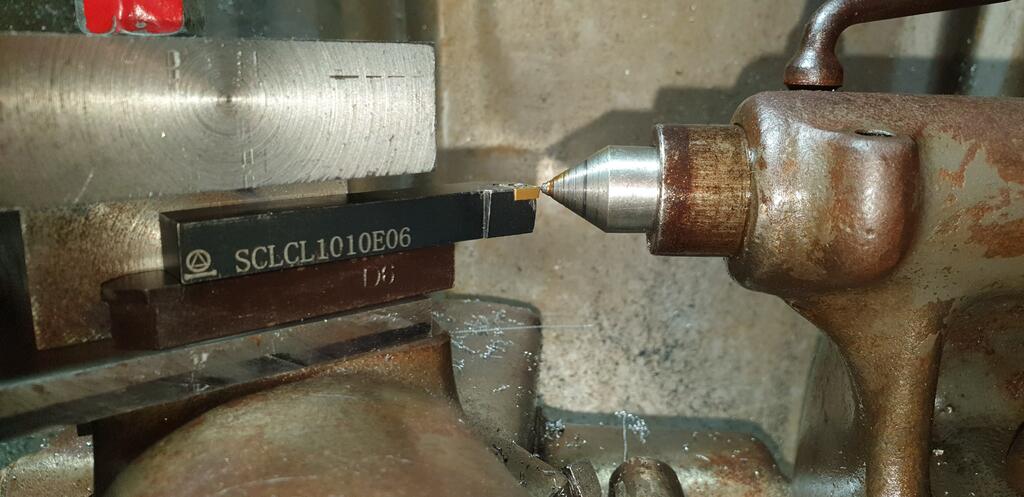
The middle part being turned to size..
As my hands are not working that well these days the Power Crossfeed thingy I build has come in very handy and saved lots of hand ache..
Coming on quite nicely, Ian. Have it all ship shape and Bristol fashion soon.
Thanks Norm, it's getting there now... I have been busy sorting the "shed" side of things at the mo, a few more hours will have it sorted then I can start doing the "final sort" of the workshack.
On 3/26/2020 at 9:51 PM, Alan said:
Looking good Ian. Worth the long wait for the update. Getting closer to the start of the new build madness.
Thanks Alan, I'm looking forward to starting a proper (made out of metal) build or two... I have plenty of ideas but a few of then have to be built in a certain order, so I can er... build the next one..
No update this time, but have the latest shack video instead
"Should have fitted some battens over the felt Ian."
Hi Norm, the problem was a mixture of two things..
1. The roof was done in a rush as at the time it was the only dry day for a few weeks!
2. Me being a cheapskate!!
Part of the felt was reused from one of the sheds, the rest of the felt was from donated rolls which had both sat around for quite a few years and were both quite thin...
More on the roof later..
Hi all, long time no update.. I hope you all keeping well and more importantly keeping safe and indoors...
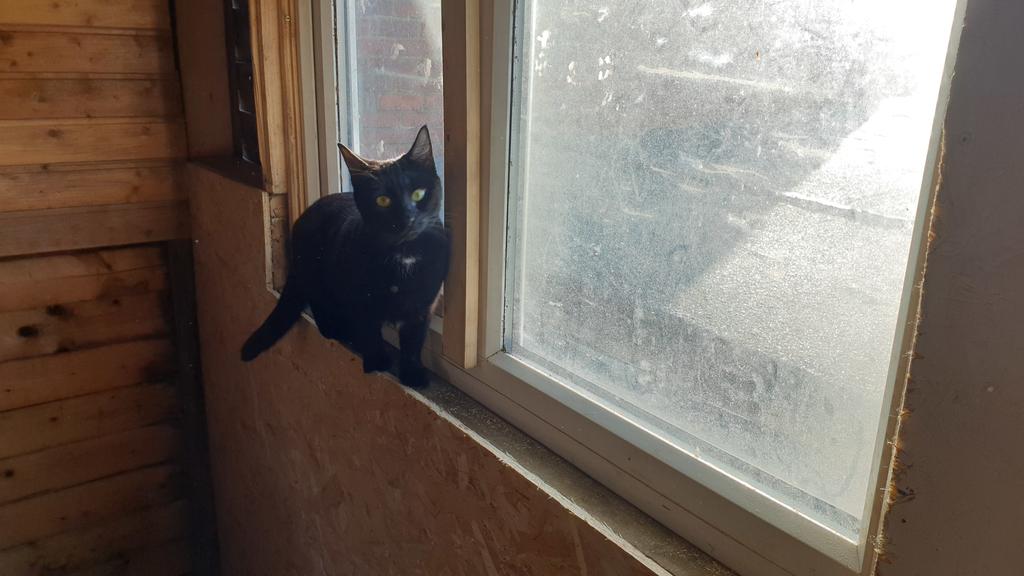
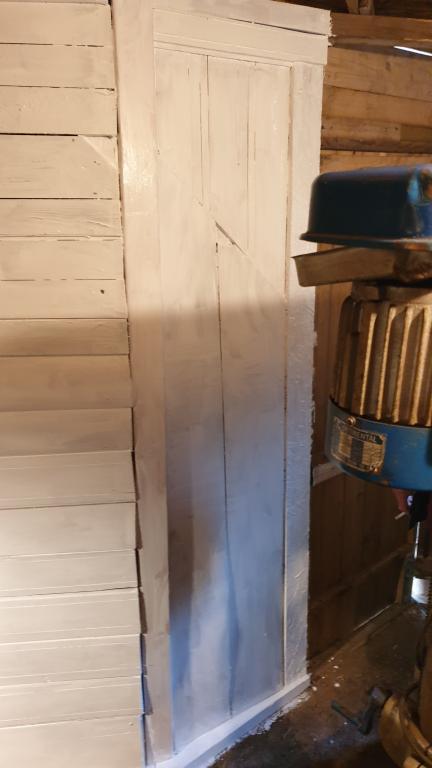
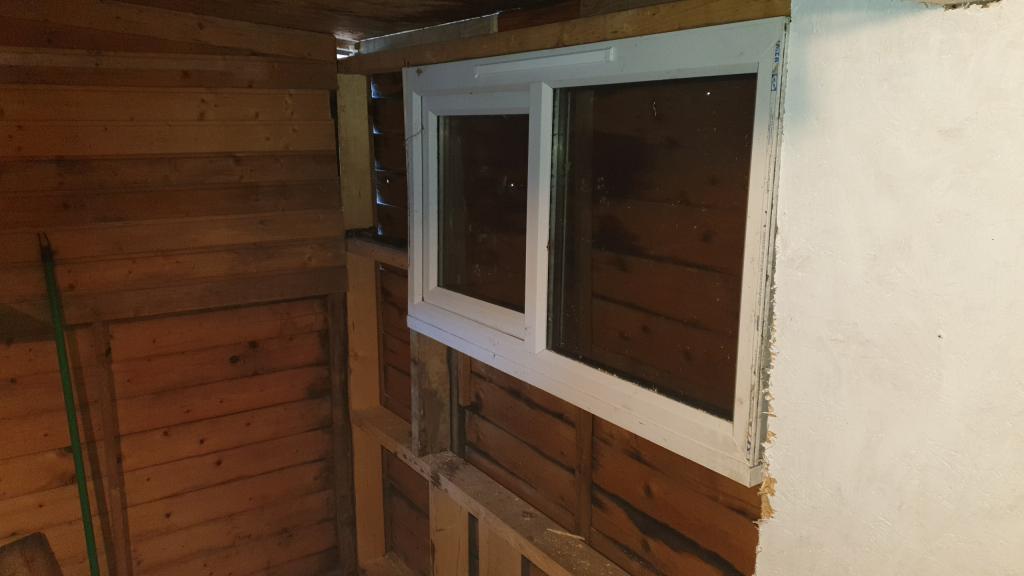
At the end of my last update I had a window with no view...
I now have a window with not much of a view, but it does left a lot of light and heat (should it be sunny) in the workshack.
Lyla seems to like the workshack and came in to check the fitment.
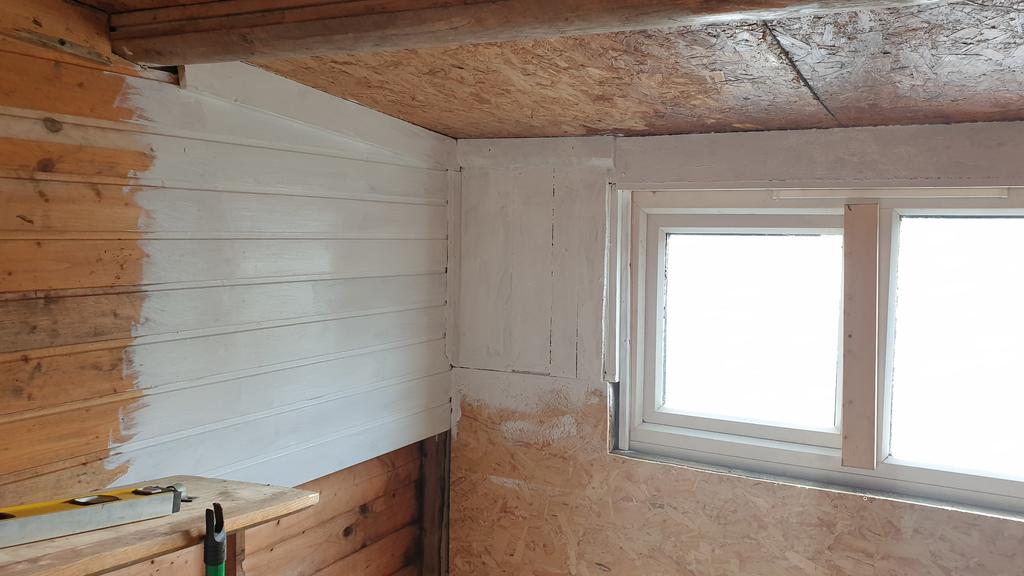
Some more panelling and painting done around the window.
With half the bench up (forgot to take any pics of that) the frame for the other half of the becnh was propped in place to have a look... Need to be a bit narrower me thinks.
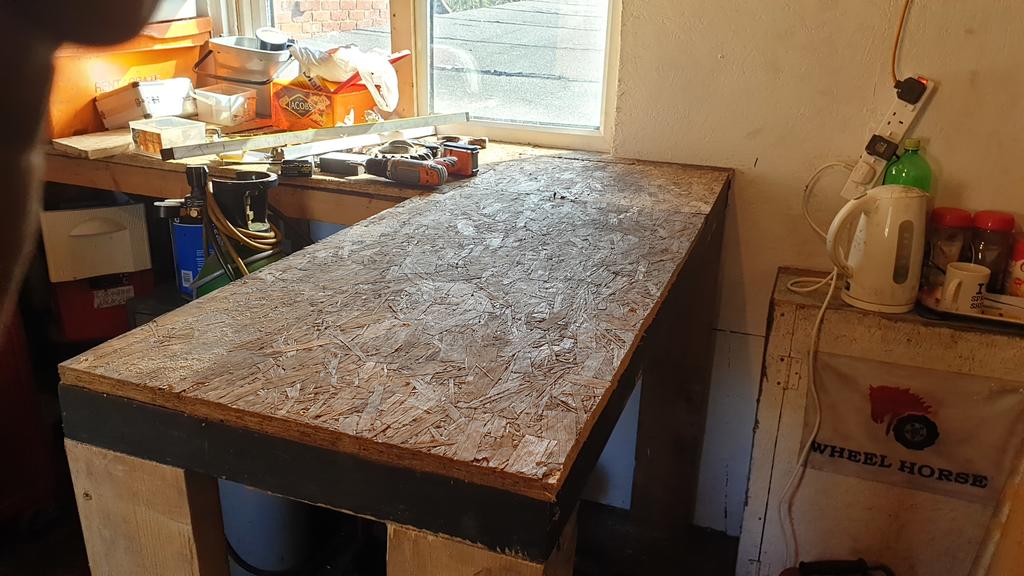
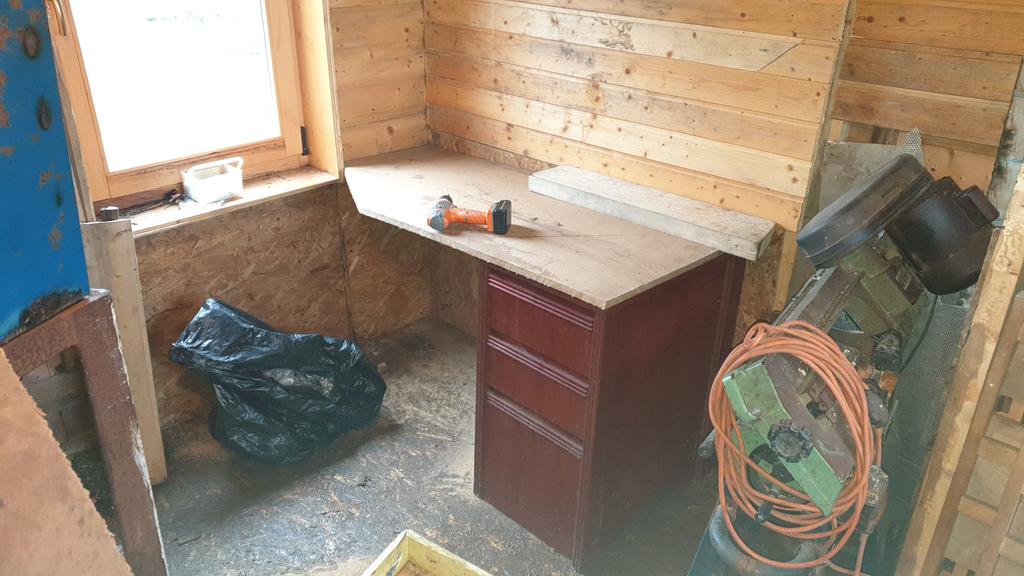
A new desk top was cut, trial fitted the promptly walked over by a wet footed Lyla!
That's better, firmly fixed in place and raised by a few inches so I could get my chair under..
And then quickly buried under the lathe and other non desky sort of stuff to make space elsewhere!
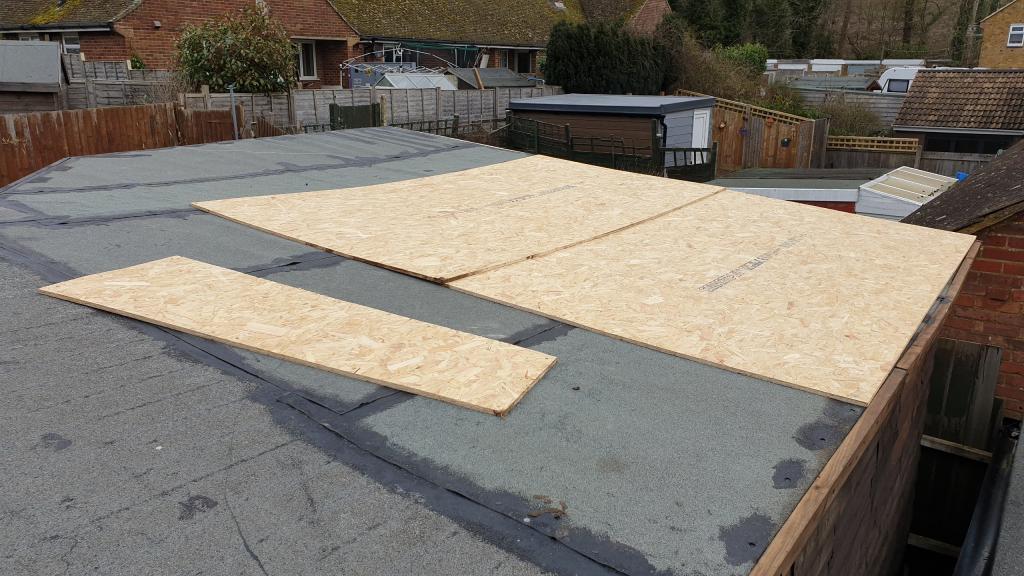
Oh... And the workshack now has a new heavy duty felted roof thats firmly tacked and glued down with no chance of any nasty wind getting under it and ripping the felt back off..
Thanks mate, it will look better once it's finished.. but i do like the mish mash of different bit's of cladding inside
On 1/14/2020 at 5:03 PM, pmackellow said:
Looking good mate
Hope its surviving in all this wind and rain !
Thanks Paul.. It did survive the wind and rain last month... as for the Sunday just gone.........
On 1/14/2020 at 6:51 PM, Alan said:
Work will slow down now that the kettle has been brought back to life.
Nah... The coffee's help warm our hands thus making them work better
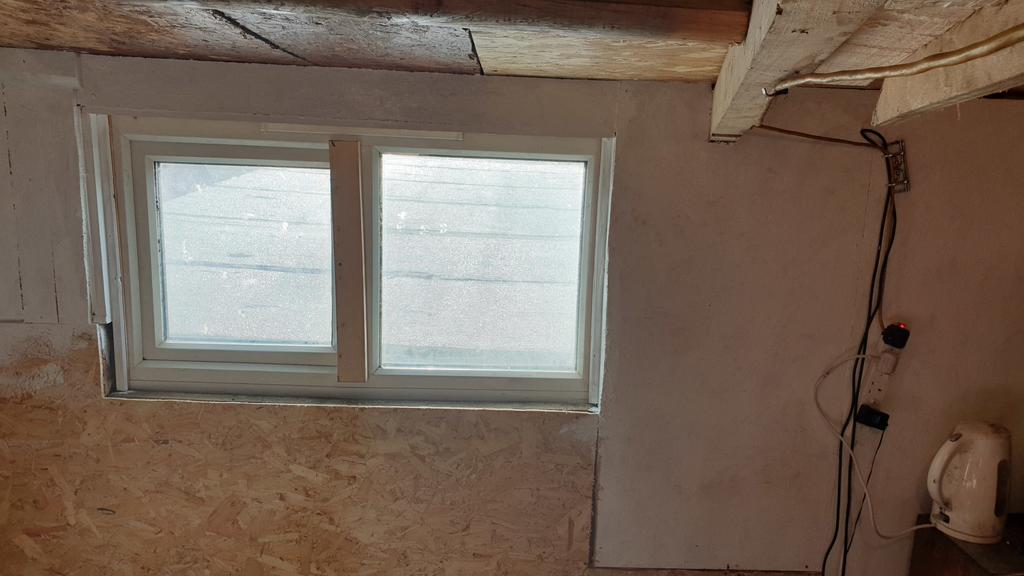
As always progress has been slow, but it's getting there and I can now see the light at the end of the tunnel...
Or should that be "light through the window" that's getting fitted tomorrow
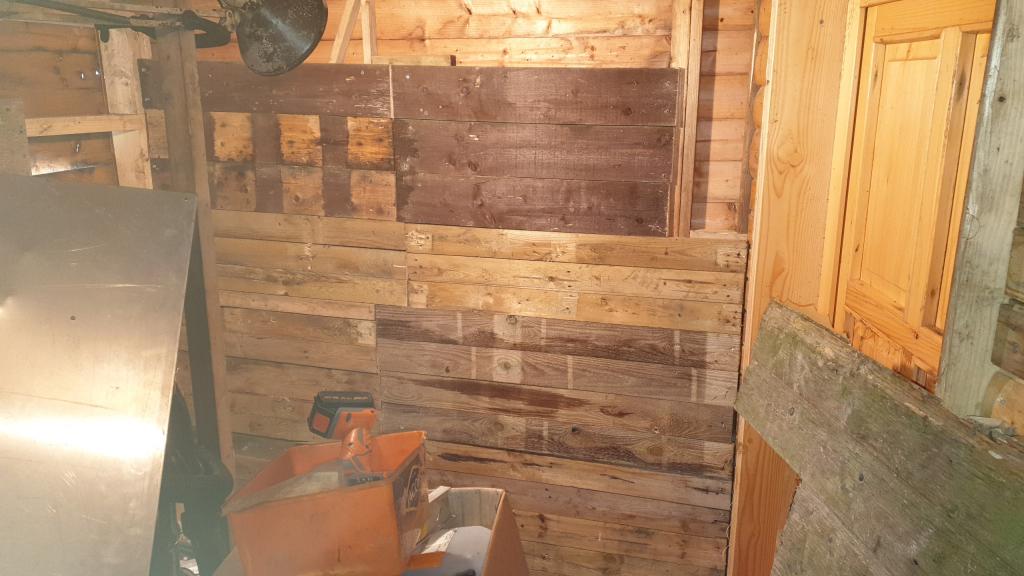
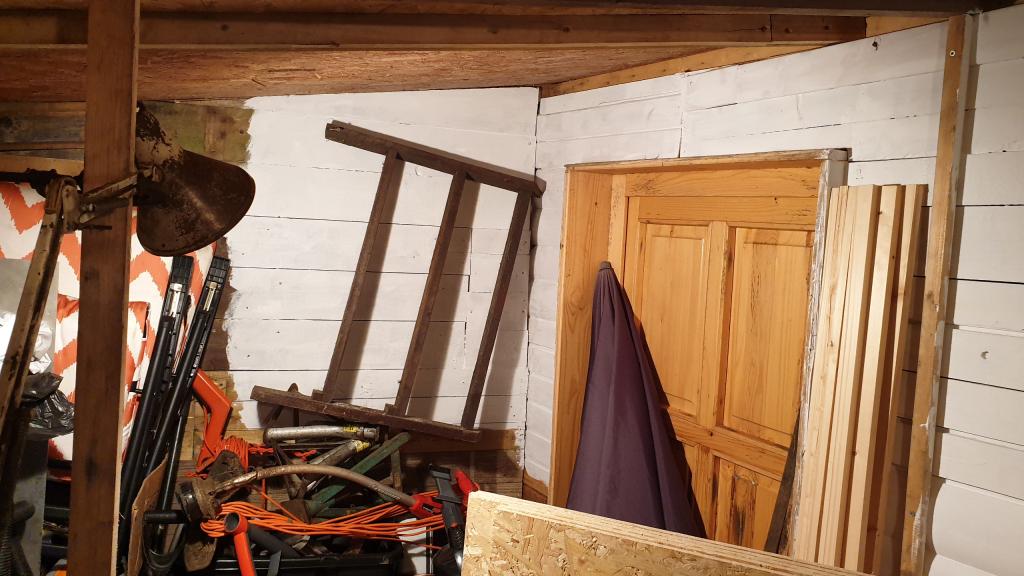
The wall in the last photo in my last update has been finished.... The curve in the wall adds character.
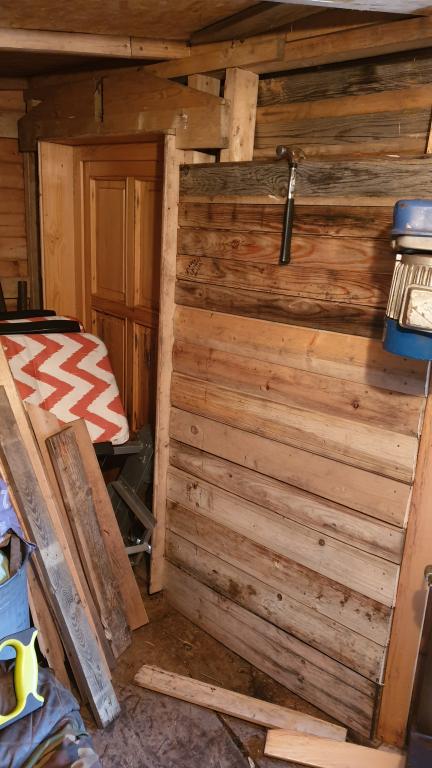
The next wall on the "To be clad" hit list was the big wall in the shed section... I think the random not matching planks look great.. The dark planks were my old garden gate! Yep, I like to recycle..
Another one of thos milestone has been reached... You know your getting somewhere when the white paint goes on
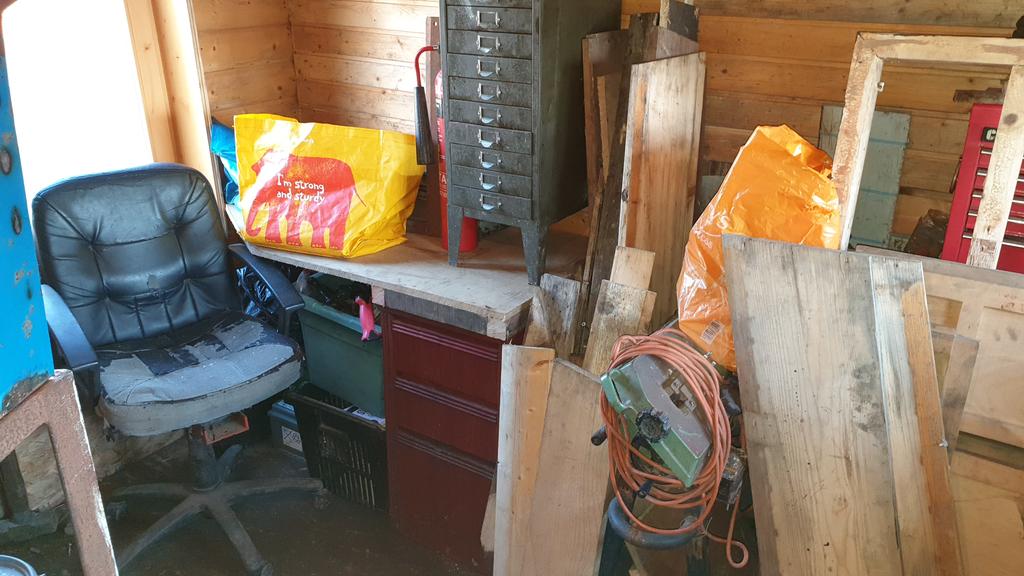
I also painted as much of the "shed end" as I could with all the bit's piled up against the wall.
The next day even more stuff got piled up on the pile as I had to clear a lot of space for....
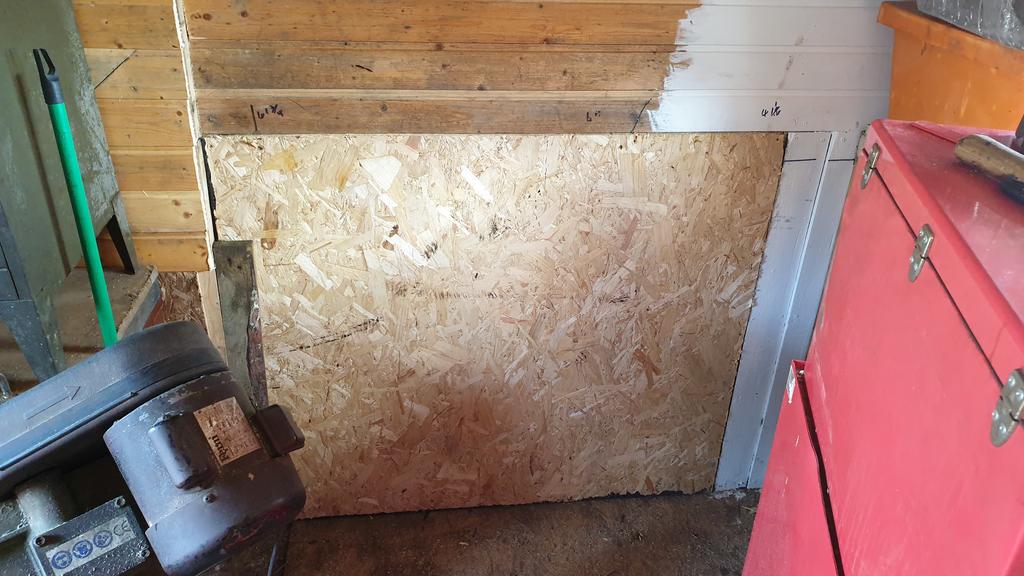
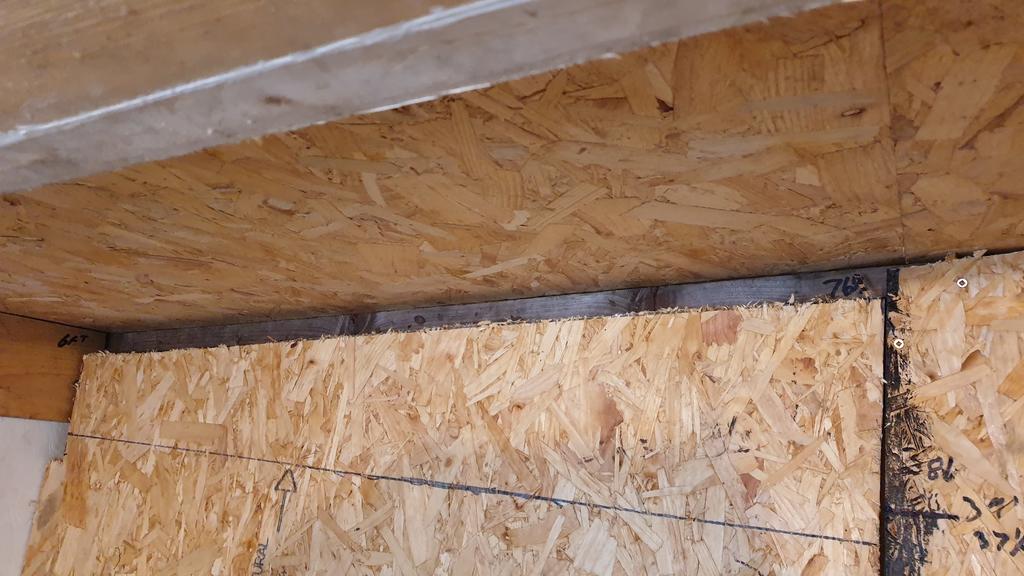
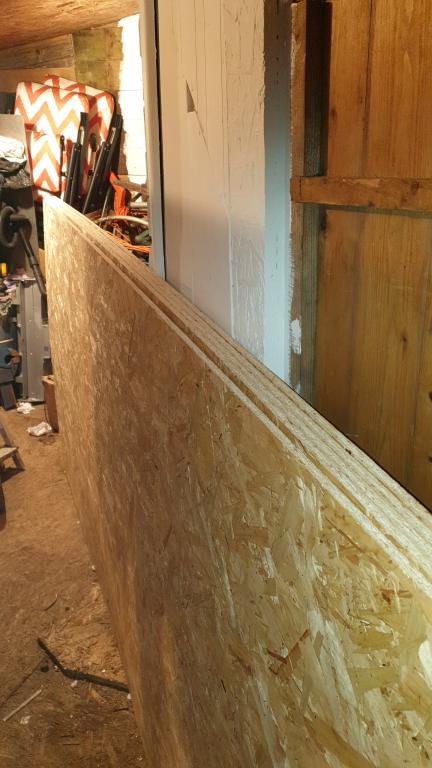
More cladding... Having finally run out of wood to recyle as cladding I got 5 8x4 sheets of OSB to finish the cladding and put the wall up between the shed and workshop....
Well, that was the plan.....
Until the strong winds removed a large part of my felt roof!!
So two (and a bit) of the sheets have been used as tempoary rather large roof tiles until I can get some heavy duty felt..... And then hope there will be a nice wind and rain free day!
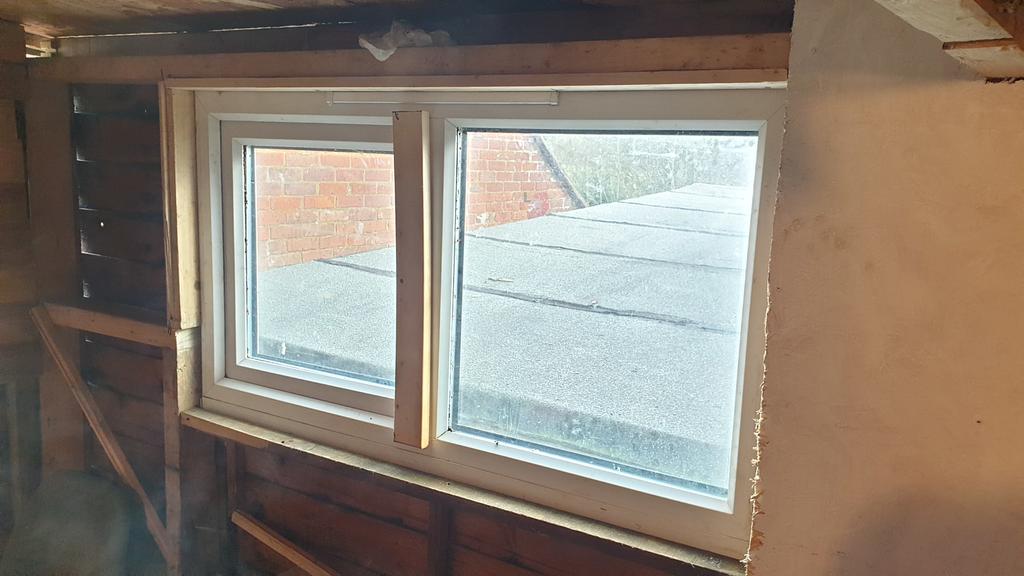
In other workshack news the bench has been taken down, the corner cleared of bit's and a frame has been built to fit the window in the back wall...
Here it is wedged in the frame to check for fit..
Ok, the view isn't great, but it will be a lot better when the wood has been removed so you can actually see out
Ok, even when the wood is removed the view is only of a couple of garage roofs.... But the light and heat that it will create in the shack will make it more than worth it
And that is the build up to date, but for those of you who need a video fix... here it is.... Enjoy..
Odd! I've just plugged a second keyboard in and now the enter button on both keyboards is working!
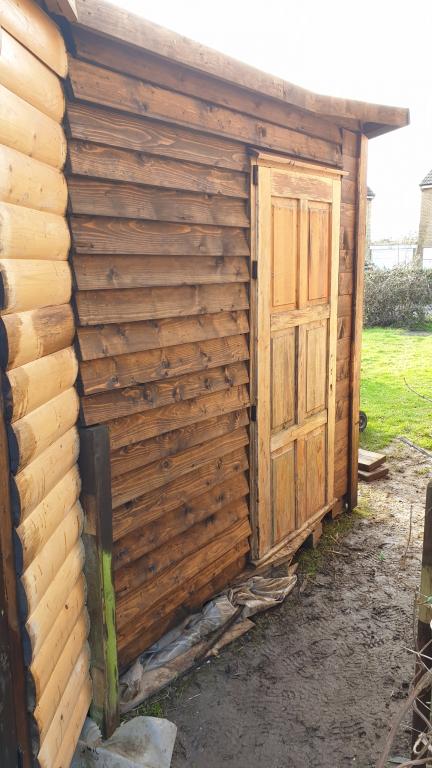
While the weather was dry I gave some more of the outside woodwork a slap over with some wood preservative..
Unfortunatly the log cabin effect bits have had a coat or two of varnish so I will have to wait for another nice dry day and sand it all off before slapping the brown stuff on!
A bit more cladding was done inside yesterday using what ever boards we could find.. I quite like the mish mash of different planks
I should have enough planks to board up over the door and down the other side..
But that's for another day as all yesterdays sawing has knackered my right shoulder!!


")


")


Murex Tradesmig 165 Welder
in For sale
Posted
Hi all, it's been a while!!
Well..... Due to health issues, that time in life has unfortunately come when I can no long do any more builds in the workshop.. Sooooo
The time has come to sell a few bits, the 2nd thing on the sell list is my Murex Tradesmig 165 Welder.
It has done me very proud over the years and works very well..
I'm not sure if I did much/or any thin metal welding with it, but it's great with the heavy duty stuff..
If you have any questions please ask away.
£400 ono
Collection from Hawkhurst, Kent.
Sorry for the "not great" photo's.. It a bit dark under the bench but under the bench is the only space I have to put it!