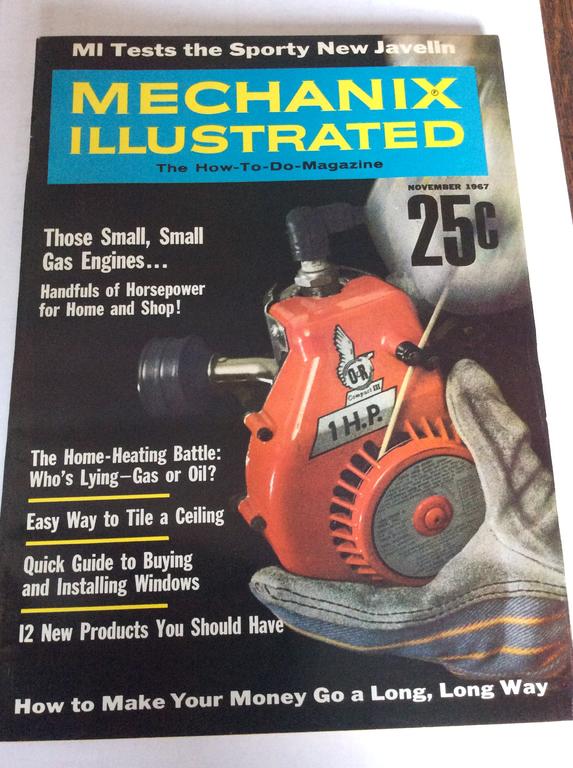
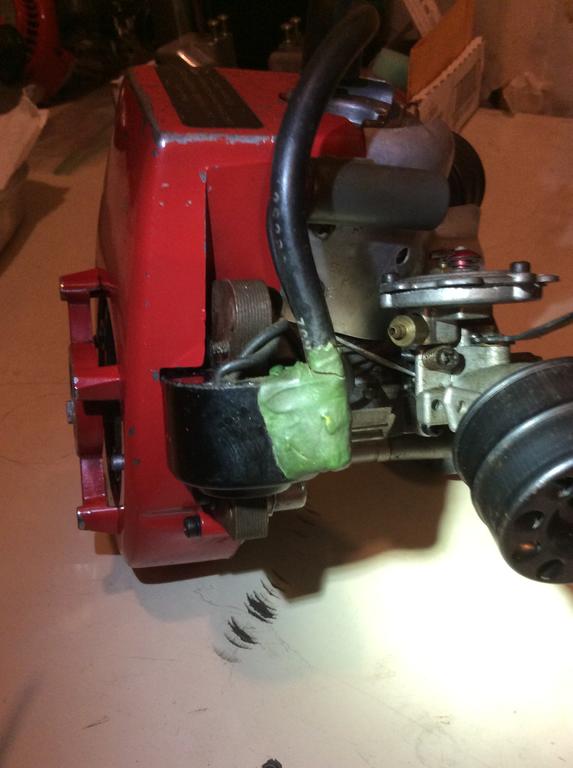
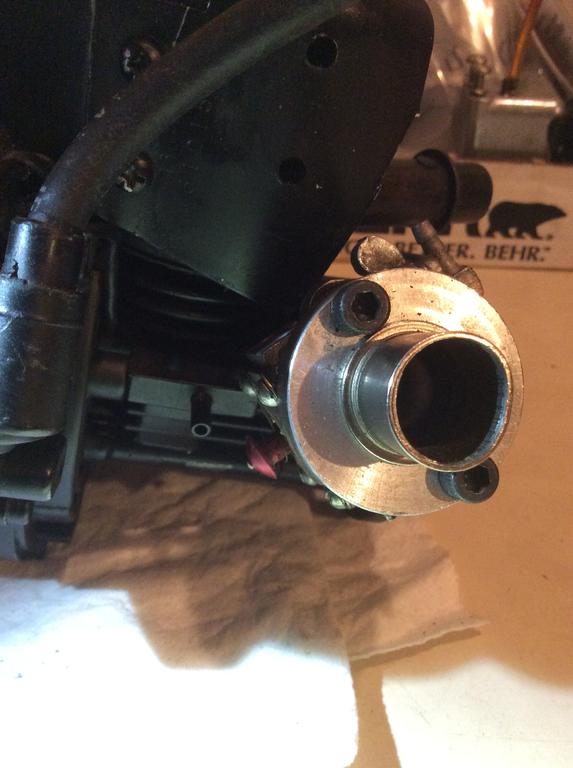
Started cleaning up a Mustang 149 chainsaw this afternoon and noticed it doesn’t have any sort of air cleaner. The engine is a Type 236. The intake end of the carburetor does not have a little bar inside the throat or a hole drilled through the edge to use the standard screw hook and air cleaner assemblies common to these engines. Anyone have a guess at what kind of air cleaner would have been used on this saw? And if you know, does anyone have an extra they would like to sell?
Thank you for all the great suggestions. I’ll have to play with the coil and points a small you suggest with the multimeter. I think I’m understanding how you’re recommending testing it. It would definitely be nice to be able to determine if the points are working.
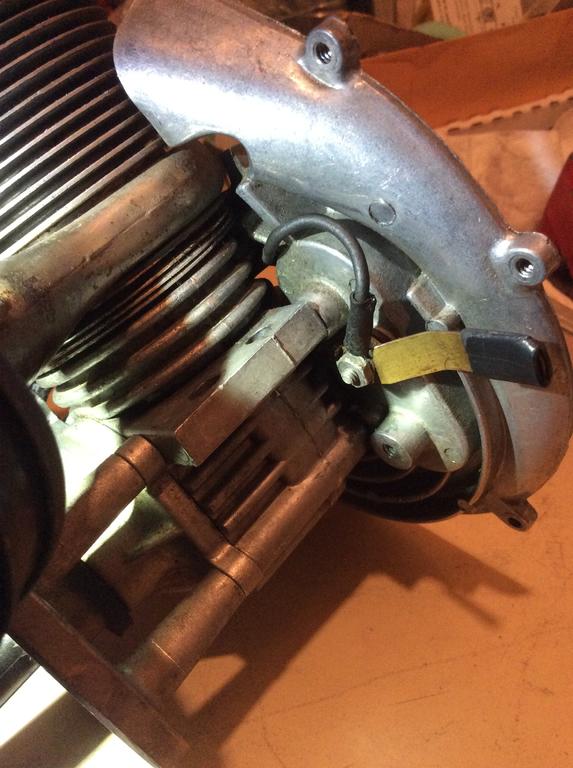
I can confirm that I attached the condenser to the engine. I tried two ways: 1) screwing it to the body of the engine in a threaded hole right next to the kill switch (my Groomer engine has the condenser mounted in this location as well) and 2) putting all the covers back on and screwing the condenser back where it belongs/was originally attached up near the head in the same area as the coil.
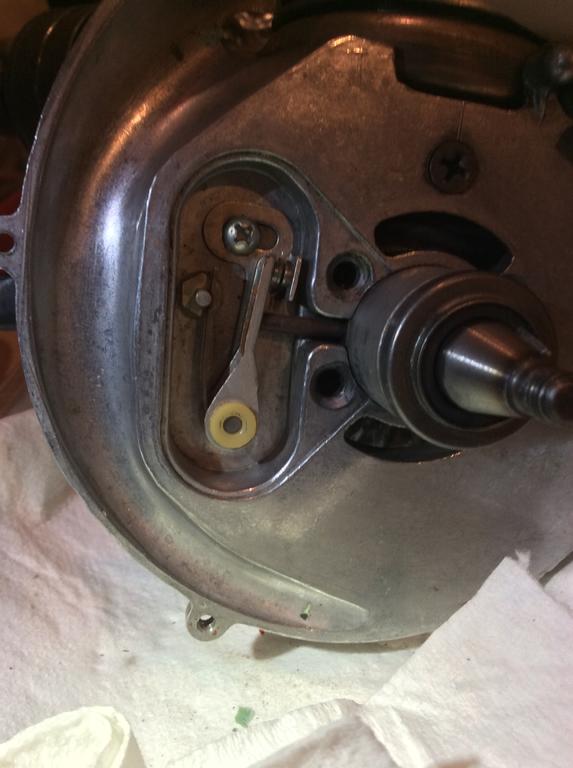
Thank you you for the photo of all the bits as well. I can also confirm that all the pieces and insulators are in good shape and assembled correctly. Turn the engine I can see the points opening and closing so I believe the little push rod is working correctly.
I really appreciate you sharing all the great suggestions and help in sleuthing this one out!
Well, I tore it all apart again and gave every single piece a thorough cleaning, polishing, degreasing, etc. - not sure it could be any cleaner. I also cleaned every connector, contact post, screws, nuts, etc. put it all back together and readjusted the points gap and the coil gap and unfortunately still no 🔥. I’m starting to wonder if the points are defective. I resurfaced them again as well and really made sure they were clean and flat. I may try adding the new condenser again but I’m not too hopeful since it didnt seem to help the last time I attempted it. I tried a new spark plug too.
Sorry about the poor photoquality; I noticed that as well after I uploaded it. I verified that the lever is not touchingly the case, there is about 1/8” gap. The 2nd wire is also there but hidden by the shadow.
Here is a photo of the points. I checked the gap again and I’d say it is between 0.018-0.020. Should I fiddle with it more to try to get more consistent 0.020?
My mistake, I accidentally swapped the values between Primary and Secondary. They should be as you suggest. I do have the flywheel key in place so that shouldn’t be good for correct positioning. I also tried a brand new condenser and still no luck.
Webhead,
I’ll pull it all back apart and take a photo of the points. When I removed them for cleaning I only took out the springy piece with the copper metal which gave me access to both sides of the points without taking out the entire assembly. I was intentionally trying to avoid unnecessary adjustment.
I just took some measurements and here’s what I’m getting:
Primary: 7.5-8 k ohms
Secondary: 6-12 ohms. I has some trouble getting a decent reading on the secondary depending on where I touched the leads. I grabbed a second meter and repeatedly got nothing or at best 0.1-0.2 ohms. Both meters gave me the same result on the Primary.
Thank you for providing the specs, this is very helpful. I checked the points again and they look to be gapped at 0.020 and I also verified the 0.010 clearance between the coil and flywheel. I’ll play around with my multimeter next and see what kind of numbers I get on the coil.
I’m trying to get a 13B engine ready to run and I’m not able to get spark. I cleaned the points really well and sanded the gently with 400 grit sand paper. I’m wondering if the condenser or maybe even the coil is bad. What should the numbers be if I use a volt meter to test? And, is there a recommended procedure to get the proper measurements?
As a side note, the coil does appear to have been repaired at some point in the past with some sort of epoxy putty applied to the side where the high tension lead goes into the coil. I have not tried to remove this yet and would like to test the coil somehow before going any further.
I hope you had a great Christmas. You’re an absolute genious on these engines. I really appreciate the insight and knowing the rarity of this one I will not use it as a parts engine. I would like to get it running and make it a stand-alone working display engine. For grins and giggles I just ordered a repair kit for the Tillotson. However, I’m hoping to work something out with Webhead on getting another HU38A carb that is in better operating condition.
You mention an incorrect starter being fitted, can you provide some additional clarity on this detail? Is the engine I have missing some critical starter parts needed to get it running? Best I can tell the engine seems to have decent compression and spark so I’m hopeful.
I did notice that the little pole where the kill switch, condenser and points usually attach does look to be missing something. There is an open blade/tab that looks like a standard female wire connector. I’m guessing this use to be connected to an on/off switch or something but that’s just a guess.
Looking for just about anything Ohlsson & Rice including: complete or partial Engines, use or NOS parts, tools that were built with these engines, manuals, parts list, advertisements, etc.
I’m about to dig into this O&R The Groomer and wanted to see if anyone knows how the fuel lines should be hooked up. There is an interesting little inlet nipple machined into the side of the engine where the mounting screws are located. Best I can tell this looks like an attachment point for a fuel line or vent hose of some sort. The little Tillotson carburetor has 2 fuel line elbows. I’m assuming one attaches to the fuel line coming from the tank but where would the other one attach to or is it supposed to attach to the little nipple on the side of the engine?
I’ve been looking on the UNI site and I think I’m now understanding that they are recommending just applying their special oil, to a mixture, to the foam filter. Sounds like it’s some sort of fairly thick and sticky oil that you massage into the foam- I’m guessing to help catch the dust. Then they suggest cleaning with their cleaner of course.
Thanks,
Clint
ps: I was able to find the Stihl HP oil (orange container) and some high quality fuel in a can that is distributed/sold by Toro (I think it is 92 octane). This should eliminate the potential of harmful additives and ethanol that is common in the standard service station gas around here.
Sorry, I mean to say “oil only, not a mixture” in my last post on oiling the filter.
Believe it or not I was actually on that exact eBay listing when your message came through. After looking at this one a bit closer I think I prefer the earlier style O&R engines best but I may keep an eye on this listing and see if it grows on me.
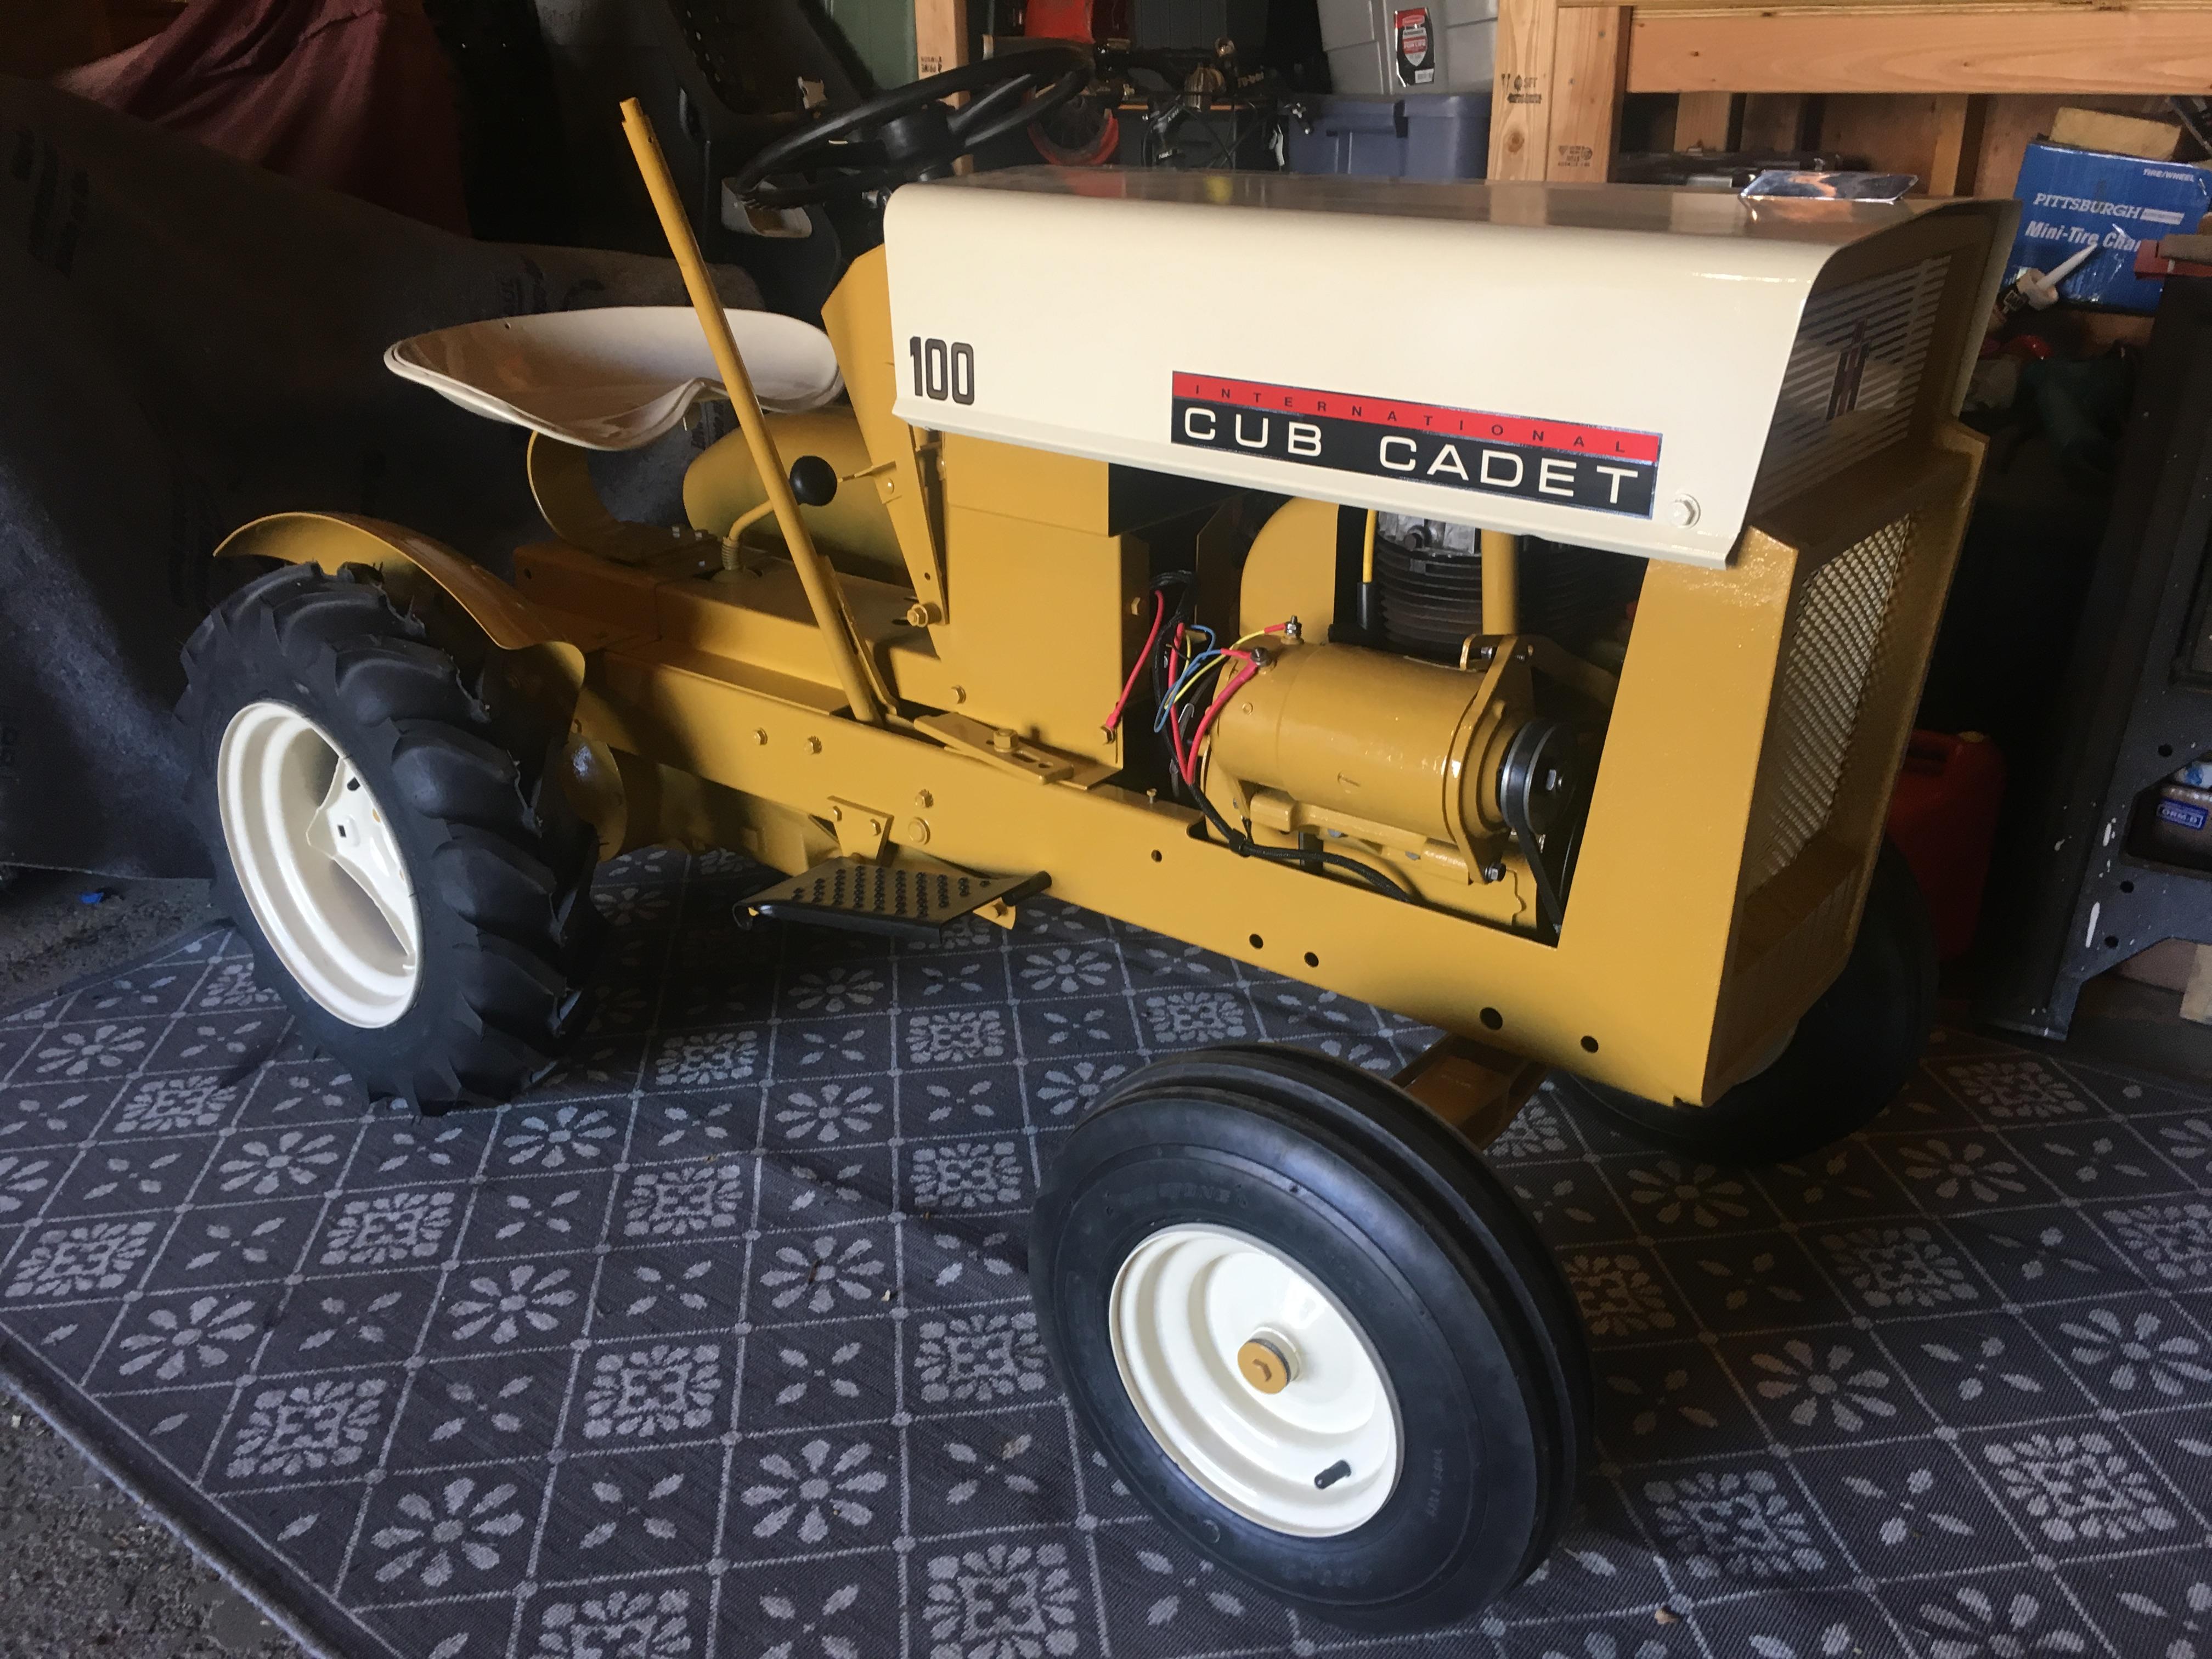
I think I’m going to be able to get my hands on a Mustang 149, hopefully it’ll be in decent condition. I also picked up an engine from one of those The Groomer trimmers but it’ll probably be best as a parts engine. It has the odd-ball Tillotson HU38A carb as well.
Amazing! This is incredibly helpful. I’m hoping to get my hands on a Mustang 149 and I don’t know the condition of the clutch and may have a line on these two parts.


Ohlsson & Rice: Mustang 149 Chainsaw - No Air Filter?
in Ohlsson and Rice
Posted
Started cleaning up a Mustang 149 chainsaw this afternoon and noticed it doesn’t have any sort of air cleaner. The engine is a Type 236. The intake end of the carburetor does not have a little bar inside the throat or a hole drilled through the edge to use the standard screw hook and air cleaner assemblies common to these engines. Anyone have a guess at what kind of air cleaner would have been used on this saw? And if you know, does anyone have an extra they would like to sell?
Thsnks,
Clint