I wonder how well that one model survived having the grip handle mounted to the gas tank. Those gas tanks are pretty thin and flimsy, seems they would have been crushed with the weight of the saw being jerked around by that handle/knob. It’s super cool looking though!
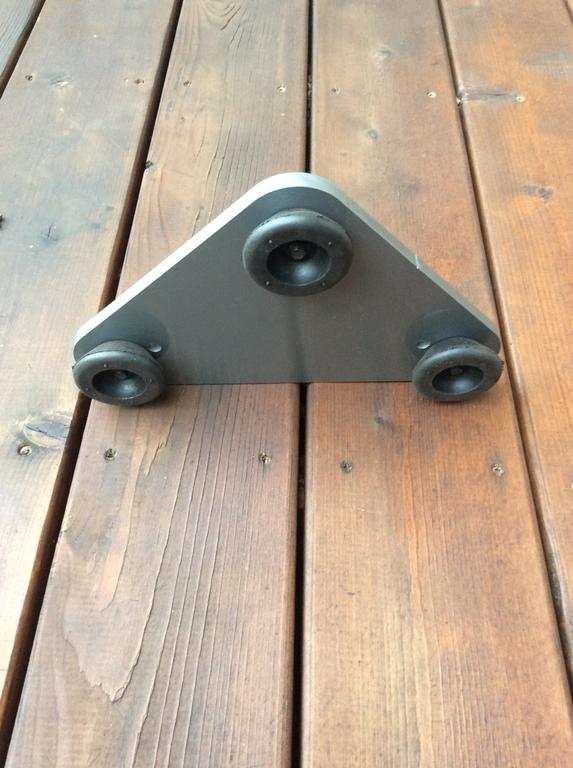
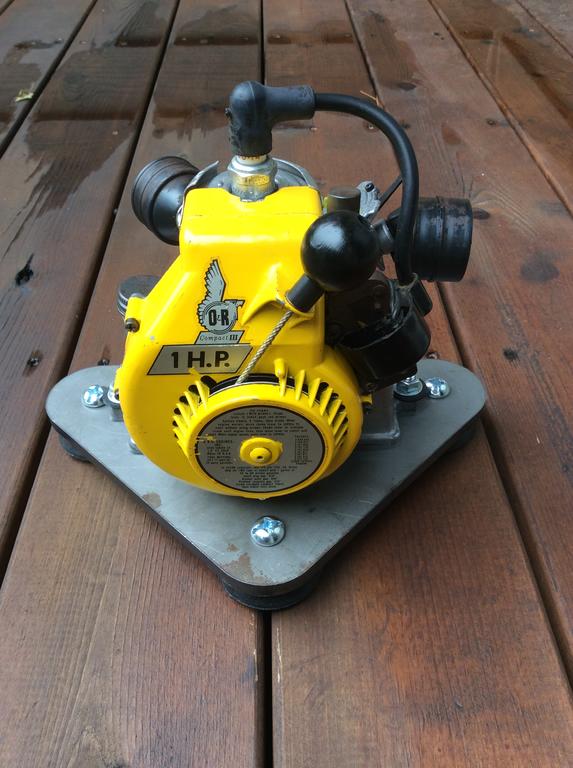
Finally put the final coat of paint on the little stand today. I ended up countersinking the bolt holes for the rubber feet. I think it will have a cleaner look. Once it’s cured in a couple days I’ll add a couple photos.
I wonder if you could use heat shrink tubing to repair the old wire, either over top of the existing broken wire or maybe pull of the old brittle wire insulation and add heat shrink or something? I attempted a combo fix like this on an old Briggs motor that had wires that looked like the ones in your photo.
Ahh, that’s good to know ahead of time. I was able to find my deep sockets, now just need to verify it’ll fit the valve. That’s too bad the Snap-On socket didn’t work out, they make nice quality tools.
Thanks! I may look at countersinking the holes that mount to the rubber feet to give it a cleaner look. I’ve got some other ideas for stands as well and just haven’t had the time to make them. I’ll paint this one up and add some pics when it’s done.
Haaa, I hear you. Most of mine typically take a few weeks or longer sometimes. I’ll work on them for a hour here and there during the week, but it’s hard with kids and my job. This Type 227 engine was probably the fastest I’ve ever done one. Since it was mainly a clean up job it didn’t require too much interrogation. I still had to pull the flywheel and stuff to get to the points but I think I’ve gotten the hang of that process.
What are are you working on right now that you have on the bench? Post some pics, always fun to see what others are fixing up.
Wow, this is extremely helpful! Thank you for digging through the info, these service manual tips are best known ahead of time. I have some deep sockets but I’ll have to see if they fit. If not, I’ll probably buy a couple heaped sockets individually and grind the outer edge down to fit. I had to do this on a 3/8 socket once in order to remove a needle valve from the carberatur on my Kohler K241.
I have decided to set the Mark II aside for the moment. I do plan to take it apart at some point though to check everything. I am going to read up on it a bit more, since it will be the first 20A that I have worked on and they look to be a little more involved than the 13A or B engines. I want to know more about what I’m getting into before I’m committed
I’m really glad you mentioned the de-compression valve and the need for a proper socket. I’ll have to check to see if I have the right size.
Good point, forgot about the gear box being needed for a mini bike.
One other observation on this engine is the gas tank has a little aluminum button/cap on the side with the fuel filler that is usually another vent line. Is this clue helpful at all?
Cool! It’s funny just when you think you’ve seen all the applications for these engines you learn about something else. I would be curious to see a photo of your Mini Automatic.
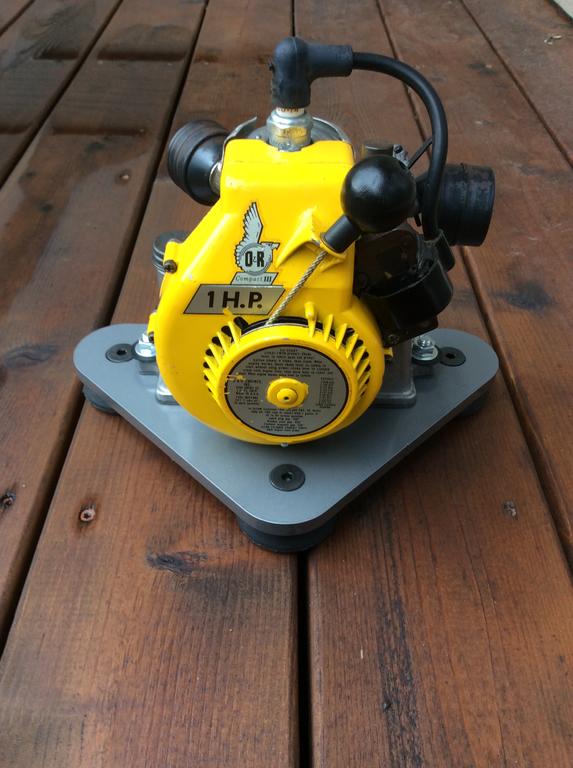
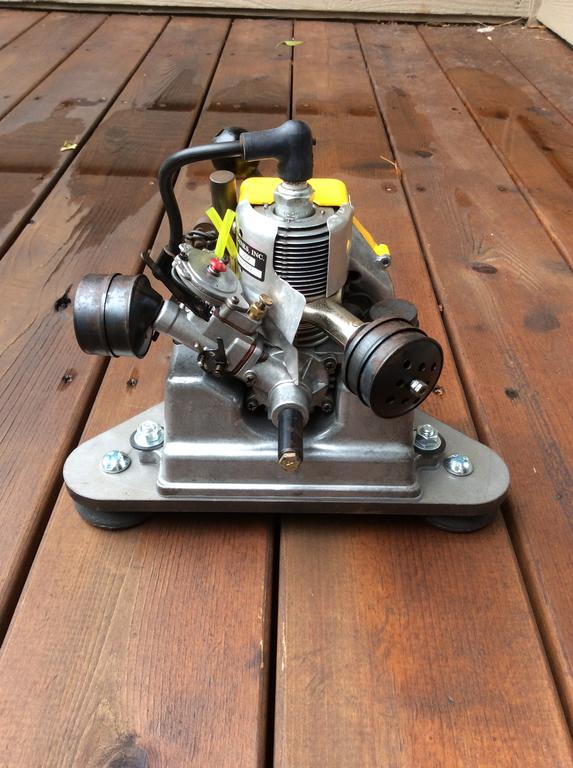
Maybe this type 227 was used for mini bikes or something. I got it all cleaned up and it runs like a champ. I mocked up an idea for a display/test stand and added some really nice soft elastomer vibration dampening feet, it worked great. I think I’ll take some time now to paint the stand and make it look nice. I may also add a bracket off to the side to mount a small R/C fuel bottle so I have an easy fuel source for testing other engines that done have integral tanks.
So far so good. I got the points cleaned up, they definitely had a film of oxidation and gunk. These tanks are always a challenge to clean because you can’t see or access the fuel line and the pickup filter. I finally got it to where I can blow air through the fuel line so hopefully it’s clear enough to now suck fuel. Got everything else cleaned and ready to put back together. There must have been fuel mist or something mixed in with the dust, that stuff ended up being harder to clean off than I had anticipated. Hopefully today I can do the recoil spring and get it all back together. I’ll post some “after” photos.


 Thanks Webhead- I’m thoroughly enjoying this forum and interacting with you all in this hobby. I’m learning a ton and having fun!


Ohlsson & Rice: Type 227 Engine
in Ohlsson and Rice
Posted
Thanks, it was a fun little project.