Wow when I first saw it (no pun intended ) I thought it was going to sell for big bucks. $369 does not seem unreasonable for one in NOS condition like that.
I wonder if the $369 helped resolved the family feud or made it worse!
I love the simple architecture of that house...looks like late 50's early 60's. The brick work and vertical siding ...and the little roof extension with the crutch support really add character. Shame they don't build houses like that anymore. The whole neighborhood looks like it was built in that style and all looks well kept.
The long cupola above the garage roof is interesting, does it serve a purpose.?
Ok O&R gurus.....Every once in a while the engine will not want to idle down even though the throttle is fully returned and the governor/butterfly is closed it begins running at a high speed..... I'm not sure how its even possible since the butterfly is shutting off the air supply and venturi effect. Its like the engine is running away.
Then it will stop and idle normally again ?? Do these carbs have an actual idle circuit in them. Is there some way the fuel could be circumventing and feeding through the high speed circuit ?
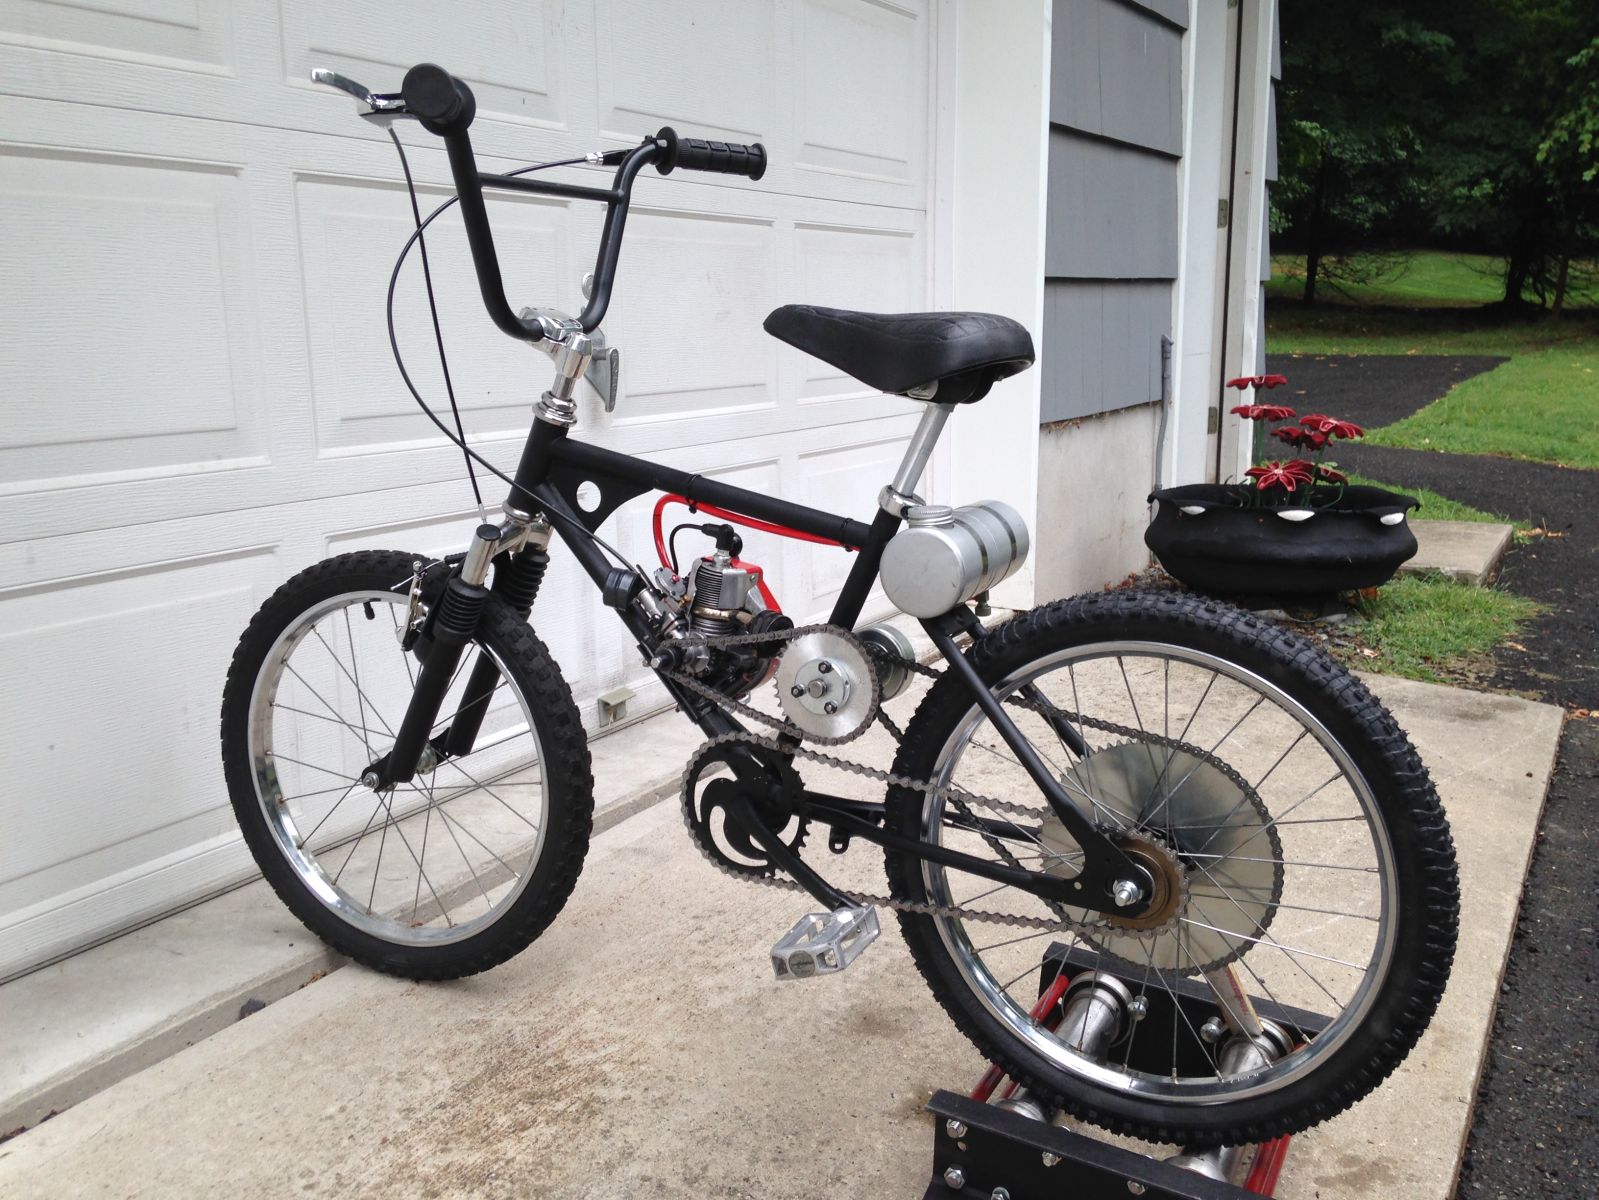
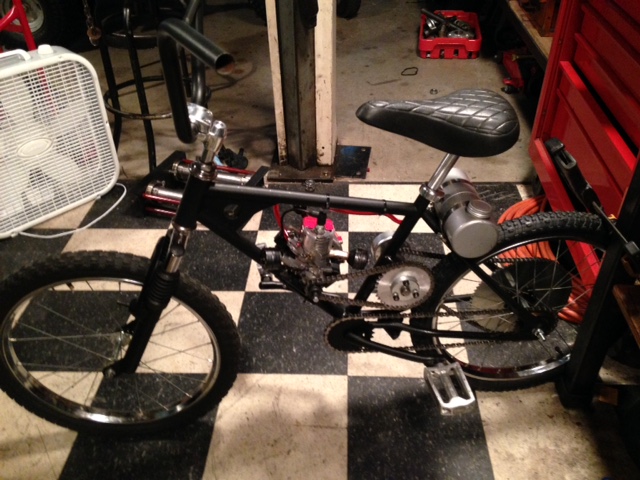
I do have a video of my son riding it...we been holding off posting it because we are still trying different sprocket ratios and have a new clutch on order and we think we can get it better than it is.
It goes forward when you hit the gas but it's not going to break any land speed records lol.
Actually it's pretty much what we had expected...something just under 20 mph, maybe 16 or 17 mph. That's not bad considering most O&R Tom Thumbs only run about 10 mph. Might be able to find another couple mile an hour by tweaking the ratios...but 1HP is still 1HP and there's just so much your going to get out of that engine. It also doesn't help that he's 6'3" and 180 lbs. If you put an 80 lb kid on this thing I think it would easily run 20 mph.
We only had time for one quick test ride and he had to hop a flight back to school. I'll send the bike out to him and he can fool around with it some more in his spare time.
Overall I would call it a success and we had some fun working on it. He's already planning a scratch built bike with more HP for the next project.
I will post an update with the new clutch and sprocket ratios installed.
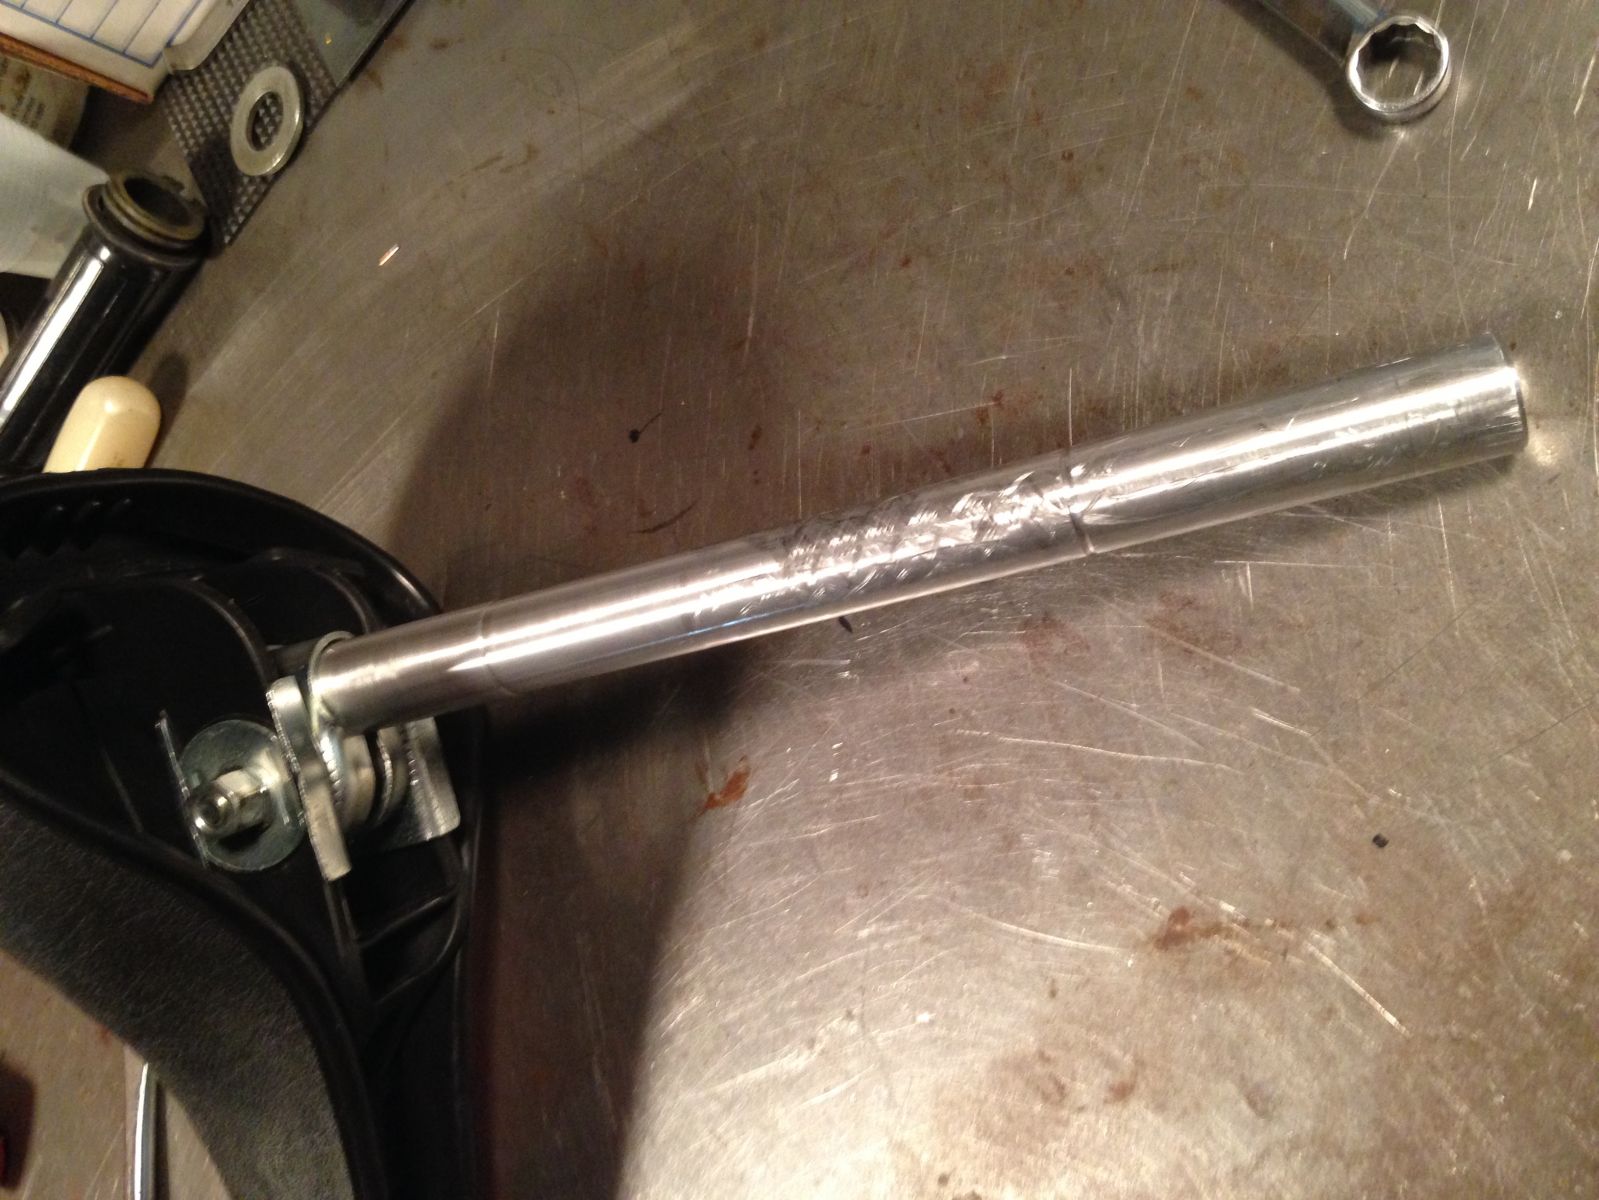
Turned a longer solid aluminum seat post for it to gain some leg room ...
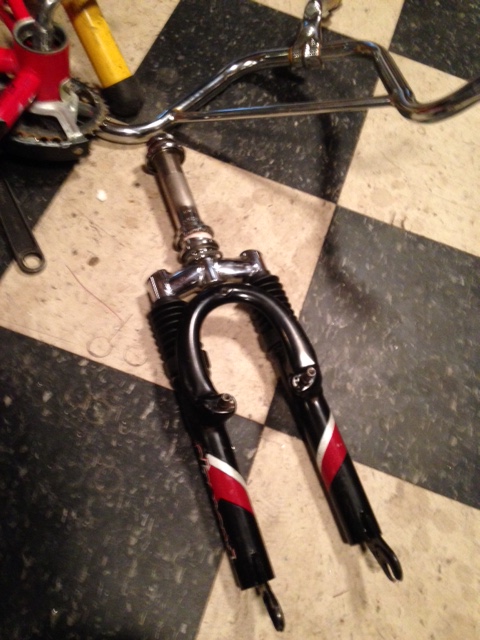
Swiped a set of suspension forks off another junk BMX bike:
We had to press a sleeve in them to fit the vintage aftermarket handlebar stem. Aside from the internal springs, these also have the provision to mount a front caliper type brake. (We had to ditch the original coaster brake with the custom rear hub.)
Off camera we had to bend the arms on the pedal crank outward to clear the works...sort of a "Z" shape bend, out and then back parallel again. The local bike shop actually had a special tool with a long cheater bar on it designed for bending the arms (cold) that we borrowed. It's really made for making small tweaks on a bike that's been laid over or crashed. We needed a full 2" offset. I could not believe the steel arms would bend that much without heating them up but they did with a lot of persuading.
I said we did it "off camera" because there was a lot of swearing going on hahaha...
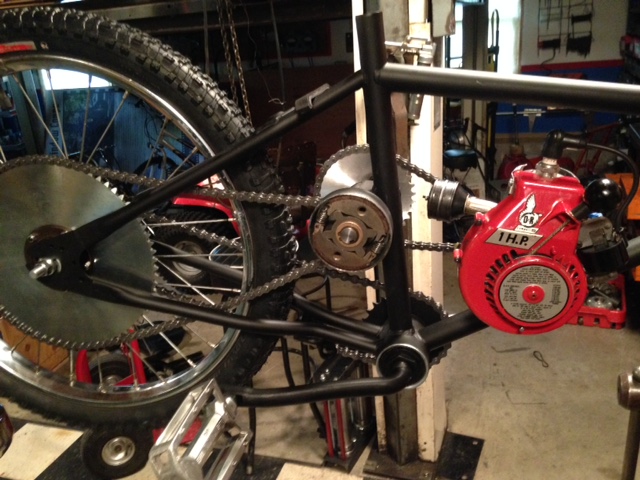
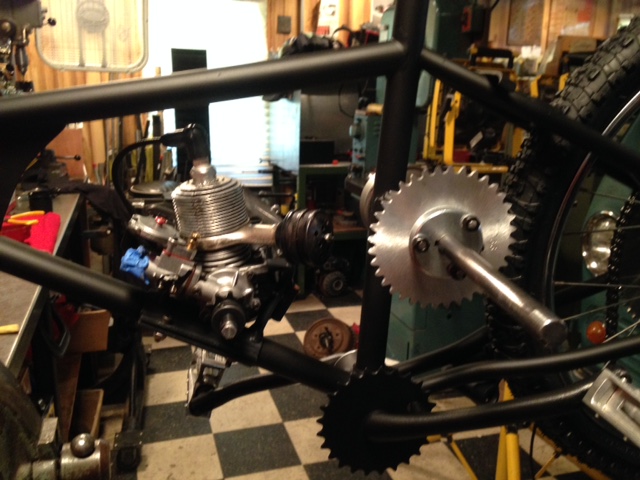
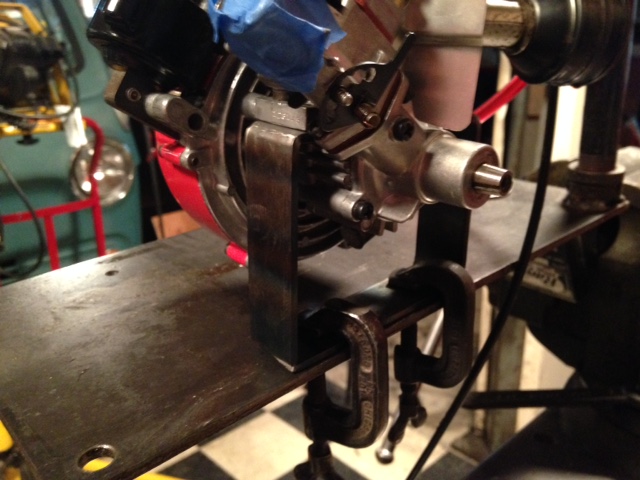
We sourced a 1/2" bore 10 Tooth, 35 pitch sprocket from Martin Company to fit the pto shaft. Then we got the mini jackshaft and clutch mounted.
We're trying a nos 300 Series (3" diameter) Comet clutch I had kicking around because we felt the small diameter fit the proportions of the bike better. Since the jackshaft is only turning roughly 1/4 crankshaft speed (3.6:1) achieving enough revs at the jackshaft to engage the clutch is a bit of a concern at this point. I have an old dealer service kit for these clutches and we installed the lightest engagement spring available (1100-1500 RPM). That equals approx. 4,000 -5400 engine RPM. Mounting the clutch directly to the 1/2" engine pto is just not practical.
Some great fabrication work going on there, keep the photo's coming
Thanks.
I think I got a little carried away with the photos and I reached the limit in my album before I could finish the story. I found out I could increase my limit by becoming a supporting member, so we're back on board and I call it money well spent.
Yeah we thought about cutting it down to help keep the bike streamlined looking but were afraid if we un-soldered the joint and started fooling with it we would end up with a mess.
Thanks guys. My son had a 2 week break from school including 2 travel days so that was our time frame to build the bike from start to finish. We were thrashing on it 6-8 hrs a day every day.The project is actually close to completed, I'm just getting caught up on copying the photos over to the forum and trying not to overload the server or wear out our welcome here lol.
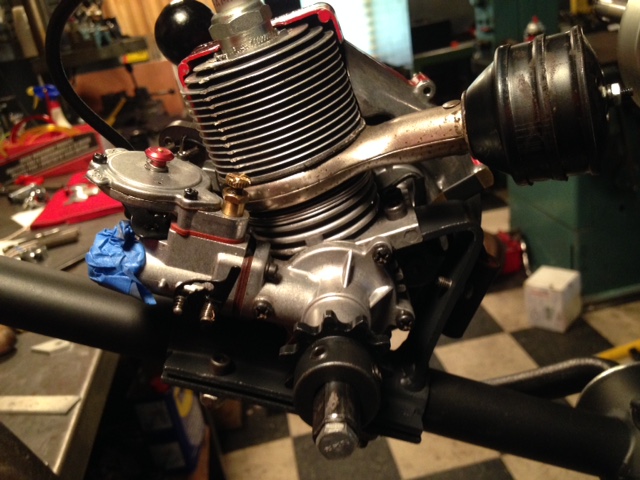
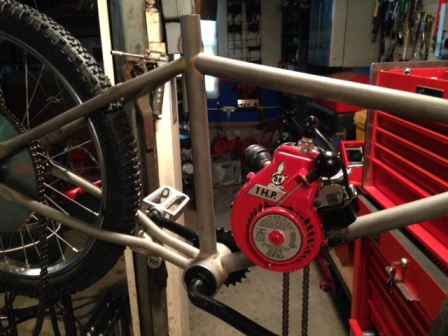
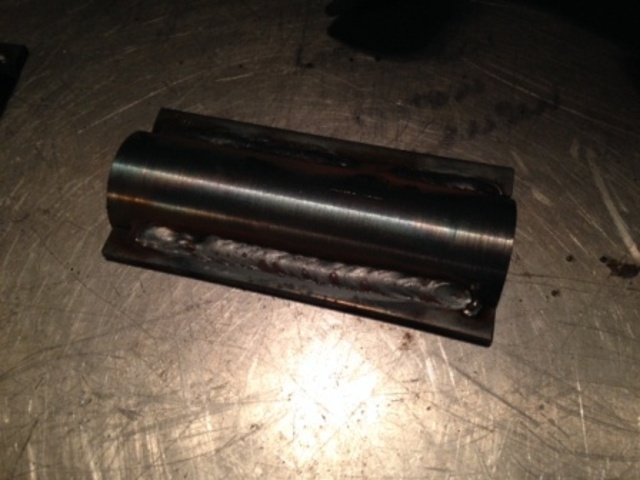
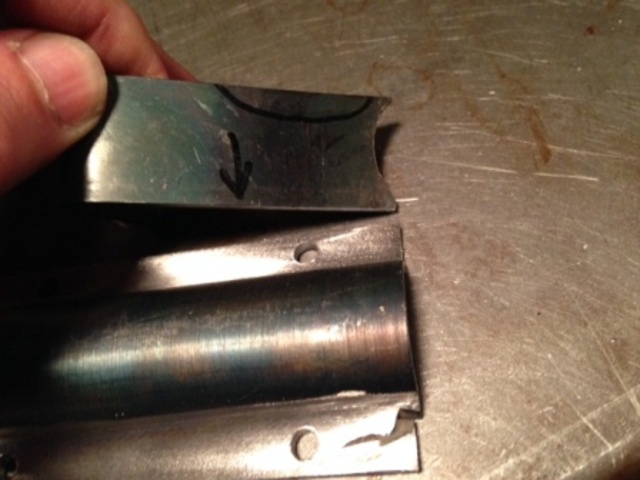
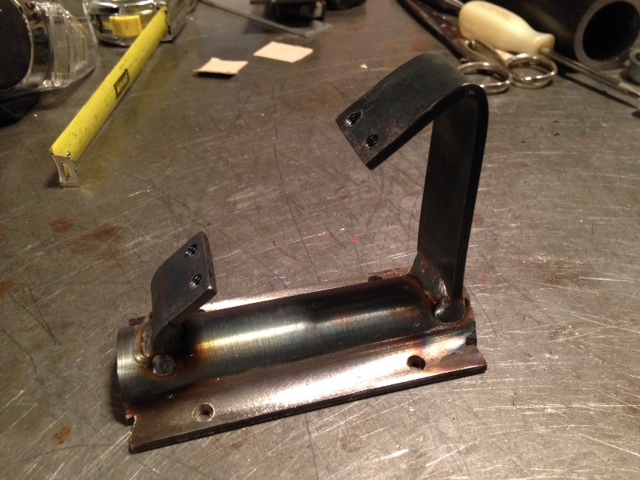
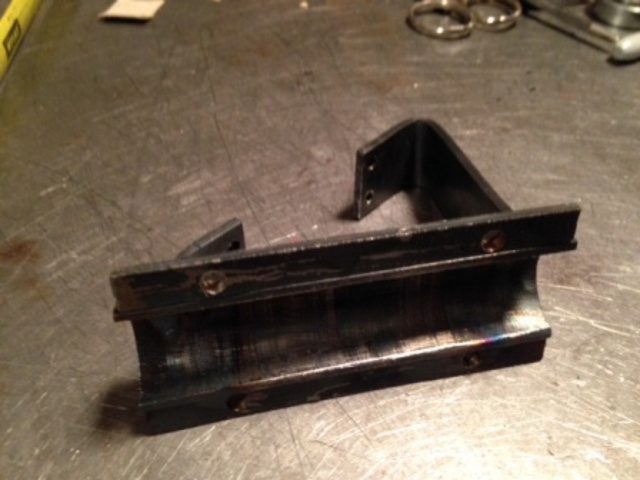
For the actual engine mount in the bike we had to get a little more creative. We made a "saddle mount" out of some 1" I.D. DOM tubing.
We split the tube and welded a flange along each edge. By loosening the 4 screws you can slide the motor fore and aft to adjust the chain tension...then lock it down.
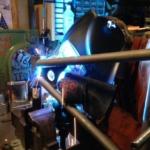
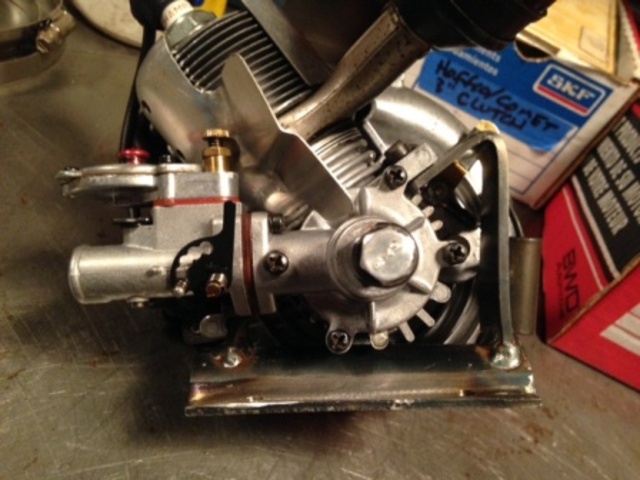
Having different mini bikes over the years we've fooled with lots of engines ..Clinton, Briggs, Tecumseh...but never one of these little O&R engines. Decided we better fire the motor and see what it was like.
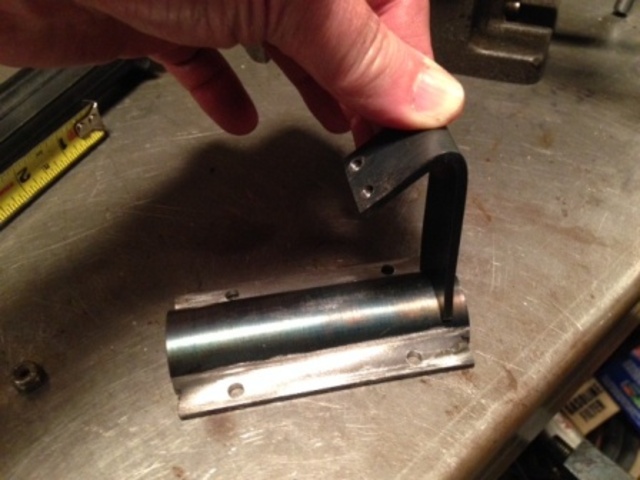
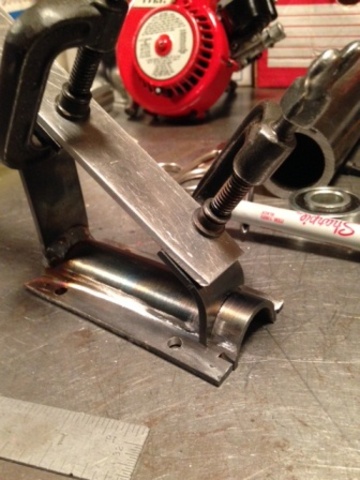
We made a temporary motor mount and clamped it to the old truck-hitch "dyno" lol we had made some years ago for testing small engines...
Haha...looks lost sitting on the plate.
Short fire up video:
You may notice the recoil wanted to push the rope back out while running...the ratchet pawls were not retracting properly and needed a little adjusting/servicing (thanks Wallfish !)
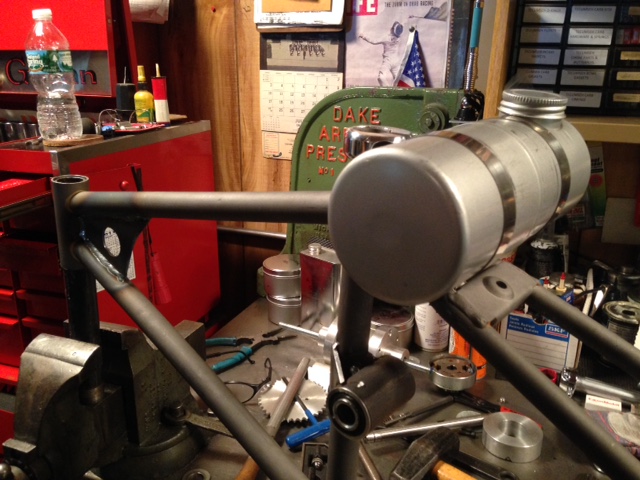
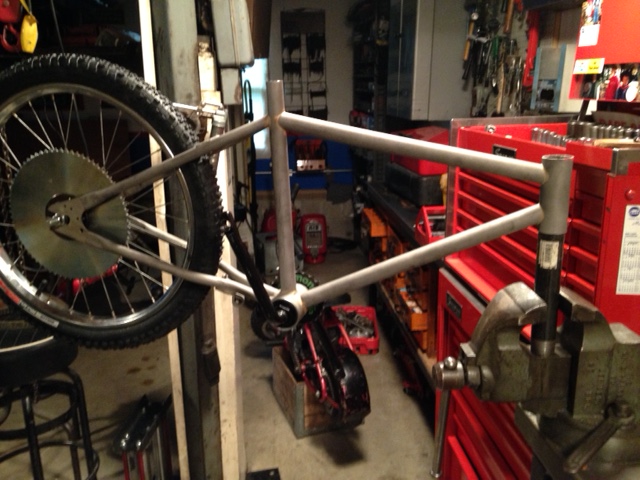
We figured out early on working on the floor or bench wasn't going to cut it. We turned down a piece of black pipe and clamped it in the vise. Then we could drop the front fork neck over it and it conveniently allows us to swing the frame around from side to side. It would work better if we squared the bottom end to clamp it...instead we just cranked down on it hard enough to flatten the pipe lol...
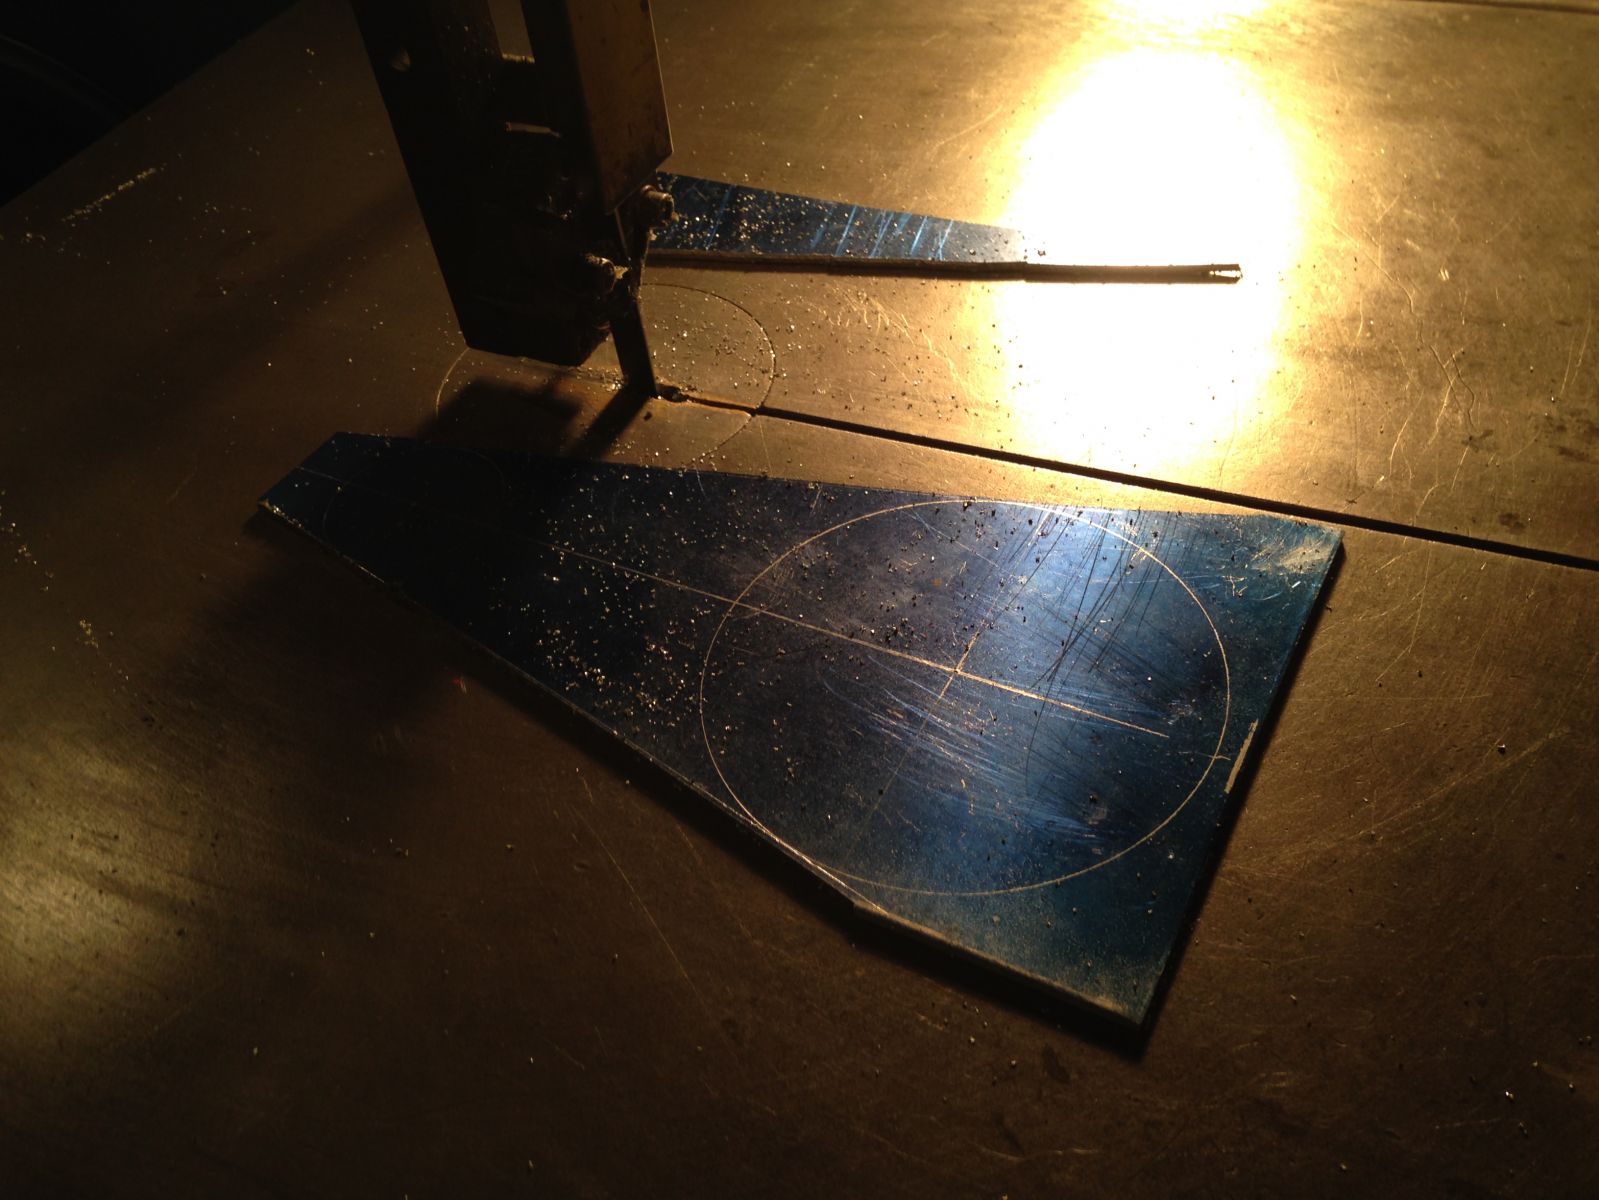
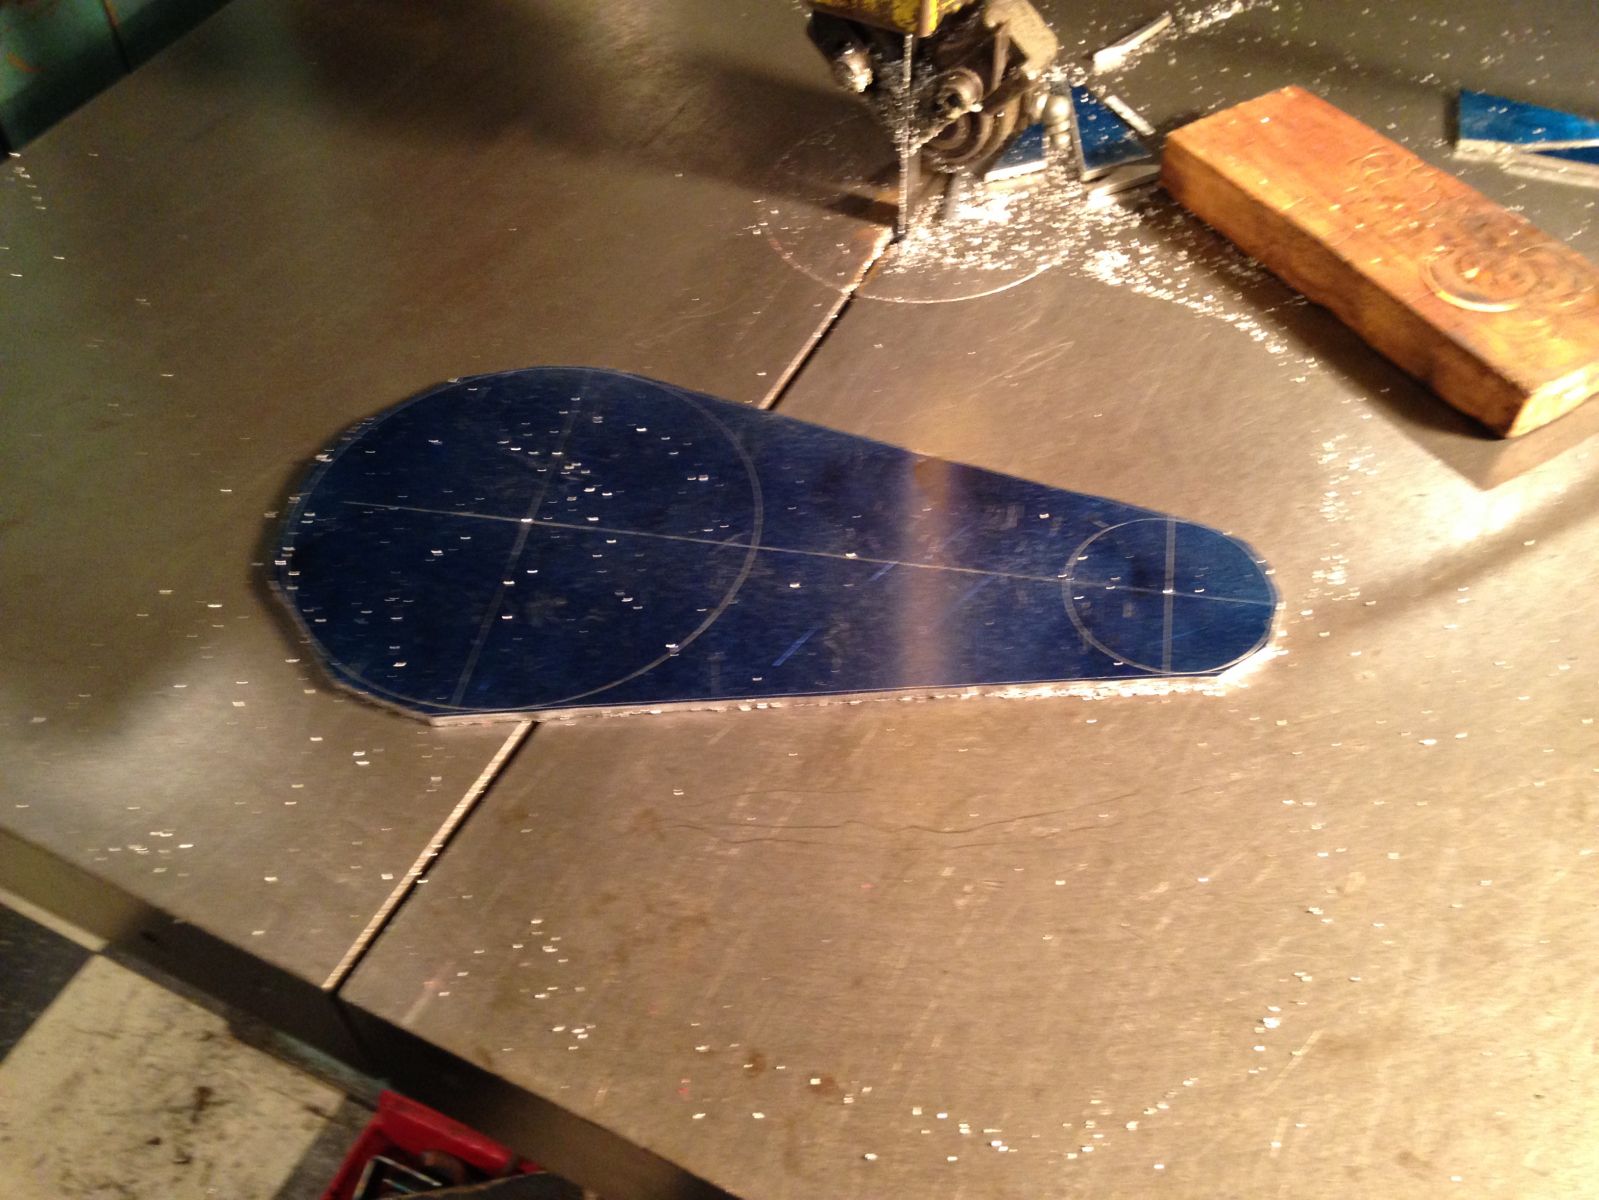
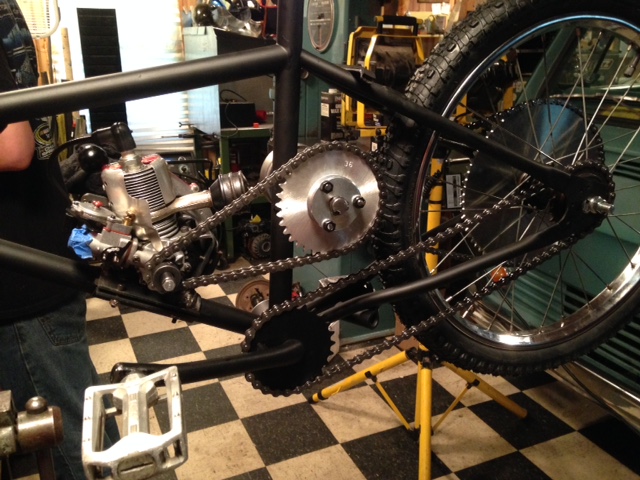
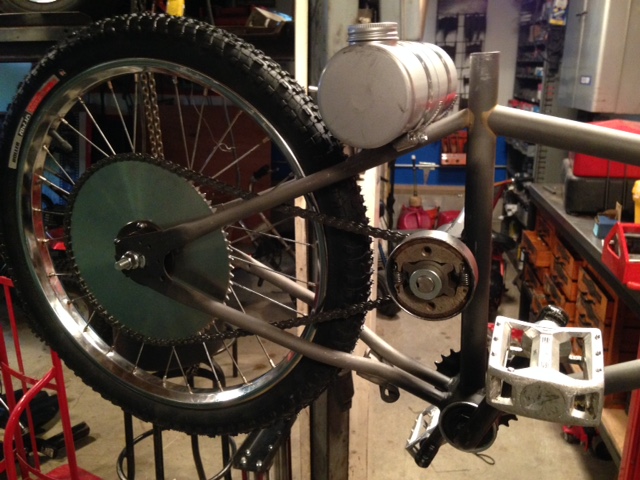
Here you see the new hub laced into the rear wheel and the 72T sprocket mounted...


NOS Ohlsson & Rice Tile Cutter
in Ohlsson and Rice
Posted
Wow when I first saw it (no pun intended ) I thought it was going to sell for big bucks. $369 does not seem unreasonable for one in NOS condition like that.
I wonder if the $369 helped resolved the family feud or made it worse!