Well my feeler gauge experiment was a failure. The material probably has too much tension. It would not prime and would not run, so I assume it is putting too much pressure on the ball. If you can send me a piece of the material that you used, I would sure appreciate it.
I don't know if you are a fan of Bring a Trailer, but I visit the site occasionally to look at all the vintage cars, motorcycles, mini bikes and go kart of yesteryear. I saw this micro-power micro-bike. Is this the same type that you have or had? I posted a link below.
I'll get a piece out to you
Yes that's the same but mine is a repop that I built a few years ago. $1500 + is too steep for little collectables.
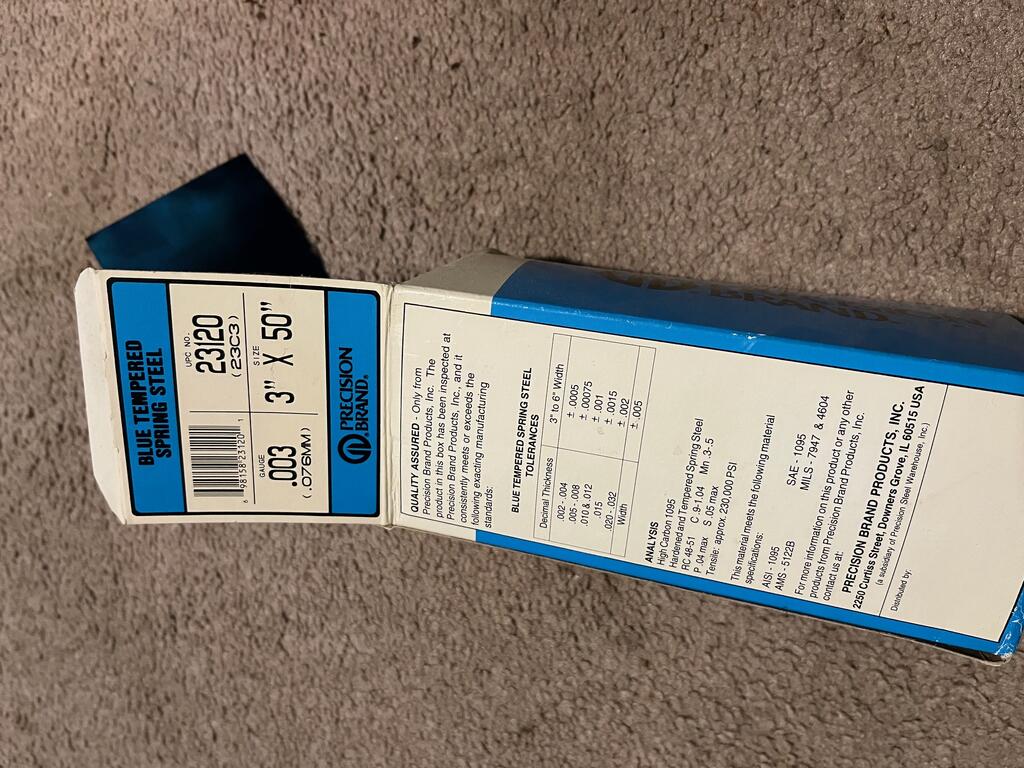
I have some blue tempered spring sheet metal .003" I can send you. I was making my own springs out of it and found that grinding the center out with a thin cut off wheel worked much better than trying to cut it out. Then cut the outside shape. Just don't grin hard to heat up the metal or it will loose it's spring properties.
Hi John - I mentioned that the two legs of the diaphragm arm spring were shorter than they should have been, one more than the other. Well, I found two small pieces in the envelope that you sent the spring in. The culprit was probably the high speed sorting machines that the USPS uses. They put a lot of pressure on the envelopes when running through the sorting process.
Surprising that would break a spring.
I pulled that one from one of my good carbs. I'd need to look around for another one if I even have one.
. A while back I was making my own out of spring material sheet because they are pretty scarce now.
I don't remember ever hearing of a Ranger. It's basically the same thing as a Mustang saw except for the chain guard is a little different. We see those minor changes on lots of different tools that have different brand names but are basically the same thing.
The recoil/blower housing is a factory replacement. That tan color paint without a label was what the factory sent out.
I have a Chip-A-Saw like that one and also another one that looks completely different. Looks like this
The diaphragm in the carb will need to be changed. When they get stiff it won't prime or pump fuel. And clean the carb. You can follow the pinned carb tutorial. Shoot me a PM for a diaphragm.
Check for spark. If no spark you will need to remove the flywheel then the points cover to clean the contacts on the points.
Does anyone have any spares they want to sell? Post them here.
Took a look around and have some spare tools I'd consider letting go of. I also found a bar and chain that would fit that Ford saw if you haven't found one.
Those cylinder cooling fins and the air cleaners are some of the most common missing parts so your best bet is to keep an eye out on ebay as they do pop up every once in a while.
Search "Orline chainsaw" for the other parts too. Chain and throttle cable. The FORD saw is just a branded Orline saw so the parts are the same, just a different color
You will also need a new carb diaphragm too.
If you choose to do it, the crank seals can be somewhat rejuvenated by soaking them in place with a few drops of old school brake DOT3 brake fluid. Synthetic will not work. Carb cleaner spray can work too but not as well plus it washes off the lubrication oils so it'll start dry unless you oil them afterwards and before starting it.
wind the spring and keep pulling on the tail to cinch it tighter and smaller. Repeat, repeat, repeat until it's wound tight and will fit in the holder.
I have the spring wound up in the round piece that comes with new springs and I set it in the recoil housing but how do you remove the holder from the spring thanks.
Hold the spring down with your thumb at the holder opening and pic out the holder with something sharp. Release the thumb pressure slowly so the spring unwinds slowly


Diaphragm Arm Spring
in Ohlsson and Rice
Posted
I'll get a piece out to you
Yes that's the same but mine is a repop that I built a few years ago. $1500 + is too steep for little collectables.
Here's a link of the thread.