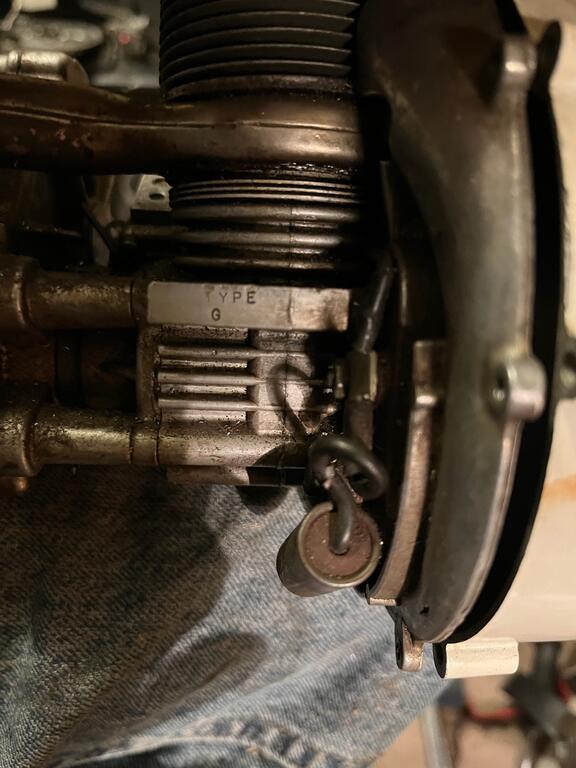
Band strap turned out great! You’re cruising through these engines.
Thanks! Might try again to get the connection ends for the screw better. IDK
They do go quicker once you do a couple and don't drop the roller bearings! I use the magnet of the flywheel to find them! LOL Also use it to hold them so they don't escape by accident.
That flashing is thin enough to cut with the blade type paper cutter to keep the edge straight and perfect the entire length. The paper cutter was bought for accurately cutting that thin spring steel sheet for making those tiny carb springs. ( Of which I need to make more of now) Works well for some gaskets and other stuff too when you want or need a nice straight cut.
The flashing could also be cut with a straight edge and a razor knife to score it then bend it to break it off but the edges don't come out quite as clean.
Hi does anyone have a complete recoil assembly for sale?
The spring has broken on the one i have on my chuga drill.
I live in the south of England any help will be appreciated.
David @factory might be able to help you since he's much closer. Good recoil assemblies are something I'm short on for the engines I have. Many come ruined or missing on used engines. They do pop up on ebay every once in a while but they usually sell quick if it's a reasonable price.
But I do have some NOS and used springs.
The springs can be changed. Please don't drill out the rivet to remove the spool if you haven't already. The spool will come off by pulling and twisting it but later models do have a retaining clip deep inside there which is difficult to see. We can help you on how to repair the recoil you have and it's also possible to rework the existing spring depending upon it's condition. If the rivet was drilled, that can also be repaired. If you can post some pics of your recoil that might help to determine if it's salvageable.
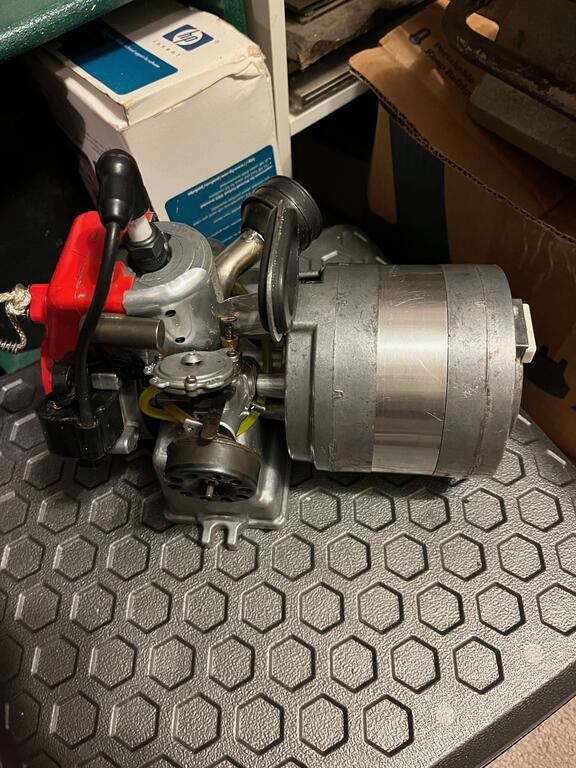
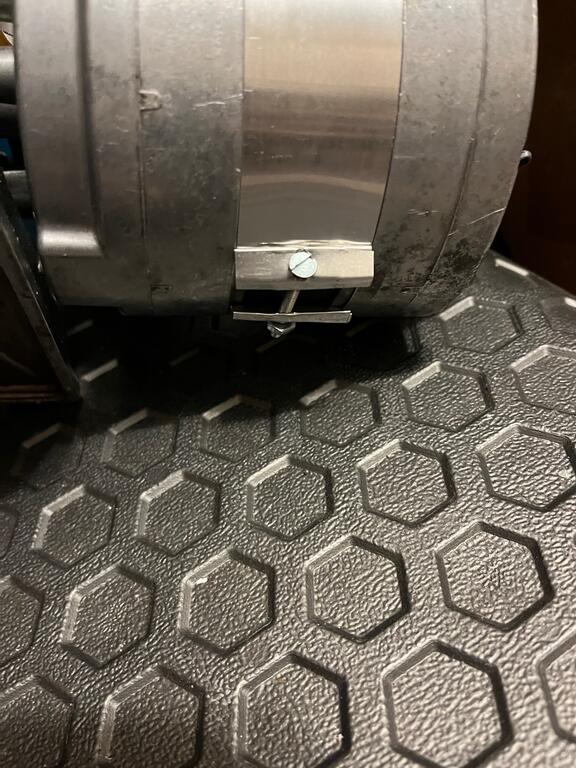
Are you taking about the metal strap that goes around the generator or the rubber handle/cushion?
A piece of aluminum flashing cut to size, folded on the edges for some strength and a screw to cinch it tight worked well. The flaps and screw don't look as nice as the latch thingy they used but once it's on the base it'll barely be visible anyway. Not sure about the shine of it so might dull it down a bit so it doesn't look out of place on there.
Just need to cut a thicker piece of aluminum sheet for the base of which I do have a large piece of.
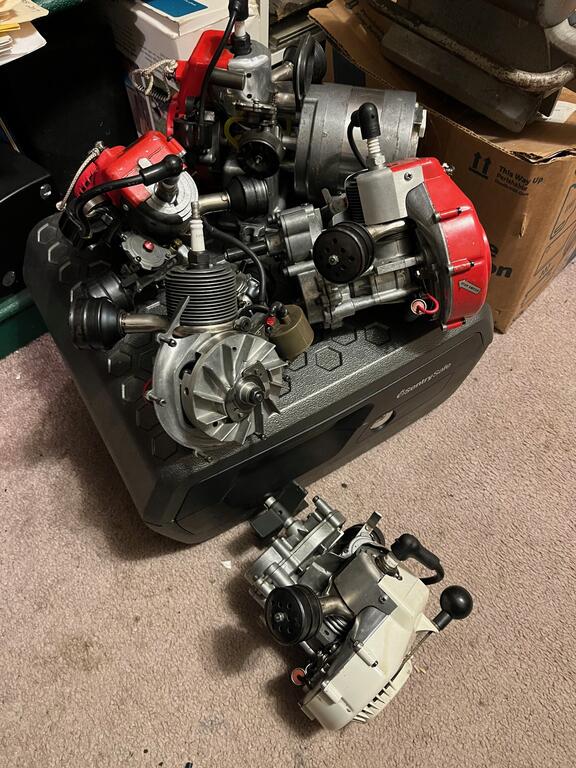
Rebuilding engines is is going good so far as I'm up to 6 done. These 5 plus the Amp Champ.
I might be interested in a couple, send me a couple photos once you got one.
18 hours ago, JUST O&R said:
I would be happy to have a few too let me know how it works out
We texted today about it and I mentioned a couple others might be interested in them too so he said he could make a template so they all come out the same. Once perfected it will be easier and faster to make them.
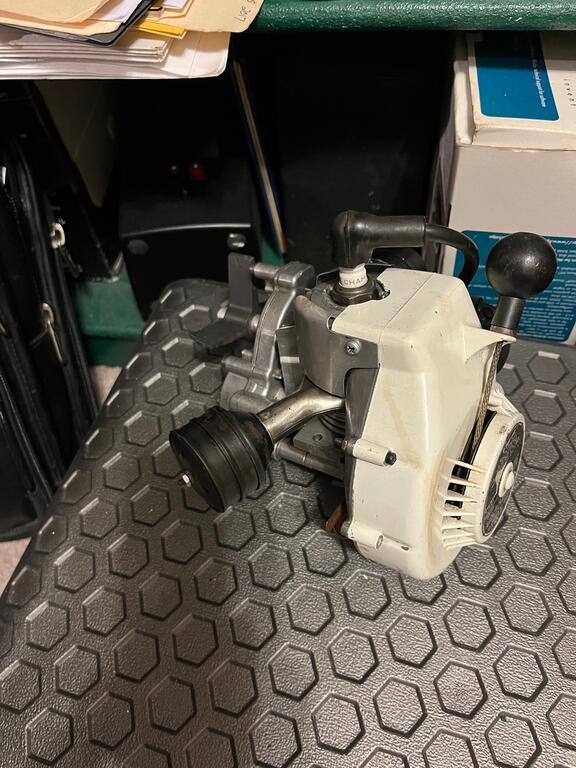
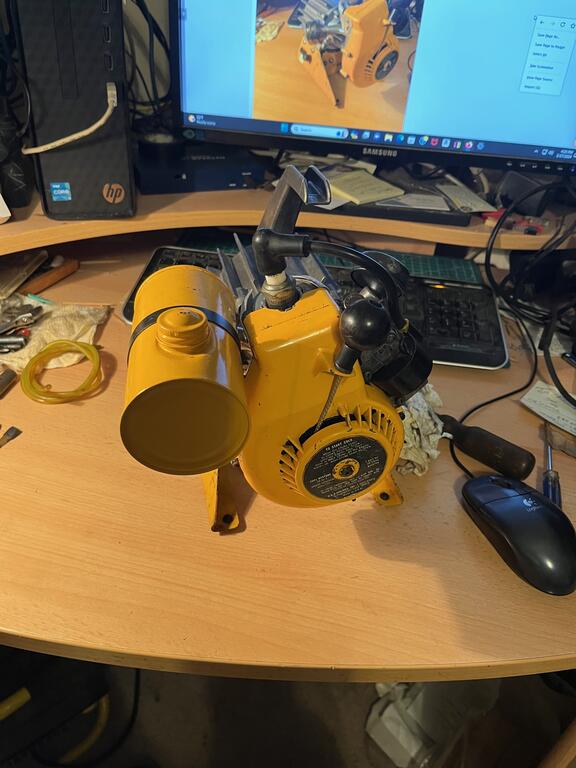
Found a TT generator with just an engine attached. So one of these newly rebuilt engines will go with the gen head and there's a spare tank out there. Probably need to make a base for it though.
Forgot to take a beginning pic but this thing was nasty and covered with crud. Fixed wiring, inserted new AC plug and got'er all cleaned up so far. I'll rebuild that original engine too.
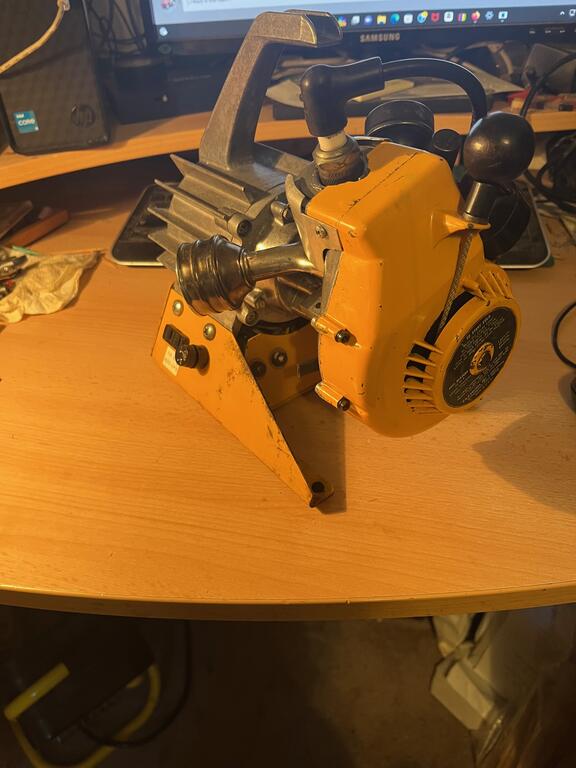
Well, I must've already went through this engine or it has had very little use because the compression felt when pulling it over is about as hard as the recently rebuilt engines. Do enough of these and you can easily feel the difference between a worn engine and a new one. If there's any doubt, then it's in the middle and new set of rings will typically take care of it.
Clean up and new recoil string is probably going to be about it but I'll give it the balloon leak down test for checking the seals. The lower unit gears and seals were gone through when I got it but honestly do not remember ever removing the engine on this
I’ve never had one of the outboards opened up, not sure which crank setup that is. I do have a partial outboard, I’ll have to see if it is all put together at the crank end or if that’s pulled apart. I’ll try to take dig it out later this evening.
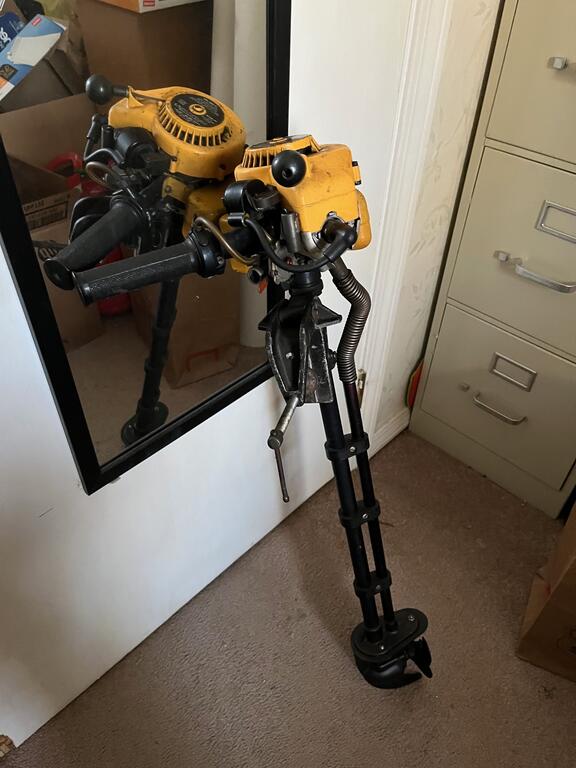
There's an Aqua Bug outboard out there that had no plastic cover or tank when it was bought so I added a drillgine type tank. Those outboards actually look more old school cool without the cover and that one always got attention when taken to the shows for display. Probably because everything is visible. Think I'll start with that one and pull it apart and rebuild or replace that engine. Maybe then a Mini Motor and another Aqua Bug
I also have a rare Polaris Power Pole outboard still sitting in a box and all parts from shipping. It's the same tool/engine that @Laserscottman had when he made the famous carb tutorial thread years back. Can't remember how deep he went into it but think he went through everything on it except for actually rebuilding the engine. Work is a bit slow this year so might as well stay on a roll getting some O&R stuff done that's been on the back burner for too many years.
Man you’re making fast progress! What kind of tools are you going to put those on?
I'd have to figure it out.
Like change engines on a Drillgine or TT.
The cranks don't have the slots in the little taper so it's more limited otherwise I could do a circular saw. Plus some of the tools are the early style engines so the coils are different. Don't think I have any tools that don't have engines on them so might just rebuild some of those that haven't been done yet and keep these as spares.
Do you happen to know what crank end type was used for the outboards? I'd have no problem swapping engines on those if the crank is right.
I'll need to do something. Wondering if one of those Octura carbs will work with gasoline. That would make for a quick easy setup for the carb test stand
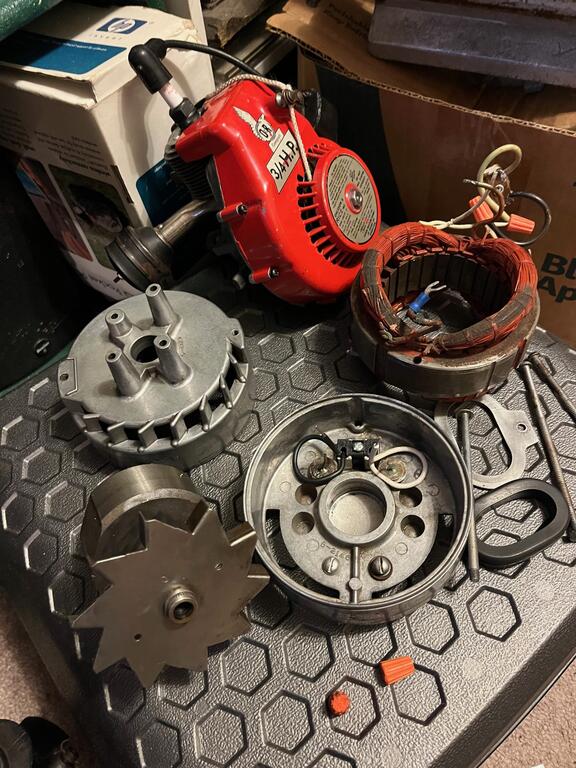
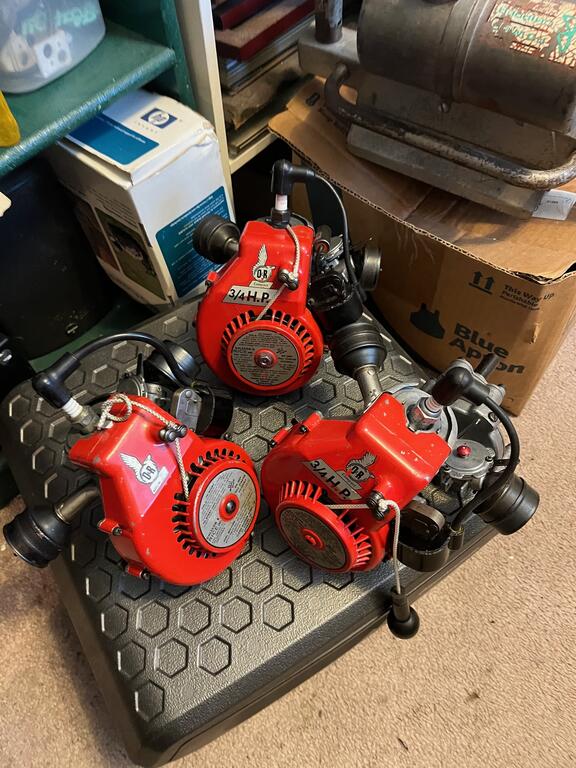
Only Jan and already got 4 engines rebuilt so far this winter. The Amp Champ in the other thread is done, the snow blower gearbox engine in this thread, plus these other 2 in the pic with the blower engine.
The guy across the street is going to spin up some of the recoil handles on his wood lathe.
So now it's time to start putting these rebuilt engines on some tools and then get started rebuilding those engines or I might keep those tool engines together with the tools. IDK yet
I thought I had found someone local that was going to make a few for me and then he disappeared. I wish I had a small lathe, should be pretty simple. I did find the right size wood balls for the other style pull knob, even thought about tapering a dowel and bonding it to a wood ball to make the older style knob but just never had time to try it.
I have a couple of the newer ball type handles
The guy across the street has a wood lathe so I'll see what I can do.
I'll only put some fuel into the plug hole just to fire them off once they're rebuilt but haven't done it yet. Maybe I should consider making a test stand with a remote carb setup kind of like a Turbair Tot uses. Test run them then drop a new carb top on afterwards.
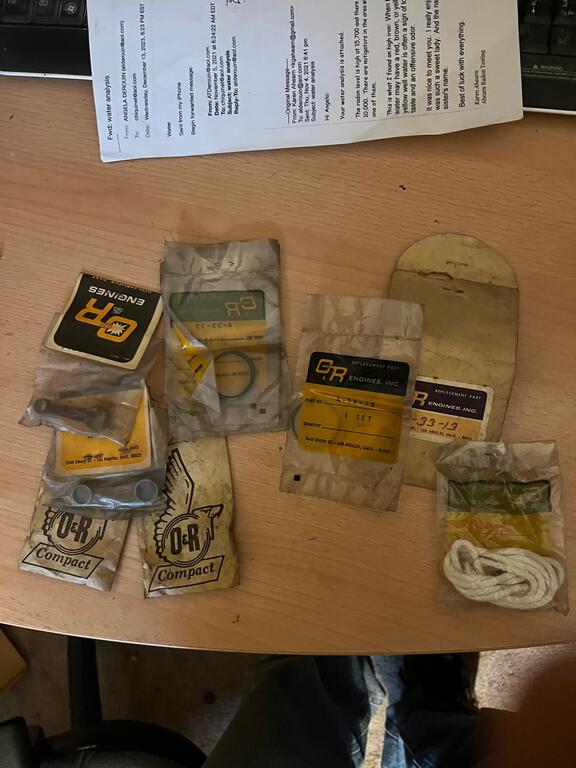
Just looked a bit deeper into the NOS stash parts and found 8 more sets of rings, some rods and a few other items so I'm going to rebuild some more. I have a bunch of NOS crank seals too but I don't have any new pistons so hopefully I find good pistons when opening them. Most are fine and I've yet to find any that have bad or worn bearings when opening them up for rebuild. I don't pick the engines that are beat on and clearly past their prime for doing rebuilds and just use those engines for parts and hardware etc.
Had some time again today since the snow and ice put a damper on the scheduled job.
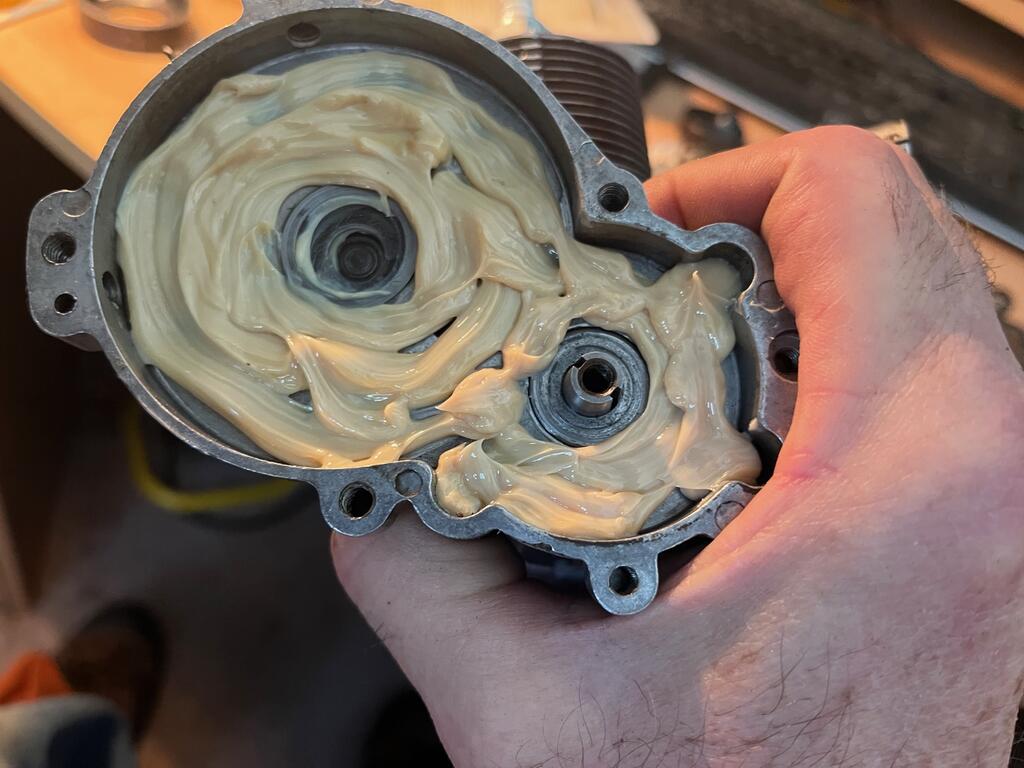
Recoil and carb is done for this one plus did the gearbox too. I use the Lubriplate engine assembly grease instead of oil in the gearboxes. It will liquefy when it's running and slightly solidify again helping to keep it from being sucked into the engine seal or leaking. It does remain partially oil too but it's easy enough to squeeze more in when needed or if necessary. Even a thicker grease like JD Cornhead grease will work or 00 grease.
Everything about this engine is in very good condition and it went together nice and smooth. I'll probably find a nicer air cleaner for it too. I don't run gas through the carbs one they're done because it will gum up just like the old ones do after a while. A few drops in the plug hole and Viola, she fires and still fine for long storage.
Seb T ghosted me on the gearbox and engine and haven't heard anything back since emailing him, so I'm kinda happy to just keep it for the Polaris Power Pole Snowblower. Didn't really want to disable one of my tools and turn it to parts anyway. But I would sacrifice it just to see one of those cars running.
I finally bought an ultrasonic cleaner, now I just need to do an engine to see if I get results like you do!
I don't have one of those yet. It's all toothbrushes, Q-tips and a small wire brush.
But I do have some attachments for a Dremel tool too. A small polishing wheel with compound helps for some paint, cleaning up and shining the exhaust collector and rusty condensers. Wire wheel for heavily rusty stuff too like the coil laminates.
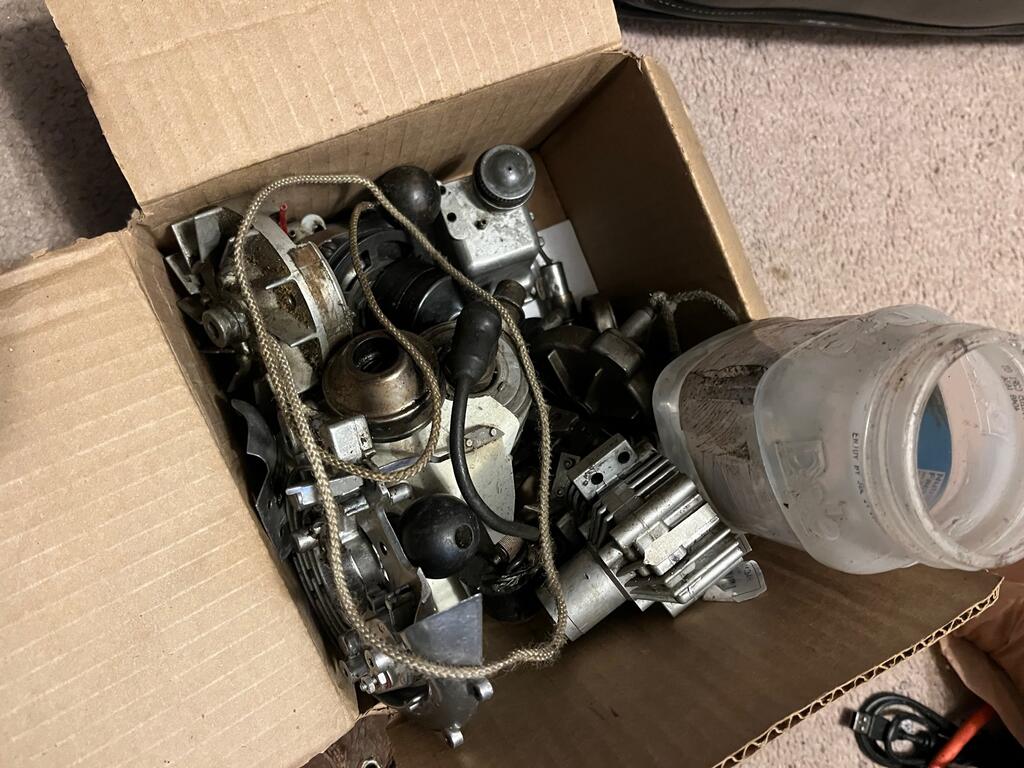
For the cleaner you can use a glass jar for the parts and fill the tub with water. For the jar I'm thinking use lacquer thinner as the cleaner. I just don't know if it darkens the aluminum or not. The citrus cleaner will if left too long.
This Amp Champ will probably go up for sale if anyone is interested in it. I have 2-3 others and one is practically NOS or it is NOS so it's a better example for my collection. Just need to start letting some stuff go.
So not too bad. Just about 24 hours later, completely cleaned, new head, piston, piston rings, gaskets, O-rings and reassembled. Finally getting to use those induction gaskets Clint sent me a couple years ago! Might even be longer than that. LOL
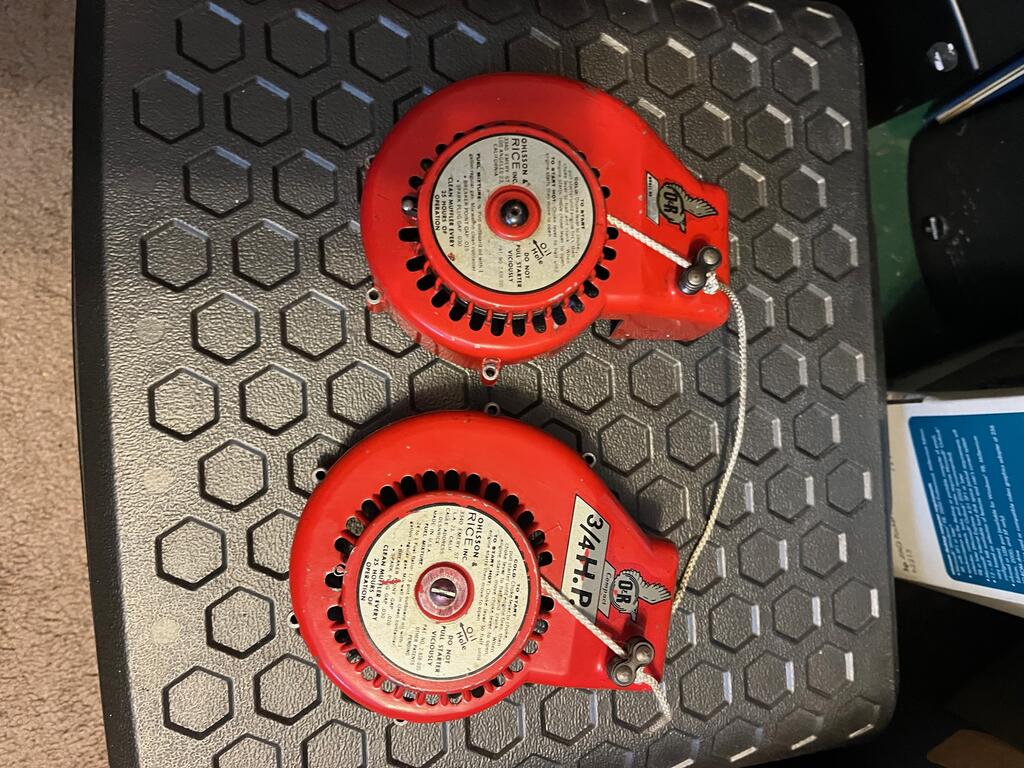
Still need to do the upper carb and recoil. Think there's about 4-5 recoils that need to be done, They're not fun for me.
Tried looking at the Generator and removed the small front small bracket. Probably just going to go with a thorough cleaning. The way they manufactured it with soldered wires after installing the fixtures makes it difficult to disassemble without messing up some of those hard dried wires. They're not as bad as a TT but I know this generator worked too. Not worth the chance of screwing it up.
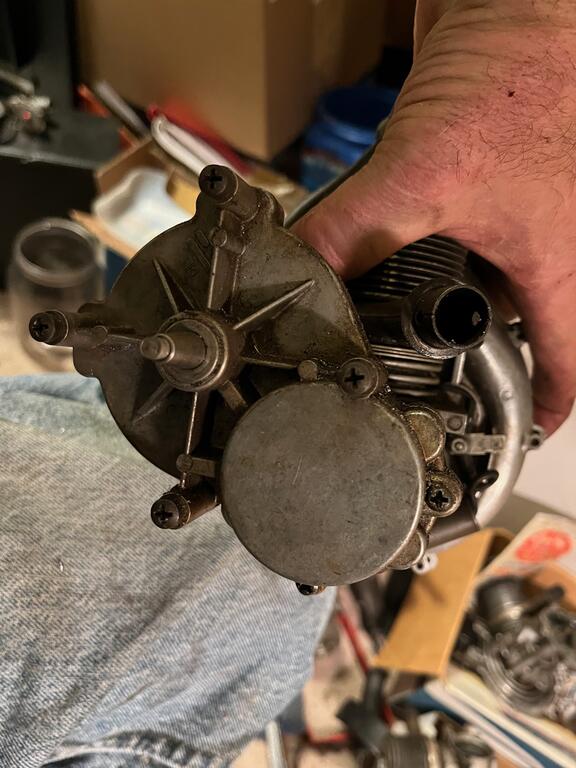
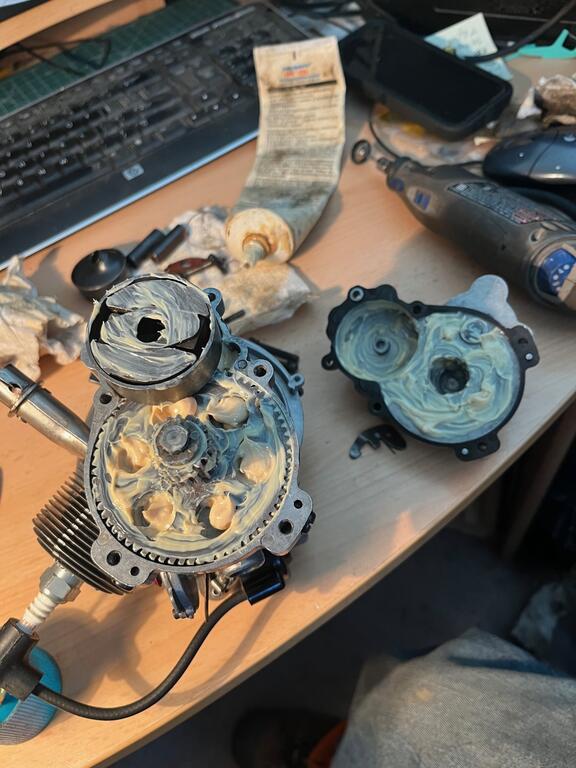
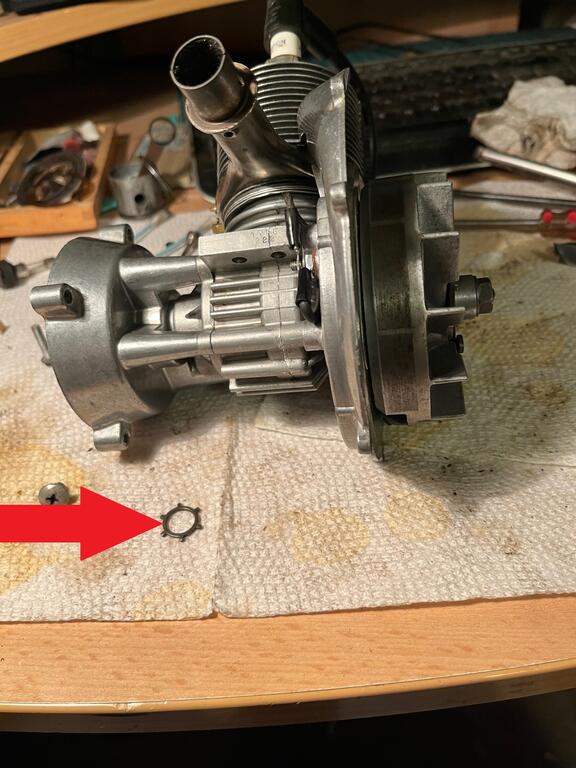
Got her all assembled and then saw this, the star washer that goes on the rod bearing. Pulling apart now.
Plus had the bearings fall, move in the cage so the shaft wouldn't drop in all the way! Those plastic cage bearings are MUCH easier to deal with compared to the steel cages.
Trying to get my desk cleared for work tomorrow. LOL


.jpg.e90260cd0000291150f0b61f90a8d9b6.jpg)
rebuild another one for 2024
in Ohlsson and Rice
Posted
Thanks! Might try again to get the connection ends for the screw better. IDK
They do go quicker once you do a couple and don't drop the roller bearings! I use the magnet of the flywheel to find them! LOL Also use it to hold them so they don't escape by accident.
That flashing is thin enough to cut with the blade type paper cutter to keep the edge straight and perfect the entire length. The paper cutter was bought for accurately cutting that thin spring steel sheet for making those tiny carb springs. ( Of which I need to make more of now) Works well for some gaskets and other stuff too when you want or need a nice straight cut.
The flashing could also be cut with a straight edge and a razor knife to score it then bend it to break it off but the edges don't come out quite as clean.