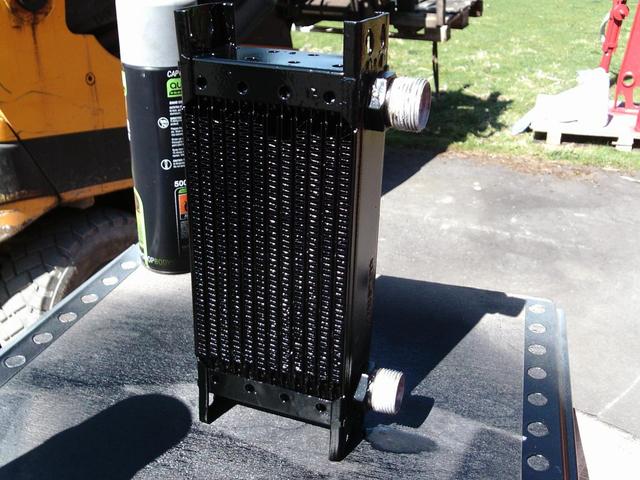
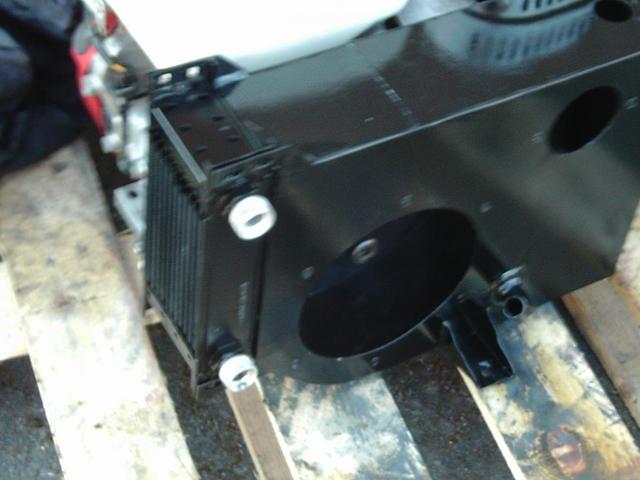
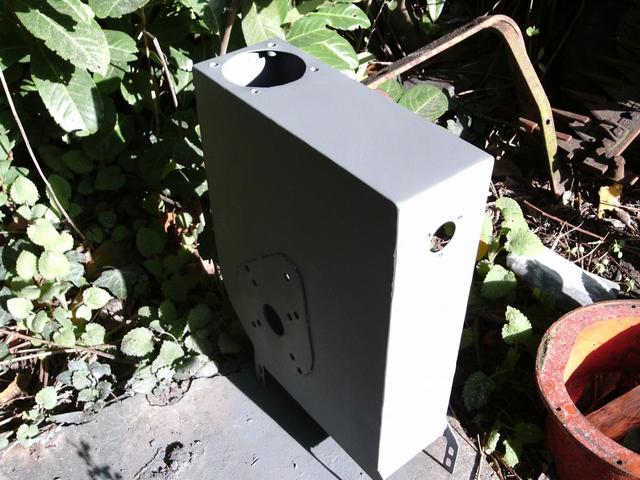
Been doing a bit more to this project today. The frame is starting to take shape, just got to build the contour of the tube up to the right size. Ive also refitted the cooling fan, the oil filter- which again is obsolete but luckily the one fitted just needed a good clean out, the oil cooler was bolted back in, and I also found a good jcb oil filler cap.
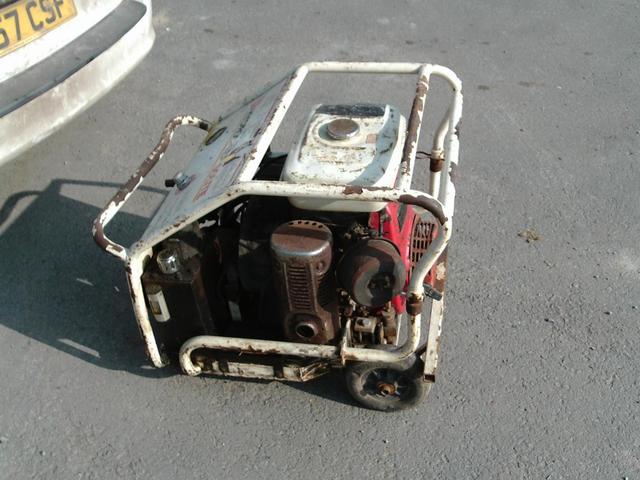
I thought id also include a photo of the welder ive been using, sledge hammer to a walnut springs to mind.
Got to work at about 6.30 this morning and managed to get most of the frame welded up and straightened on the press, ( there is still a little distortion left however to go any further may do more harm than good).
I also discovered just how hard it is to weld a frame this thin with a stick welder, certainly got plenty of practise at filling holes, just a small amount left to do tomorrow.
Managed today to get on with my all time dreaded job, Filling! The various numbers, names and dents were removed with grinding back then several small layers of filler, followed by several thick coats of etch primer.
This lathe is in the back workshop, weighs the best part of 4tonnes on its own.
Had the pleasure on Thursday of moving this to its new home, a purpose built lathe room, took two forklifts working in tandem, round a couple of corners, over some rough terrain, then a giant speed bump, followed by yet more corners. Just got to properly level it now.
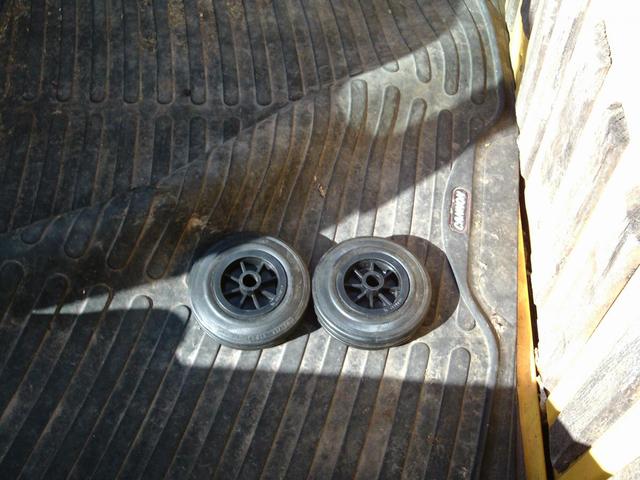
This afternoon ive been doing some more work on the beaver 1's frame. All the codged up welding repairs have been cut out ready for re welding. Unfortunatley my mig has broken therefore ive oreded up some very small rods for the stick welder to see if theres enough material left not to blow holes in it. After cutting the axle off I can see why they welded it on rather than bolt it in place as per original. should be intresting to sort. Ive managed to source a new set of wheels that will just need boring to suit the axle.
The picture probably illustrate why JCB very shortly brought out the beaver II, the frames were just not man enough for the job. Even when they used to still be floating about in use(20+ years ago) I don't think that I ever saw one that hadn't been reinforced along the bottom.
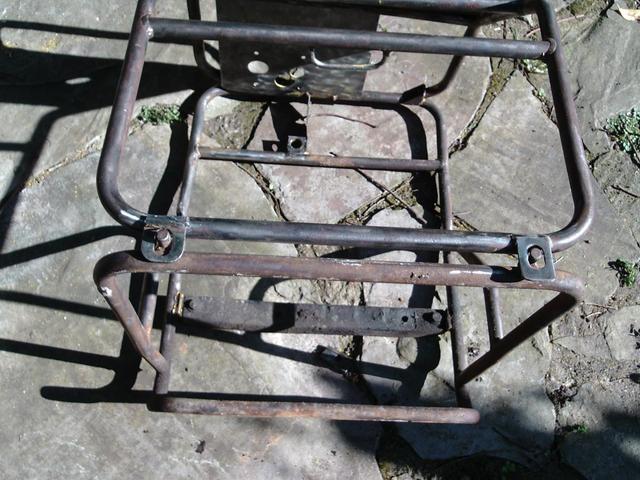
Ive straightened out the one remain piece of the rubber support bracket at the back and will have to fabricate another, when purchased this one had had a very crude mount welded to the rear of the chasis.
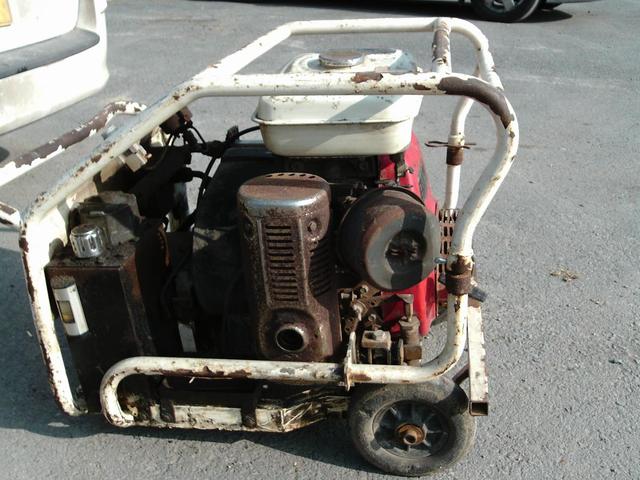
The one job I hate doing is removing the paint off JCB power packs as its a type of plastic coating that is almost impossible to remove. (grit blasting doesn't touch it), therefore I have spent a couple of hours with a grinder and wire brush attachment removing this coating(along with skin from my fingers). After welding there will have to be quite a bit of filling and panel beating before I'm at the painting stage.
Last night a contact in the trade on hearing what I was doing with these old beavers offered me the remains of a beaver 3 free of charge if I wanted to take it out his way. It's rough and incomplete, but With the bits I've got in my store I hope to resurrect it.
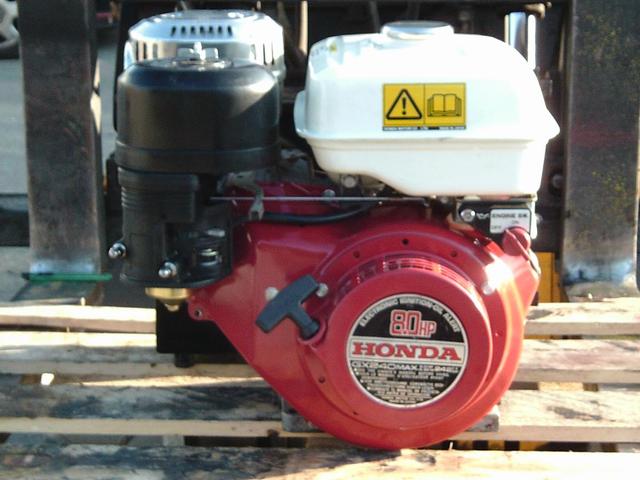
Heres the finished engine in the sun. Just needs a bit of spit and polish.
As the weather was good I took advantage of it and repainted a few items.
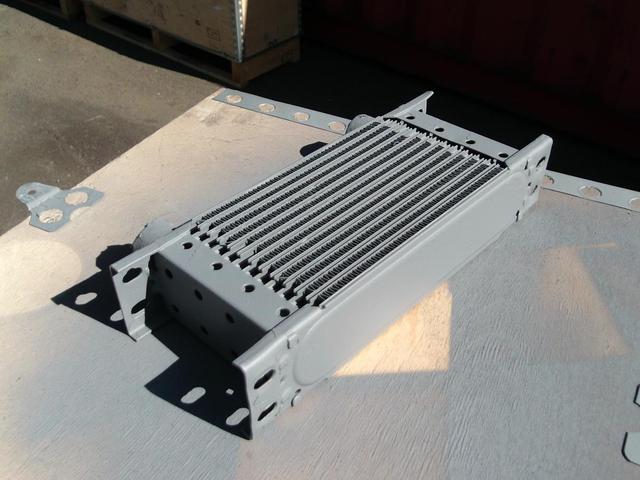
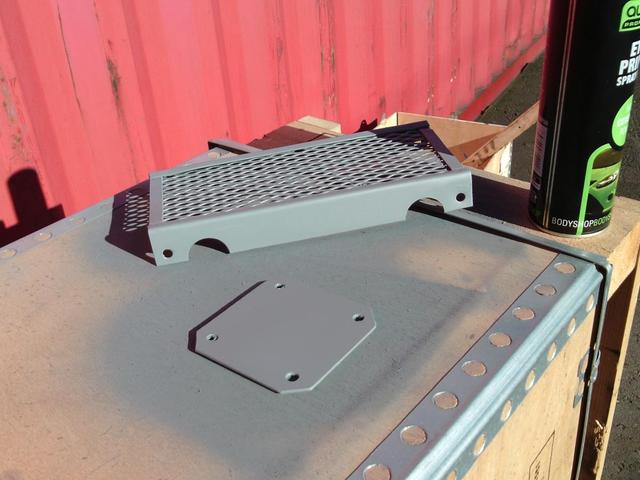
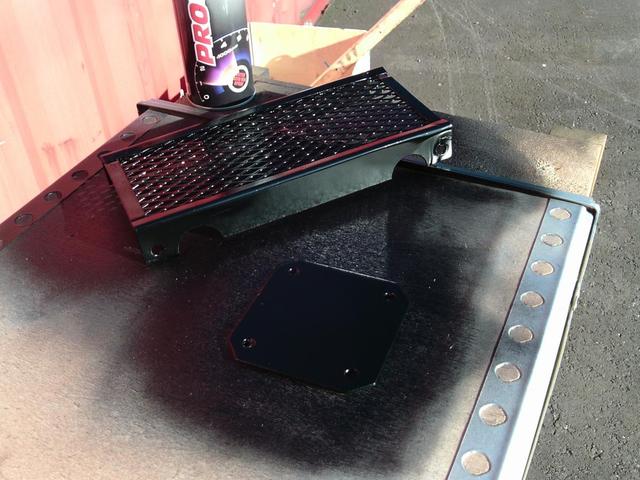
The first was an original spec oil cooler, boy did it take some finding as they were discontinued 15+ years ago and the latest beaver ones are different.i had to go through nearly all my contacts in the trade before I traced one. I also cleaned up and painted the oil cooler cover and the tank plate.
I cant get the picture off the camera, however I have now fitted the coil and the engine genuinely started first pull, not bad considering it must of been stood for at least 10 years prior. The other good news is theres no smoke what so ever, its allways a concern when fitting new rings to Hondas.
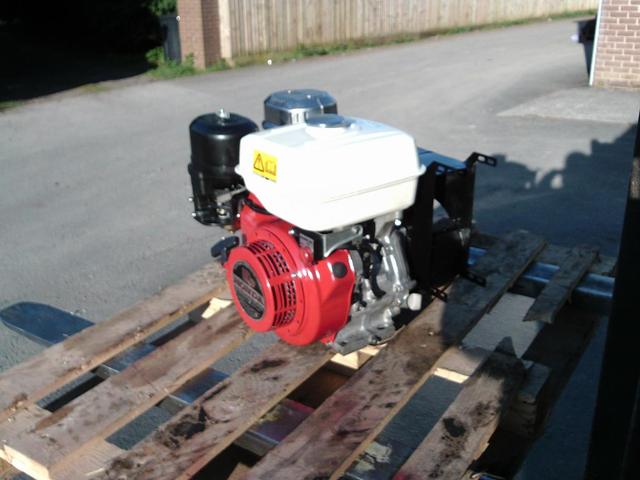
Went into work just gone 6 am this morning and bar the coil have got the beavers engine ready to trail run. My cameras battery died just as I went to take a pic. Will see if I managed to get one, once I'm back at the PC tonight.
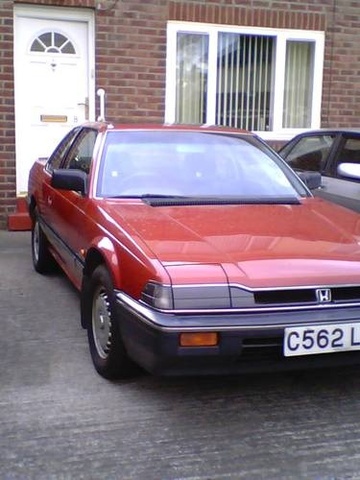
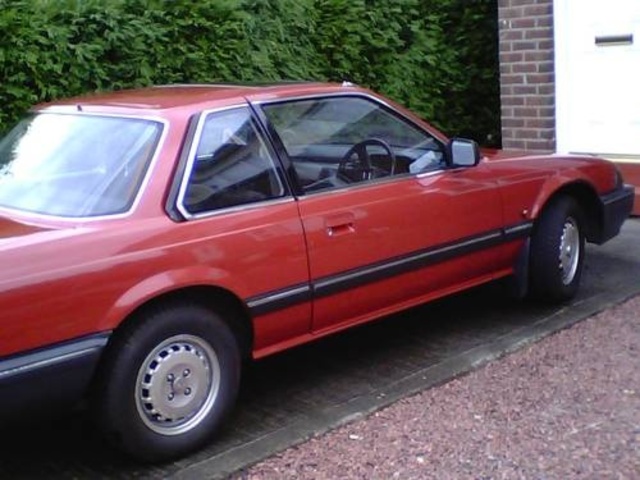
My first that I bought was a series 2 honda prelude, used to love it( and a couple of the girls I was seeing at the time loved the pop up head lights) but at only 19 the thirst for fuel and the cost of insurance was too much, so I started to look for something more sensible to shut my parents up and came back with a golf gti, opps. Those were the days.sigh. The below photos are of very similar car except my prelude was a silver a plate and my golf had different wheels. I'll have to try and dig out some pics I've got some where.
This afternoon I've finally felt up to doing some more work on the Beaver (thanks mainly to a stronger prescription for my shingles). This involved stripping the paint off the oil tank and removing the ground in name and dents. Then several coats of high build etch primer. This was then followed by several more of gloss black. In the final picture it looks like ive missed some of the inside but this is down to the trick of the flash.
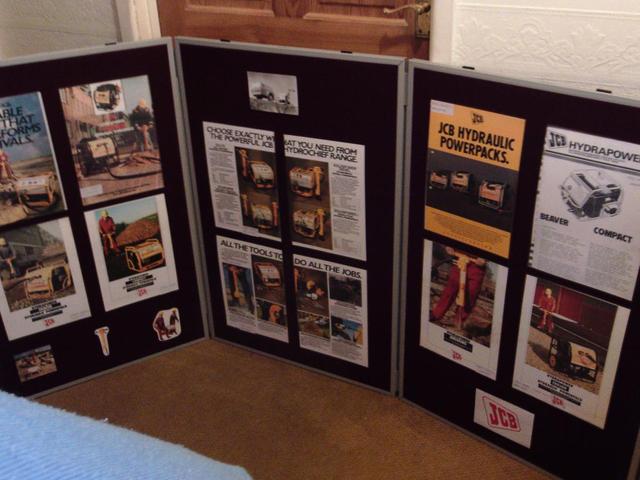
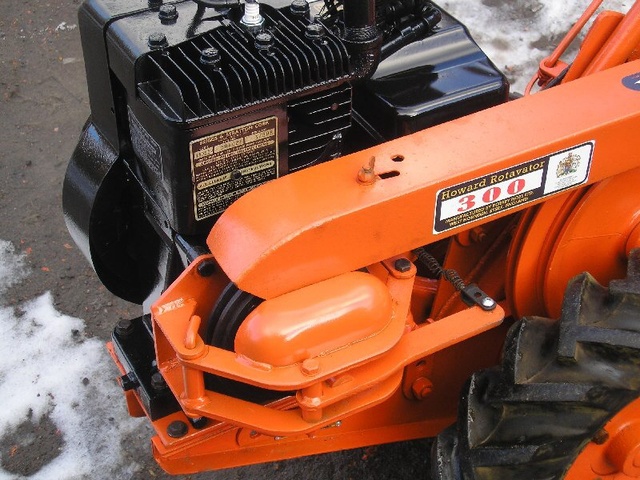
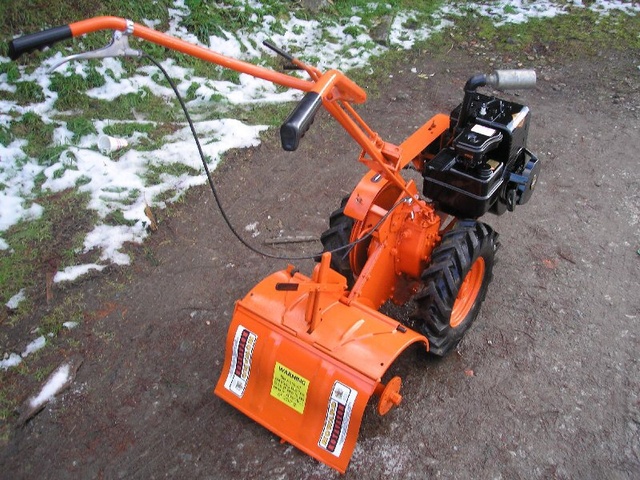
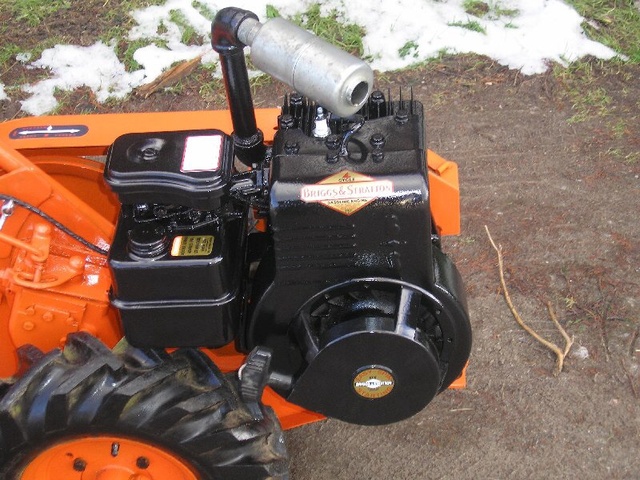
I've been giving this a once over this morning and am very pleased. It appears to run well, on the hand start anyway , yet I'll have to rig a battery up to test the electric start option out. I will also have to plug the flow gauges into it to see what oil it's producing. About the only things that I can see wrong is it needs a new rear castor, one engine mount is perished( I believe I've got one in my spares) and the oil cooler is a bit marked( 3 brand new old stock units are sat on my shelf). I've also just had arrive a very nice sales brochure off ebay covering these machines and all their attachments, it's in full colour and 8 pages so should look good displayed with this machine.
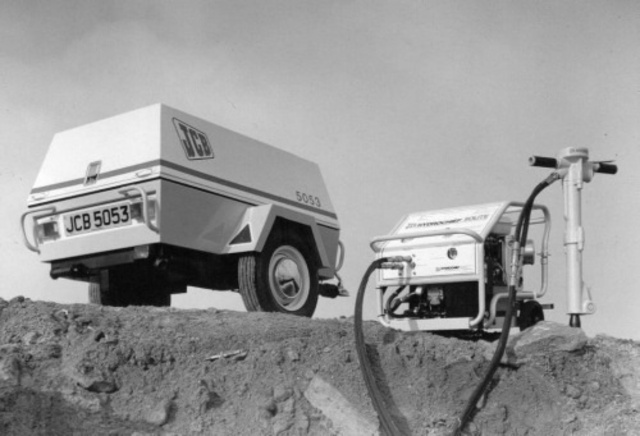
Also I've found a solitary photo on the net of these packs when new.
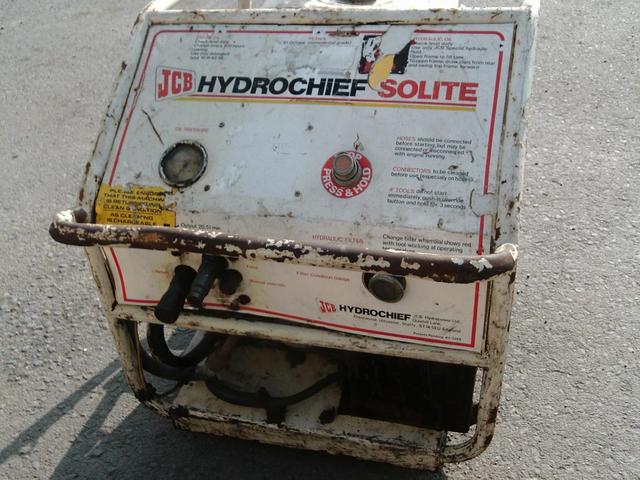
Looks like I've done it again, tonight I've just purchased the beavers predessor, a Hydrochief Solite. About twice the size of the latter, yet only gives out the same power. It's a good job that its so rare otherwise I'd of simply told the seller to f*#k off and got back in the van. I've never had a deal that someone has had such a bad attitude!! Photos to follow on the weekend.
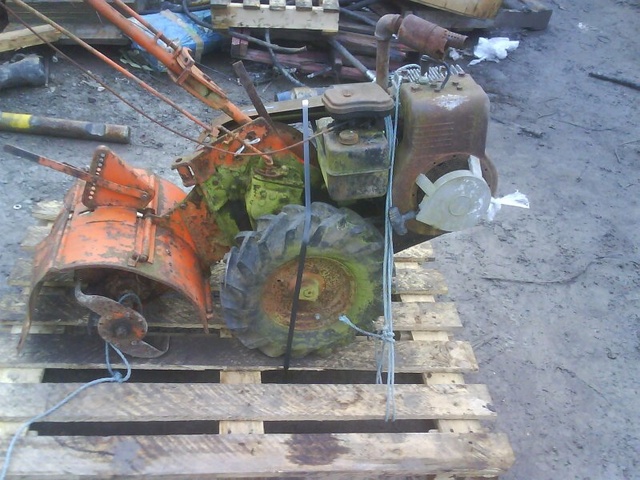
This is now reduced to £50 to make some space, jap engine, steel wheels, far from a basket case, been painted green but underneath looks quite sound. spare series 1 gearbox included. Would make a great project or great donner? From memory it dates from 1948. Can get some photos if someone is interested.(just a bit buried at the moment)
Progress has been very limited due to a combination of still suffering from shingles and being very busy at work. You may laugh but I have found it near impossible to obtain good condition honda parts for a second 8 hp of this period, so have therefore decided to put the newer beaver on hold and redo the compact 2 instead. Saying that though,It's not been easy trying to find good enough parts for the 5hp engine of this period either,but after hunting high and low I have now got enough. I made the mistake of buying a Chinese exhaust off ebay,and trying to fit it, I can see why its so cheap. I have also started prepping the compact. The beavers frame has also seen dome attention.
I've fitted dozens of the Meco brand units to various engines over the years to both 2 and 4 stroke engines but interestingly the only case of incompatibility was when I tried one on a Kohler - timing issue and nearly snatched my hand off.
However, the unit that you illustrate is the one sold by a man who specialises in Kohlers so should be fine in that application.
The Atom units used to come in different colours for different applications but I haven't seen them on offer for ages.
The great plus point of the electronic modules is that they are "fit and forget" so when used on old Villiers 4 stroke engines etc they eliminate the need to remove cowlings to scrabble about cleaning and adjusting points through the port hole in the flywheel.
Allegedly the clever electronics give automatic advance and retard but that's a bit smoke and mirrors to me!
One word of warning, if you are thinking of fitting one to an engine with the type of centrifugal ignition rev limiter such as on a two stroke Allen Scythe be aware that by eliminating the points you disable the rev limiter !!!! There is a way round that issue but I digress!!
I believe that the atoms were discontinued about 10 years ago, having said that I had a few in stock and used my last one last year on a howard 350.
I've fitted the blue atom many times to kohlers, they allways start easily and run well. You simply cut the wire to the points and condenser and connect up.I've found with the blue atom though that you have to connect the wires back to front to the instructions. My father ran a kohler gem commercially for about ten years with one and never had any issues. Would imagine the one photod will work the same.
Looks a smart machine, having a clearout then Gareth ??
Thanks for the compliments, due to my arthritis getting worse I'm going to have to seriously thin down my collection. I'm finding it difficult to bring myself to part with them but hey-ho.
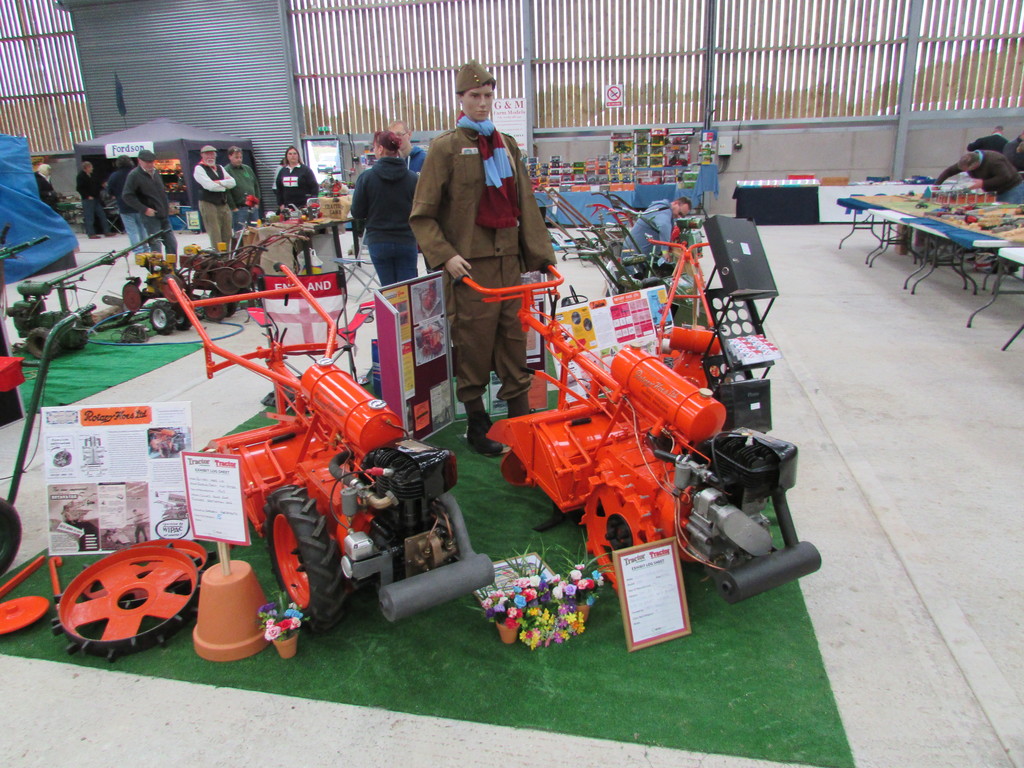


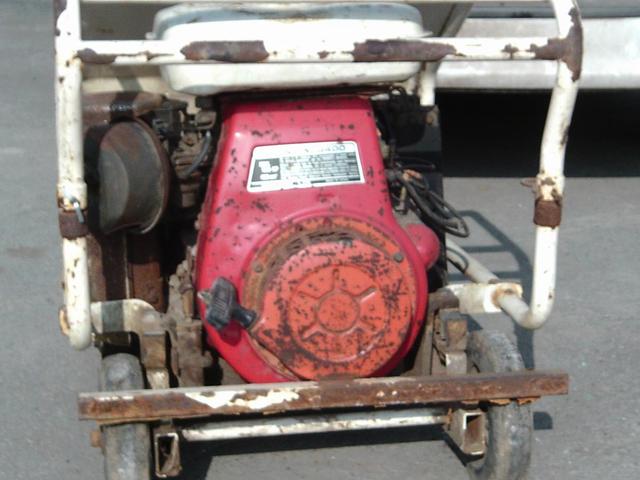
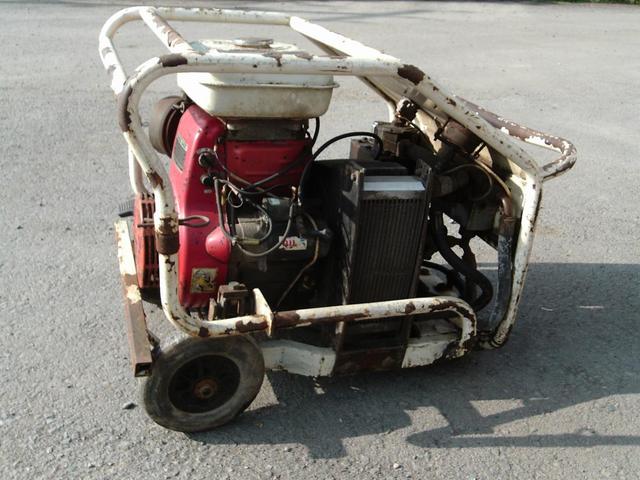
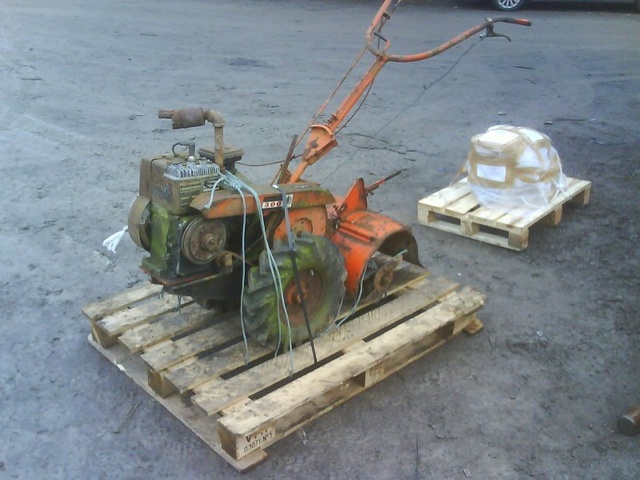
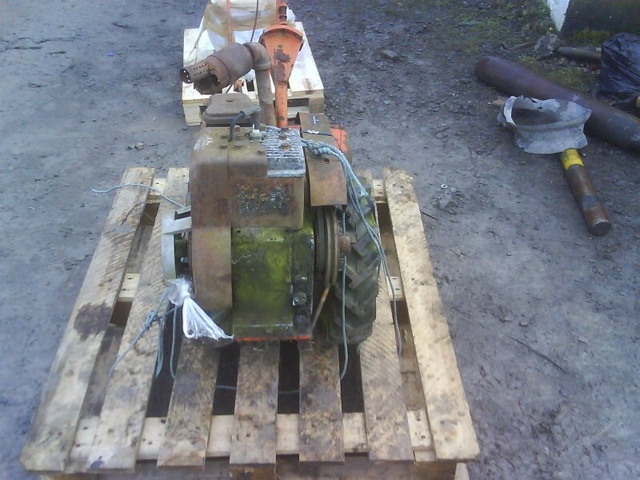
JCB Beaver Hydraulic Power Pack.
in Step by Step restoration
Posted
Been doing a bit more to this project today. The frame is starting to take shape, just got to build the contour of the tube up to the right size. Ive also refitted the cooling fan, the oil filter- which again is obsolete but luckily the one fitted just needed a good clean out, the oil cooler was bolted back in, and I also found a good jcb oil filler cap.
I thought id also include a photo of the welder ive been using, sledge hammer to a walnut springs to mind.