Hi Guys, would anyone have a plough attachment for a Westwood Gemini or Flymo DM? I would like to make one but I need the dimensions. Any help would be great.
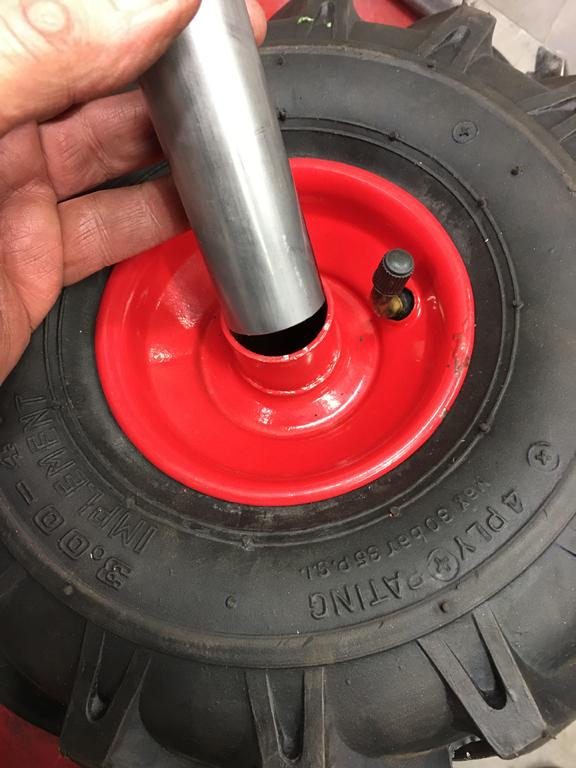
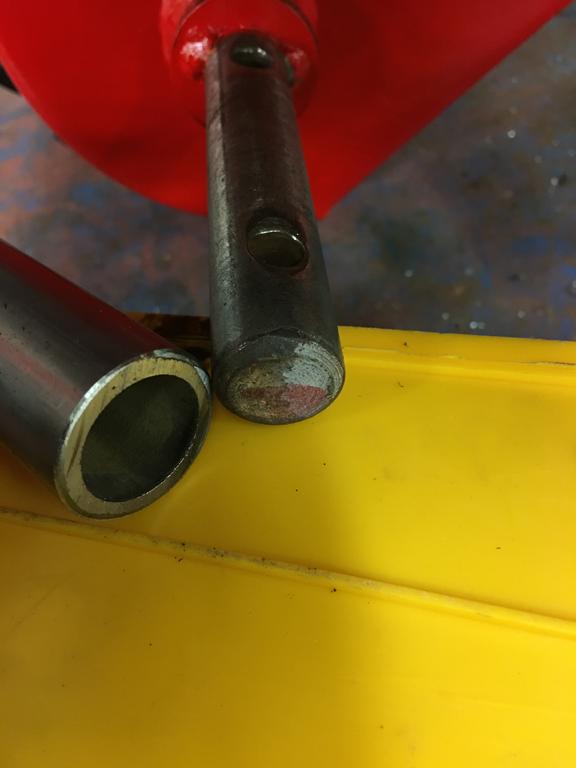
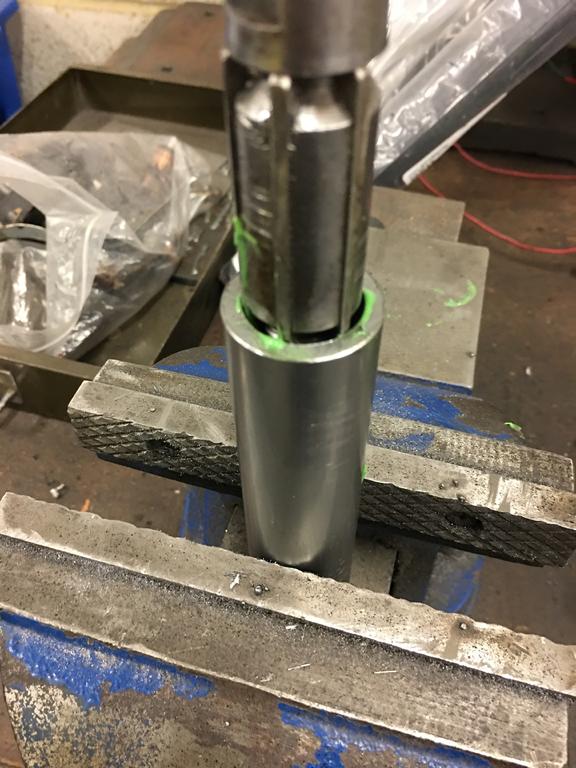
So far so good! The wheels I bought were fitted with needle roller bearings which I removed as the wheels needed to be fixed to the axle which provides the drive. With a centre diameter of 30mm and an axle diameter of 22mm I had to obtain some tubing to act as a bush. The O/D was just the right size but I had to ream out the I/D to fit over the axle shaft. Holes were then drilled to accept the cotter pins to secure them to the axle. Tomorrow, I’m going to weld the wheels to the tubing and continue finishing the wheelbarrow attachment.
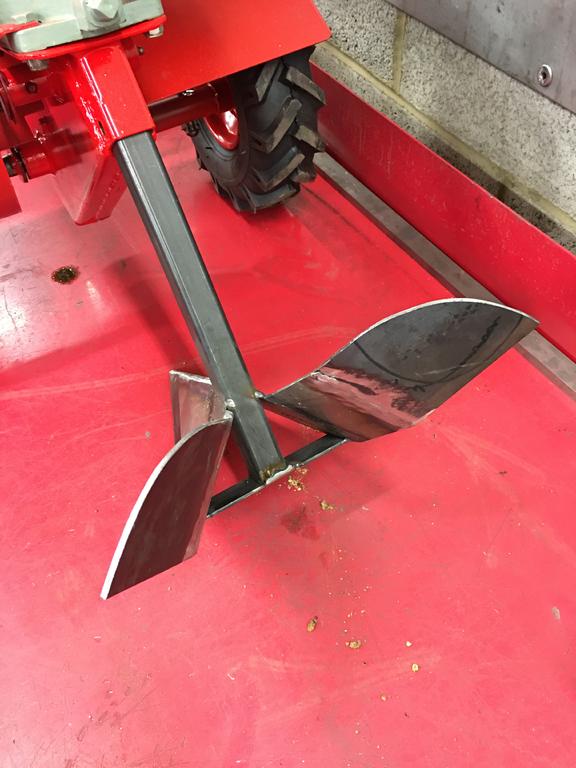
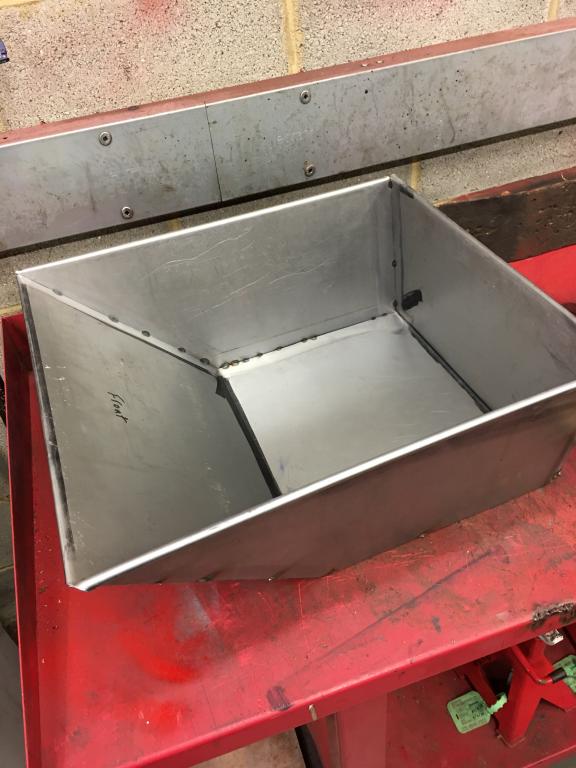
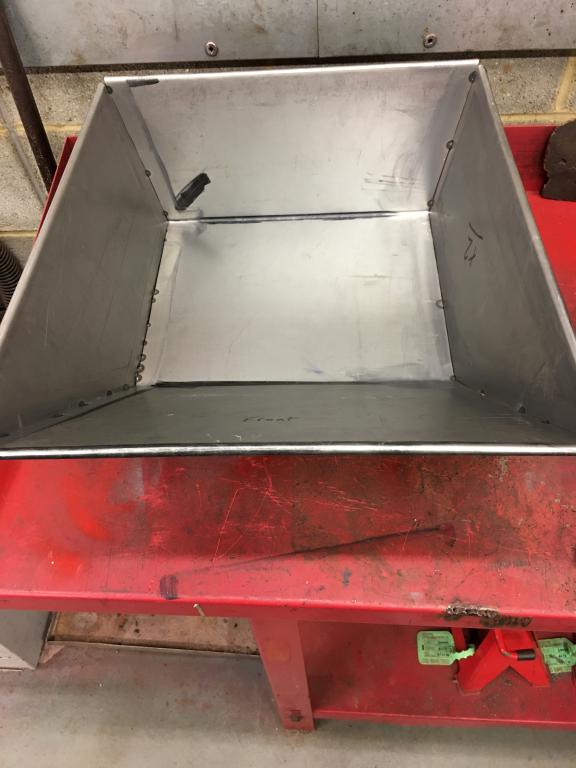
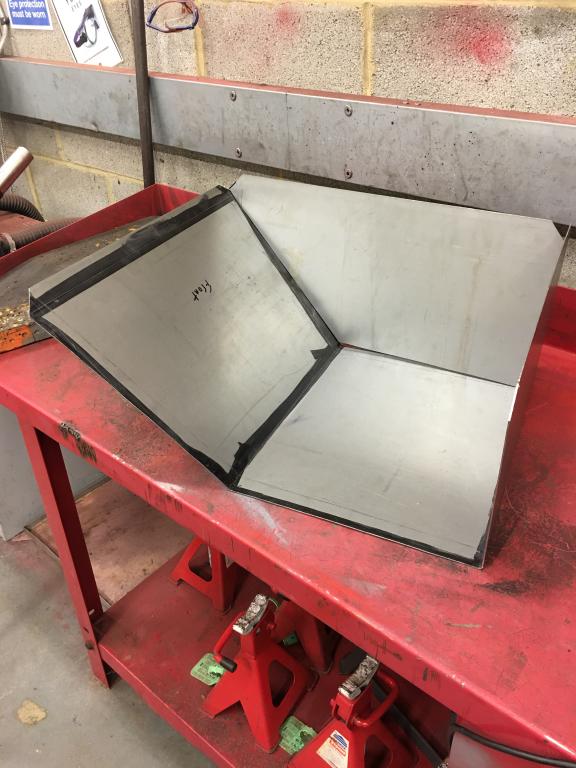
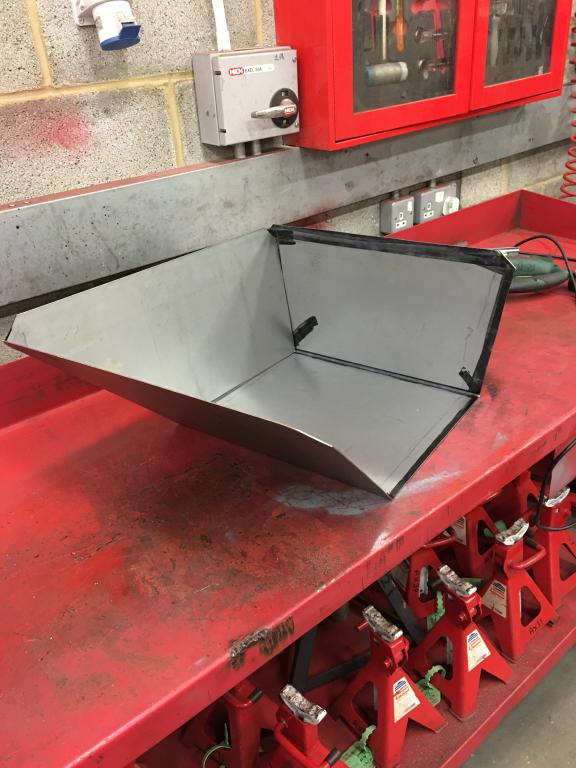
More progress on the Gemini. I tried using pipe clamps for hinges that would snap over the front bar/lifting handle but felt they wouldn’t be strong enough so removed them. I came up with an idea that would enable me to lift the barrow attachment onto the bar but remain secure whilst carrying a load. I cut a section out of a pair of eyebolts, just enough to allow them to slip over the bar, and fixed them to a length of steel angle, which also provides some support and rigidity to the bucket.
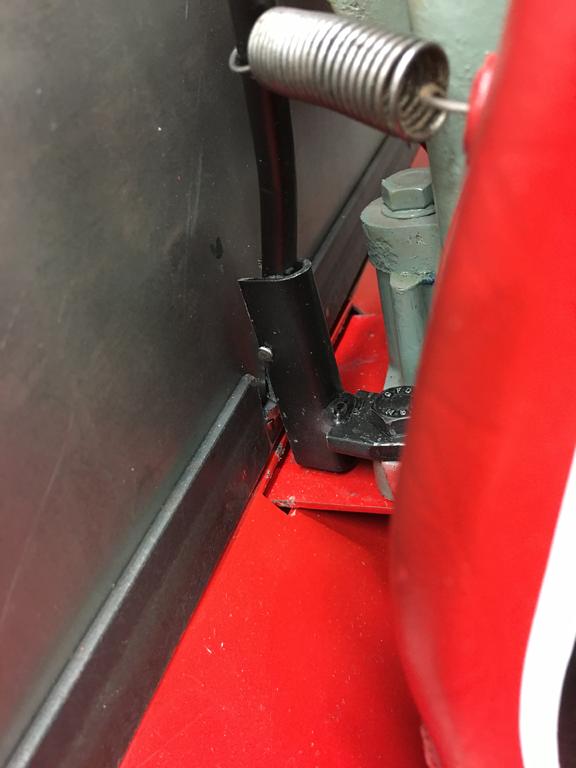
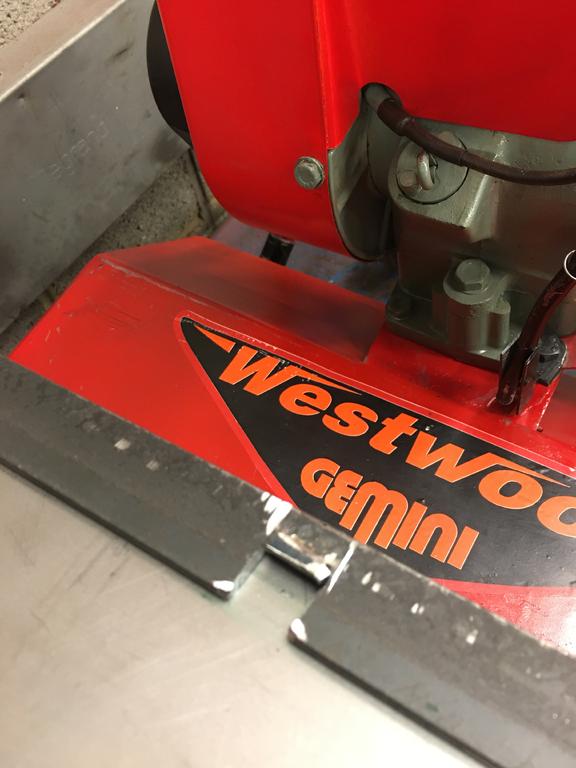
i then used some steel angle bolted to the rear lower edge of the bucket and cut a slot down one side to engage with the bottom of the tipping lever. It looks a bit rough and ready at the moment but it does work really well. Some more tidying up later before painting.
Paul, I’ll sort out the bucket release mechanism after fabricating the hinges, which I think were made of nylon originally. I don’t think I’ve got any nylon but I might try using some polyurethane material instead. I’m thinking if 2 U shaped pieces which will drop over the tine guard handle when the bucket is tipped upright but hold the bucket in place when it’s lowered.
Alan, yes I know... plenty of axle stands. Didn’t realise they were sold in pairs so instead of 10 I got 20!!!
Looking good Paul. Could you post a pic of the bucket release part of it? I have the release lever and spring, I just don’t know how it would work to release the bucket.
Nice machine there. I bought two belts, the first one from fleabay which, although the correct size, didn't allow the clutch to operate very well (F&F A540/A20). I then bought a belt from Simply Bearings in Leigh Lancashire which is a cotton dry cover Kevlar reinforced mower wrapped V-belt. Model number is DRYB-4L-K-220/XDV. The clutch now works perfectly and has made a real difference.
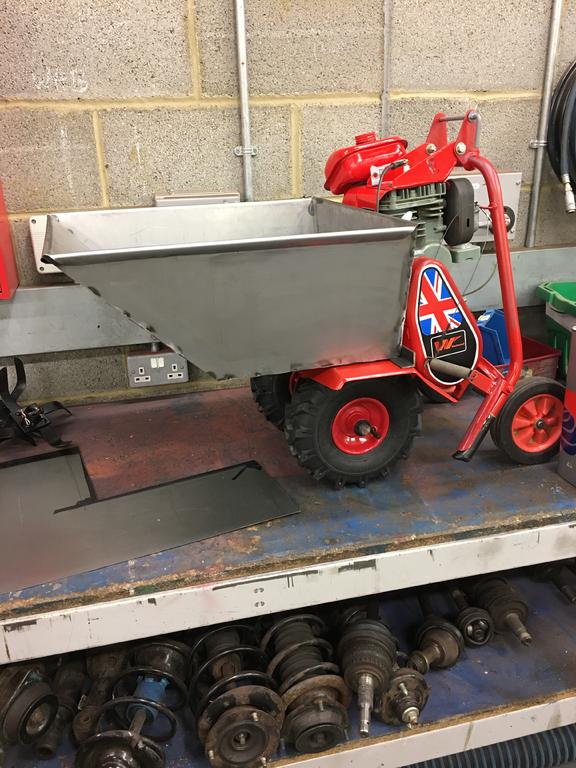
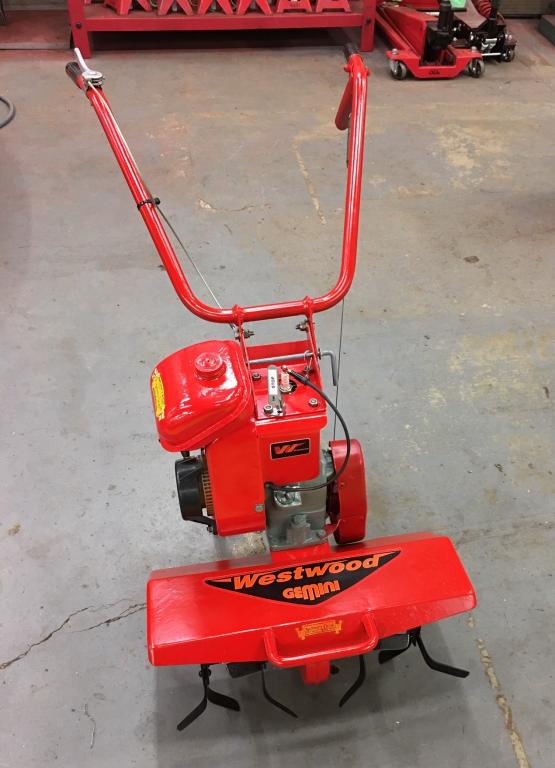
Following a recent offer of a free Westwood Gemini, I've stripped it down to it's bare bones and managed to get it back to a reasonable condition.
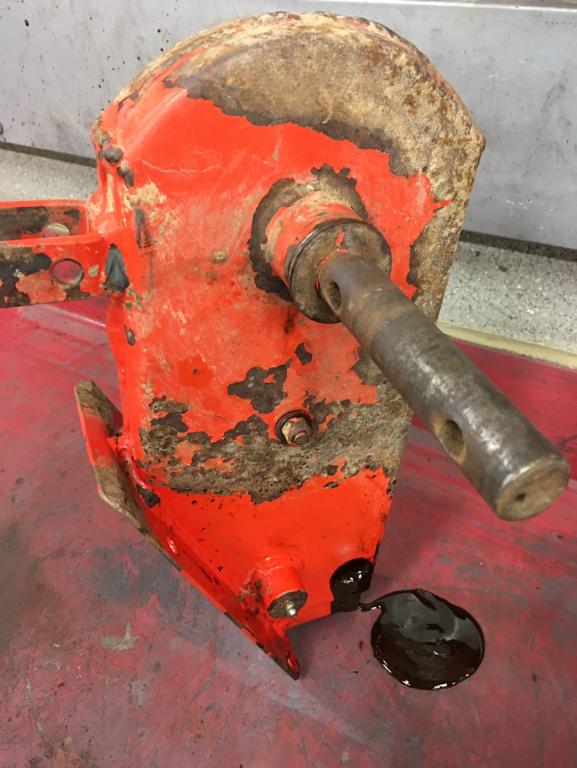
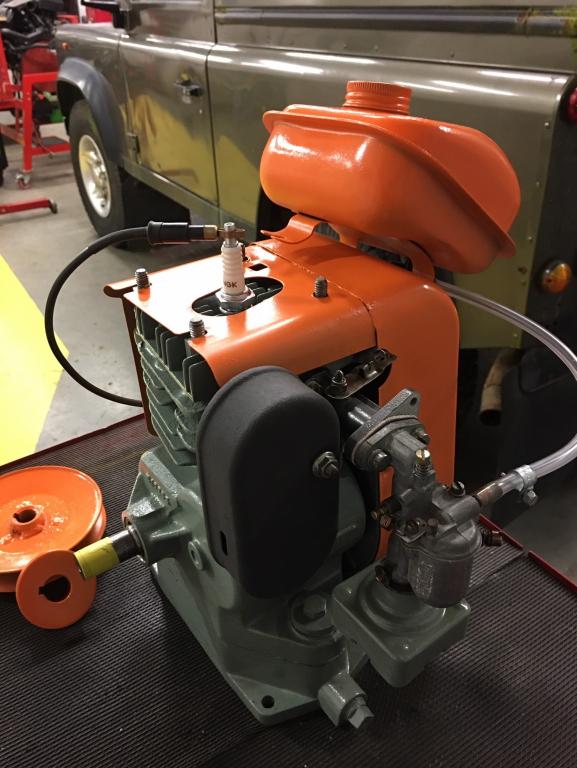
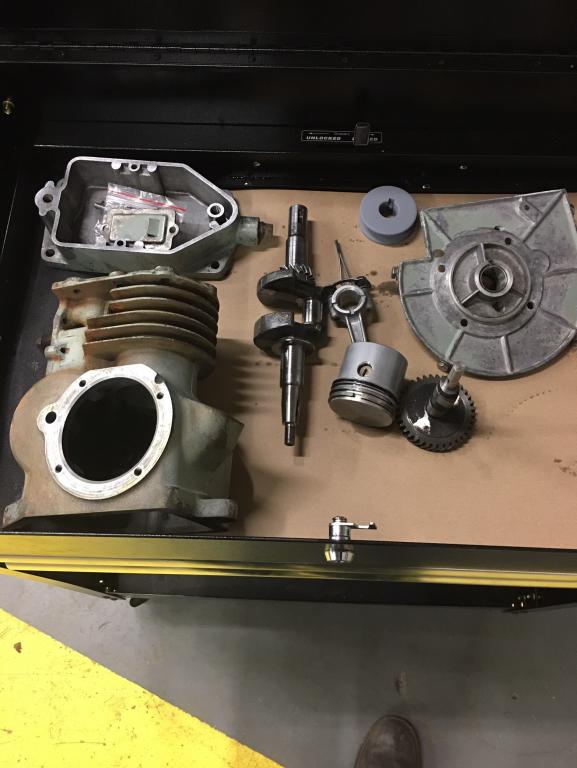
I needed to purchase some new parts like ignition coil, HT lead and new NGK spark plug. Starter recoil assembly with rope and handle and new engine gaskets of course (in particular the correct thickness head gasket). The cylinder head was de-coked, cylinder bore de-glazed, inlet and exh valves lapped in and valve clearances adjusted to spec. Ignition timing reset by finding true TDC with a dial gauge and degree disc on the crankshaft. Zenith carb cleaned inside and out with carb cleaner and jets cleaned with compressed air. Similar for the fuel tank with a new fuel pipe fitted. The 'gloop' in the chaincase was removed as far as possible and refilled with new oil. Unfortunately, the chaincase is sealed for life though I would have liked to get inside and give it a proper clean and renew the axle shaft seals. Everything torque tightened where I could find the figures and finally primed and painted in rattle can engine enamel. Stickers from Titch at Machinery Decals, which are great. It started 2nd pull and the carb adjusted once warmed-up. Looking forward to using it when I get my allotment. Photos below...
Hi Paul, hope you don't mind me asking as I've just (literally) joined this website and introduced myself on the forum. As a recent owner of a Gemini, I'm very impressed with your restoration. It looks as good as new.
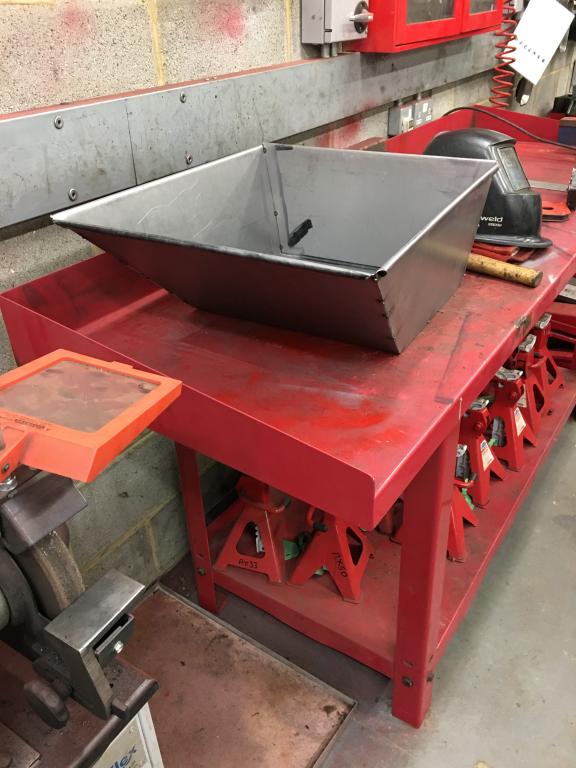
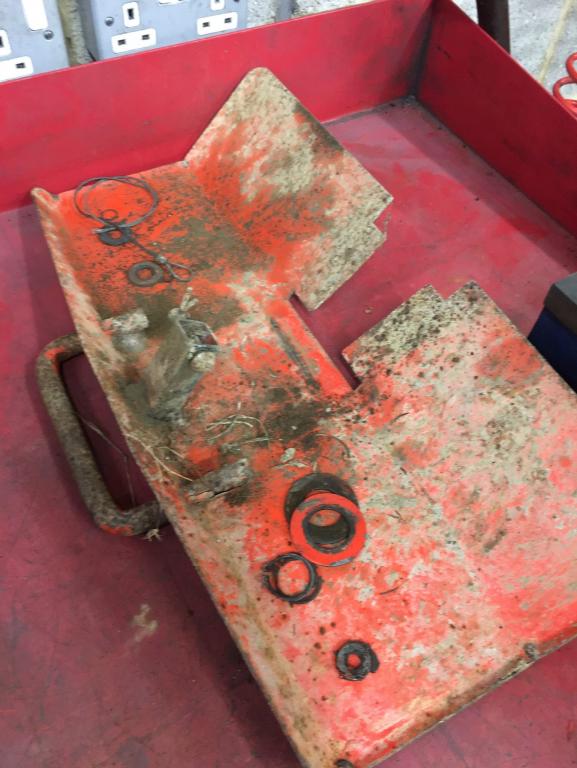
I've just completed my own restoration and I'm very pleased with the results. However, I would like to fabricate a barrow but don't have anything to go on except for your photos. I was just wondering if you might be able to provide dimensions for the barrow bucket? Thanks.
PS. Also nearly forgot to ask where I might be able to get some 'tractor'wheels?


")


New find
in Ride On's
Posted
Hi Guys, I’ve just been offered a Lawn King Transmatic/ MTD Smart RC 125 ride on mower.
Do any of you guys have any info on this?
it’s powered by a 344cc Briggs engine.
It’s going to need a service and probably a few adjustments made before I can use it.
Any info would be great. Thanks.