I realized after it was too late that I forgot to take a picture of the wiring before it went back together, just got carried away in the moment trying to get it all done.
@CNew you do have the Polaris power head & attachments over in the US, probably just as hard to find as the Tarpen Mini engine power head is over here.
I’ve only seen photos on this forum of the Power Pole that has the outboard, tiller and snowblower attachments, unfortunately I don’t have one...
My mum and sister wanted some raised beds made for the garden. As we are still in lockdown we had to use materials we already had. We created a video of building them which features lots of Bolens action with the 1962 Bolens Ride-a-matic
Very cool! That specific model of Bolens is one of my all time favorites. I missed out on a nice one while I was in Minnesota. Great to see it running so well and getting out to use!
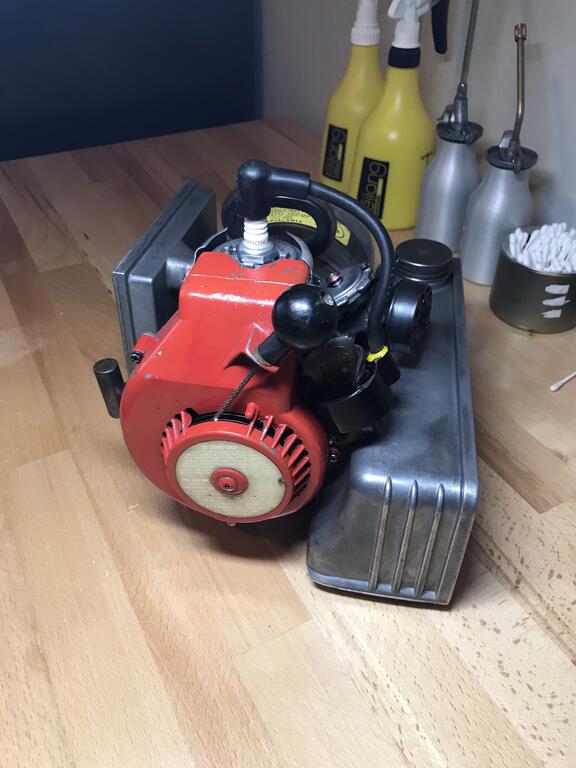
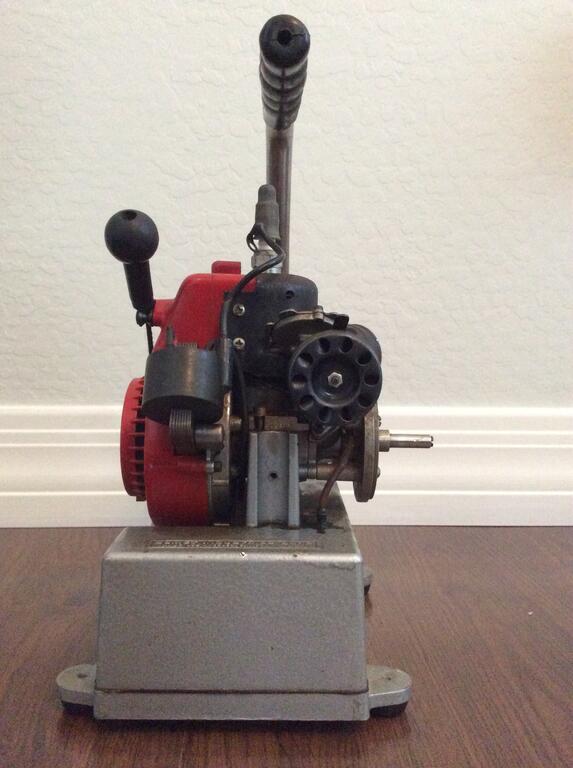
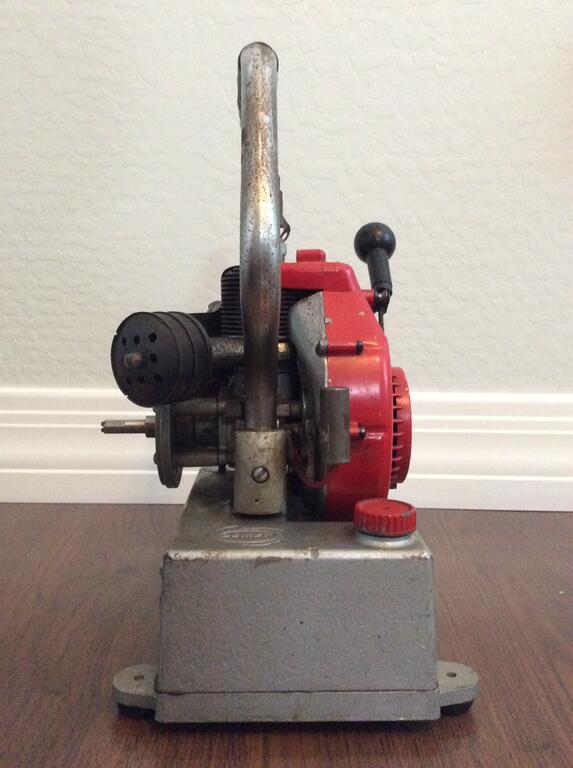
The Comet pump arrived today. Unfortunately it’s missing the ignition coil cover and the actual pump mechanism but it’s still great to be able to add this to the collection and round out the Comet tools.
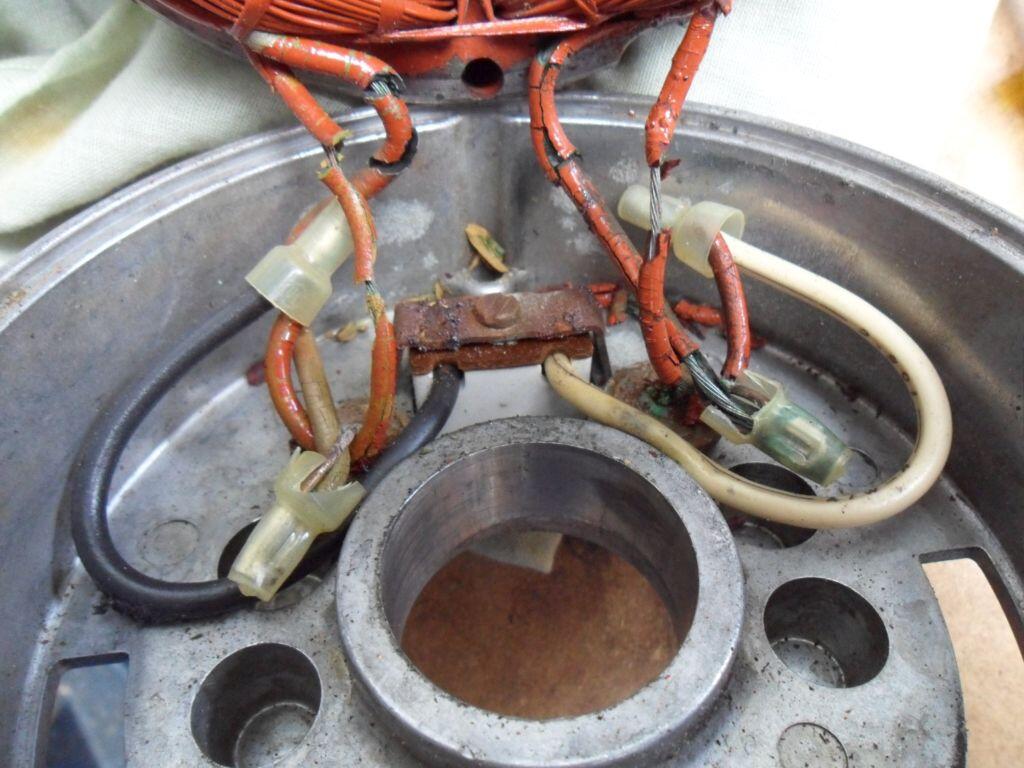
Yeah, those wires you should totally strip and cover. Thought they would've been in better shape from your first description
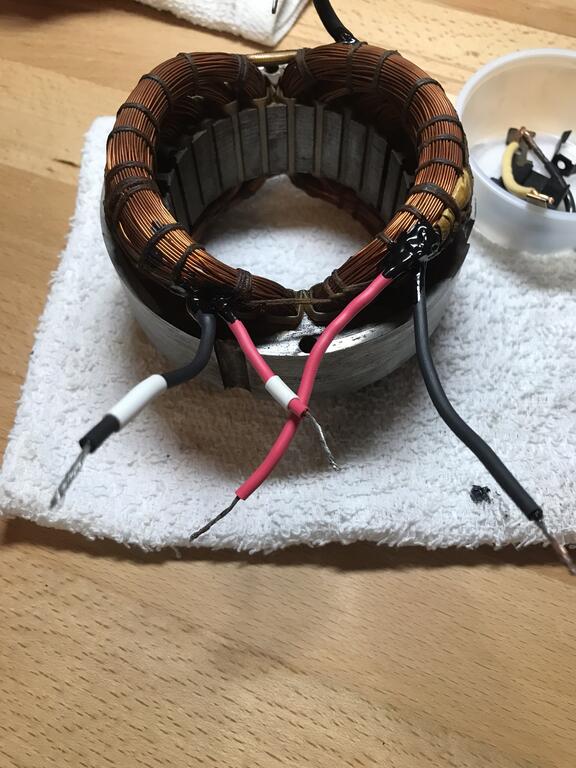
Well they were in slightly better condition until I was re-assembling the unit and the magnet sucked the coil off the back plate. That sudden yank pretty much did the rest of the insulation in...
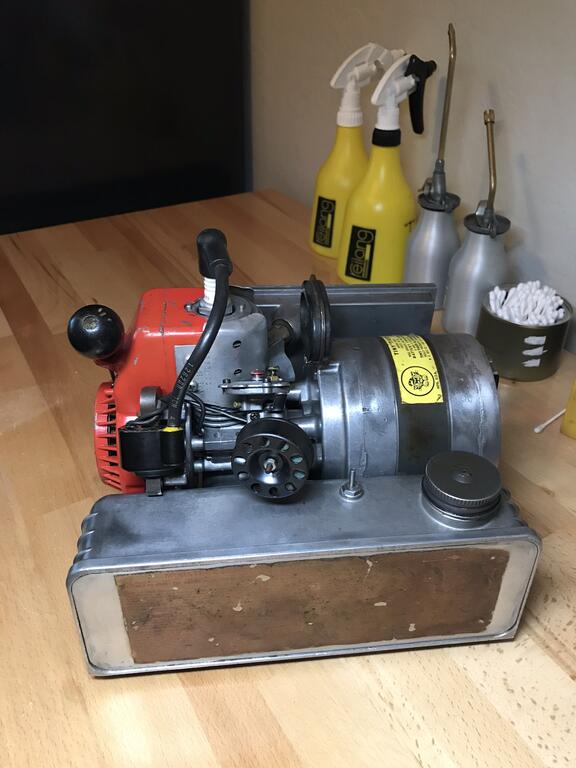
Sounds good. Looks like mine may have been store in a humid environment, the wires that are severely cracked also have blue-green corrosion permeating the entire wire. I think if there were more insulation left I would just simply cover it with heat shrink but I think in this case it might make sense just to finish removing the last bits and re-sleeve. Not what I had planned to do with this one but o’well, it’s good learning!
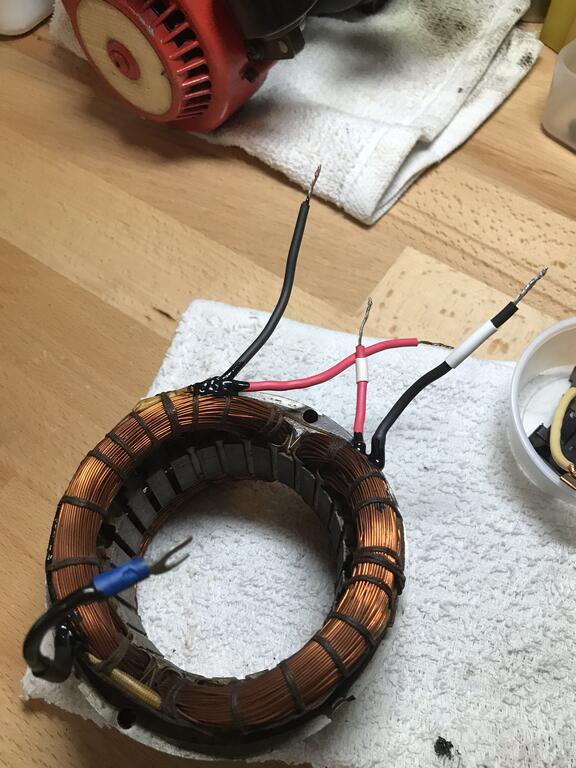
Now that I’ve got everything exposed it looks like a few of the wires are worse off than I thought. There isn’t t much insulation left. Is it possible to re-sleeve the wires by breaking off all the last bits of old cracked wire insulation and then just using heat shrink tubing as “new insulation”?
That was a little nerve-racking trying to remove the old plastic wire caps and then remove the crimped metal to free the wires without snapping off the little wire tabs. Got it all free, now it’s time to get some more shrink tuning and stuff to do the soldering.
Thank you for all the helpful suggestions. I think I’m tracking with the ideas but additional photos are always helpful.
Thanks,
Clint
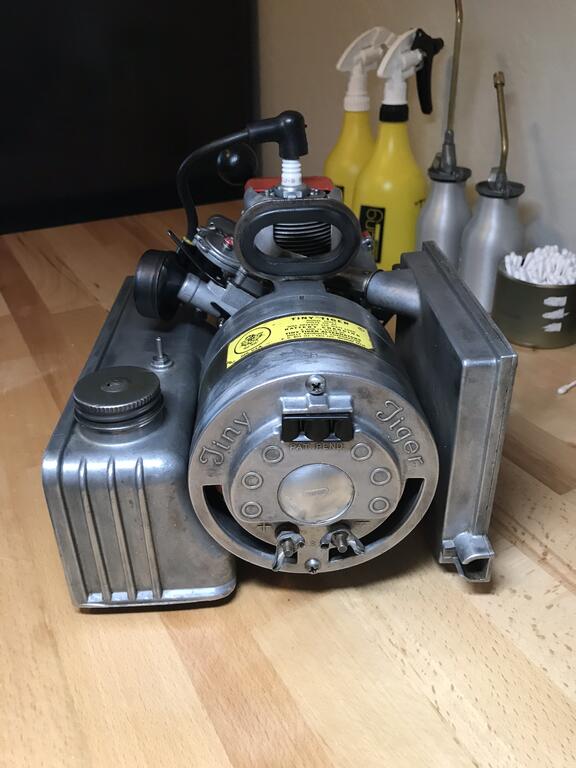
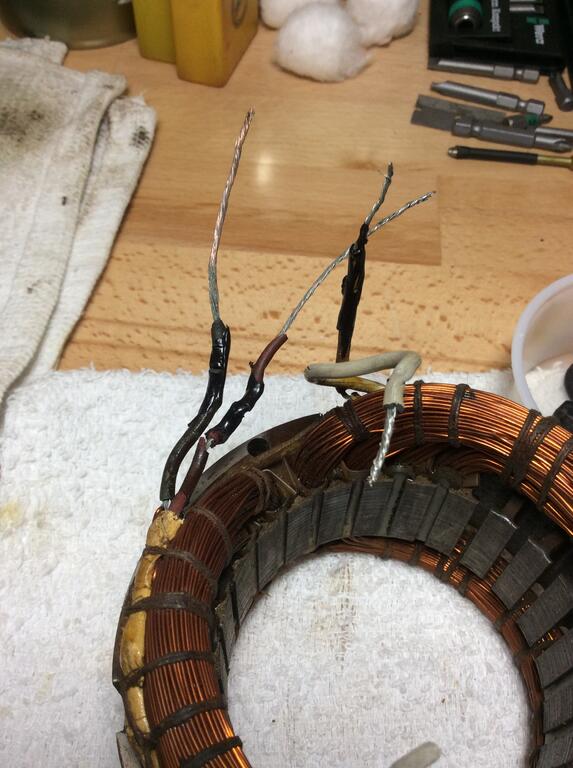
Also, it looks like there is a rusty red paint coating on the copper wiring on your coils - did you add that or was it original to your unit? Mine isn’t just bare exposed copper.
Ahhh yes, that’s a familiar looking sight. Mine isn’t quite that bad but the wires are now cracked and exposed like that. I used some liquid electrical tape yesterday but I’m tempted to go all the way and open it up to add heat shrink tubing. My biggest fear is the point where the wires go into the copper coil and if that area breaks...
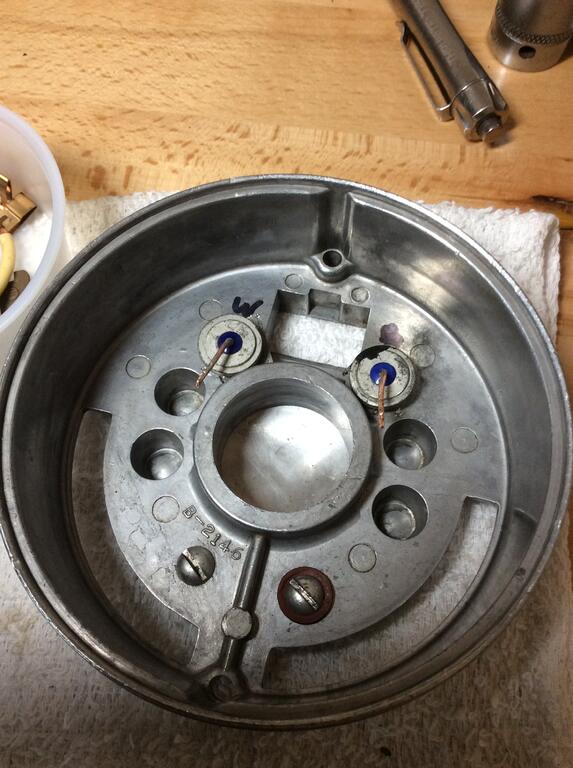
Well, so much for avoiding wire work. Upon reassembling today the power of the coil magnets yanked the coil section from the rear cover plate while sliding it on and pow, there little shards of dried out wire started falling out. I’m going to attempt multiple coats of liquid electrical tape to see if I can build up some thickness. Bummer...
Think I'm going to have to post something since no one else is busy on here and it's been a bit dead.
I’ve been thinking the same thing, it seems to be a little slow on here these days. Hopefully I can get back after it here this weekend and wrap this TT project up and get on to something a little more exciting.
I think my Groomer engine has one of those ports too, I’ll have to check. The groomer engine I have used the Tillotson carb as well which may operate differently than the standard O&R carb.


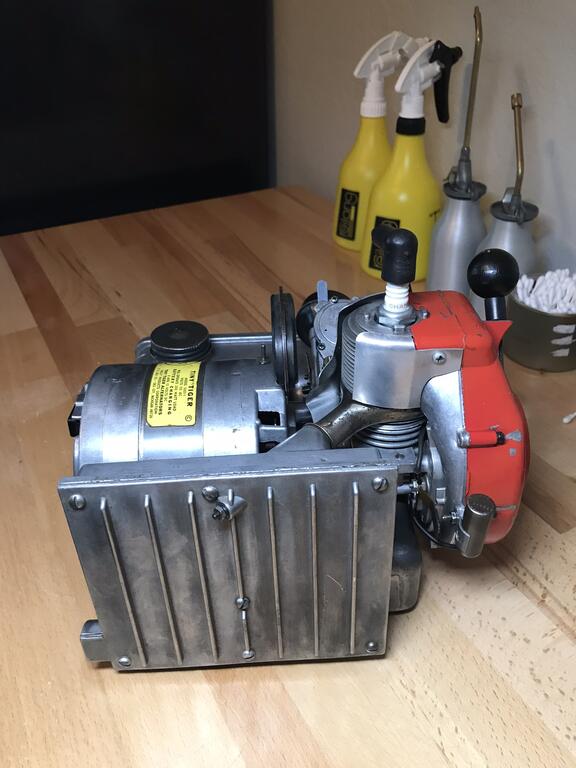
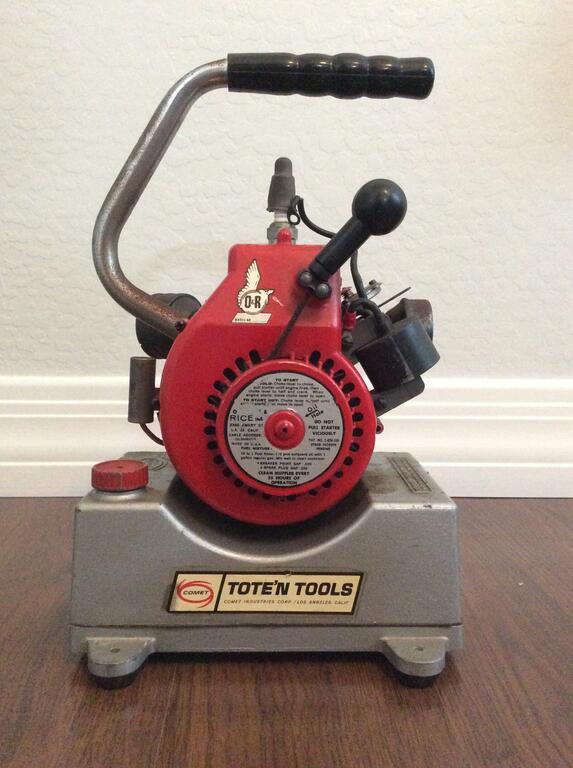


Ohlsson & Rice: Tiny Tiger Rebuild
in Ohlsson and Rice
Posted
I realized after it was too late that I forgot to take a picture of the wiring before it went back together, just got carried away in the moment trying to get it all done.