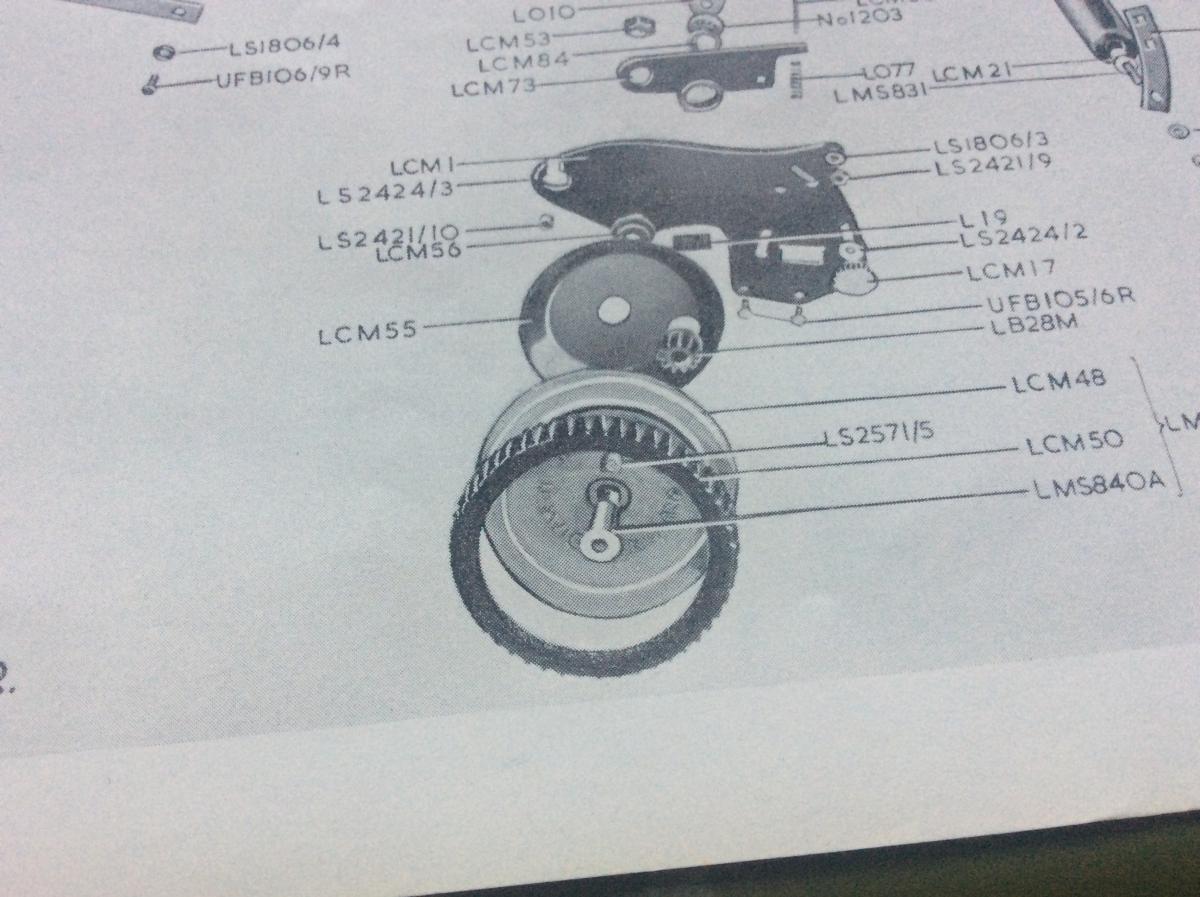
Good suggestion - thank you. Re-cutting is a possibility but I will need to drill a couple of 2mm test holes to see how much rubber there is over the steel wheel. The image of the parts list that I posted shows that the profile of the wheel has a raised central ridge and I need to be sure that there's enough rubber to take a cut without the tyre splitting.
However, salvation may be on the horizon as I've just had a phone call from a trader who has two two 36" bottom blade / sole plate assemblies that need to be refaced and won't fit on his grinder but are within the capacity of mine and he has two sets of mini gangs residing in the undergrowth behind his shed. The wheel/tyre assemblies may not be much better than mine but I see the possibility of a deal!
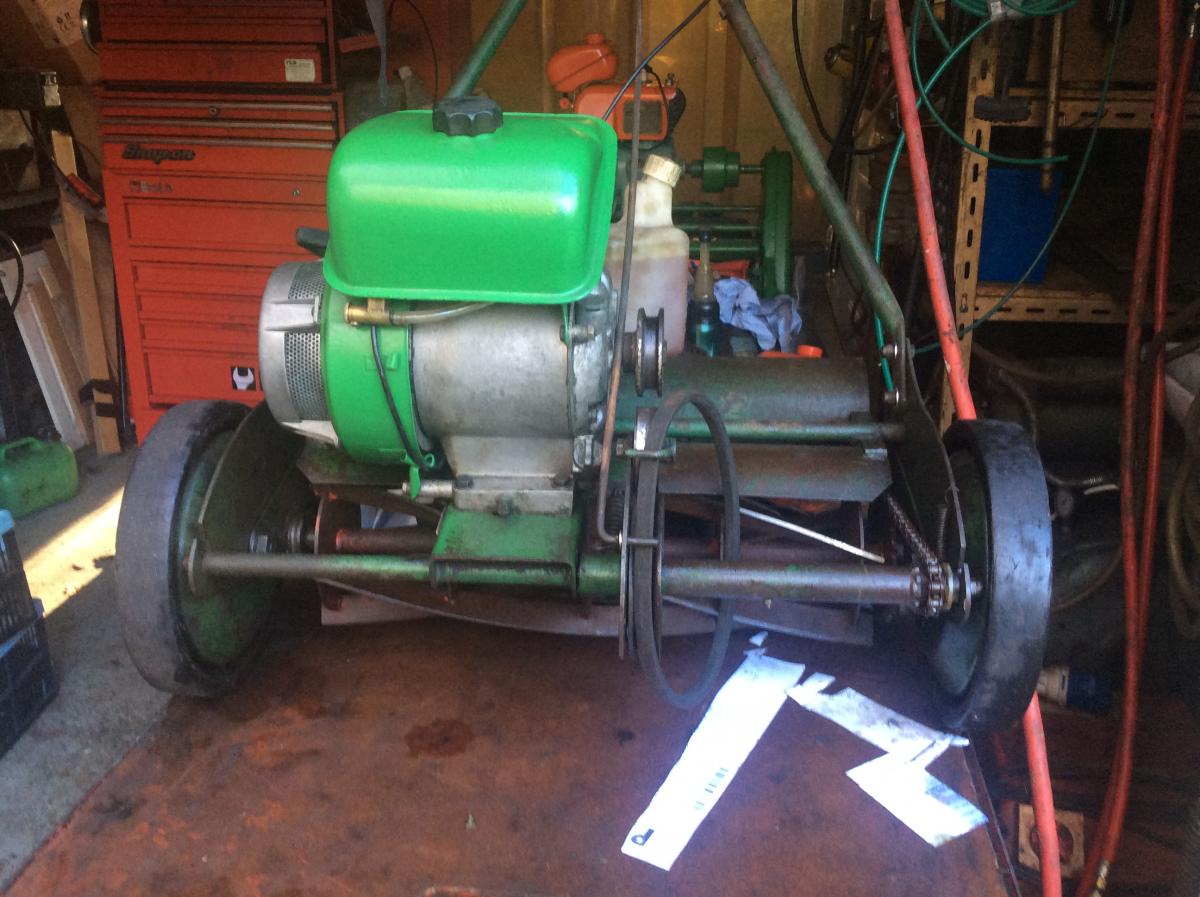
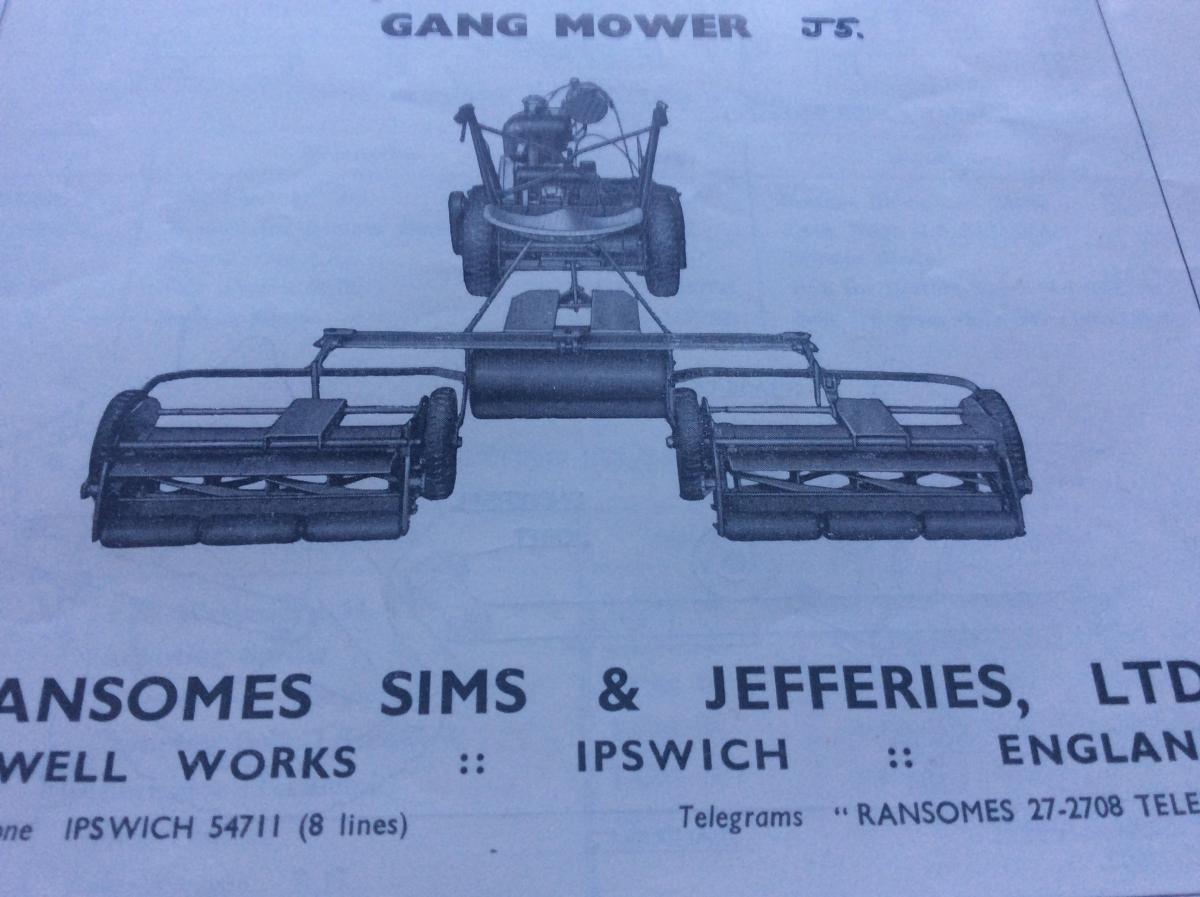
I'm on the look out for a decent pair of tyres/wheels for an Antelope (same as used on J3/5 Junior Gangs). Ones with a bit of tread left on them. I would consider a machine with or without an engine.
So if you have any, or know anyone who may have any to sell please pm me.
Don't give up on it. A few years ago we had a ride on booked in for service from about 30 miles away and when the boys started to strip it for cleaning they found post codes from a couple of miles up the road from us and even one of our job numbers on the back of the battery. It had been stolen three years previously and purchased by the "current owner" for cash off the back of a p***y truck!
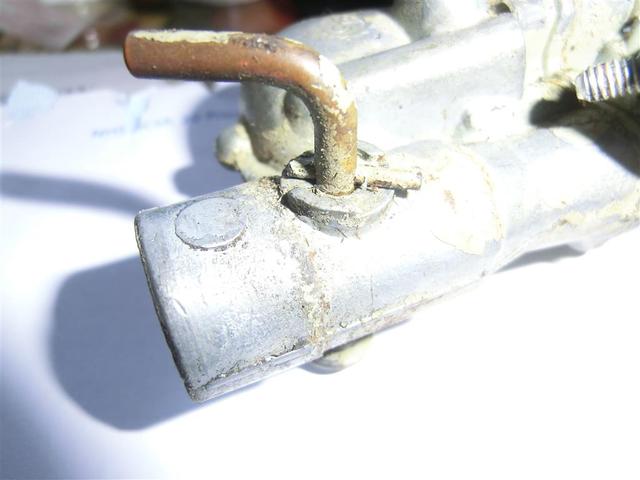
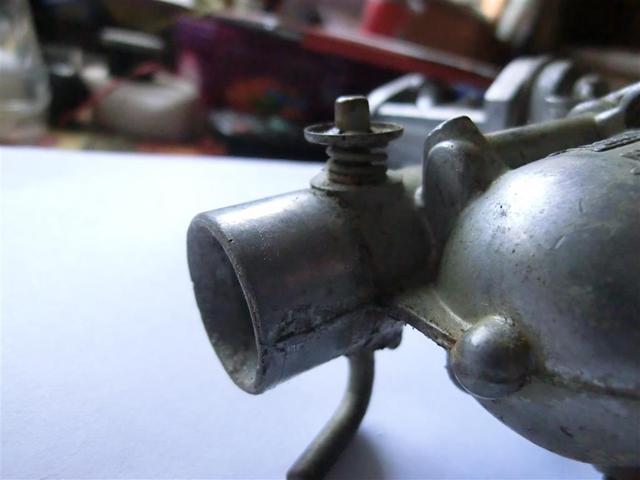
If the spring on yours is compressed with a similar push on retainer you could try increasing the friction by gently tapping it toward the carb body - perhaps using a small socket as a driver.
I can remember the Iron Horse and its more streamlined successor, the Scarab. One of the more interesting versions of the Scarab had a recovery crane built onto the unit where the trailer coupling would be for recovery duties in the original Dartford (under Thames ) Tunnel which was a single bore with two way traffic. There was one positioned at each end of the tunnel and in the case of a breakdown one could drive down the clear side and on reaching the obstruction spin round with in the width of the carriageway to hook onto whatever was causing the obstruction. I believe that there is one in preservation somewhere.
Left hand threaded near side wheel studs and nuts were once quite common, particularly on military vehicles but as far as I know are out of favour now.
Carburettor. The choke should stay put with friction supplied by a small compression spring and its position located by a pin moving between two cast "upstops" in the carb body.
Valve chest cover. May just be a perished gasket or the flange may have been distorted by over tightening. If the latter a squirt of sealant either side of a new gasket may sort it or even two gaskets .
If you carefully slacken the nut holding the exhaust box onto its manifold will allow you to swing it out of the way. Take time to work the nut loose as its not difficult to shear the threaded end of the manifold. If the worst happens you can drill and tap the end of the manifold to take a set screw.
Edit. Just got brain into gear! What you are seeing is possibly not a leak as such but oil vapour being expelled through the breather valve incorporated in the cover. Take the assembly off and give it a good wash in petrol . Don't go poking around in the flap valve as this may make things worse.If the valve is sticky this should help but if the valve is worn or the engine is worn and "breathing" there's no quick cure - just live with it!
Spraying 2k paint carries a health risk and it is generally recommended that it is only carried out using a proper clean air fed headset - even if spraying out of doors. It's not worth the risk of permanent respiratory damage by not doing so.
Plenty of health and safety info available on the Internet !
I have done that myself a few times with 6ft wide tracks but the air tools make a huge difference.
Started on filling all the rust pits with Upol today not sure why but the filler goes off but retains a sticky surface which clogs the sandpaper.
Two pack high build primer, hardly thinned and applied with a brush or roller (no nasty vapours) , goes on thick and fills rust pits etc. Read about it in an article in Classic Tractor and tried it for the first time on some rust pitted handlebars two days ago - brilliant. Just need some cheap disposable paint brushes or rollers and not mix too much at a time for the job in hand or have something else on which to use up the left over.


Ransomes MG2 number 137
in Step by Step restoration
Posted
Sounds as though its a more workable take on Holts Knifing Putty which tends to go off rather too quickly for my liking. Will be giving it a try.