| |
-
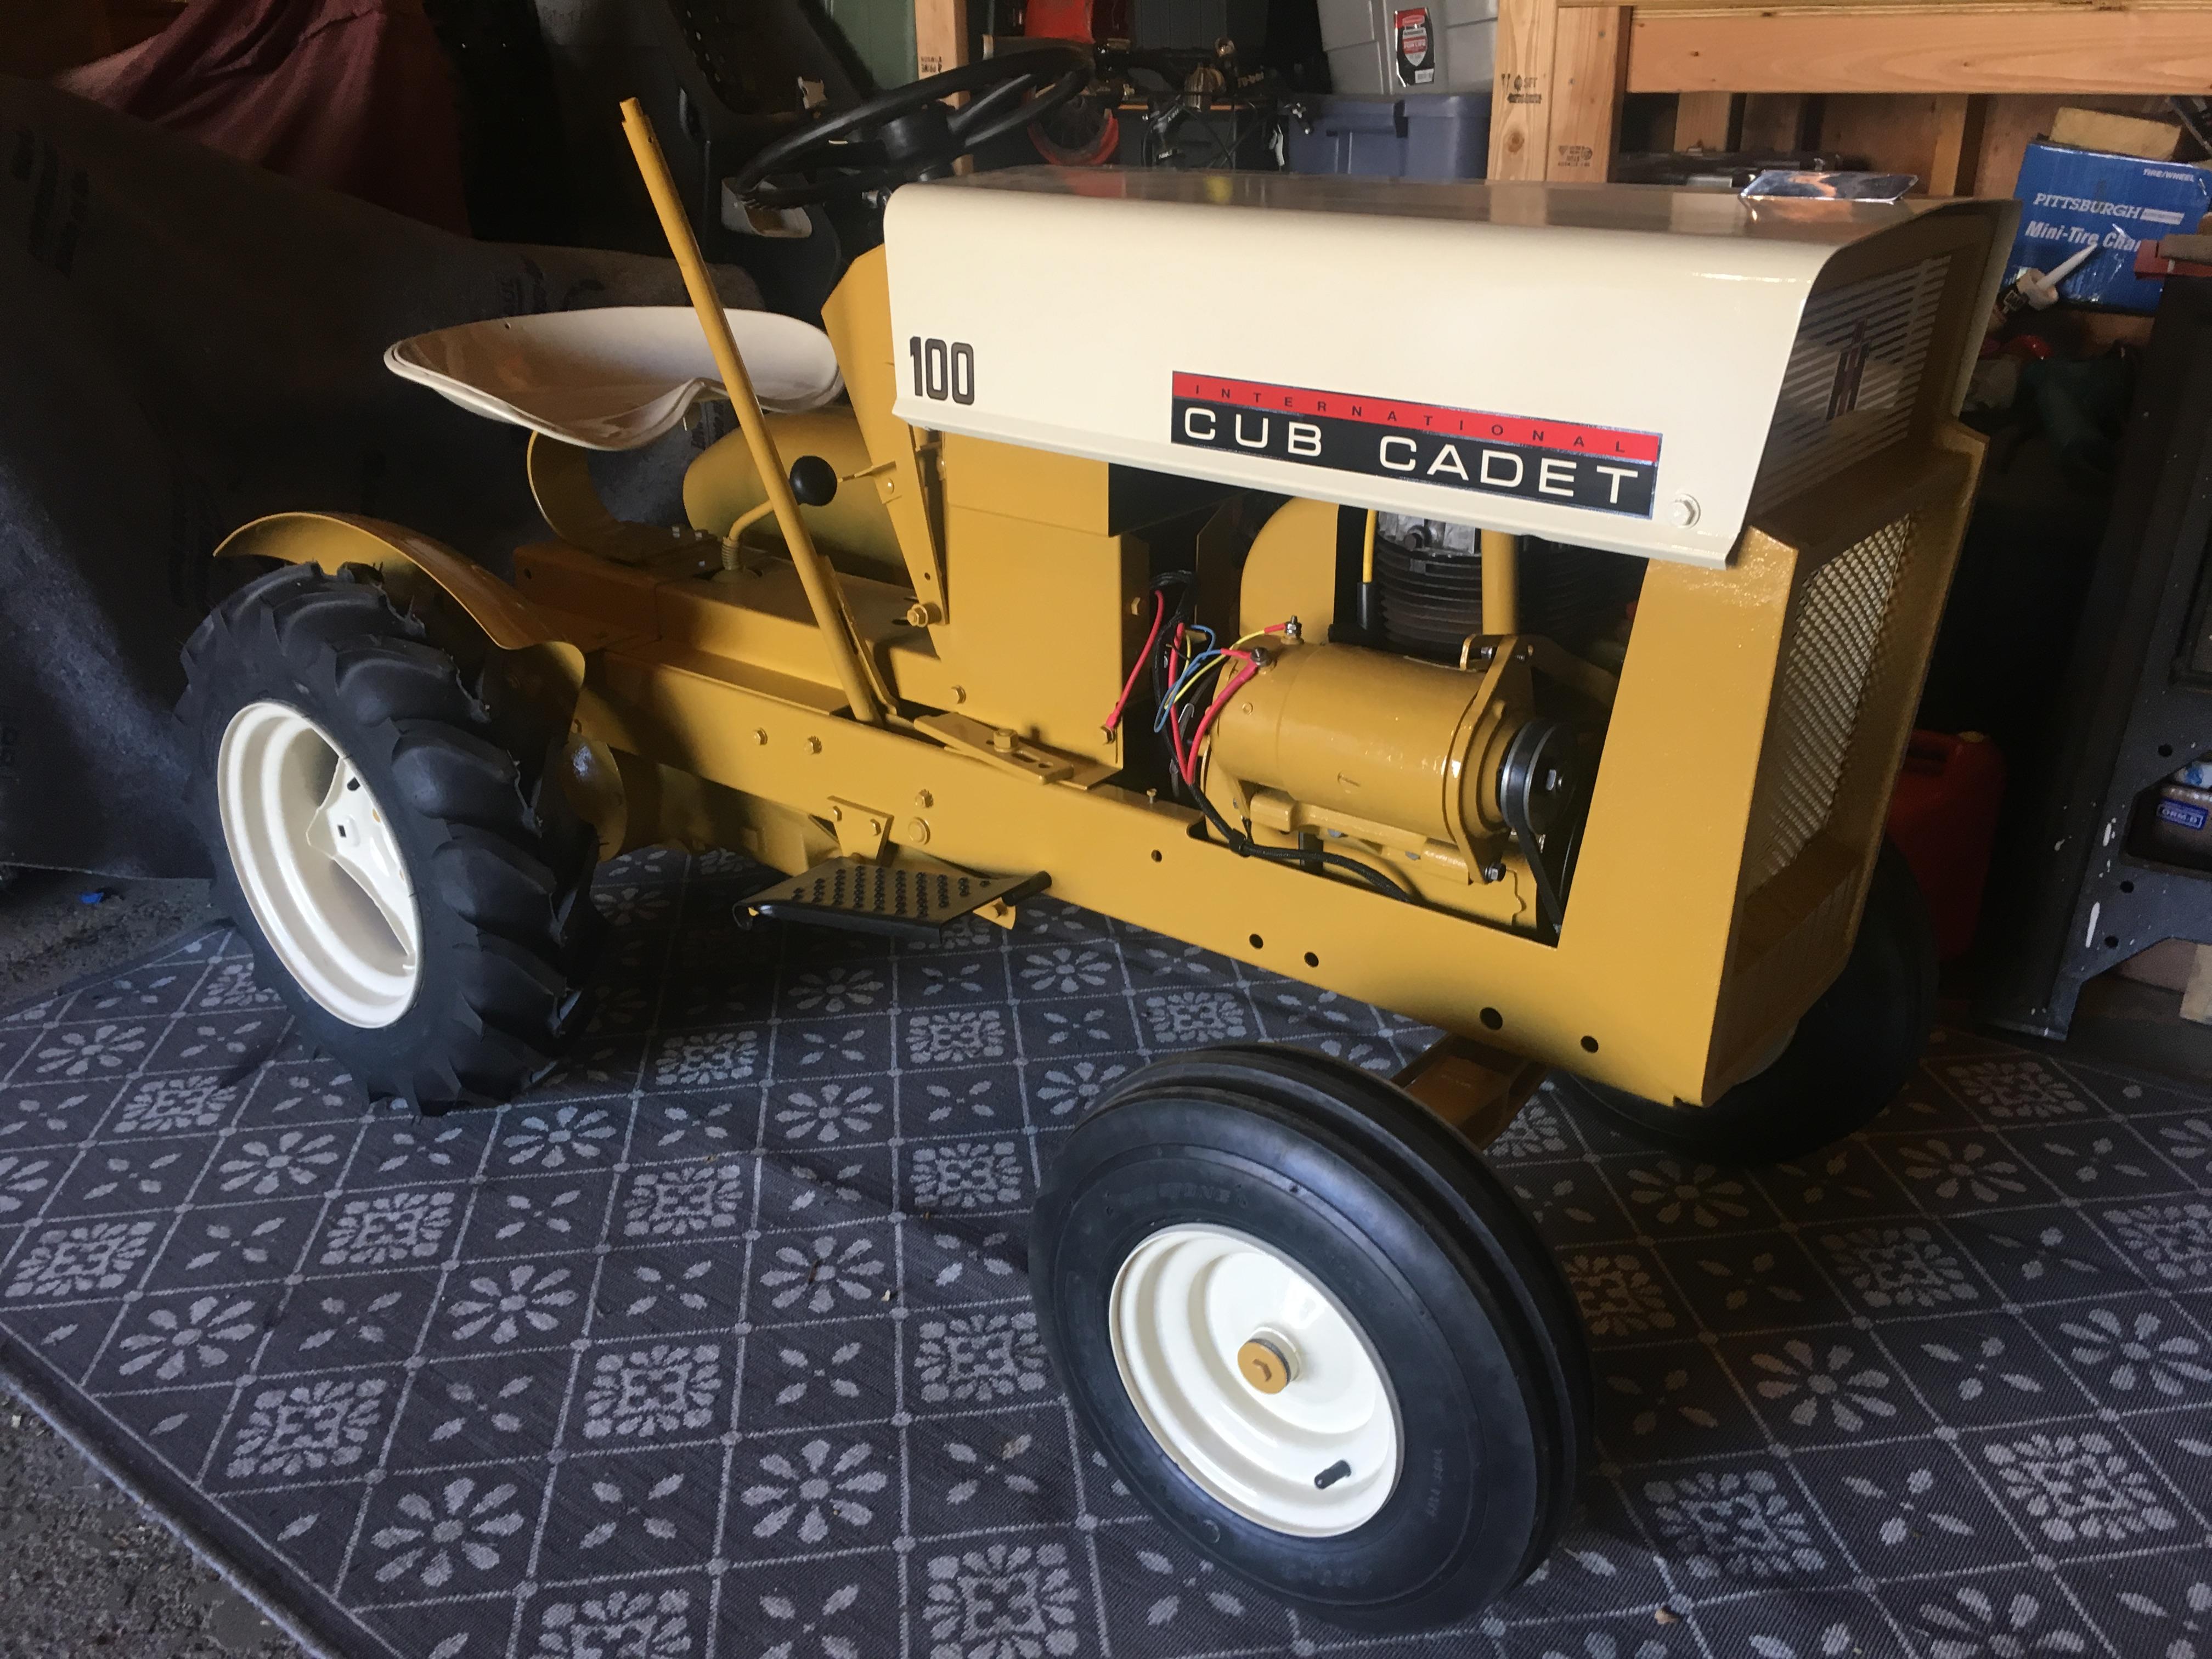
Finally had a chance to mount one of my military engines to a tank from an old Dyna-Mite generator. Added a nice piece of quarter sawn oak for stability. Now I can fire it up without the engine running off. I don’t think I’ll keep it set up this way long term but it does make for a convenient way to test engines after rebuilding.
-
Looks like BlueBottle has a couple engines listed on eBay. That Little Wonder engine would look great on my trimmer....
-
Indeed, that’s perfect. I knew I had seen some sort of description like that somewhere but I just couldn’t recall where, and this was it! I looked in all my info and just wasn’t coming up with anything.
Thank you David!
Clint
-
This may be obvious but I wanted to double check my understanding of the governor adjustment on the O&R engine. Which position on the little lever mounted on the side of the carburetor that sets spring tension is considered the lowest setting?
-
David,
Thank you for the feedback and advice on the ultrasonic route. I trust experience over marketing so I appreciate that you’ve used these before and know first hand how well or not so well they work. I think I’ll put that money toward more O&R engines and tools
Clint
-
John,
Great idea on the scissor style punch. I’ve got an older set of leather punches but I remember my mom using one of those scissor style punches and that would be a much more accurate way to do it (heck I might ask her if she still has it).
Just a general question but I’m wondering if anyone has used an ultrasonic parts cleaner with any success to clean the really grimy O&R engine parts and carbs. I’ve been toying around with the idea of maybe getting one at some point.
Clint
-
Slowly making progress on the Little Wonder. Starting to get into the engine, it’s definitely a dirty one. Found that the previous owner made an air filter out of a dish cleaning sponge pad...
-
David,
Sounds like a good approach with the grease. The junk in mine was a really thick dark grey mess. I’ve used Lubriplate on other engine builds, great stuff. It definitely a lower viscosity than the stuff I’m scraping out. I’ll see if I can find anything similar to the LM2 Lithium based grease you mentioned as well. I did some more degreasing today and I think I’m going to have to go a similar route to what you suggest with gasoline to get everything really clean. I also couldn’t quite figure out how the main gear is removed. It appears to be held in with the pivot fork that connects to the engagement lever. I was hoping to avoid dismantling the lever fork but that might be necessary for the rest of the parts to be removed.
Also, thanks for the clarification on the exhaust collector. Mine certainly isn’t super loose but with some pressure can be made to move slightly so maybe that’s more normal. I’ll check the position of the cylinder slots.
Thanks,
Clint
-
Hello David,
Do you think there is a special grease recommended for the trimmer gear box when I go to put it back together? I was thinking perhaps some general purpose wheel bearing grease but I thought I’d see if you knew if there was a recommended viscosity or special lubricant that might be better suited for this application.
Clint
-
Hello David,
I was able to get the Little Wonder all disassembled today and opened up th gear box. Turns out the odd threaded hole is as you suggested. Either it was tapped too deep at the factory or someone extended the hole at a later date, maybe to try to get the bar held in place tighter. The hole in question was indeed the front main hole that holds the cutter bar. Now the fun part, degreasing this thing. From what I can tell it has the original grease, and lists of it - pretty nasty stuff. I’ll try to get some photos once I get things cleaned up enough to really see what is going on in there. After taking the engine and gas tank off I’ll probably do a full tear down on those as well. I noticed the exhaust collector was loose enough to swivel a little so I’m guessing that means the cylinder is not on tight or a gasket has worn out.
Thanks again for the photos, those were really helpful as I was pulling things apart.
Clint
-
Hello David,
Thank you for taking the time to open one of these up- this is extremely helpful. Now I know what to expect along the way. I’m hoping I can get some time this weekend to start working on my trimmer.
We finally warmed up to +20F here today so massive improvement over -31!
Clinr
-
David,
I think you’re on to something there. Given the location of the hole it is right above the mounting of the bar as you suggest. I bet you’re right on about the repair. I was hoping to spend some time getting in there today but it didn’t happen. Maybe this week I can get it cleaned out and get some photos. I need to stare at it a bit to figure out how the components come out - and as Wallfish pointed out, not lose any of he bearings!
Nice work coming up with the theory, I suspect I’ll prove you right once I finally get in there.
Clint
-
Good advice- I’m anxious to see what this hole is all about! Good suggestion on using a towel to help catch those bearings....
Clint
-
Anglo,
Thank you for the links and suggestions, this is very helpful. I really appreciate it!
Clint
-
I opened up the Little Wonder gearbox cover and unfortunately I still can’t see the hole. It looks like I’ll have to remove the entire mechanism inside in order to gain visibility to that area of the box. More investigating ahead... I may decide to work on the engine first and make sure I can get it working before going much further on the gearbox.
-
They do make for a nice way to mount and display these engines. I just recently saw an O&R that was converted to glow. It also had an interesting water-cooled head jacket. I think it was modified for a large racing boat or something. It was pretty neat!
-
Picked up an old TAS Motor P-5. Needs to be gone through top to bottom. Has a gear reduction unit. I’m guessing this was originally used in a tiny mini bike. If anyone has any parts or technical information for these, please let me know.
-
I sent the seller a generic question about the tank so if they respond I will reply and inform them of the discrepancy and actual intended application.
Clint
-
Oh, very interesting - that makes perfect sense now seeing it in the photo.
-
David,
Thank you for the photos, now I’m really intrigued to open up my trimmer gear box to see what that hole is all about. Seems like a very strange place to drill and tap a through hole. At first I thought maybe they wanted a simpler way to add grease or something but since there isnt a way to access the inside from it and there’s no screw head or zerk fitting, that theory went out the window....
ps I fired up the little green military engine this morning. It doesn’t have a muffler or air cleaner so I only ran it for a few seconds. Ran really strong and loud! I think it was used very little or not at all prior to me getting it. The original carb diaphragm was even still functioning.
-
David,
I agree, $150 seems way way too high. Without the mounting tabs I’m curious how this tank was originally attached to the Yard Arm.
Clint
-
David,
Turns out there is a NOS Orline Yard Arm Fuel tank A-32-26 currently on eBay. It’s listed as Buy-it-Now for $150.
Clint
-
Well I just happen to be a R&D engineer for a 3D printing company so I have access to the tools, just don’t ever seem to have enough time to have fun with the technology.
I think you’re right about the hole- it definitely looks like it was drilled from the inside of the gearbox. Seems very strange and I’m hoping it’s not some odd attempt to repair something inside.
-
Great minds think alike. I’ve already been testing various caps off older cans. The one that fits best so far is off a can of Kroil but it has a spout in the top. This gives me some hope that a fairly standard 1” cap might work, especially off an older oil can similar to the picture you posted.
-
David, John,
Thank you both for all the great advice and suggestions. It’ll be fun to go through this tool. I noticed another odd thing today which I’m not sure if original to he unit. It appears someone drilled and tapped a hole on the side of th gear box housing. There isn’t a screw head on the outside so I’m curious to see what this is for once I take he base plate off th gear box. There is something partially threaded in the hole but no idea what they did this for. Thank you for the links to the manual as well, that’ll be really helpful!
Maybe if I can ever get some time I can have a buddy CAD up the vent bottle geometry and then it 3D printed with FD! T I chnology in ABS, ASA or PPSU material.
Clint
Sorry, some bad typos in the last message. That should have been “3D printed with FDM technology”...
|
|