Long overdue update but here are some photos of what I have been up to.
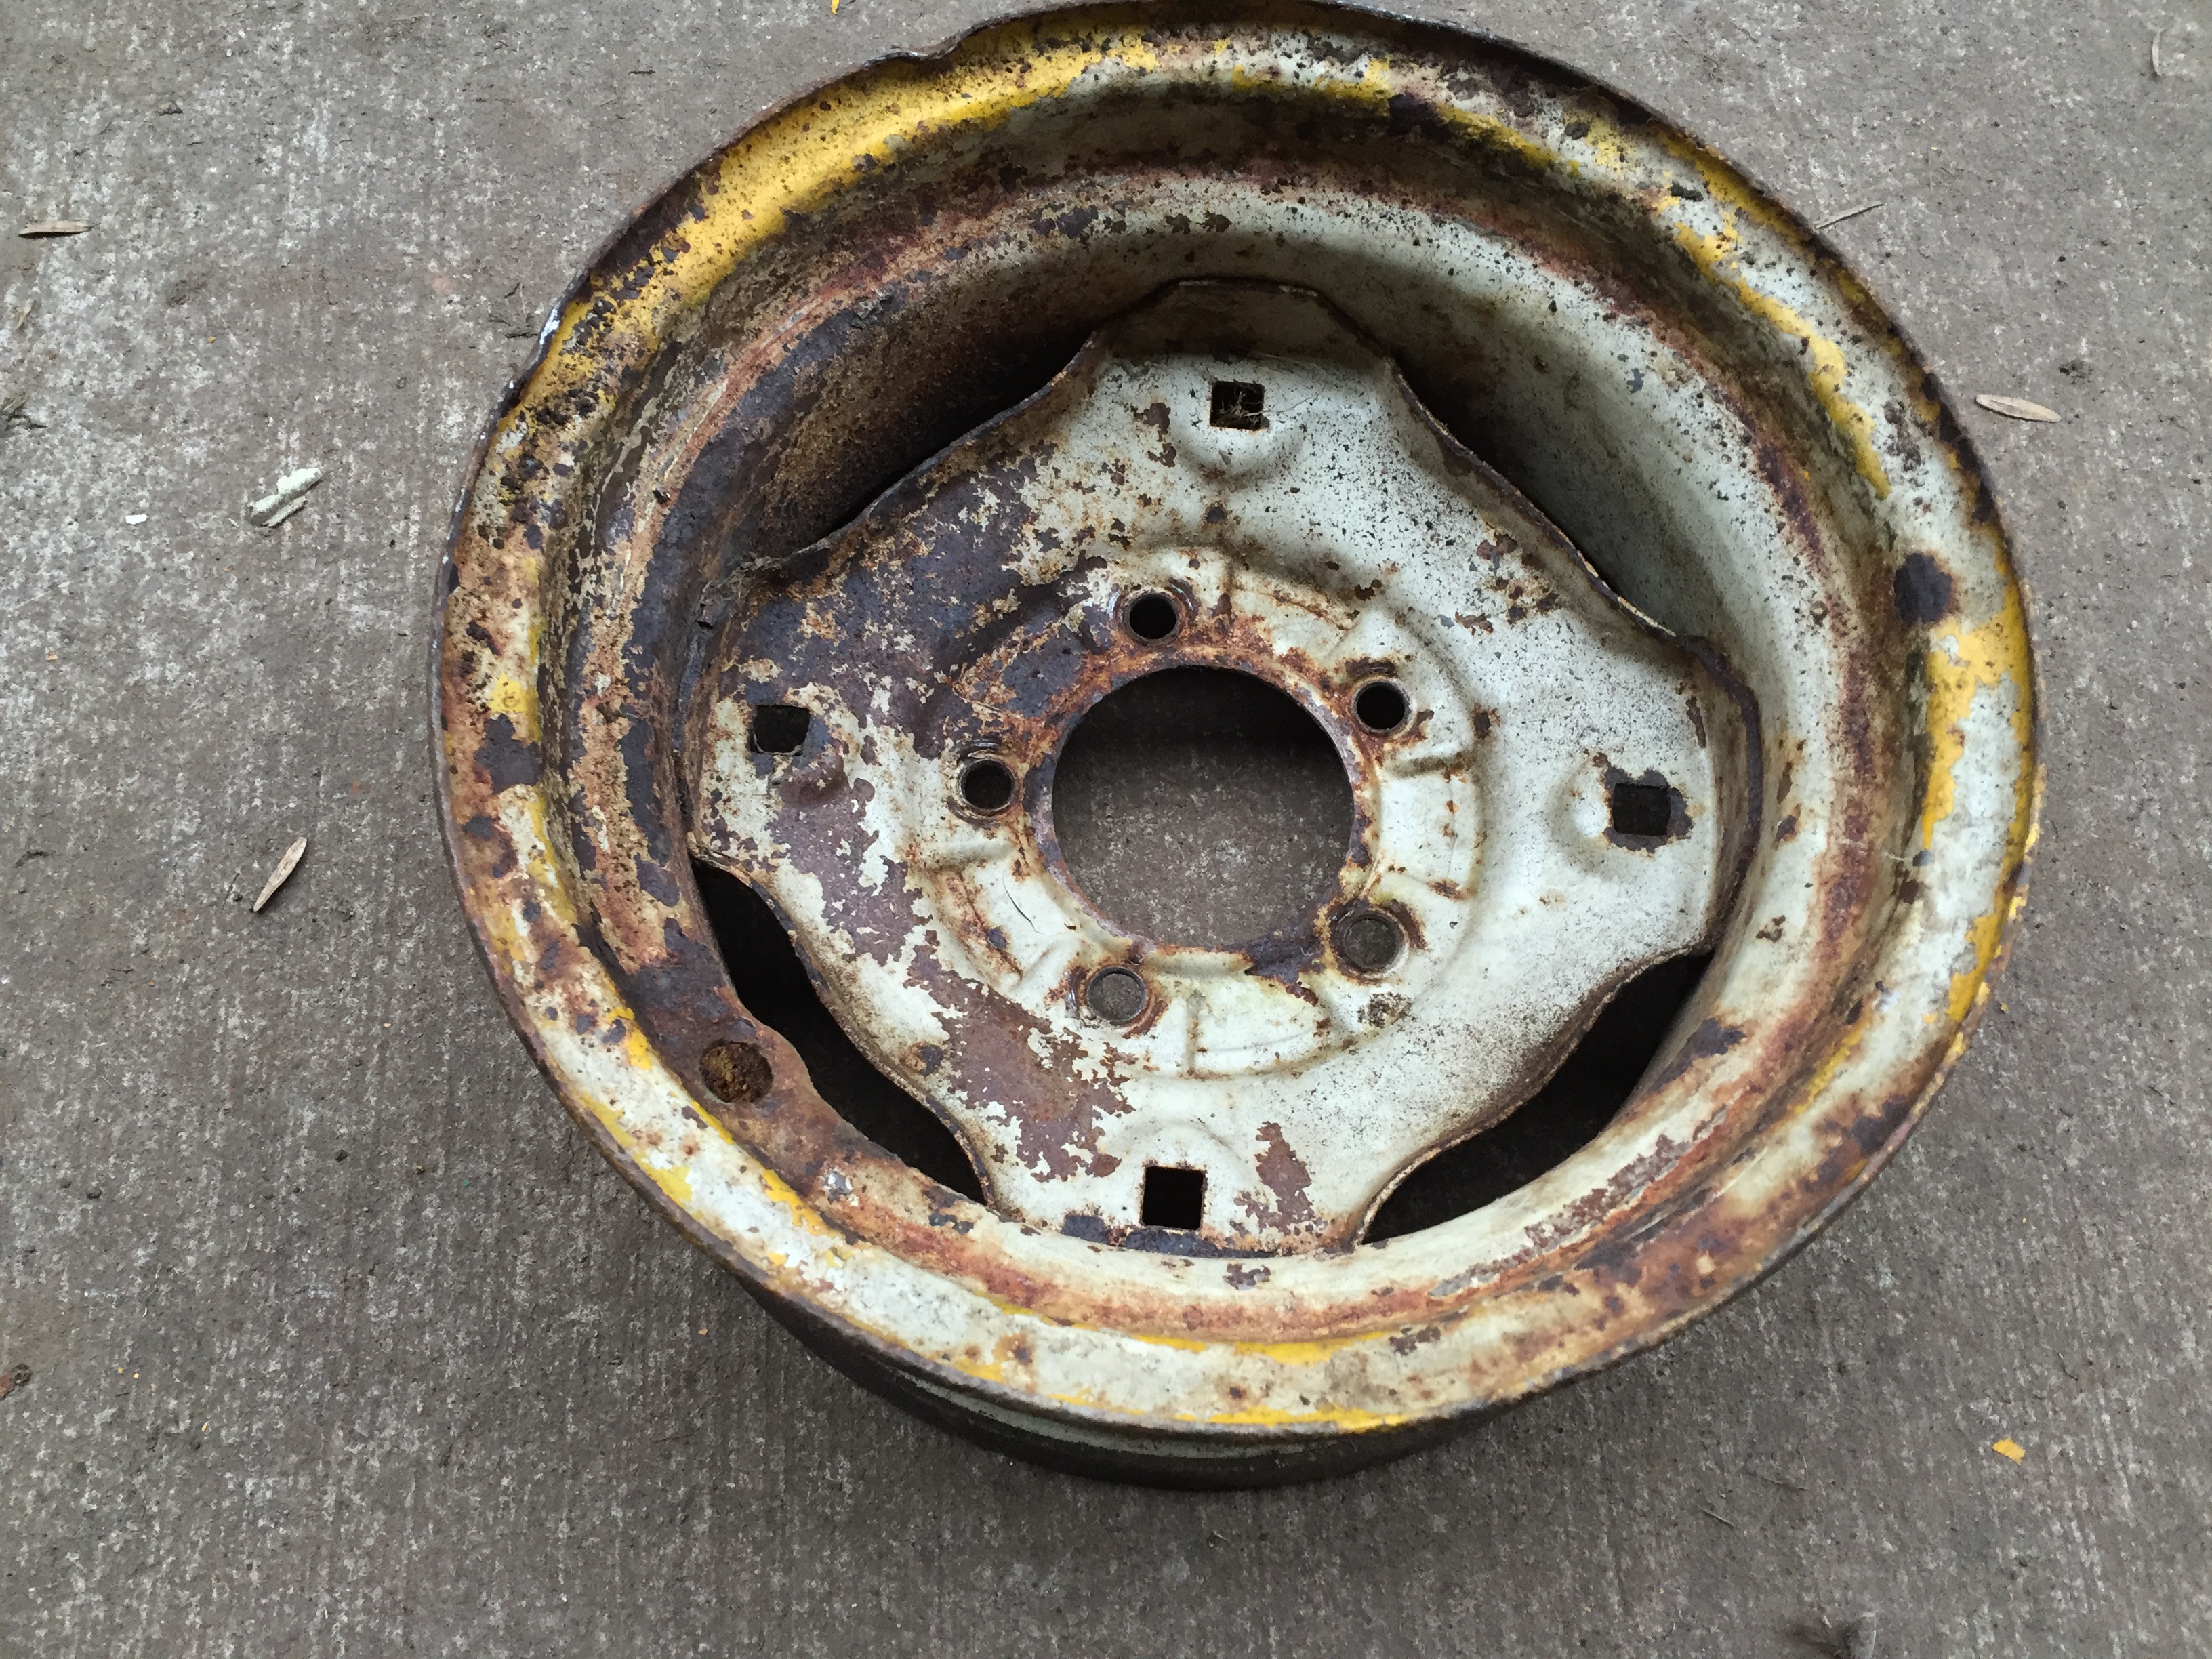
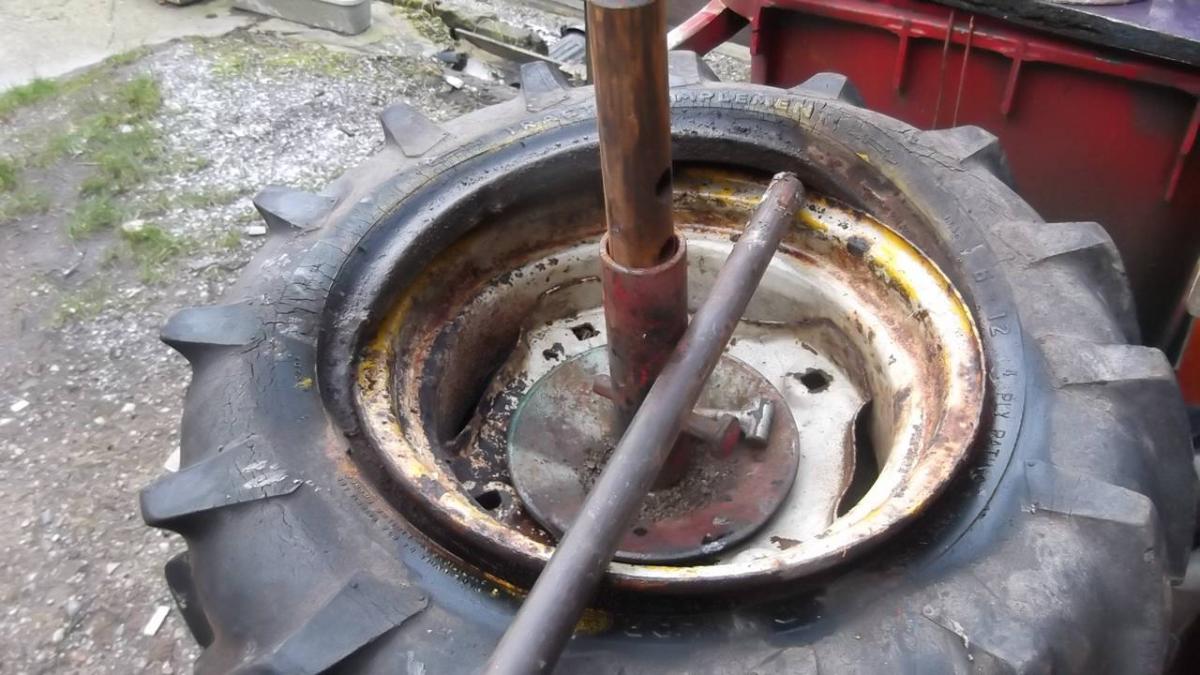
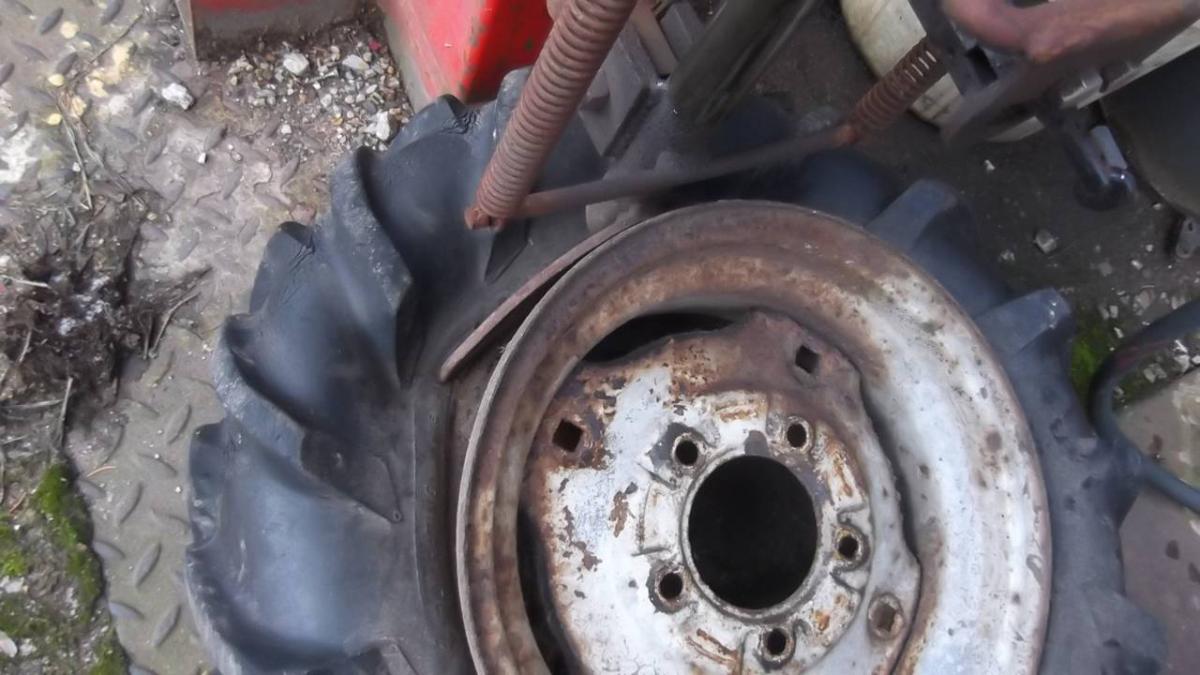
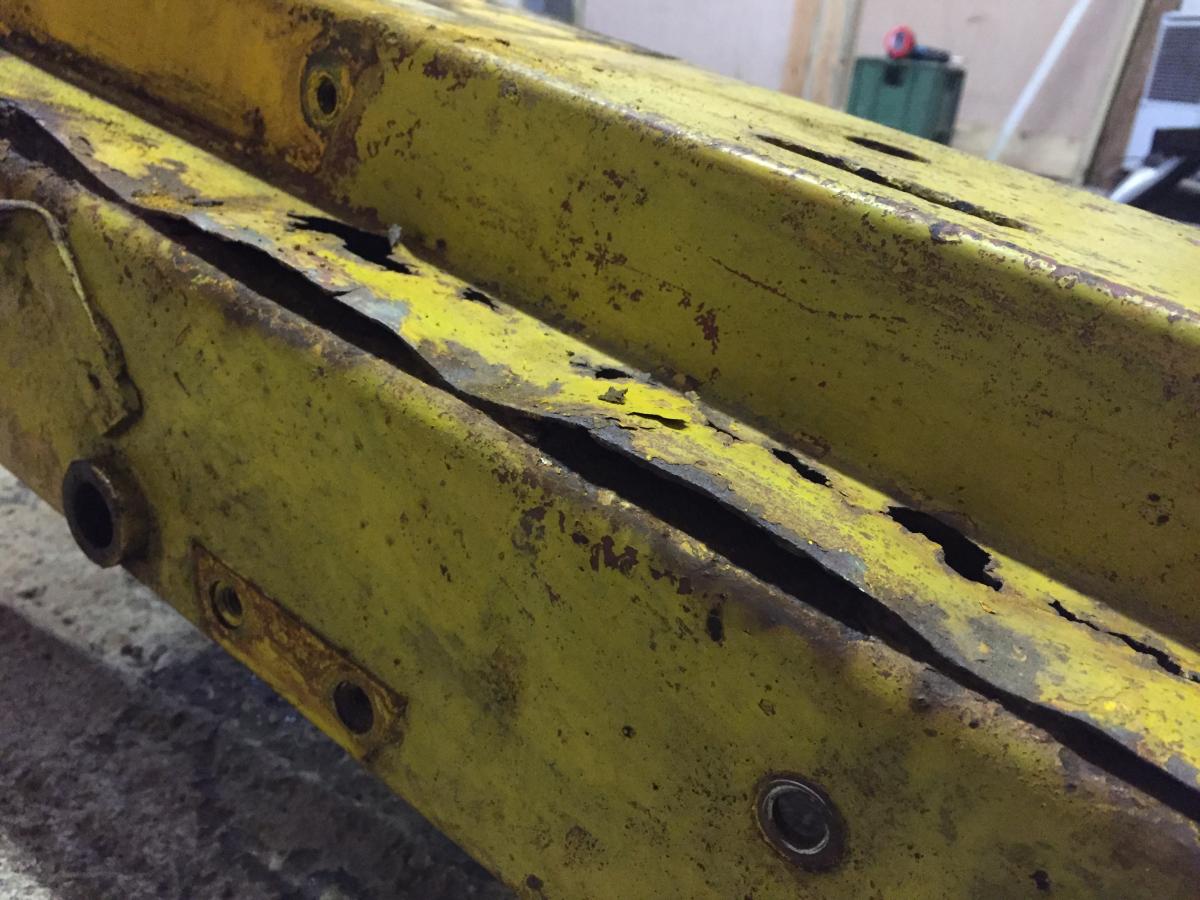
Here is one of the rear rims which is in a really bad state, it's nearly rusted through in places and the centres are really bent but I've done my best to straighten them out.
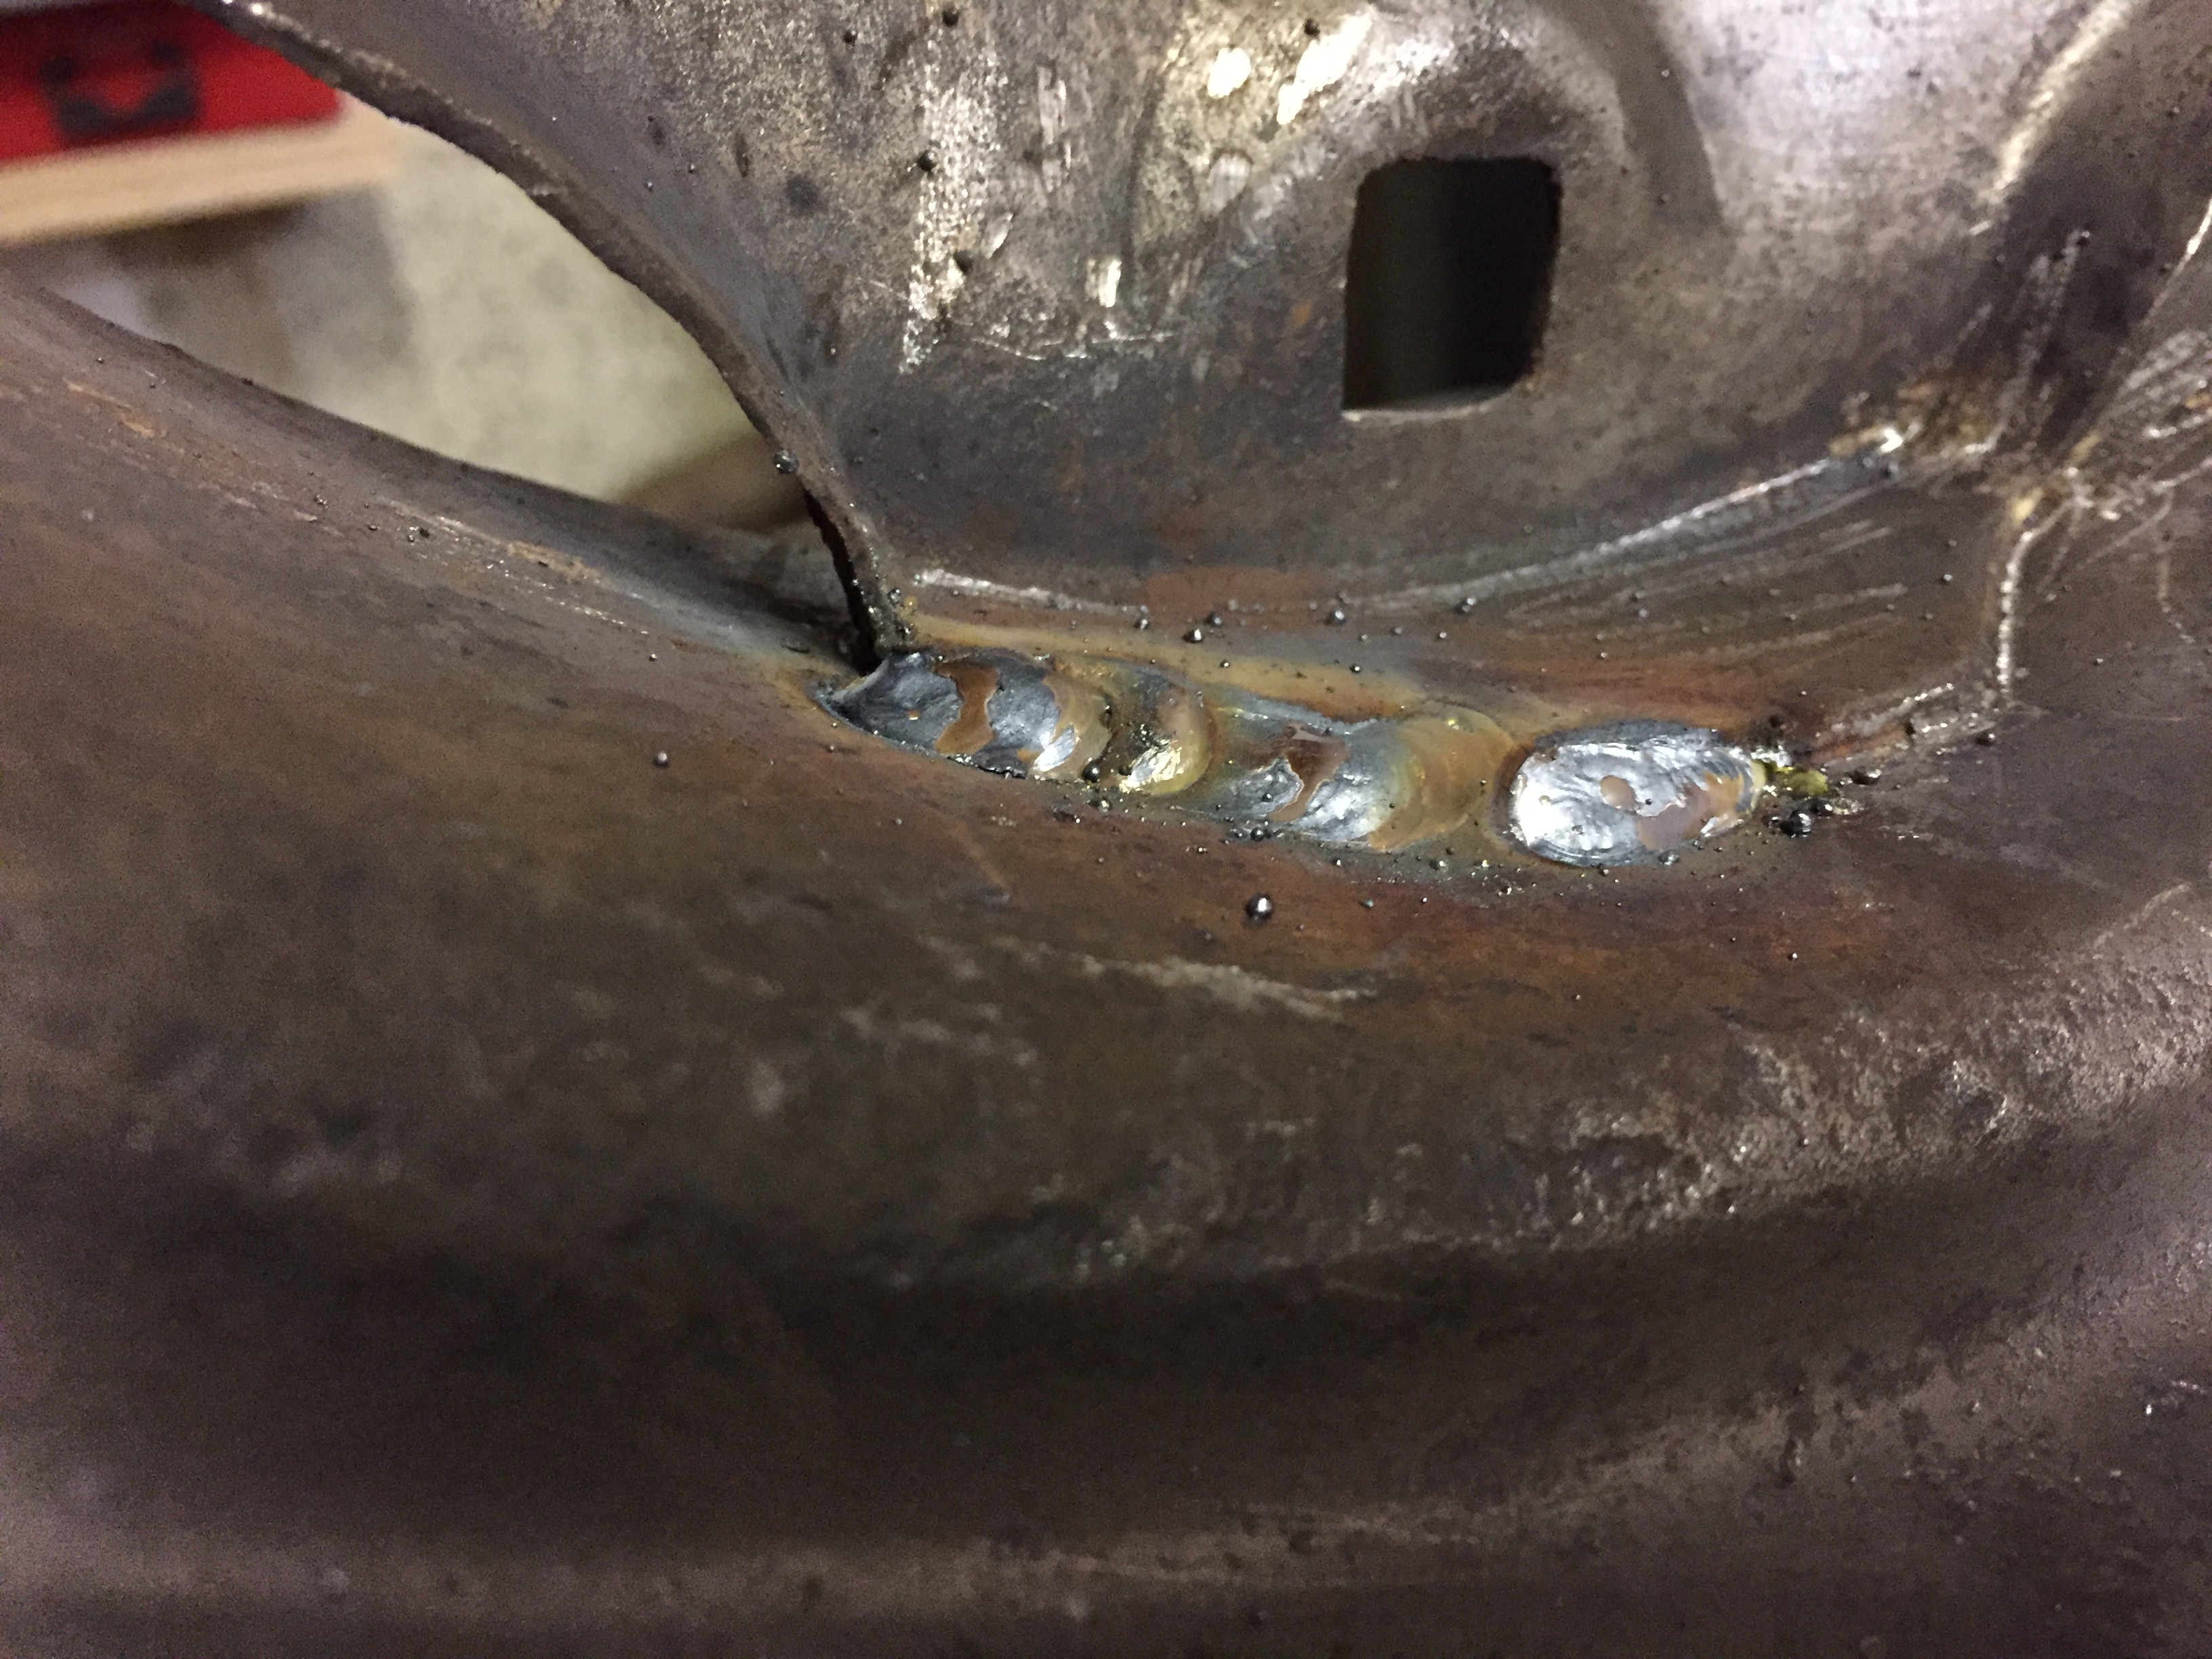
One of the spot welds had expanded with the rust so I used a dremel to try and grind as much out as I could and then we filled it with weld.
In the meantime I'm looking for a set of 6 inch rims that are in a better condition if any one has any?
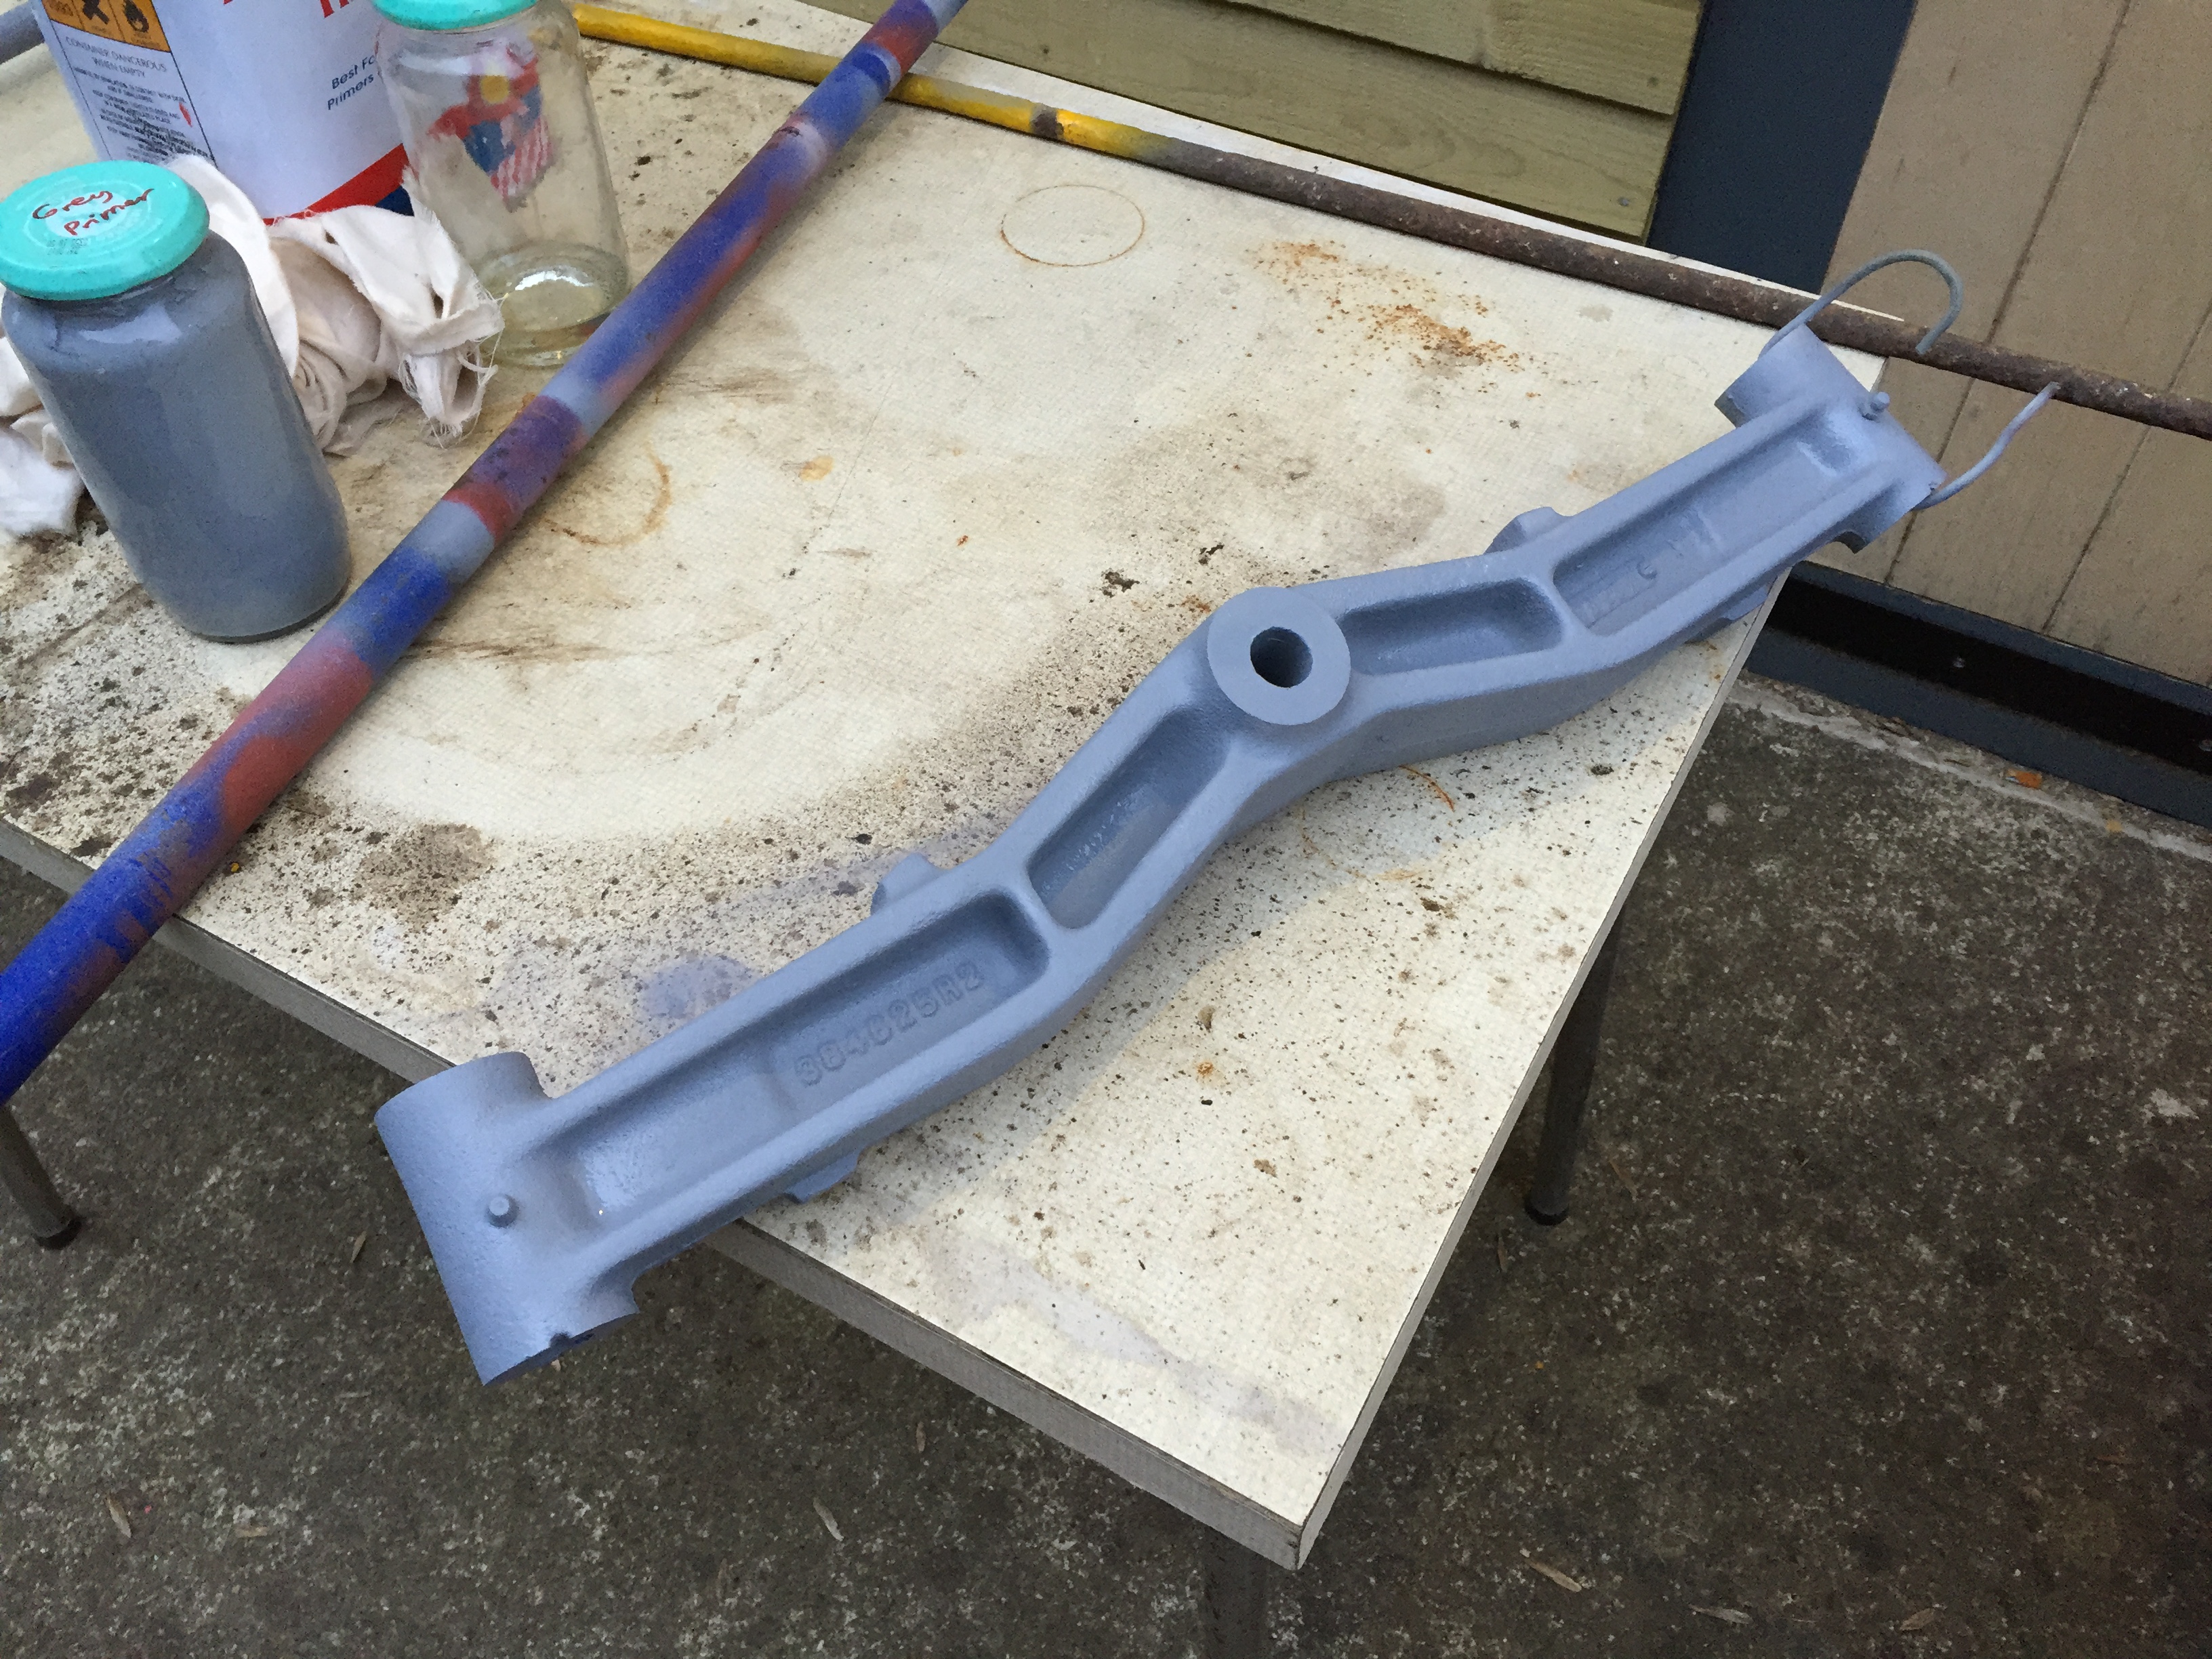
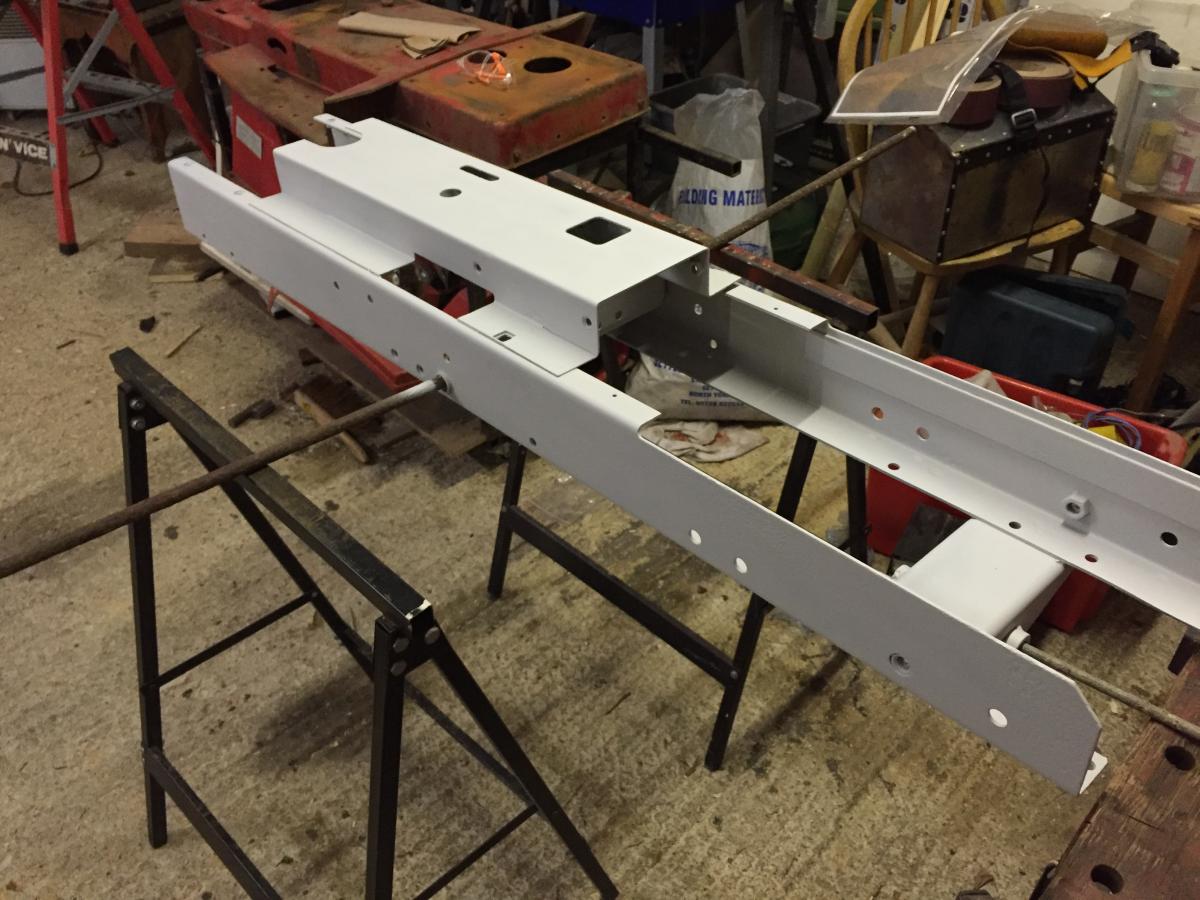
The transmission and chassis had their final coat of undercoat and are ready to paint with yellow.
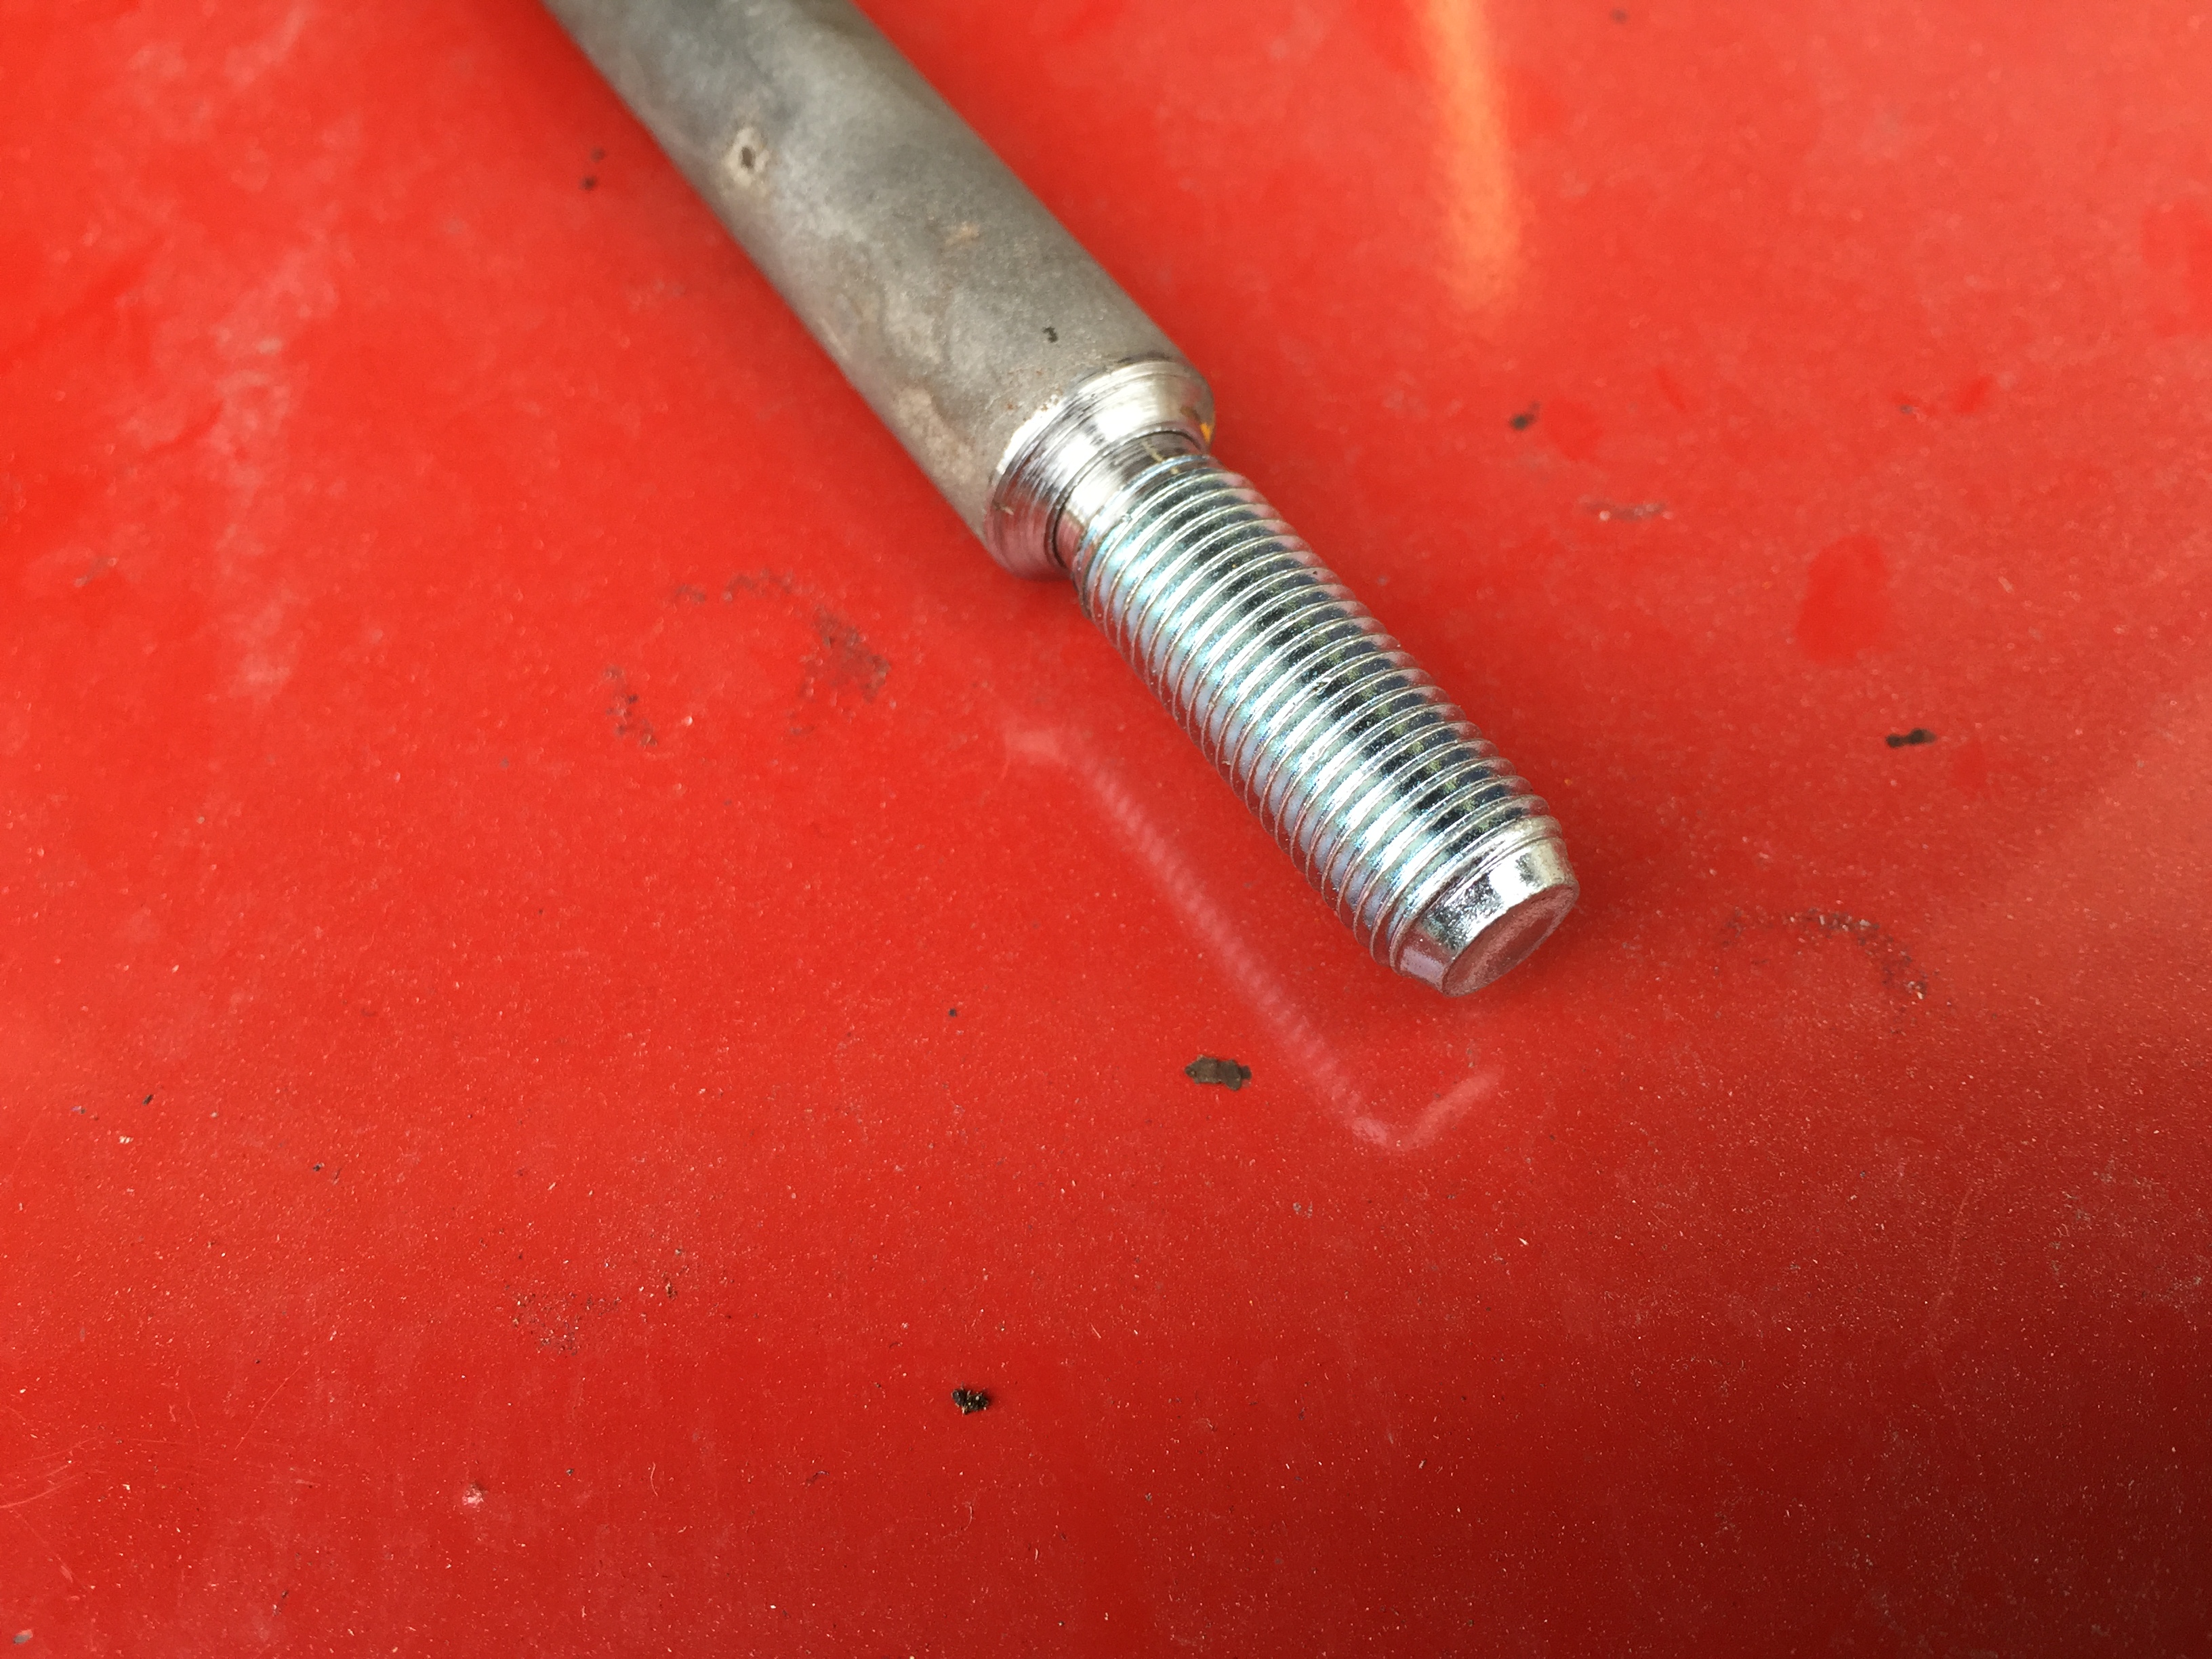
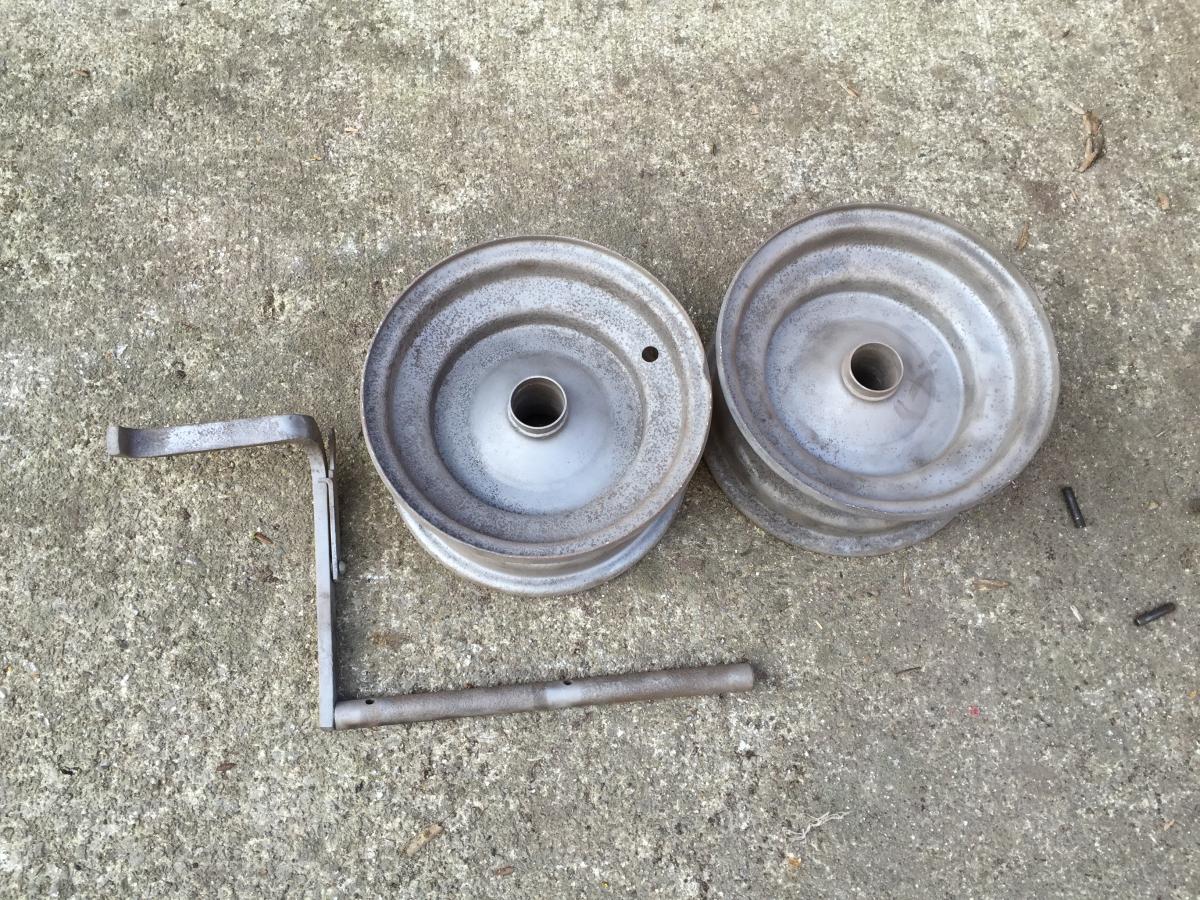
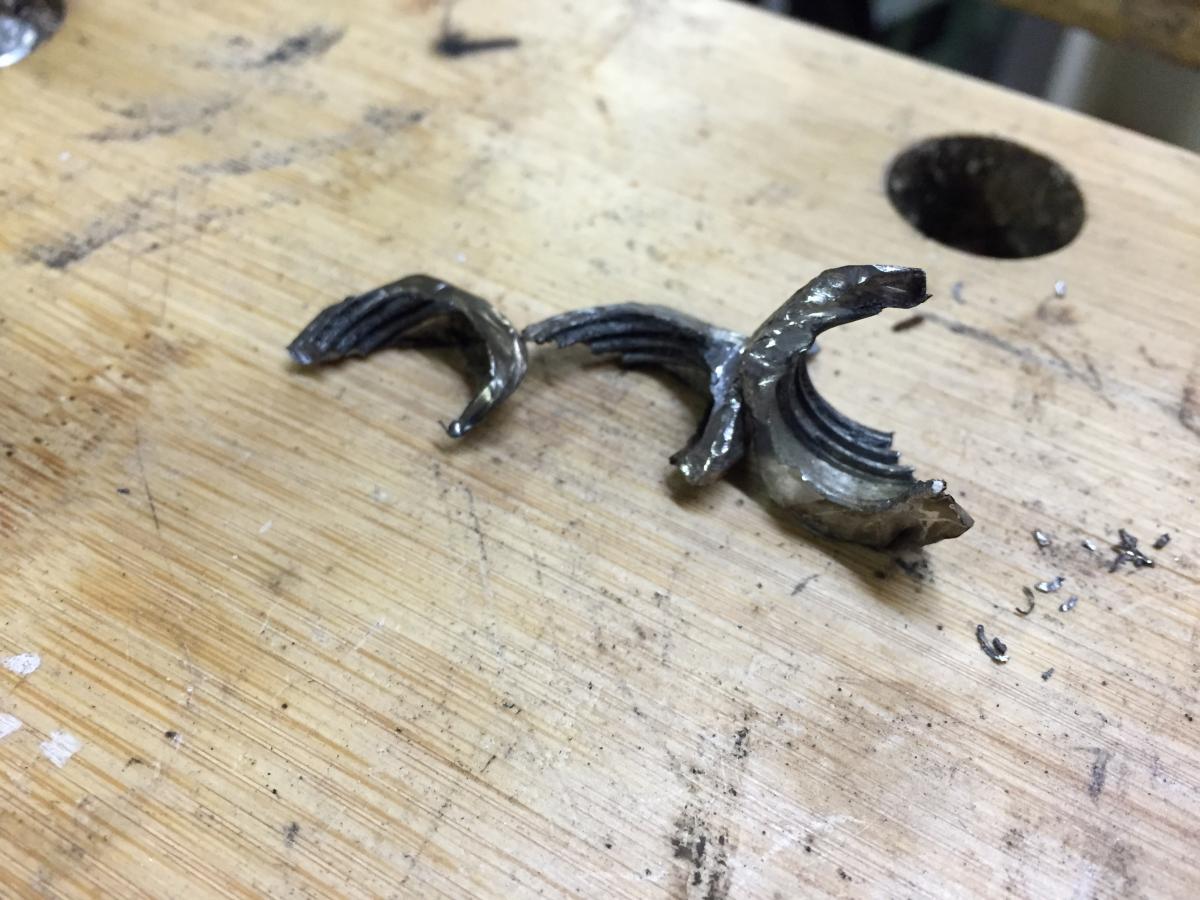
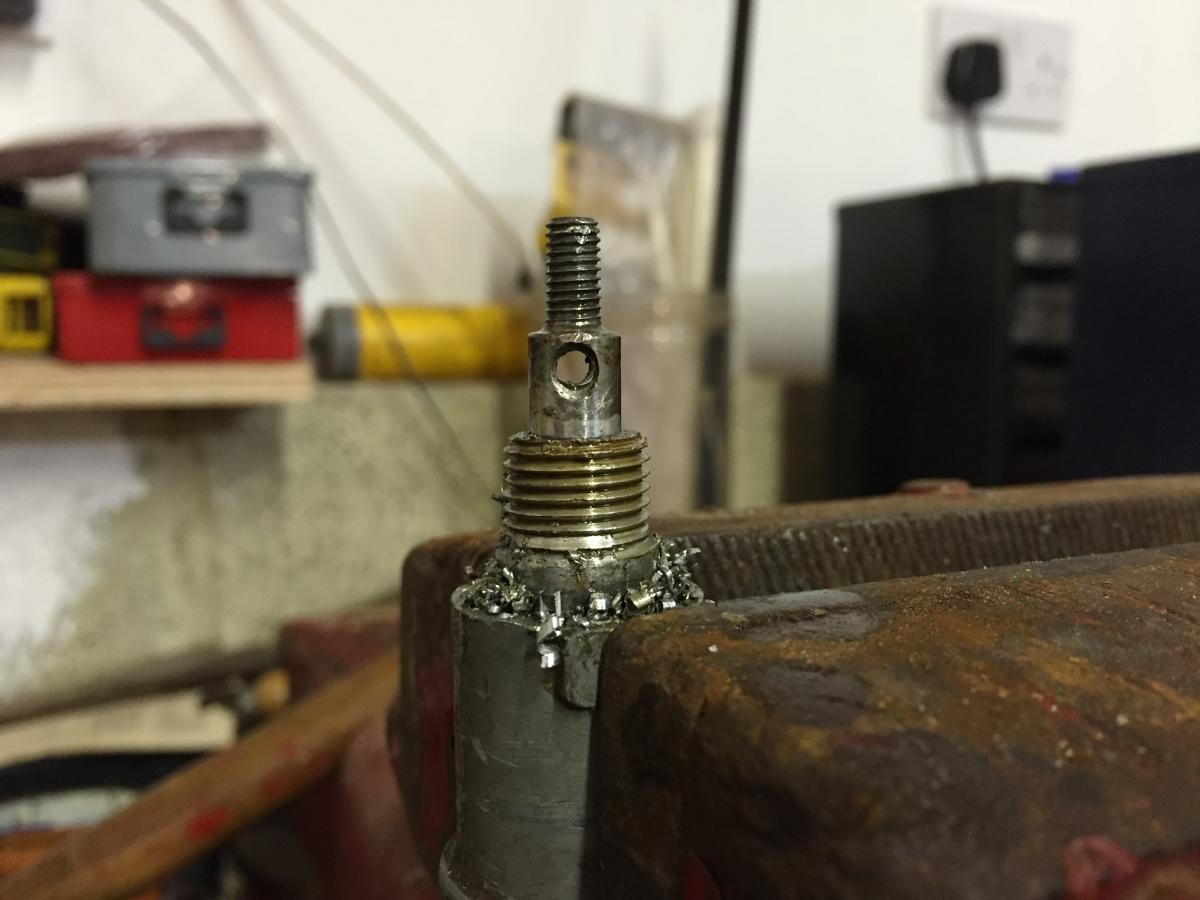
One of the track rod ends was rusted on and even with some heat it just snapped the threads off so my dad made this nifty repair.
I've now sandblasted some more bits and they have been primered.
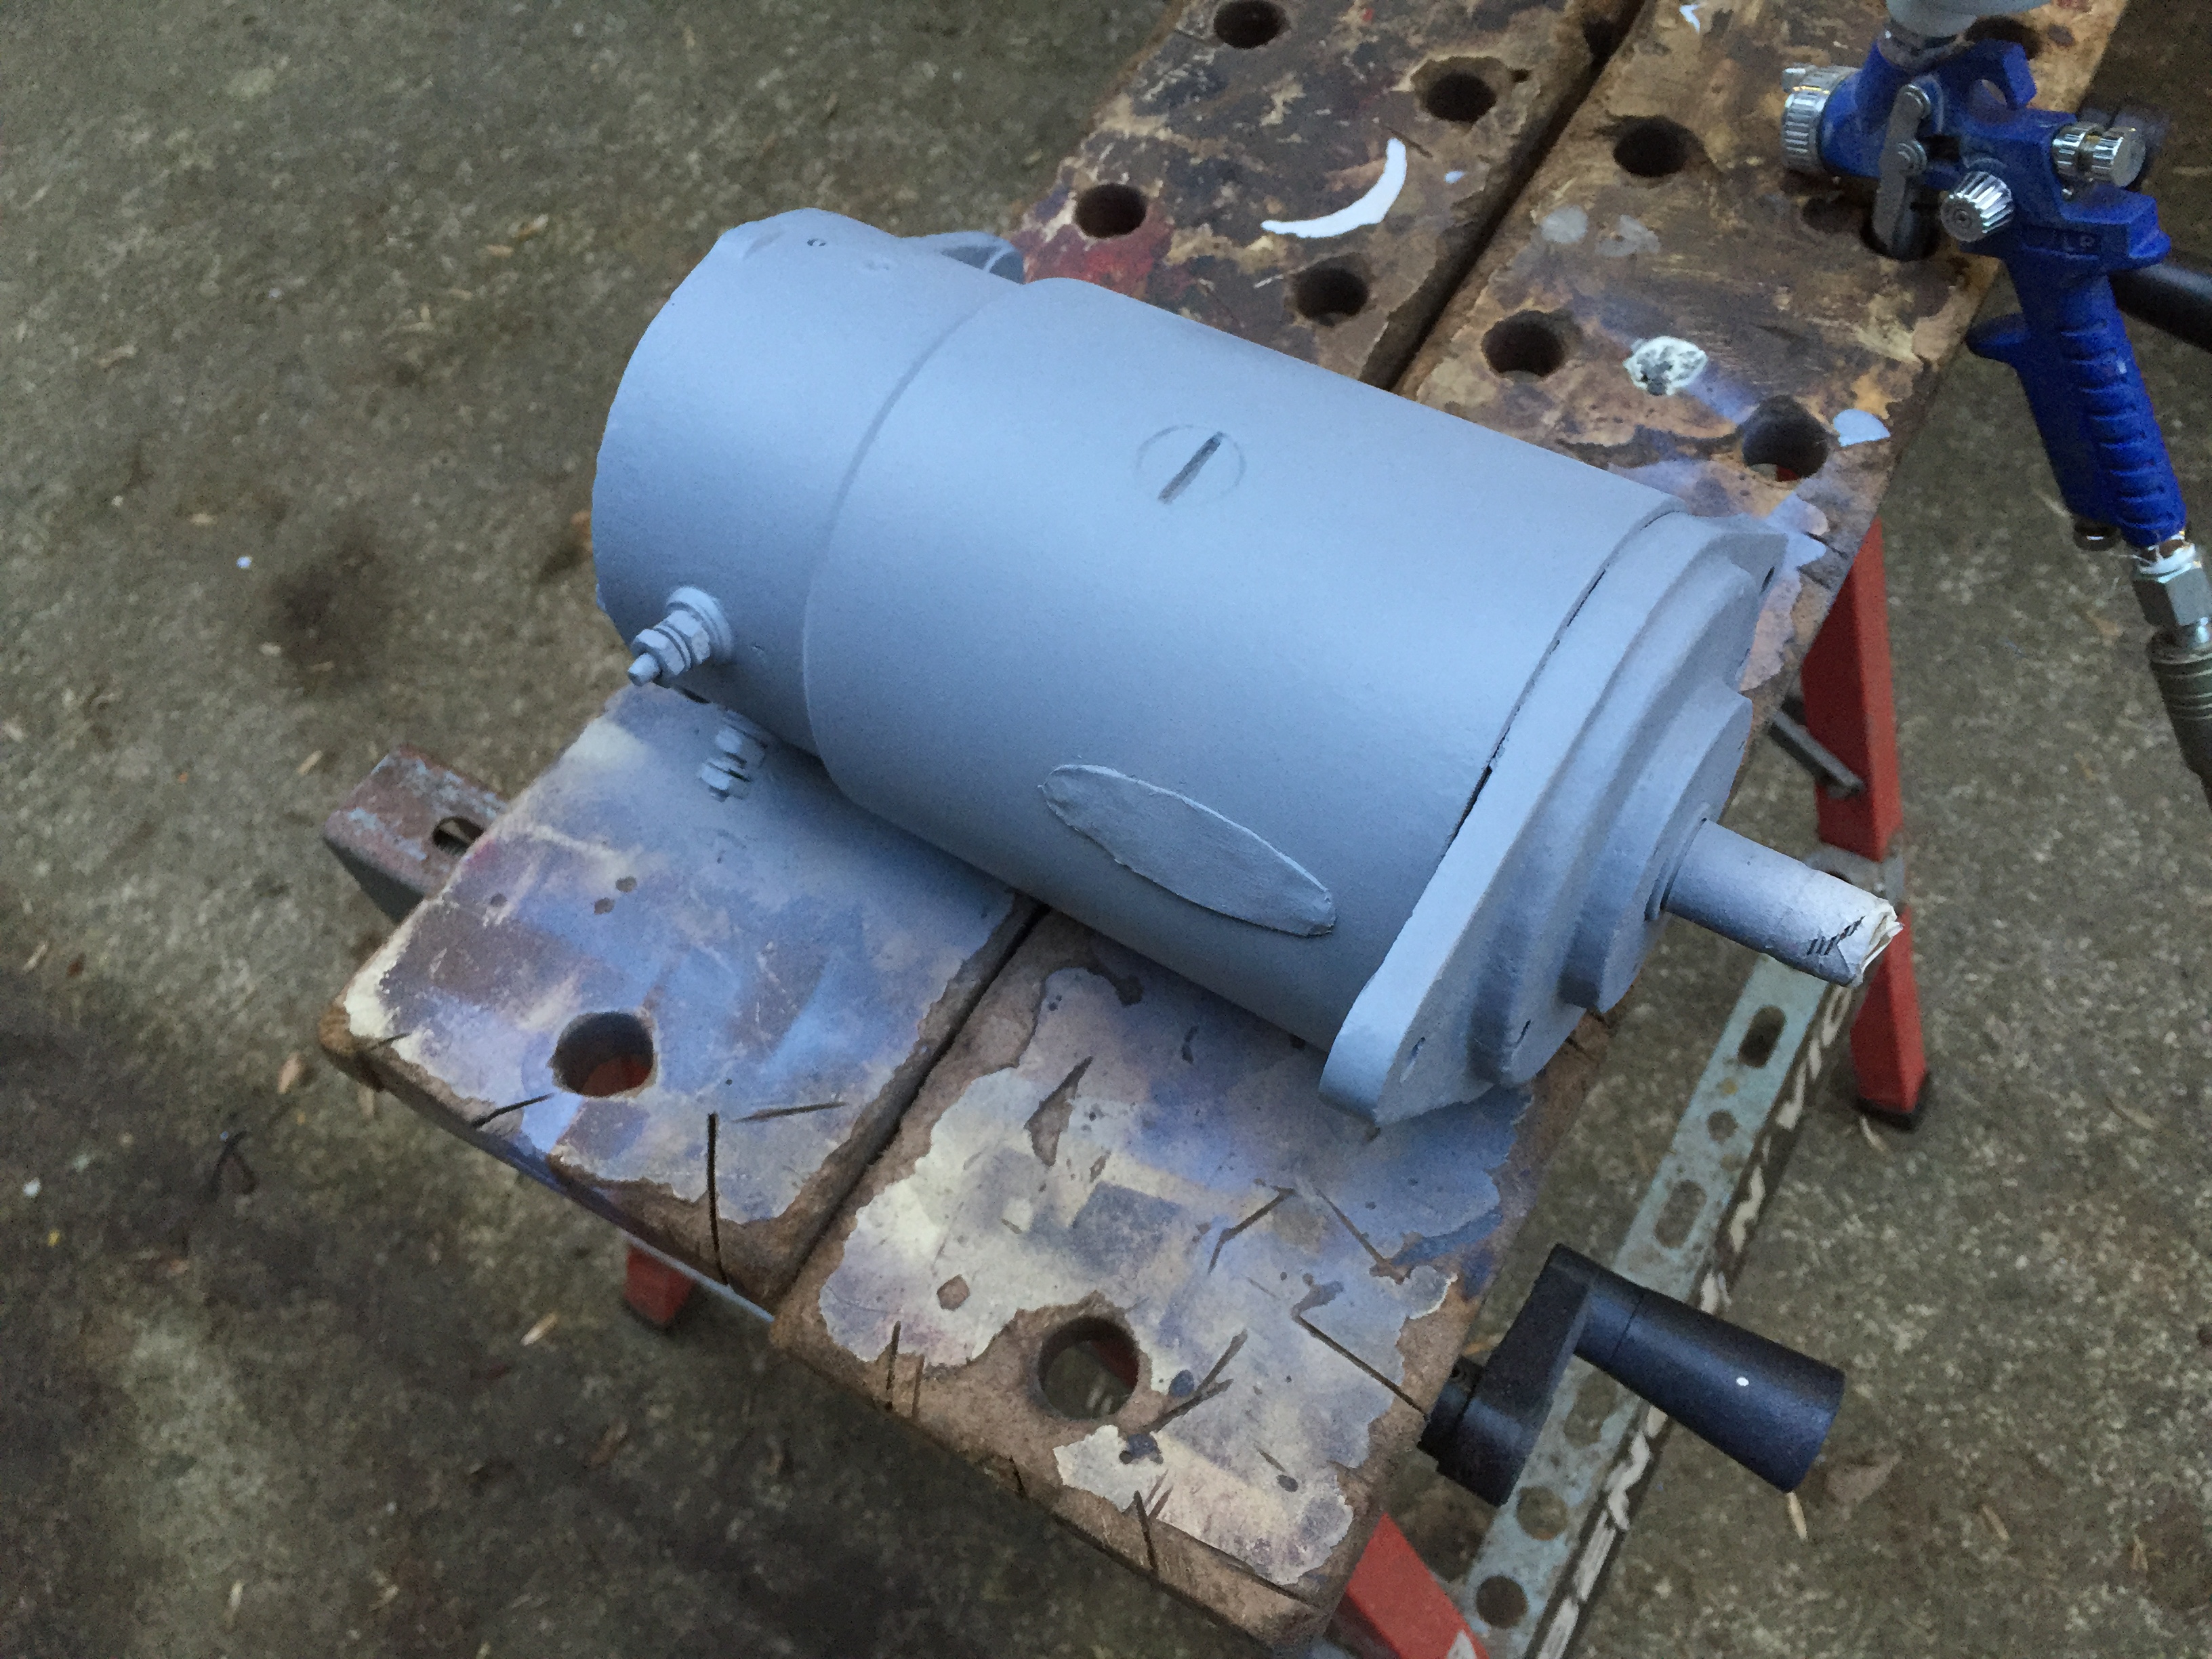
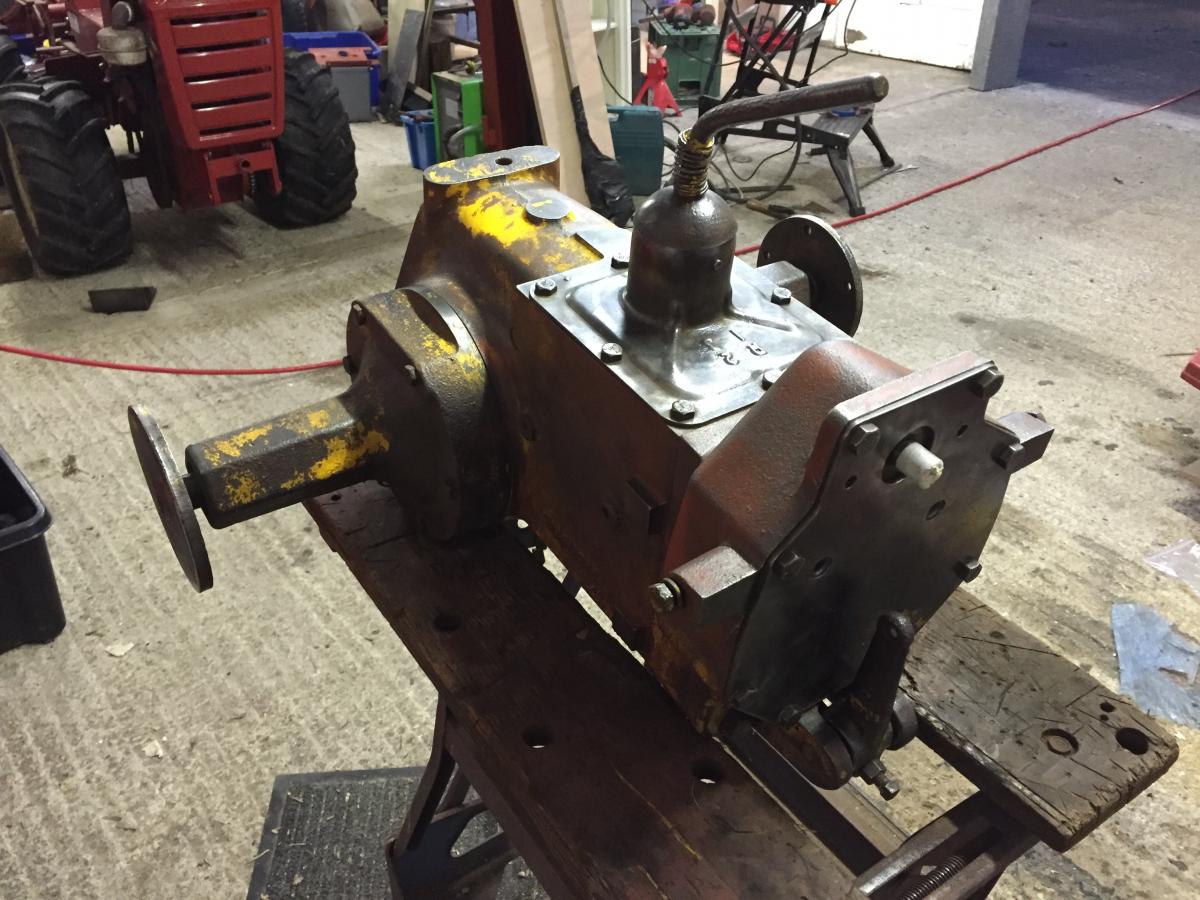
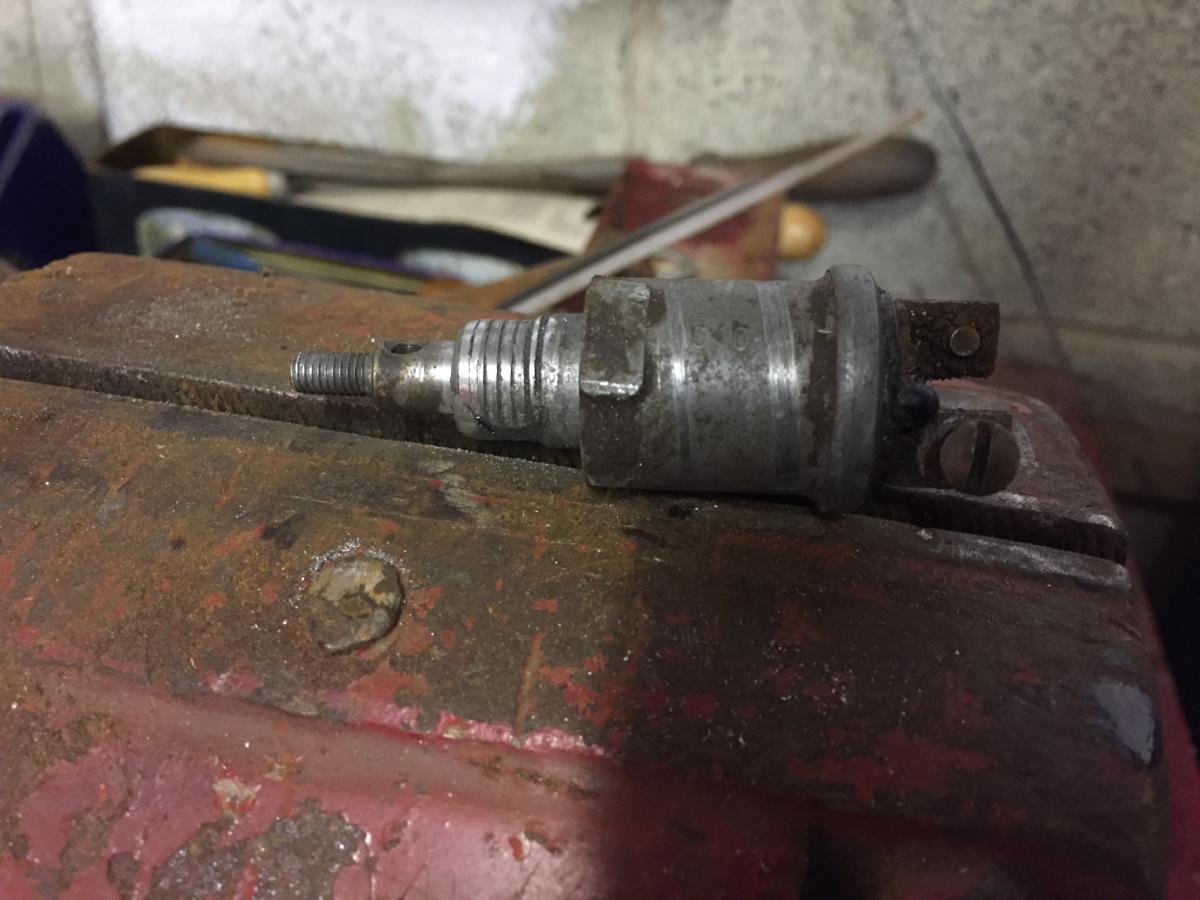
I got some new bearings and reassembled the starter generator which is now nice and quiet.
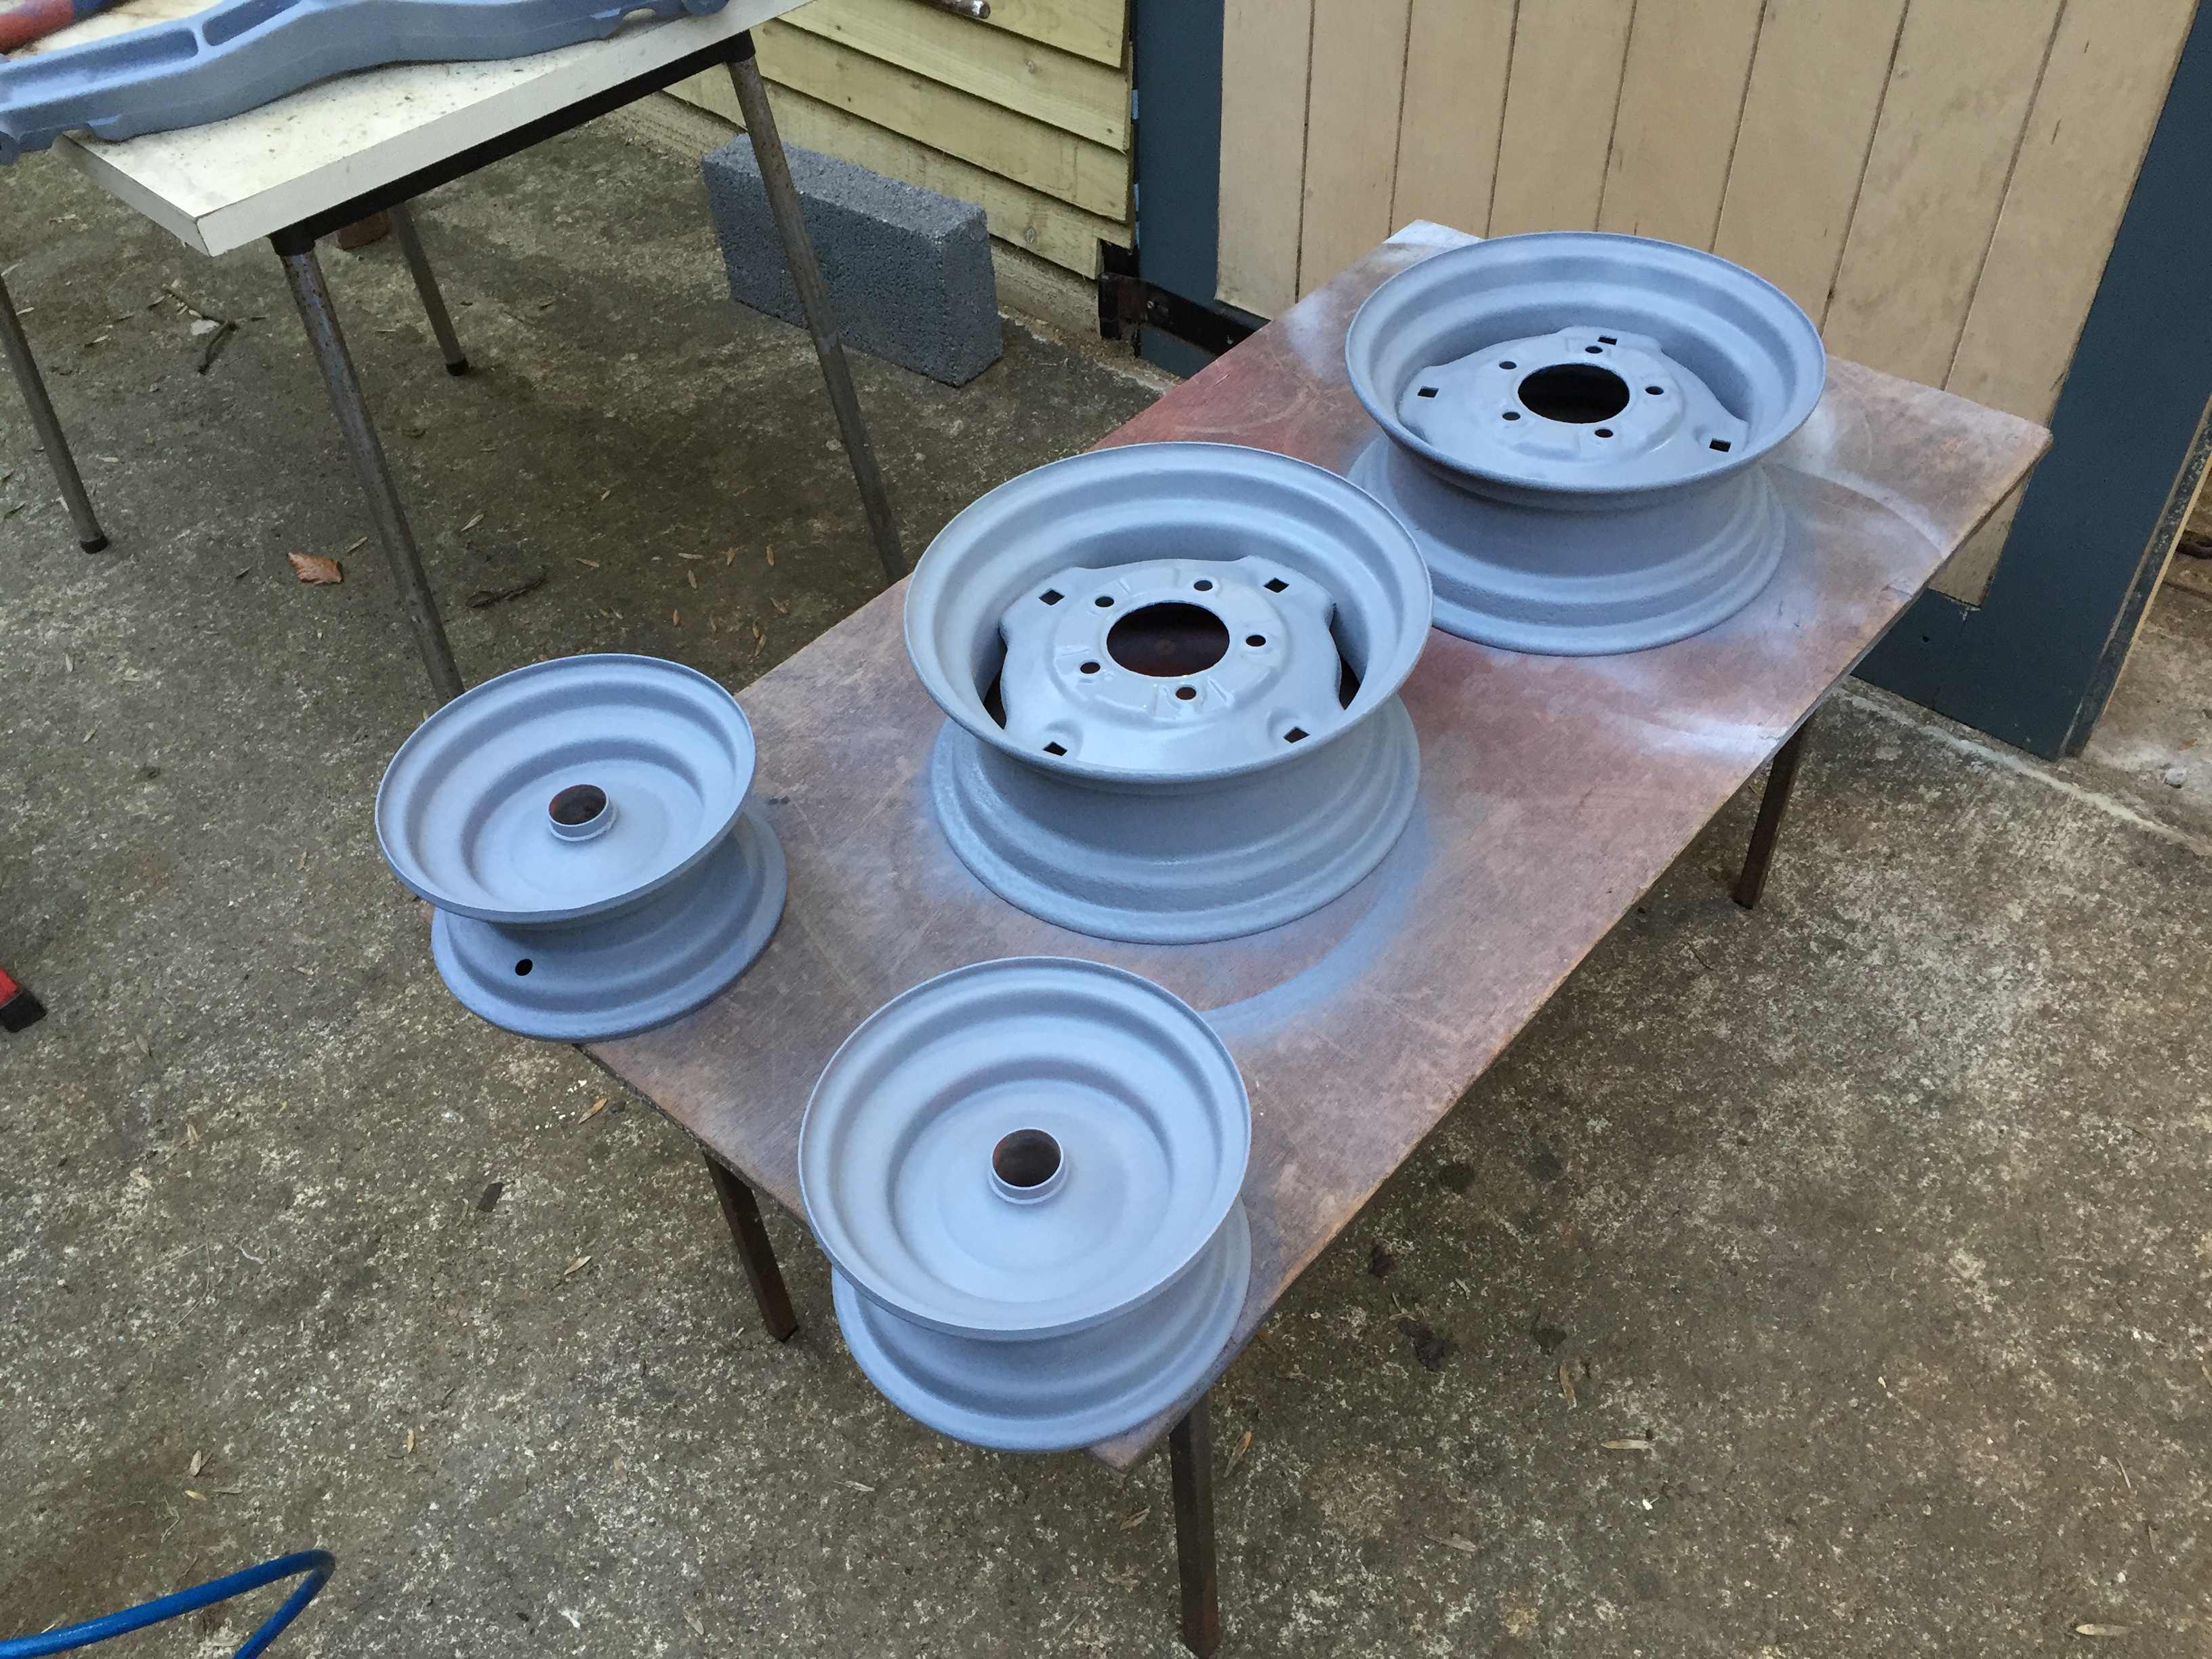
The rims have been painted with IH white and then the tyres are being fit this morning, with a bit of hope the weather will stay dry and I can paint the rest of the rims this weekend.
A few more bits done over the weekend and yesterday.
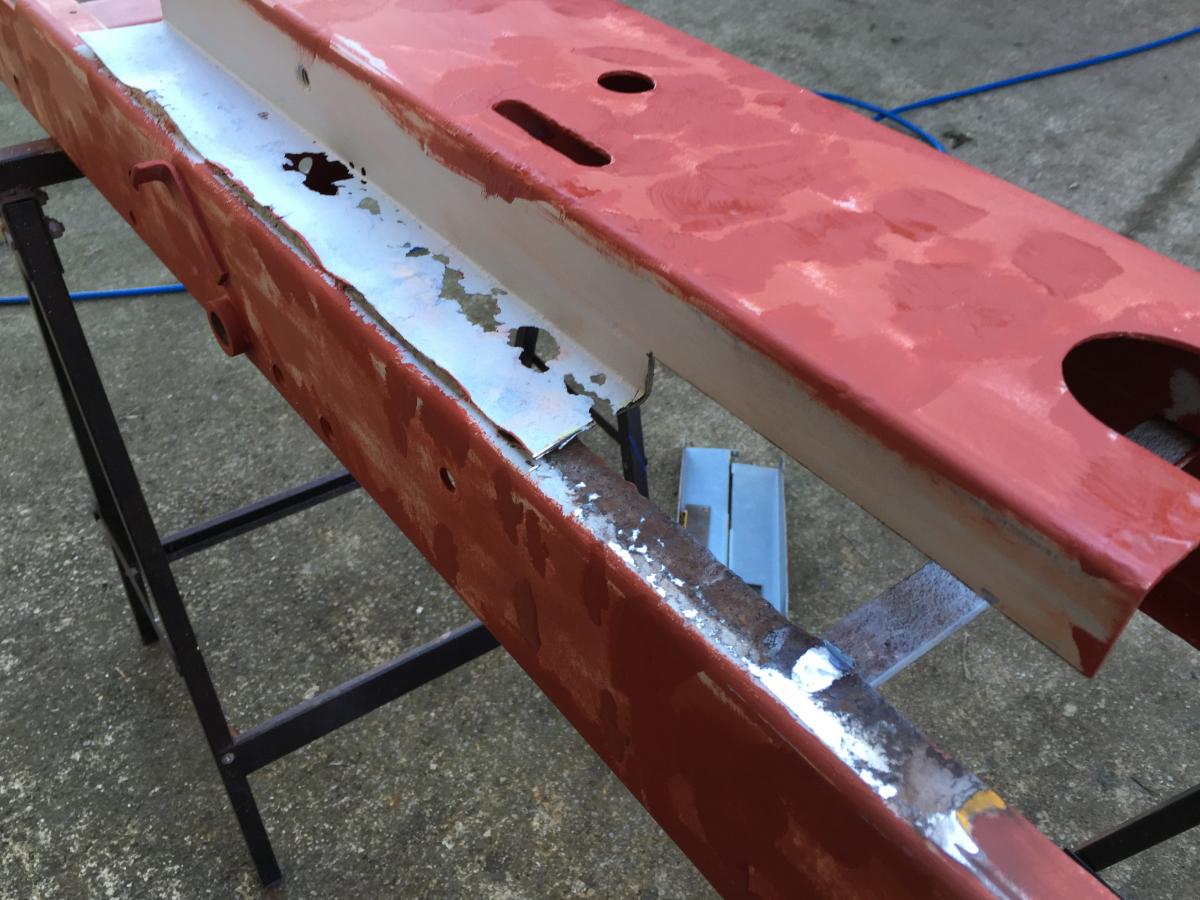
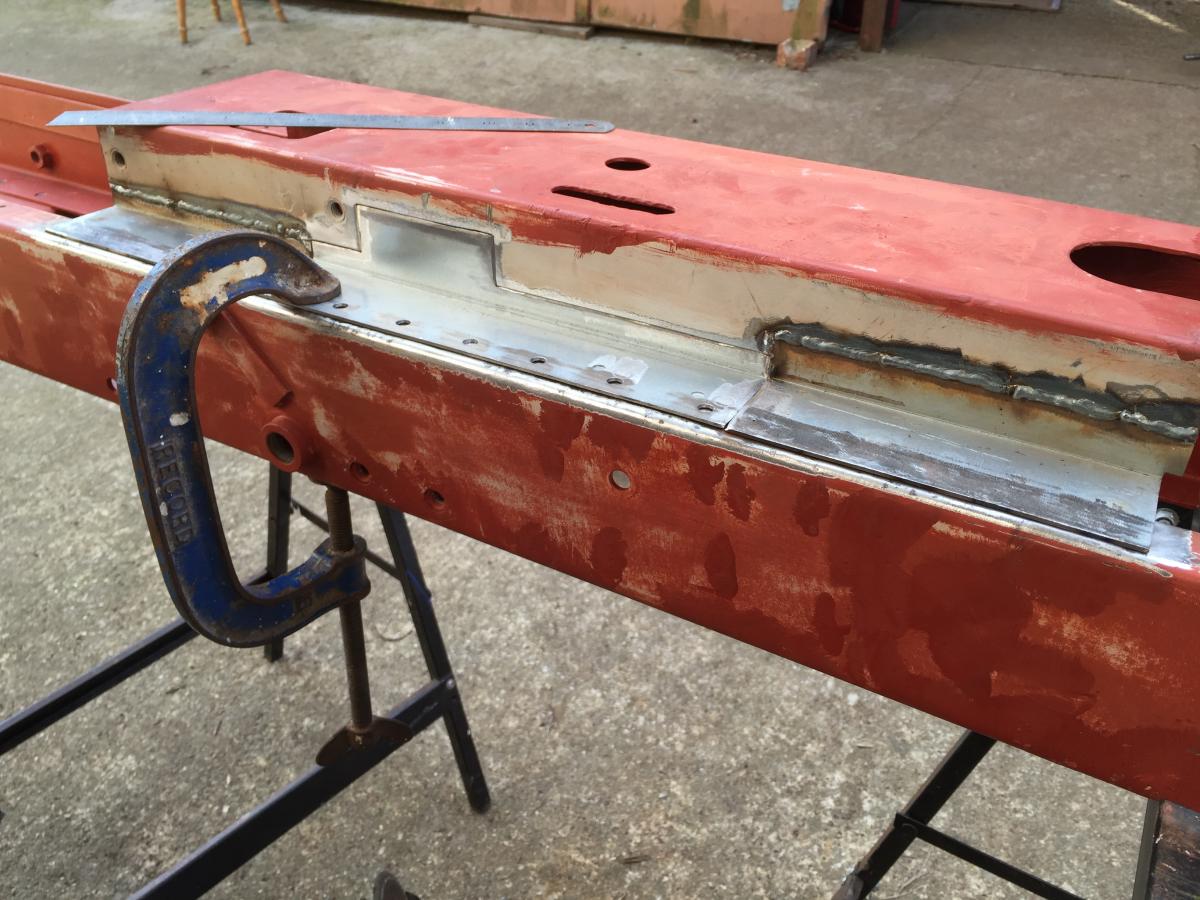
Finally started work on the other side of the chassis which was in a worse condition than the other side, we replaced the side in three sections so that the chassis didn't twist.
Just before welding in the last piece.
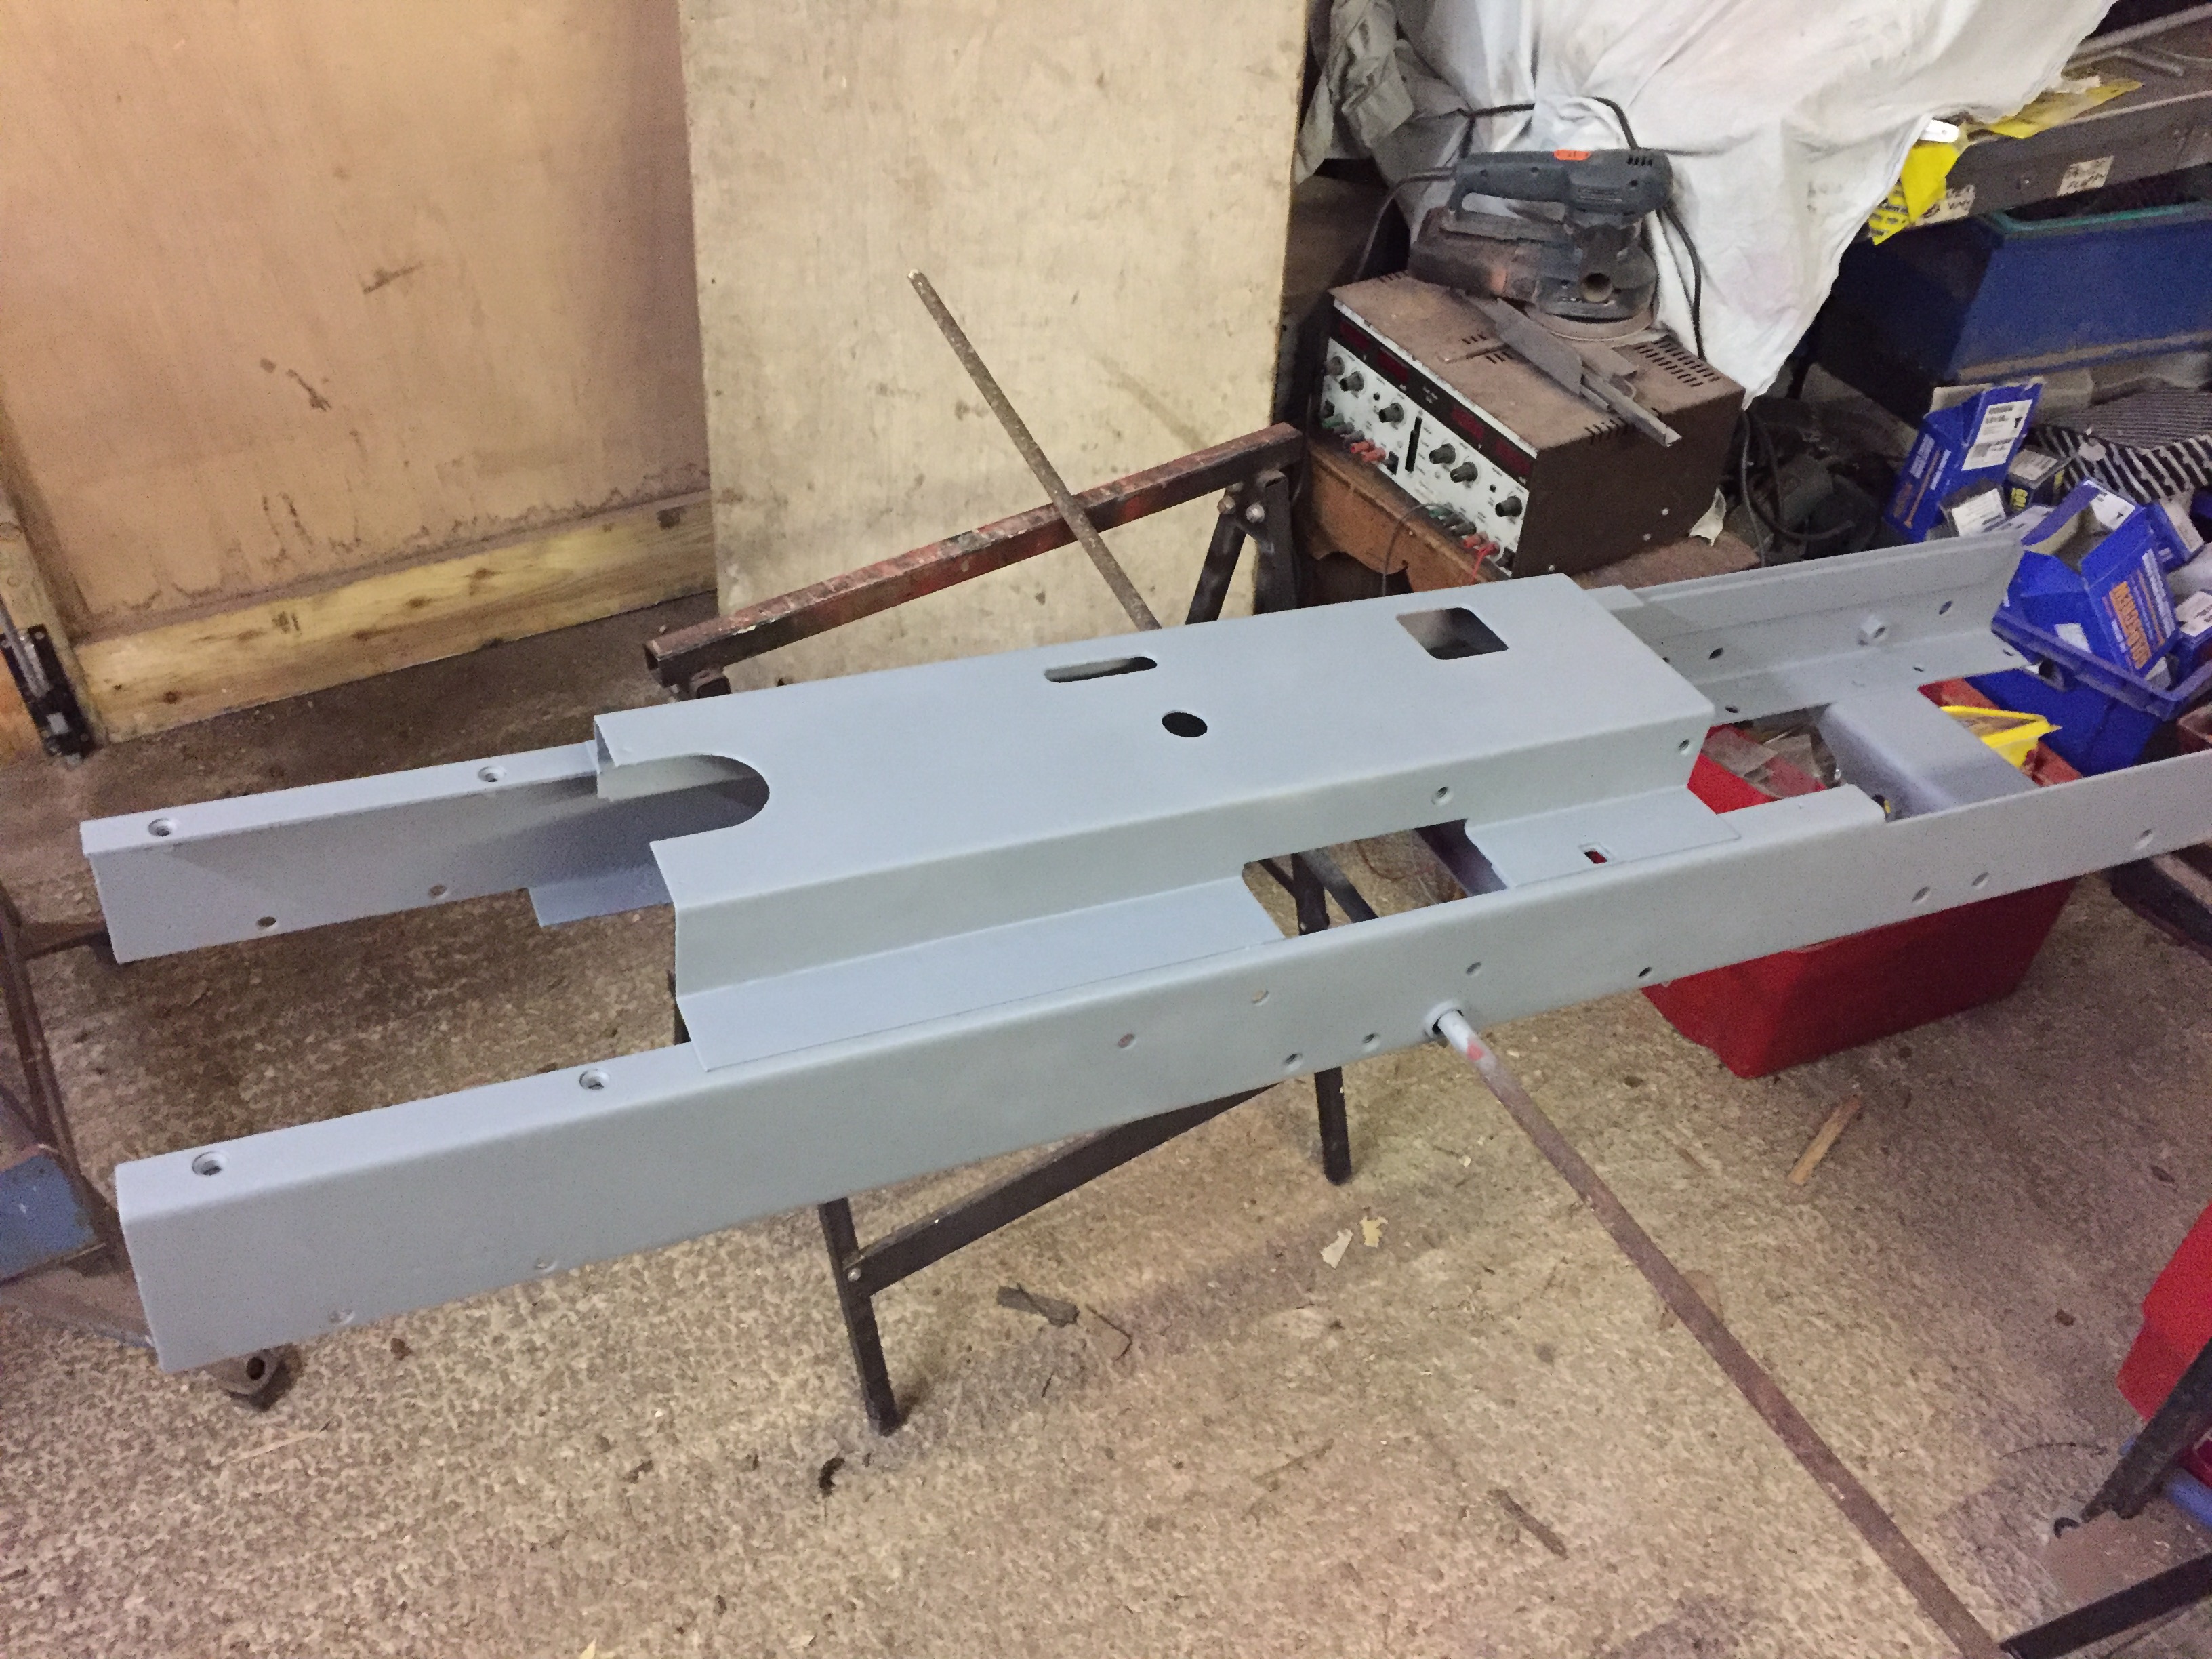
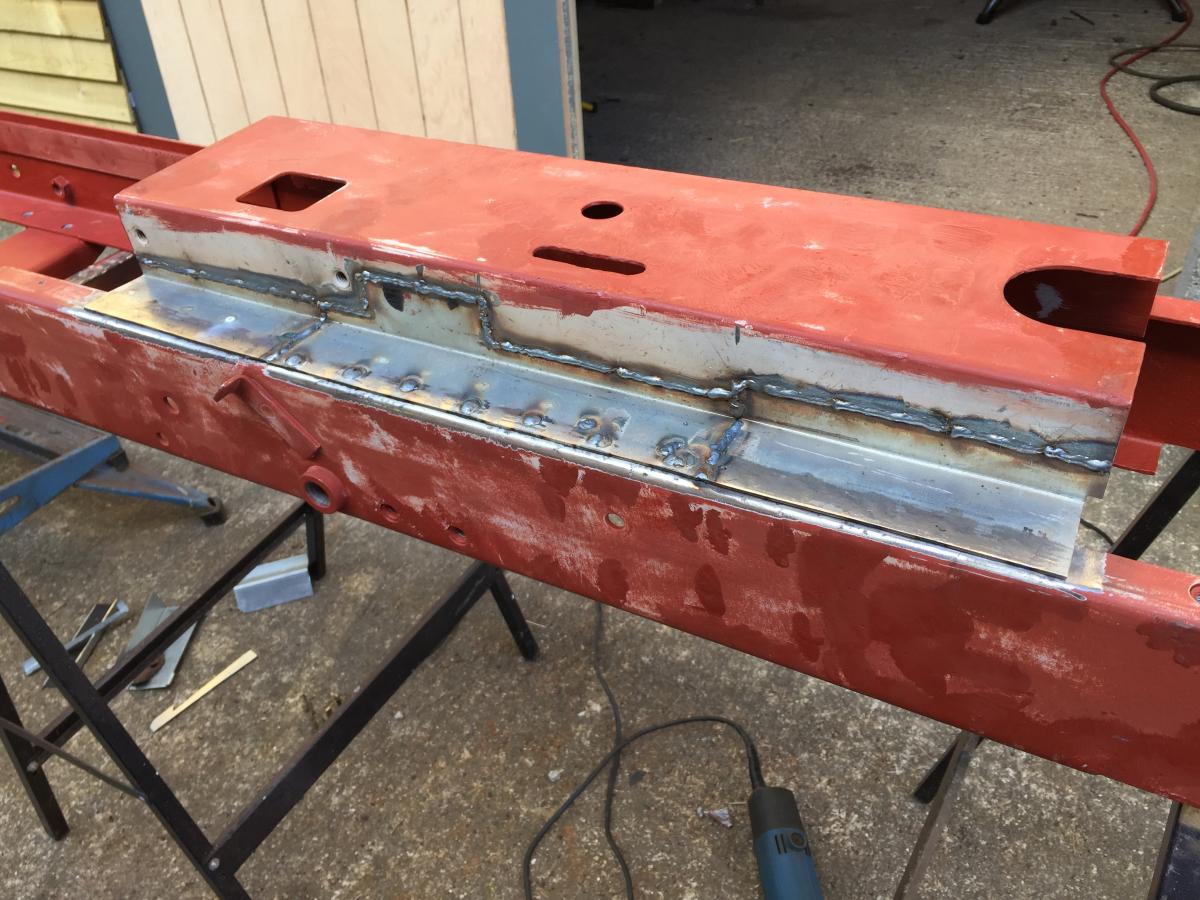
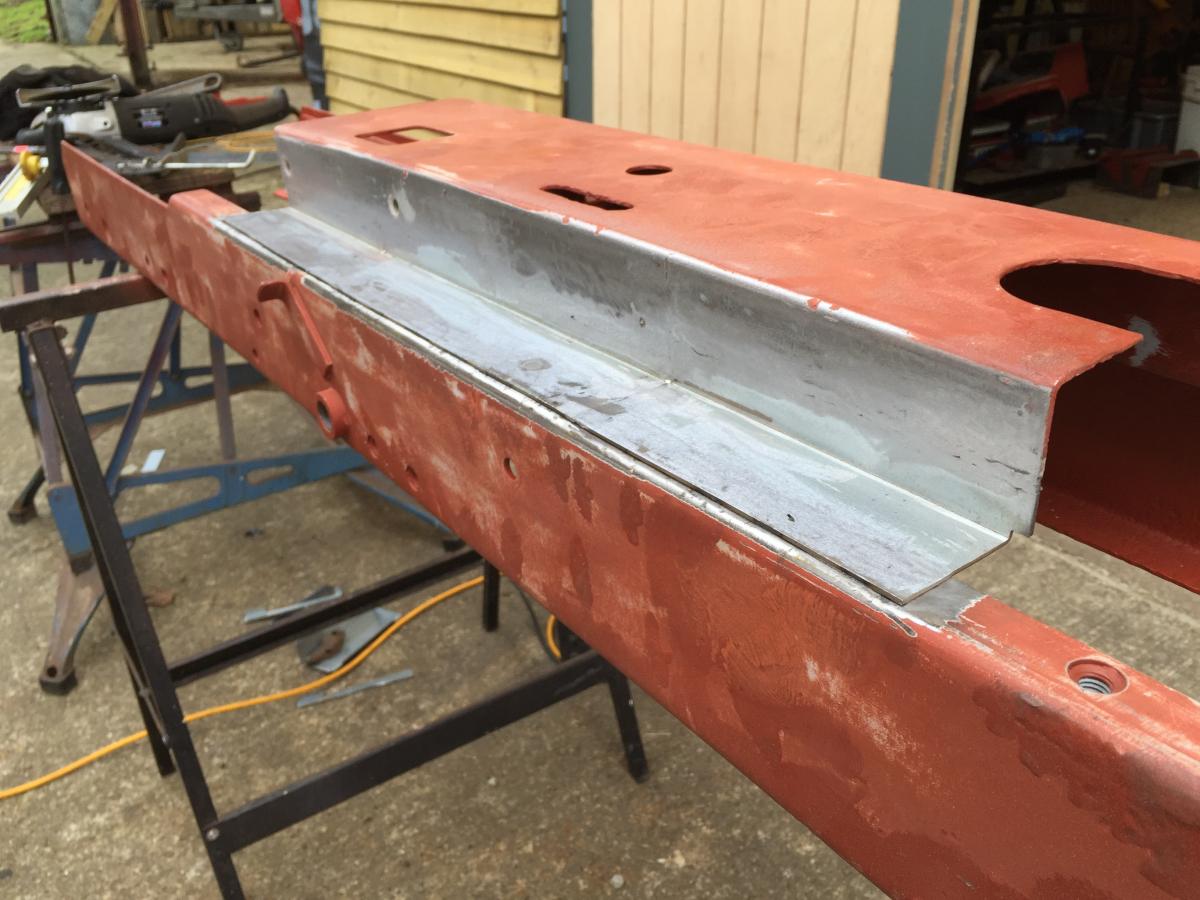
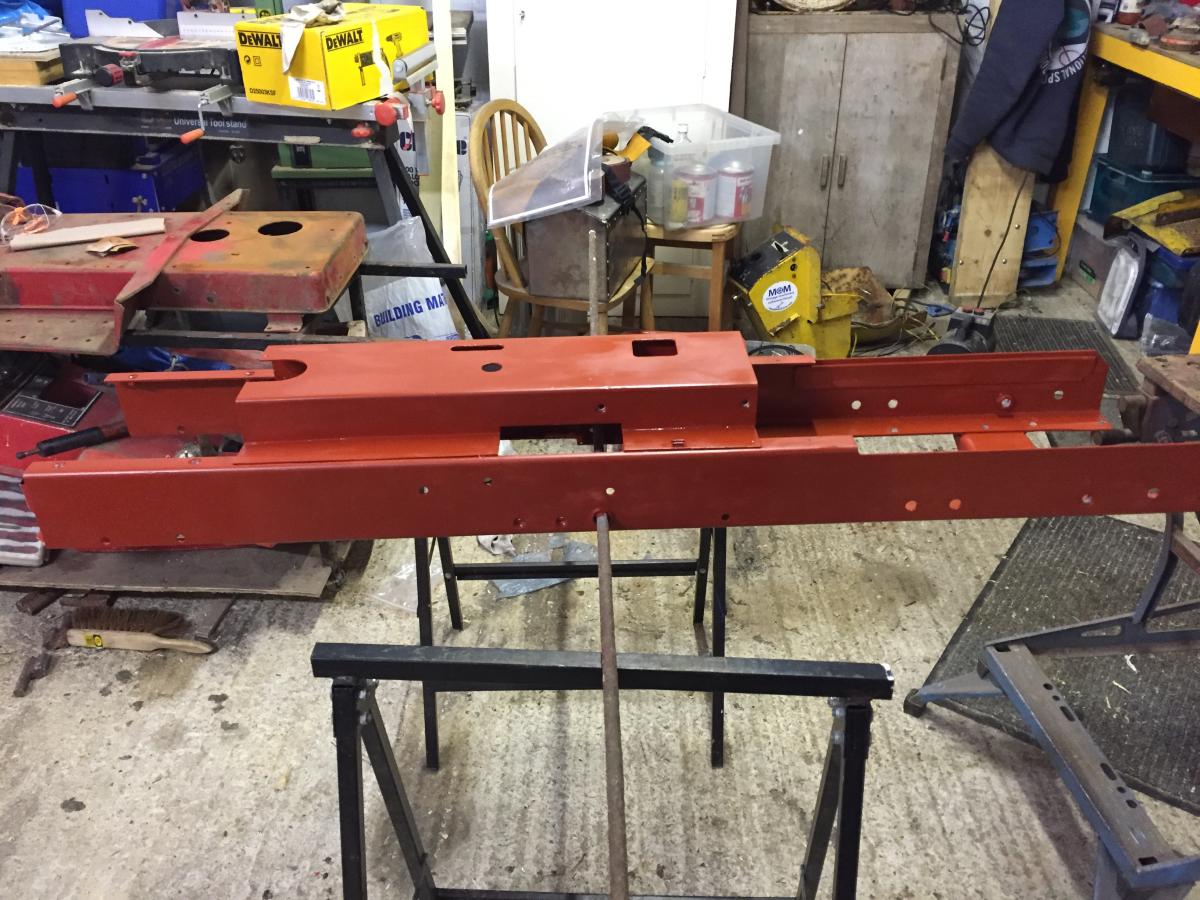
Finally finished all of the repairs on the chassis, it just needs its final coats of primer and then I can start on the yellow paint
With thanks to my grandad the tyres have been taken off the rear wheels so I can start cleaning them up.
I think I will, I'm waiting for another one to pop up.. I think I may be waiting a while! I'm still yet to see another with the same hitch as yours and mine, very weird,
Tom
Hmm I would like to know who made them, someone obviously spent a lot of time on them because they don't look like they have been knocked up in five minutes.
Coming on really well, I'm looking forward to seeing the finished product. Every time I look at this thread it makes me want to do mine but I just can't bring myself to do it!
Tom
Thanks Tom, I can't wait till it is finished. Yours has a nice patina, I would leave it!
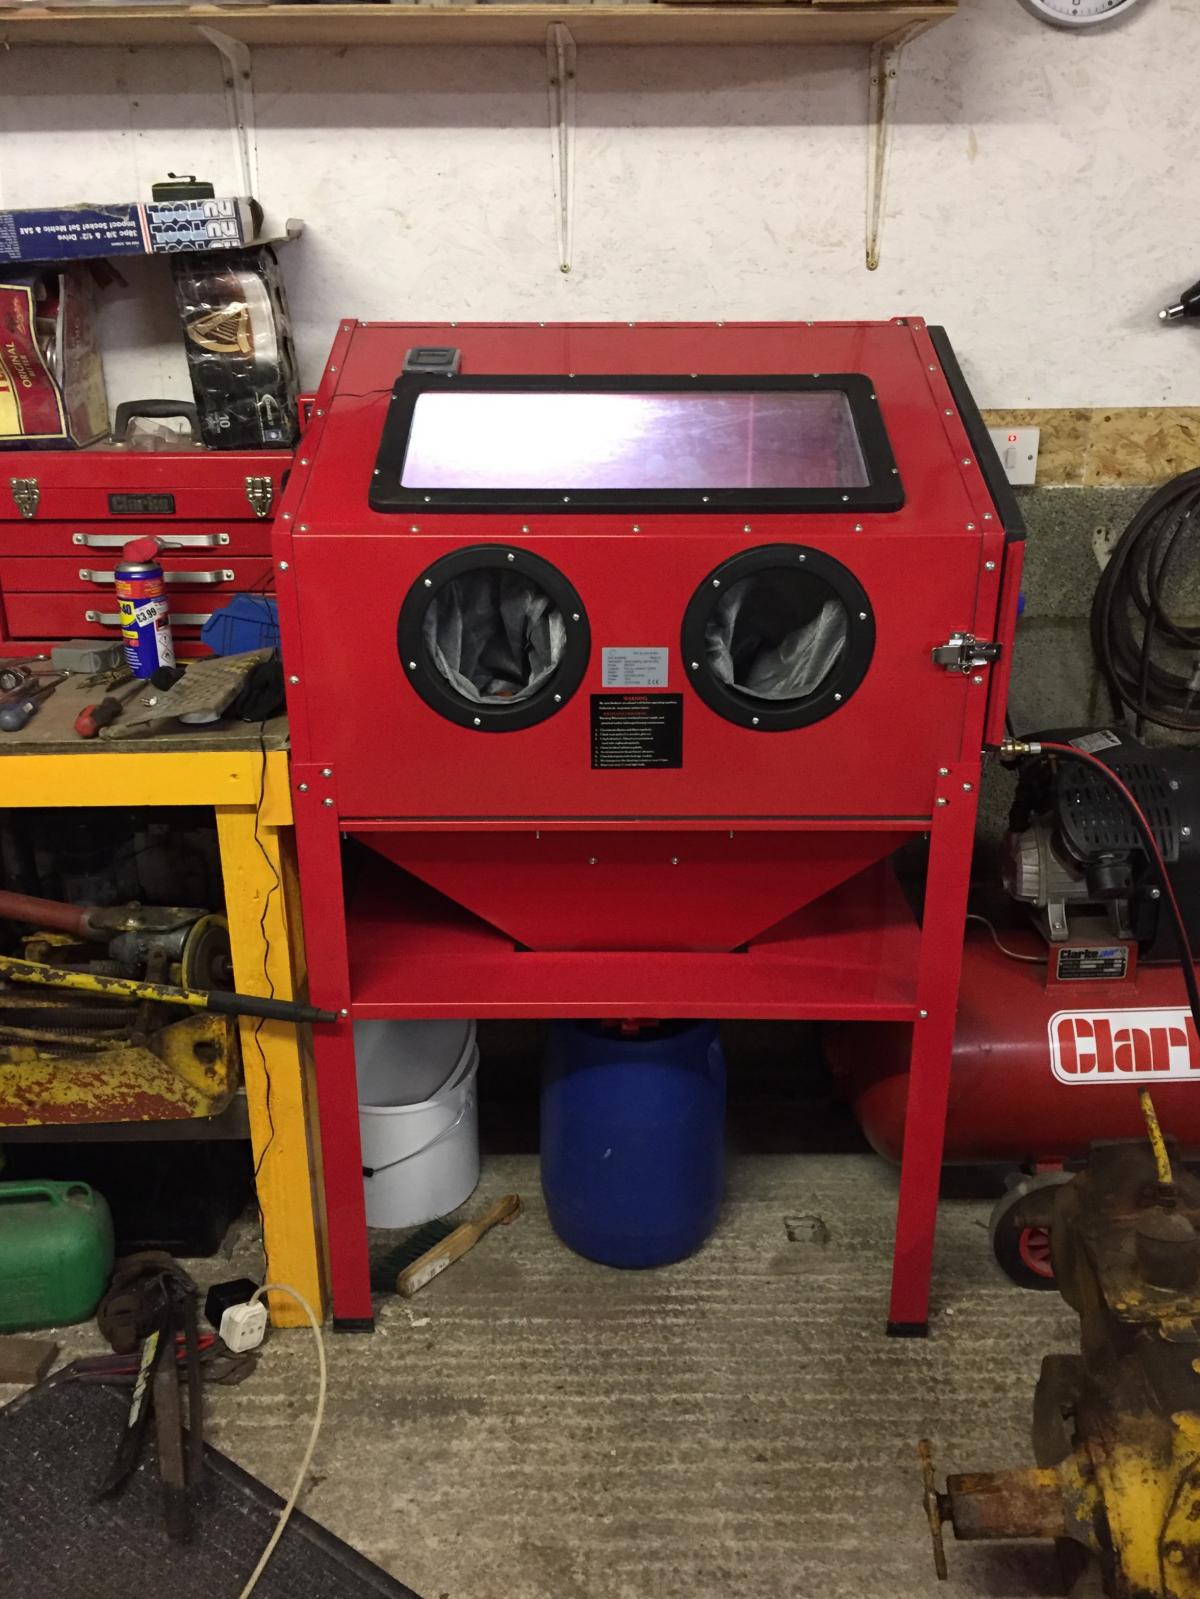
Brilliant work Ewan how you finding the blast cabinet?
Thanks, I'm liking it, I'm putting everything in an E-tank first to clean the paint off, just so it blasts quicker but it is doing a good job, it's a good size so I will be able to fit my bonnet and wheels in there
Looking forward to seeing this at Newby Hall
Hopefully it will look like it has just come out of the factory
Been busy today cleaning up the chassis and painting, here's some pictures.
I'm pleased with the result after a coat of etch primer, it feels like I'm getting somewhere now
To help fill the rust pits I'm brushing on red oxide primer.
My new toy arrived last week so hopefully it should speed up the restoration and hopefully I will be able to achieve a good clean surface so I can use etch primer.

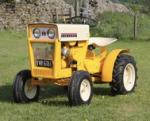


Cub Cadet 70 restoration
in Step by Step restoration
Posted
A GT14 is next on the list")
Thanks Chris.