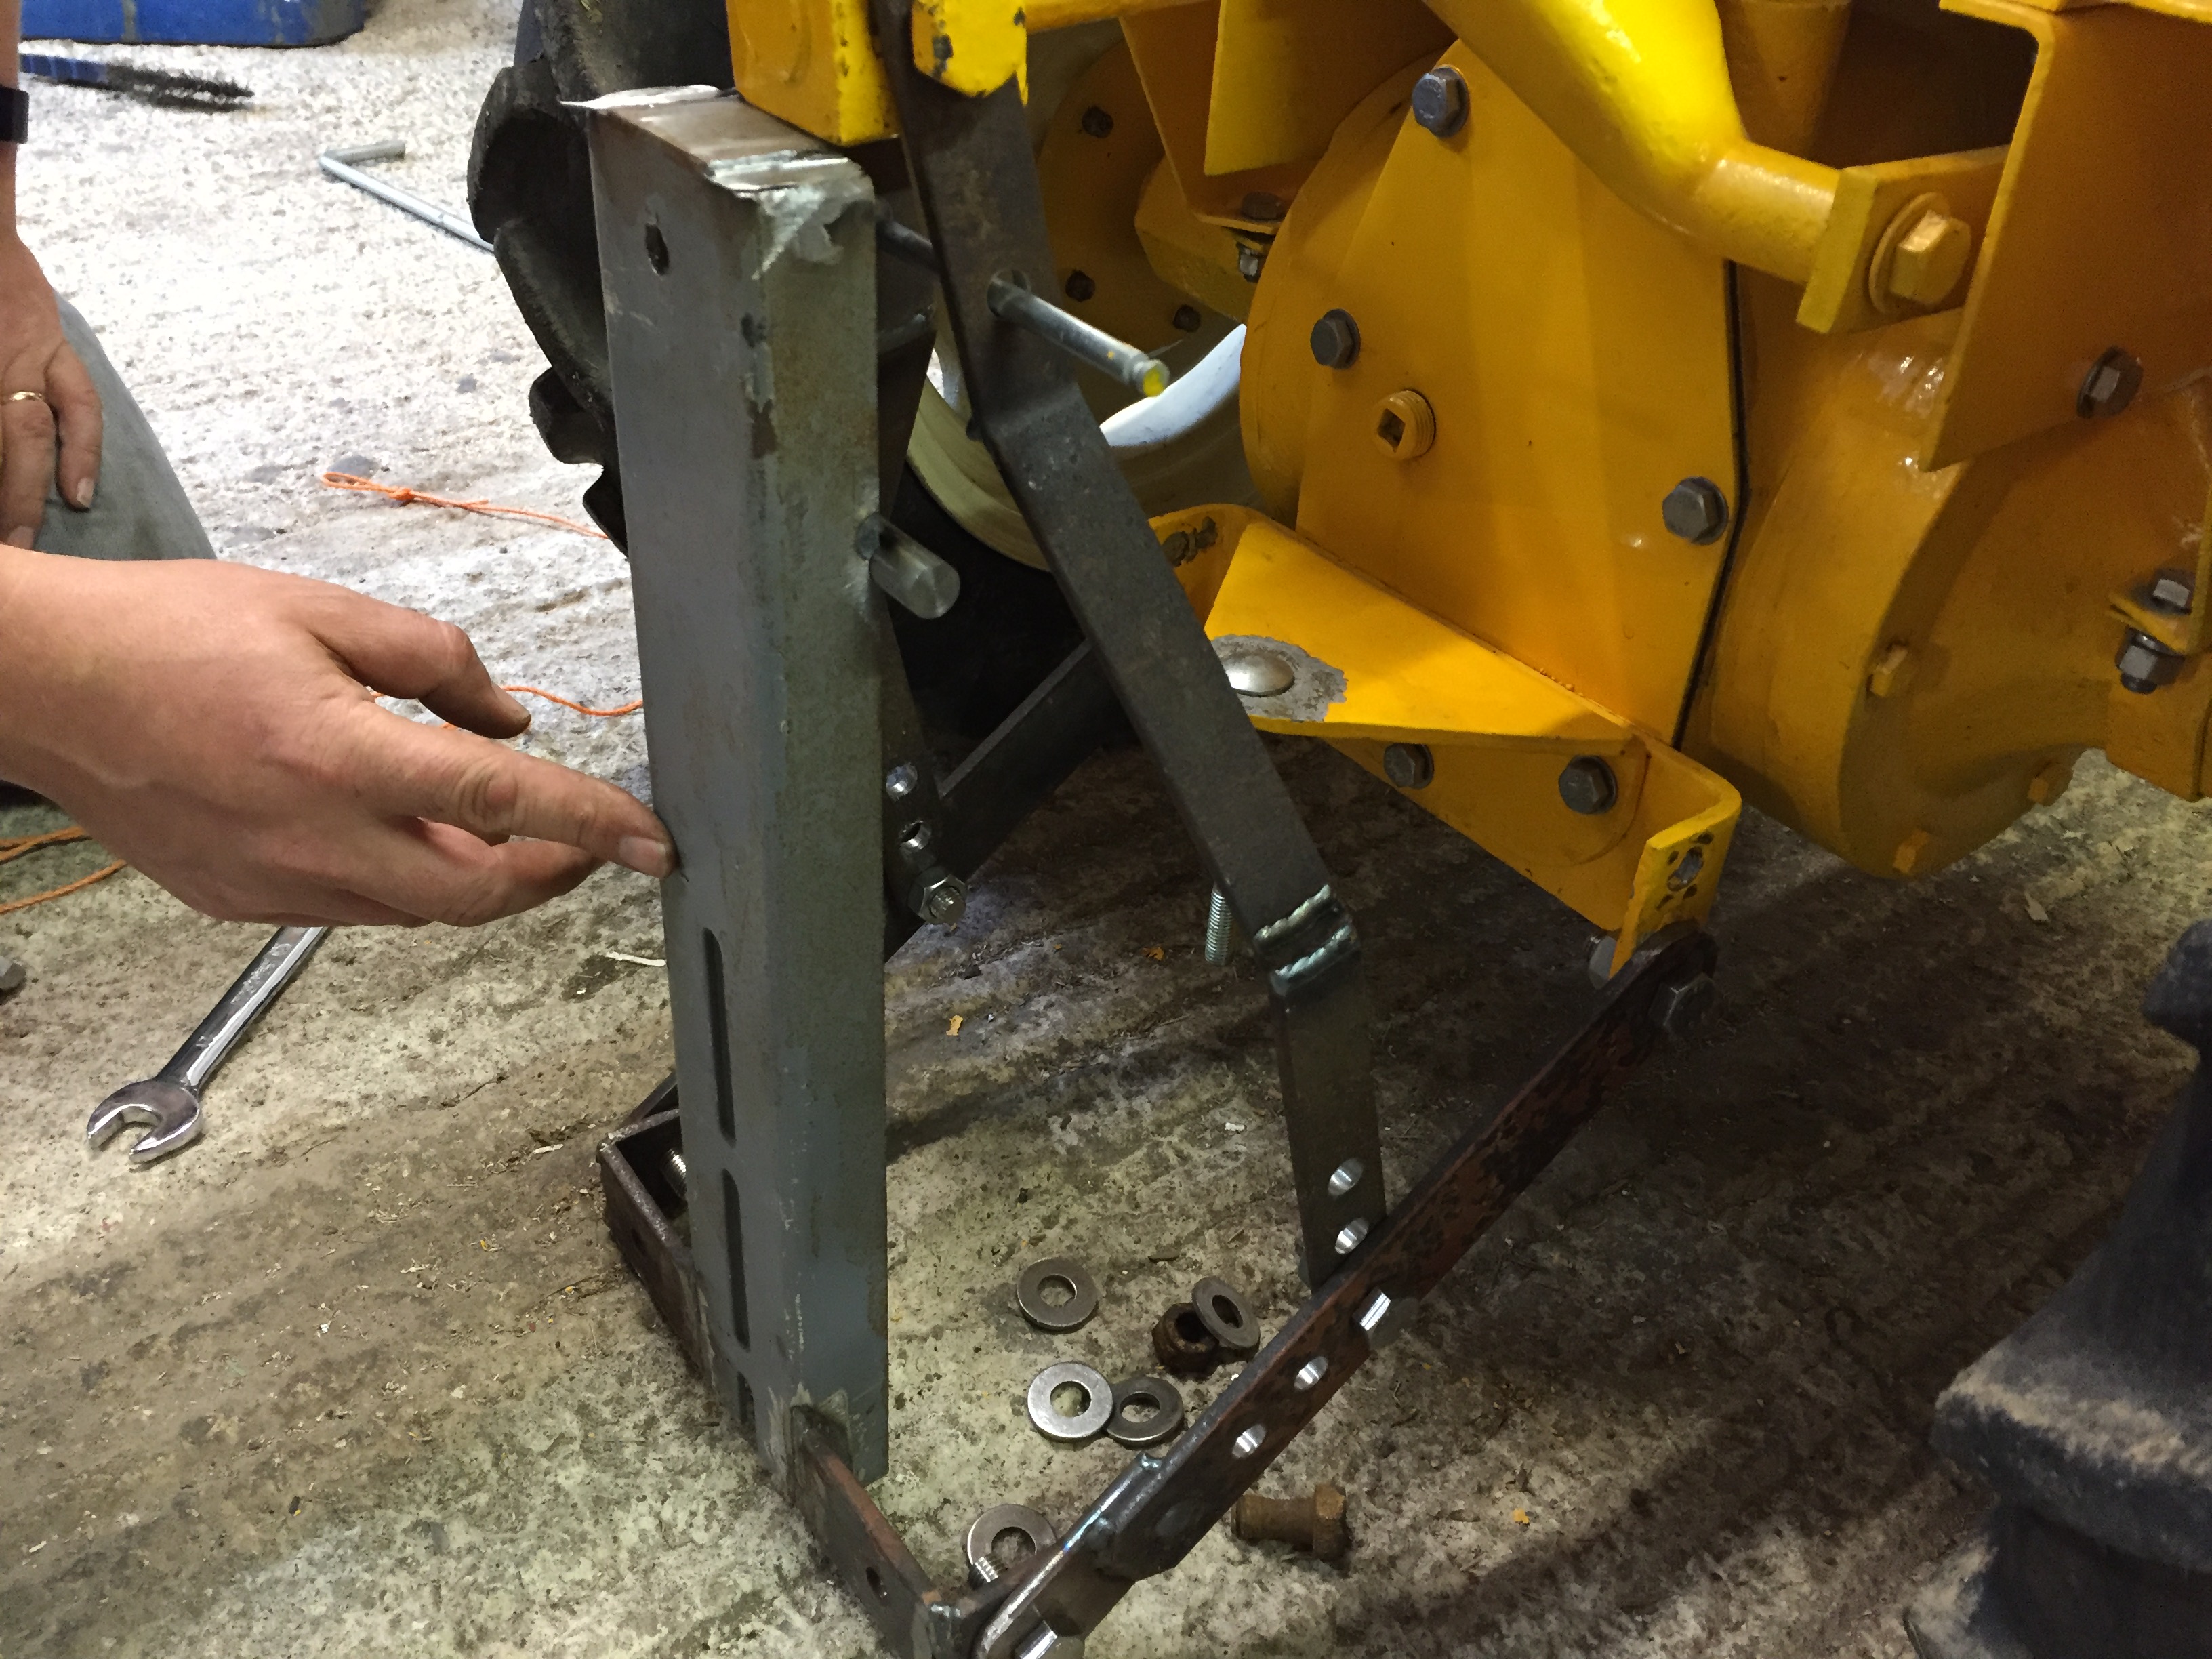
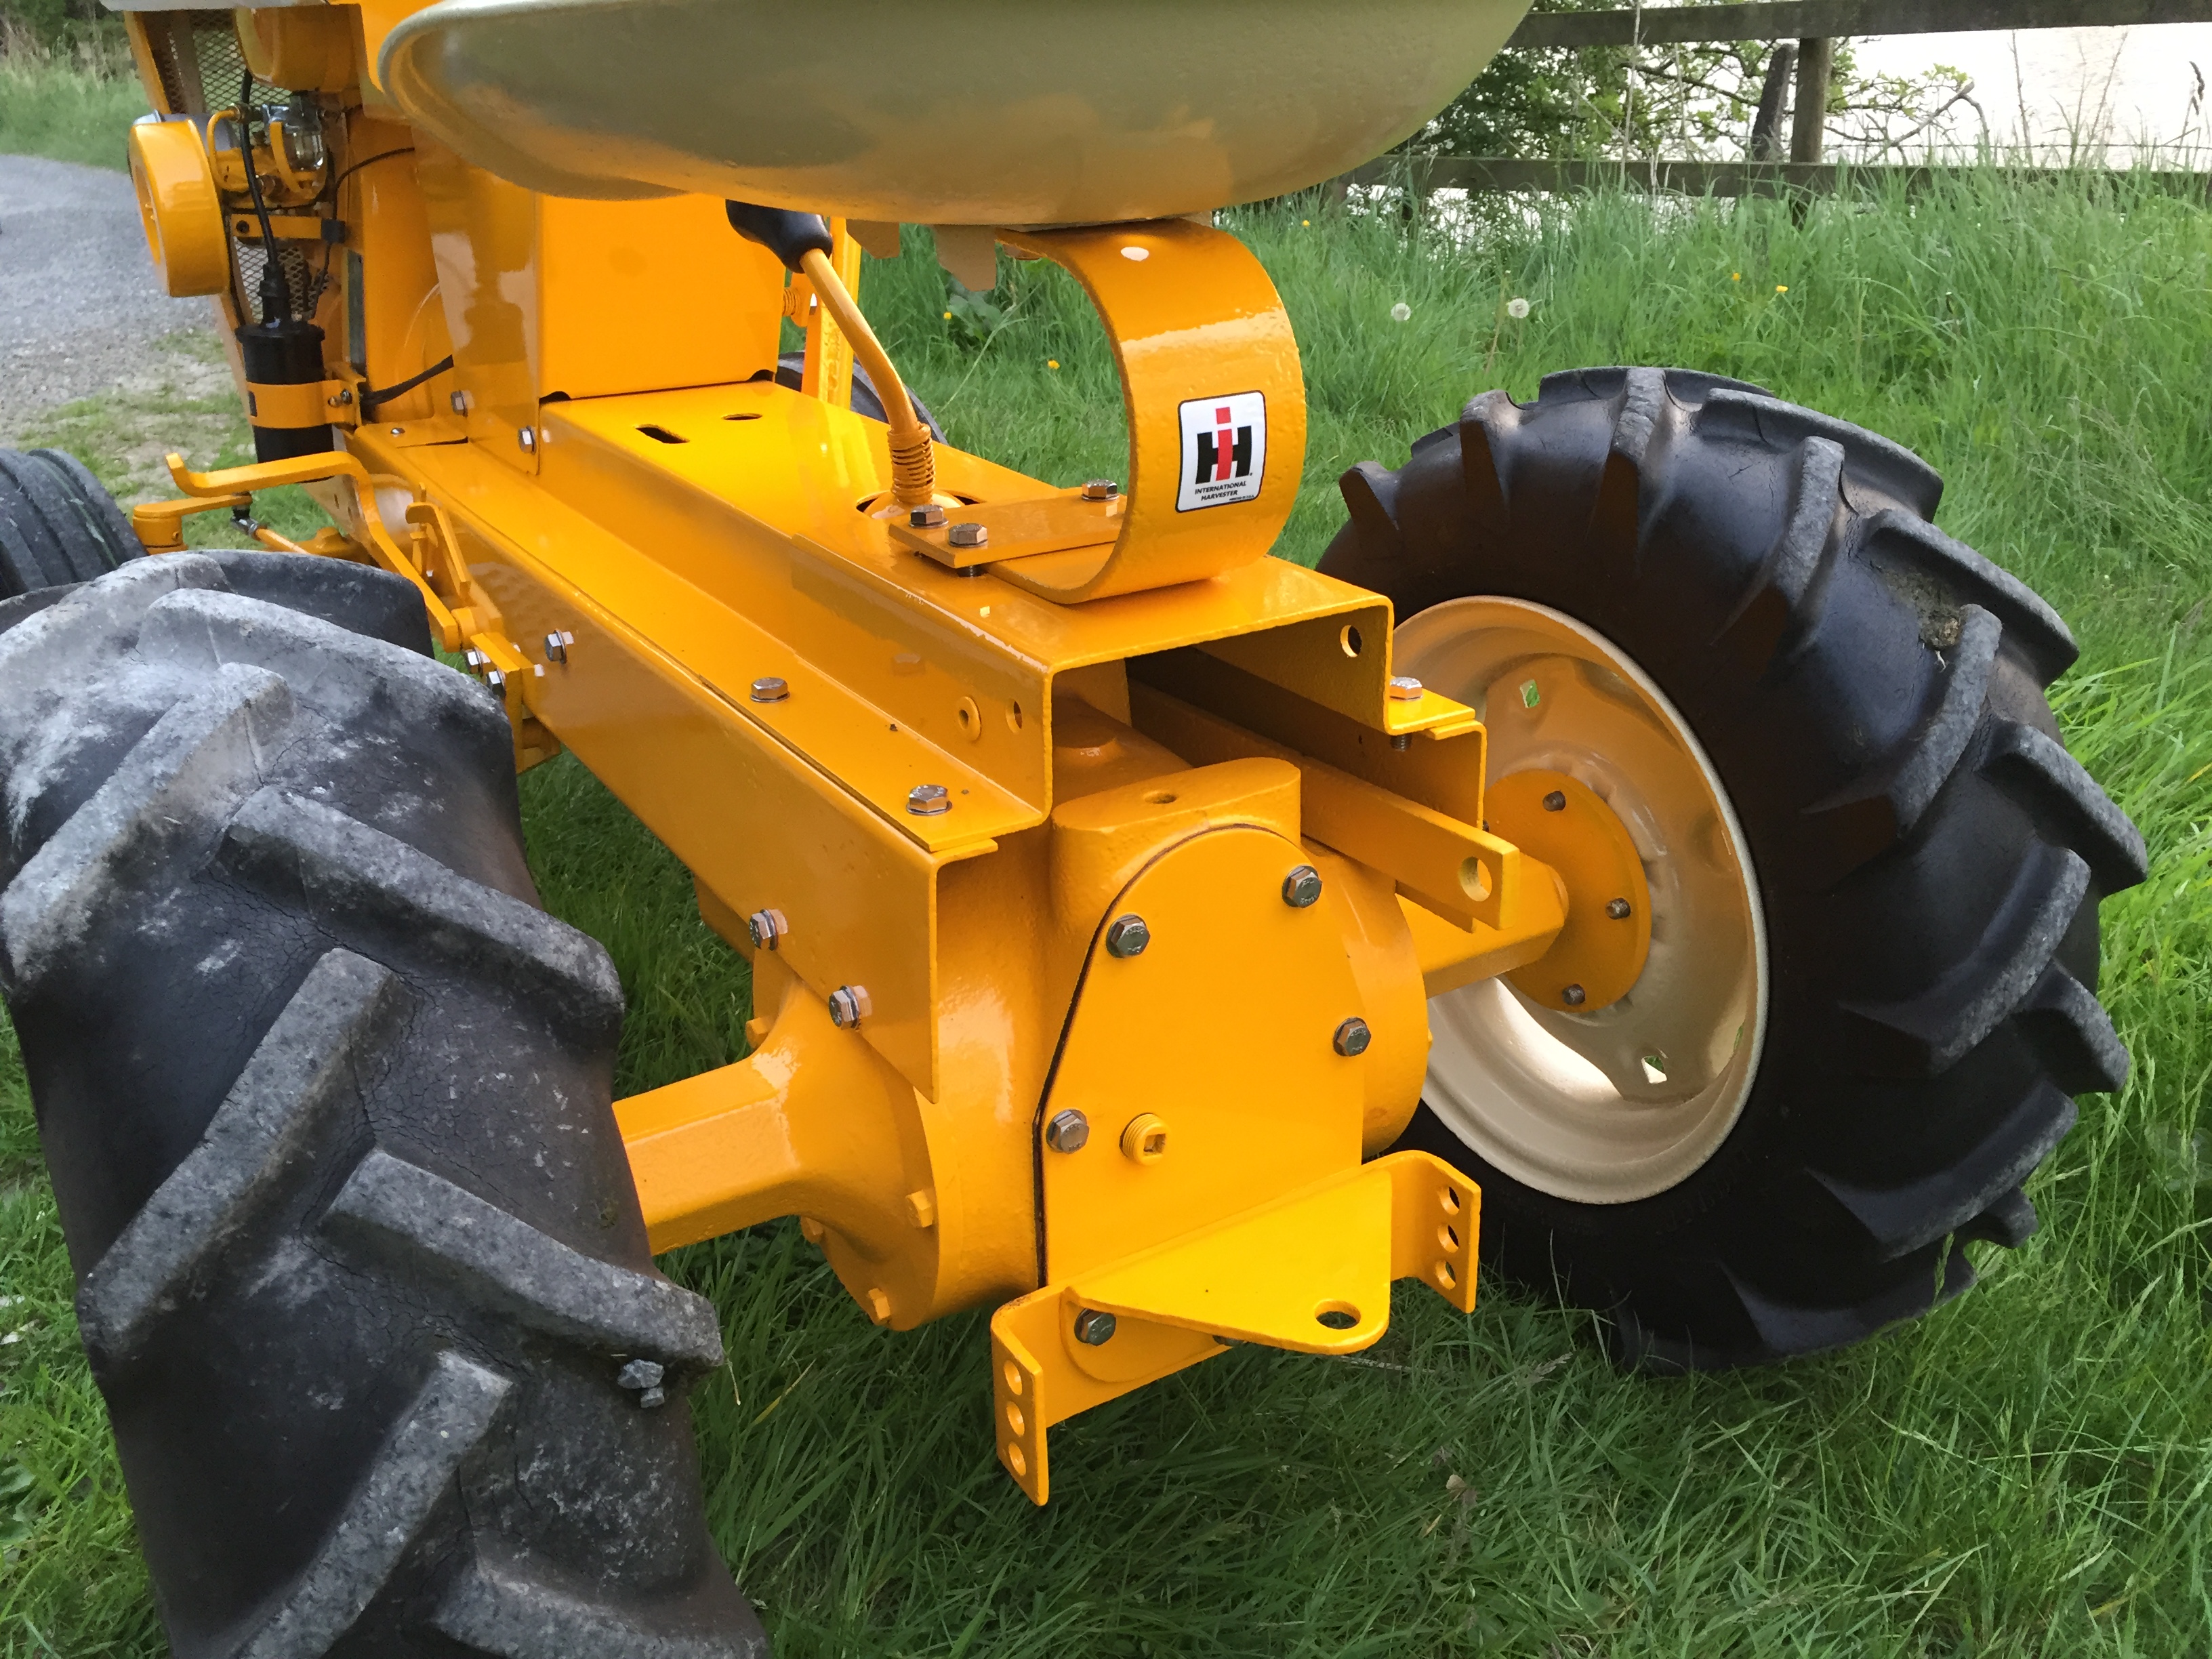
First of all we made the lift arms that would do all of the lifting and also multiply the lift off the ground.
Then we made the tipping mechanism, once the box is on the ground you can disengage the mechanism using a handle and then by lifting the box it can be emptied.
Some tidying up of edges and welds will be done and then it is ready for paint.
I am going to paint the mechanism yellow but I am unsure whether to paint the whole box IH white like the bonnet, or all black, or the frame black and the sides white. Any ideas will be appreciated!
On Friday we made the lift mechanism that attaches the box to the tractor. Here are some pics
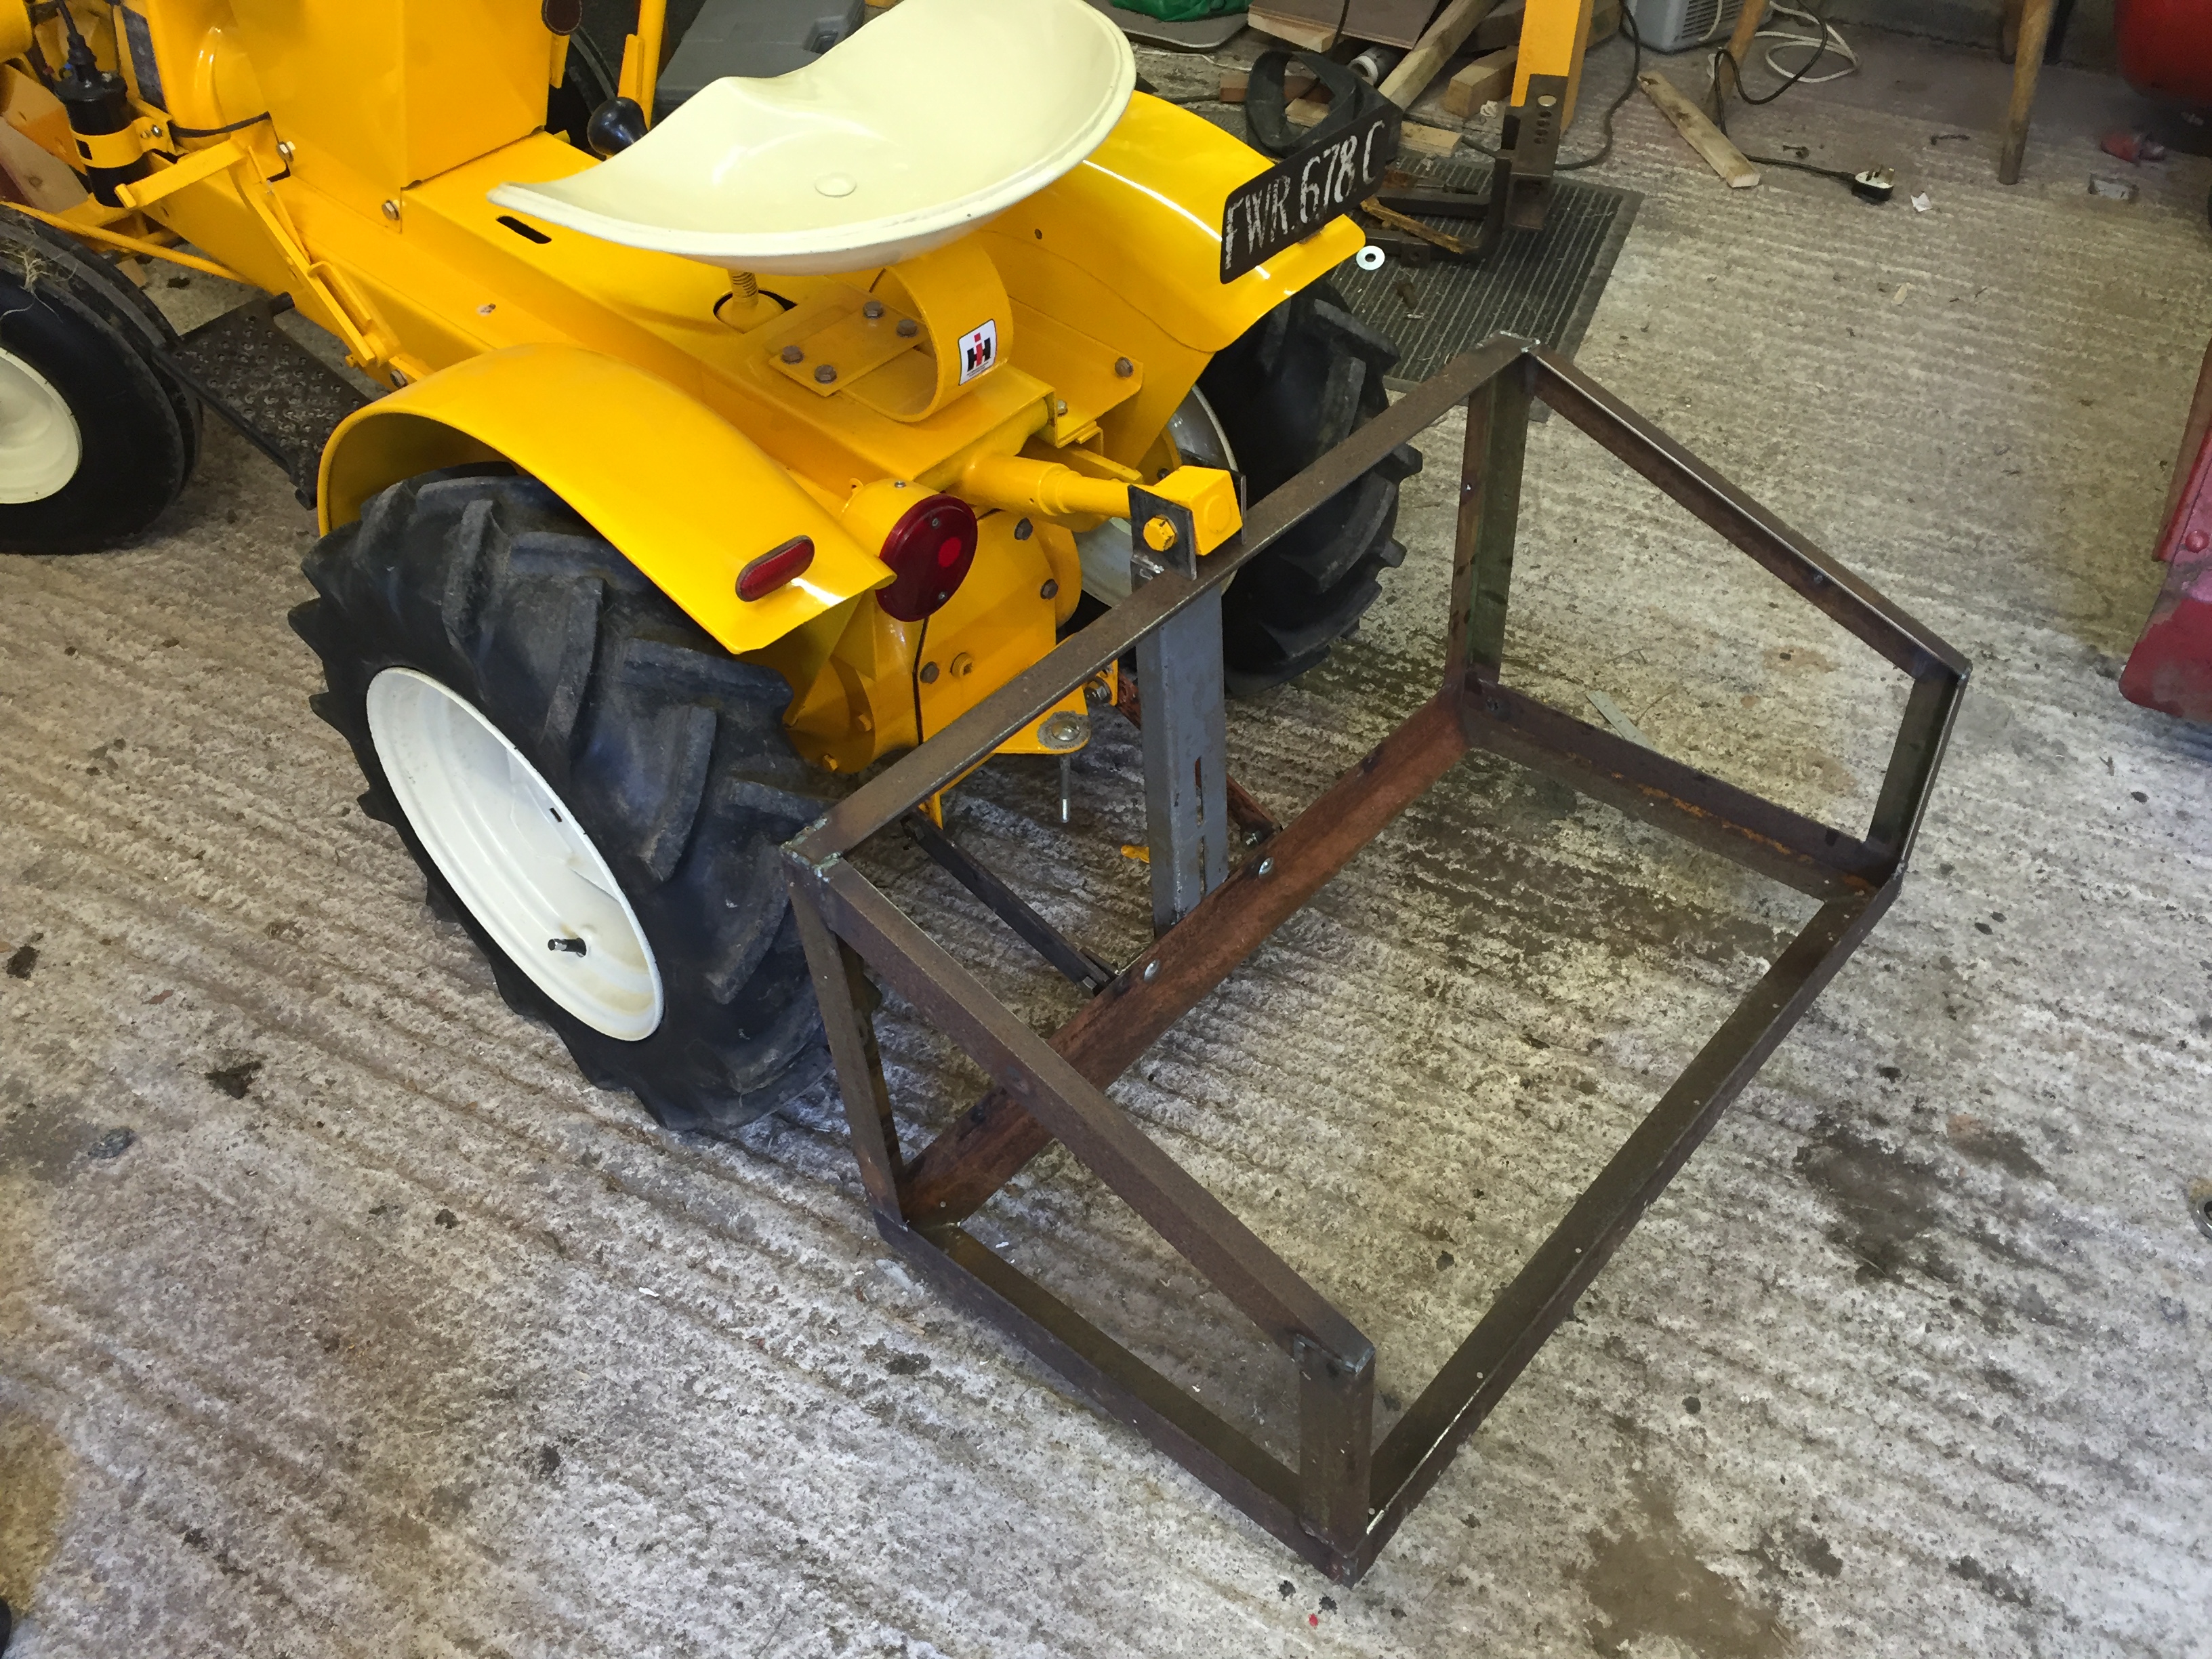
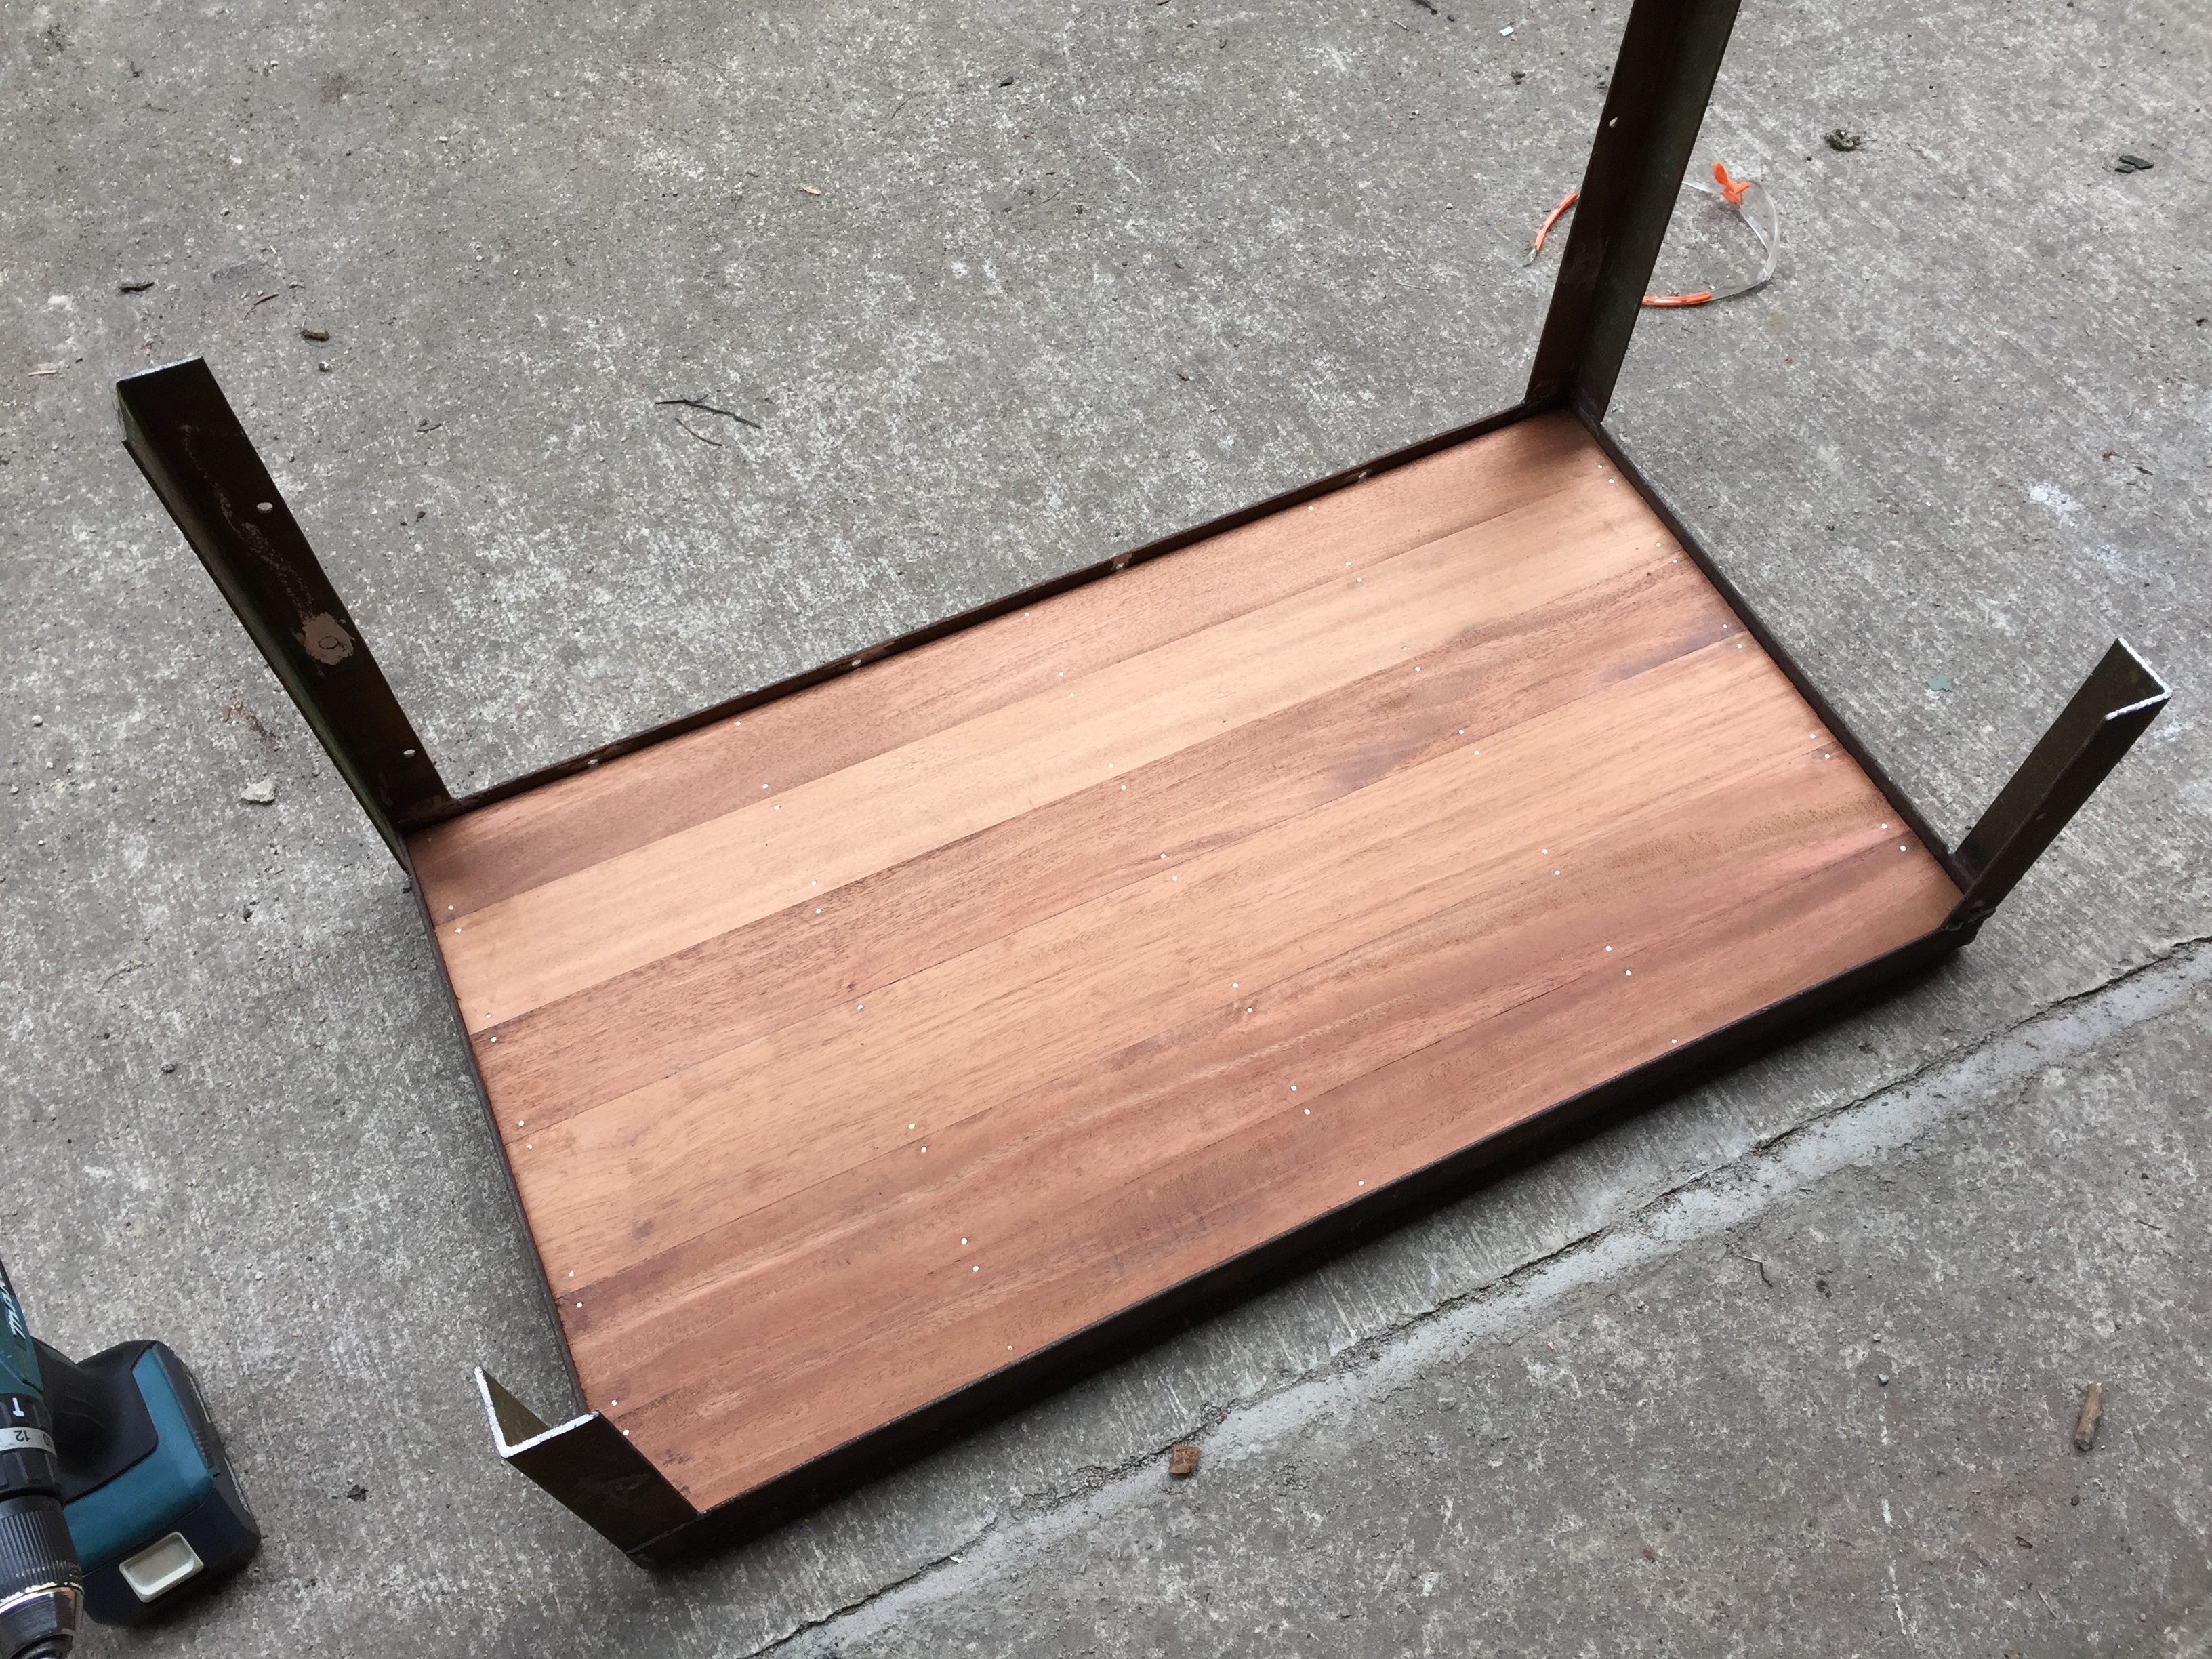
I put the floor in for a photo and a test drive, after taking it into our field and onto the rough ground I discovered that it didn't lift quite high enough for the terrain I would be driving over so some modifications had to be made.
I made the bottom lift arms longer and by welding onto the sides of the old ones it made the box align with the bracket on the tractor.
At least I know my drilling is straight, the holes are for the height adjustment.
This is as far as I have got, the string imitates the link arms and we are also trying to work out a way for the box to tip.
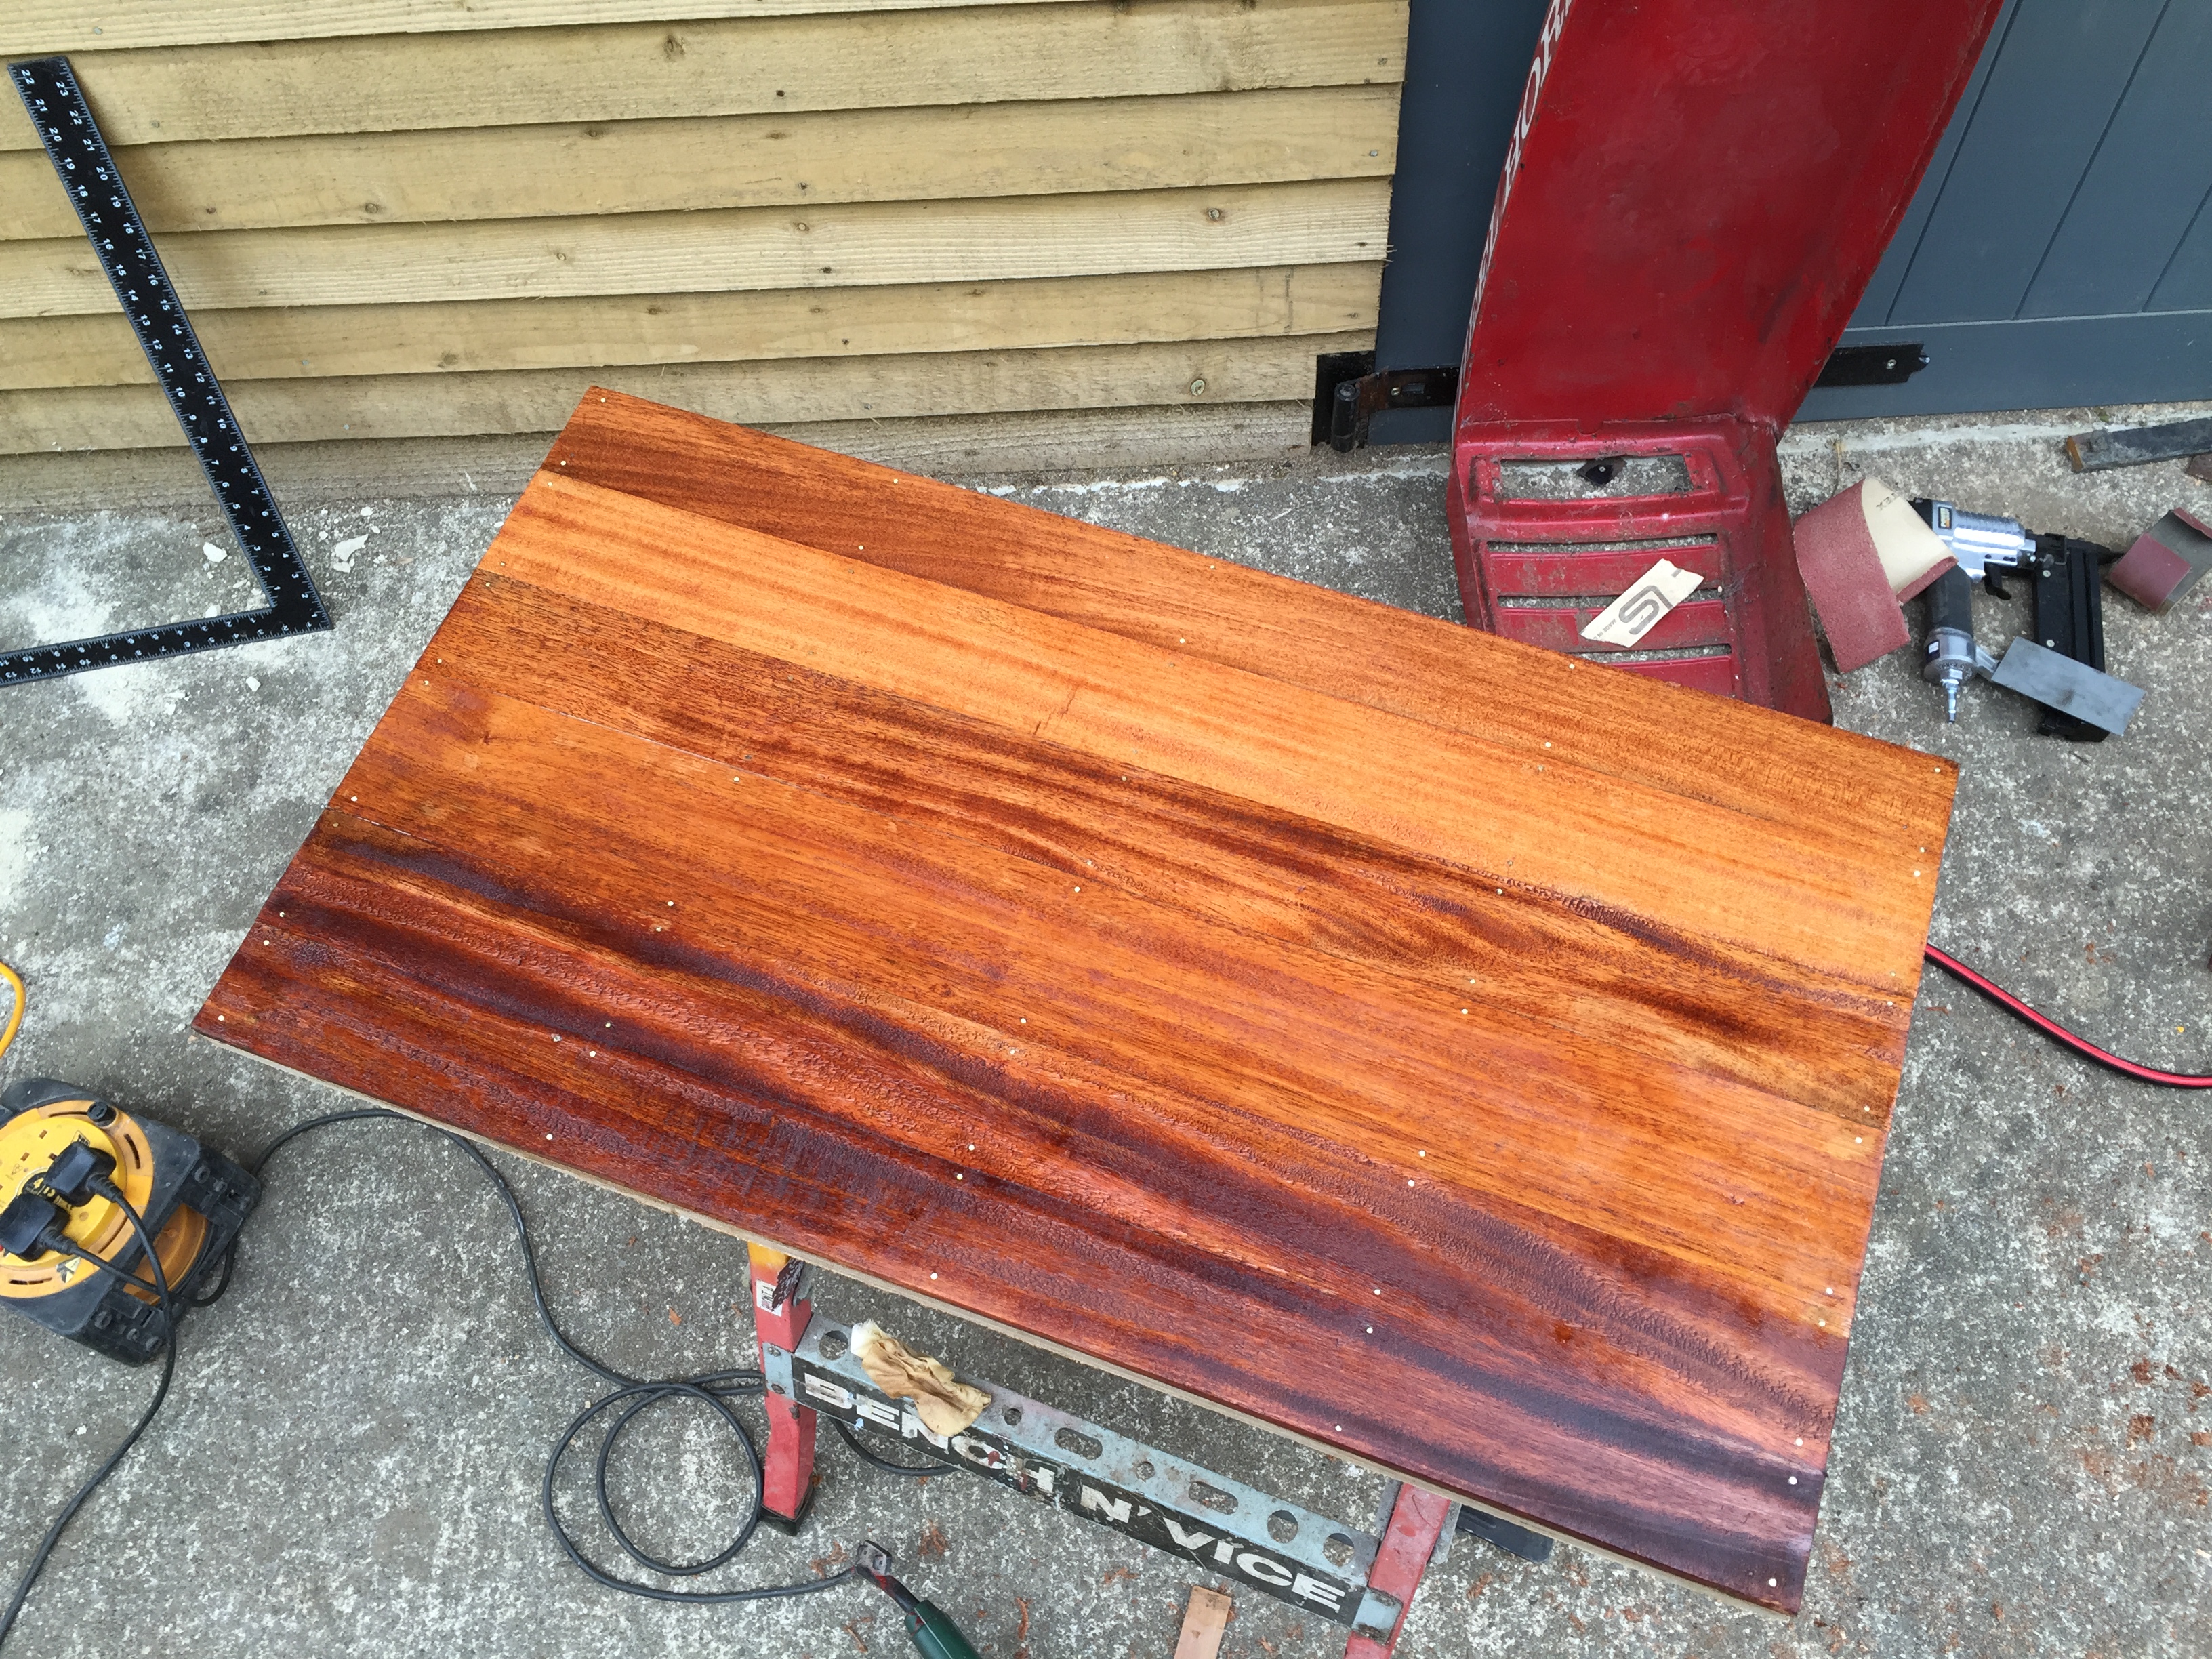
No the wood I used is called Sapele which is a tropical hardwood, I think that your wood looks too dark to be ash since ash is a very light coloured wood but who knows
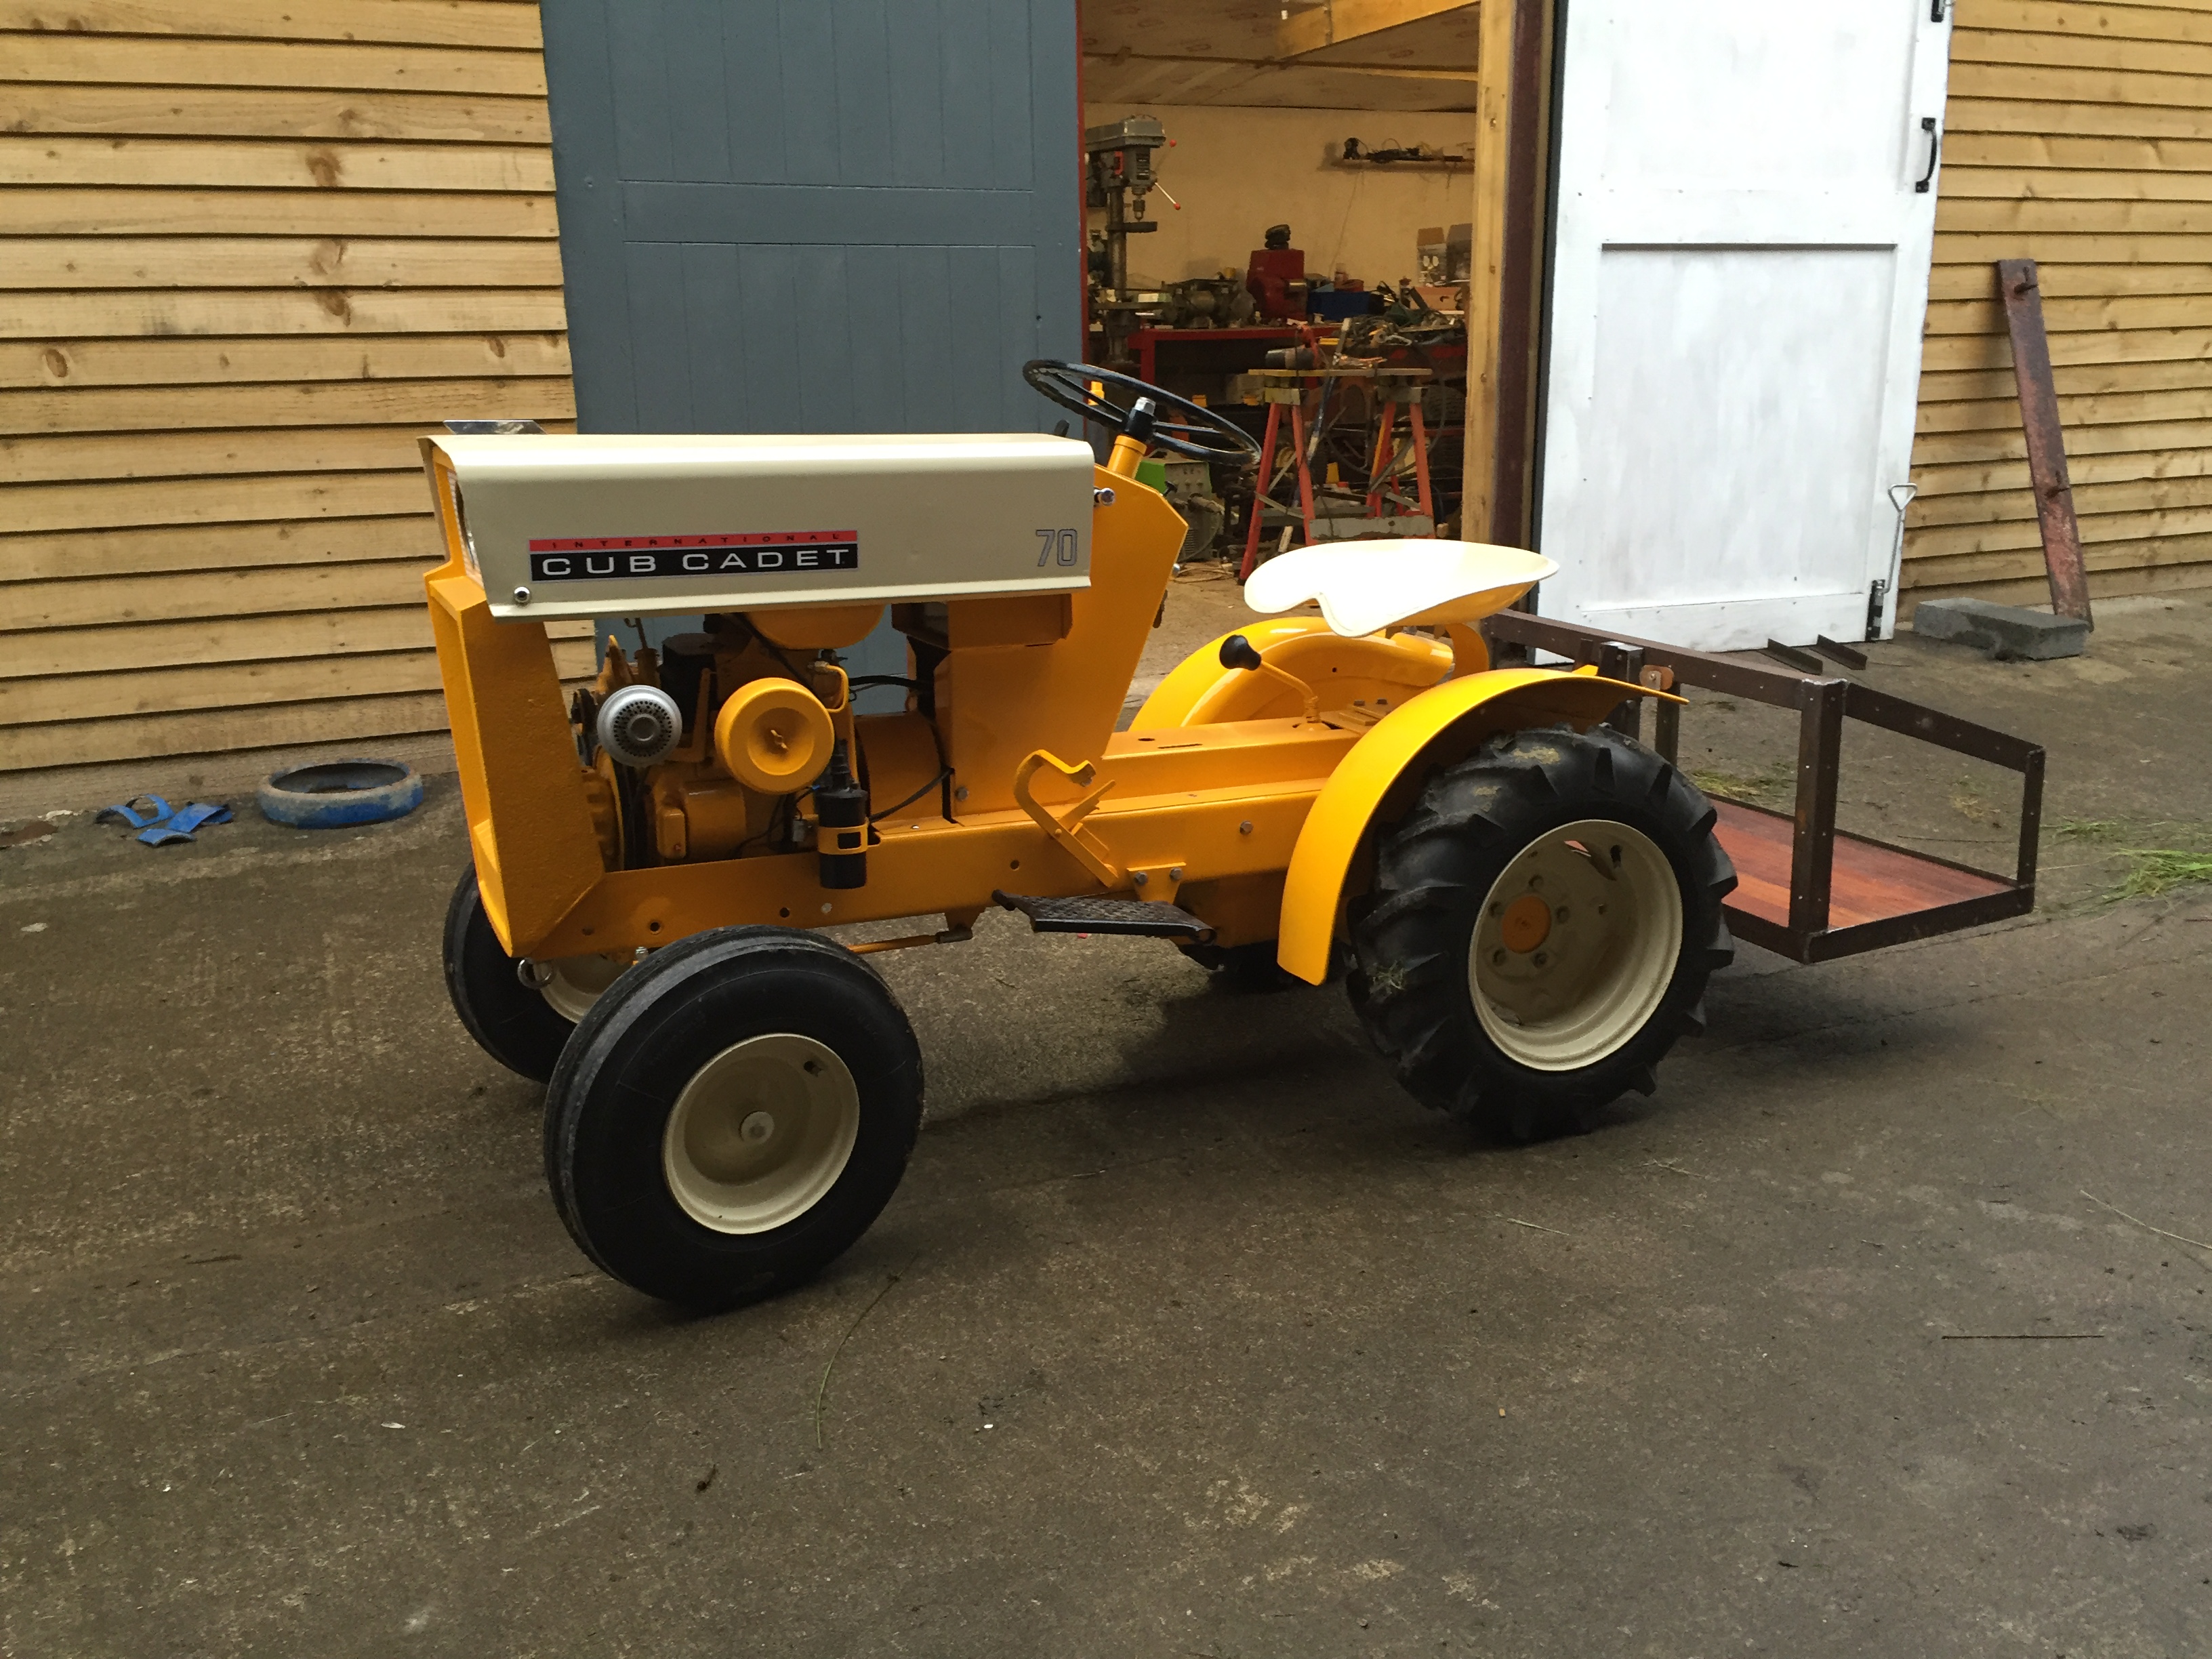
If I have to have an iconic image of an American GT, the original Cub Cadet is the one that I always think of ( after the Bolens of course !). Absolute credit to you and I can't wait to see your next project.
Enjoy!
13 hours ago, harryt said:
Looks really really good Ewan, a work of art.
12 hours ago, pmackellow said:
That is fantastic Ewan, well impressed, well done mate, bet you are reet chuffed !
12 hours ago, ranger said:
Definetely a 'Show Stopper'.
The next project will need to be a cabinet to house the trophies and cups you're going to win!
Well done!, a beautifull machine.
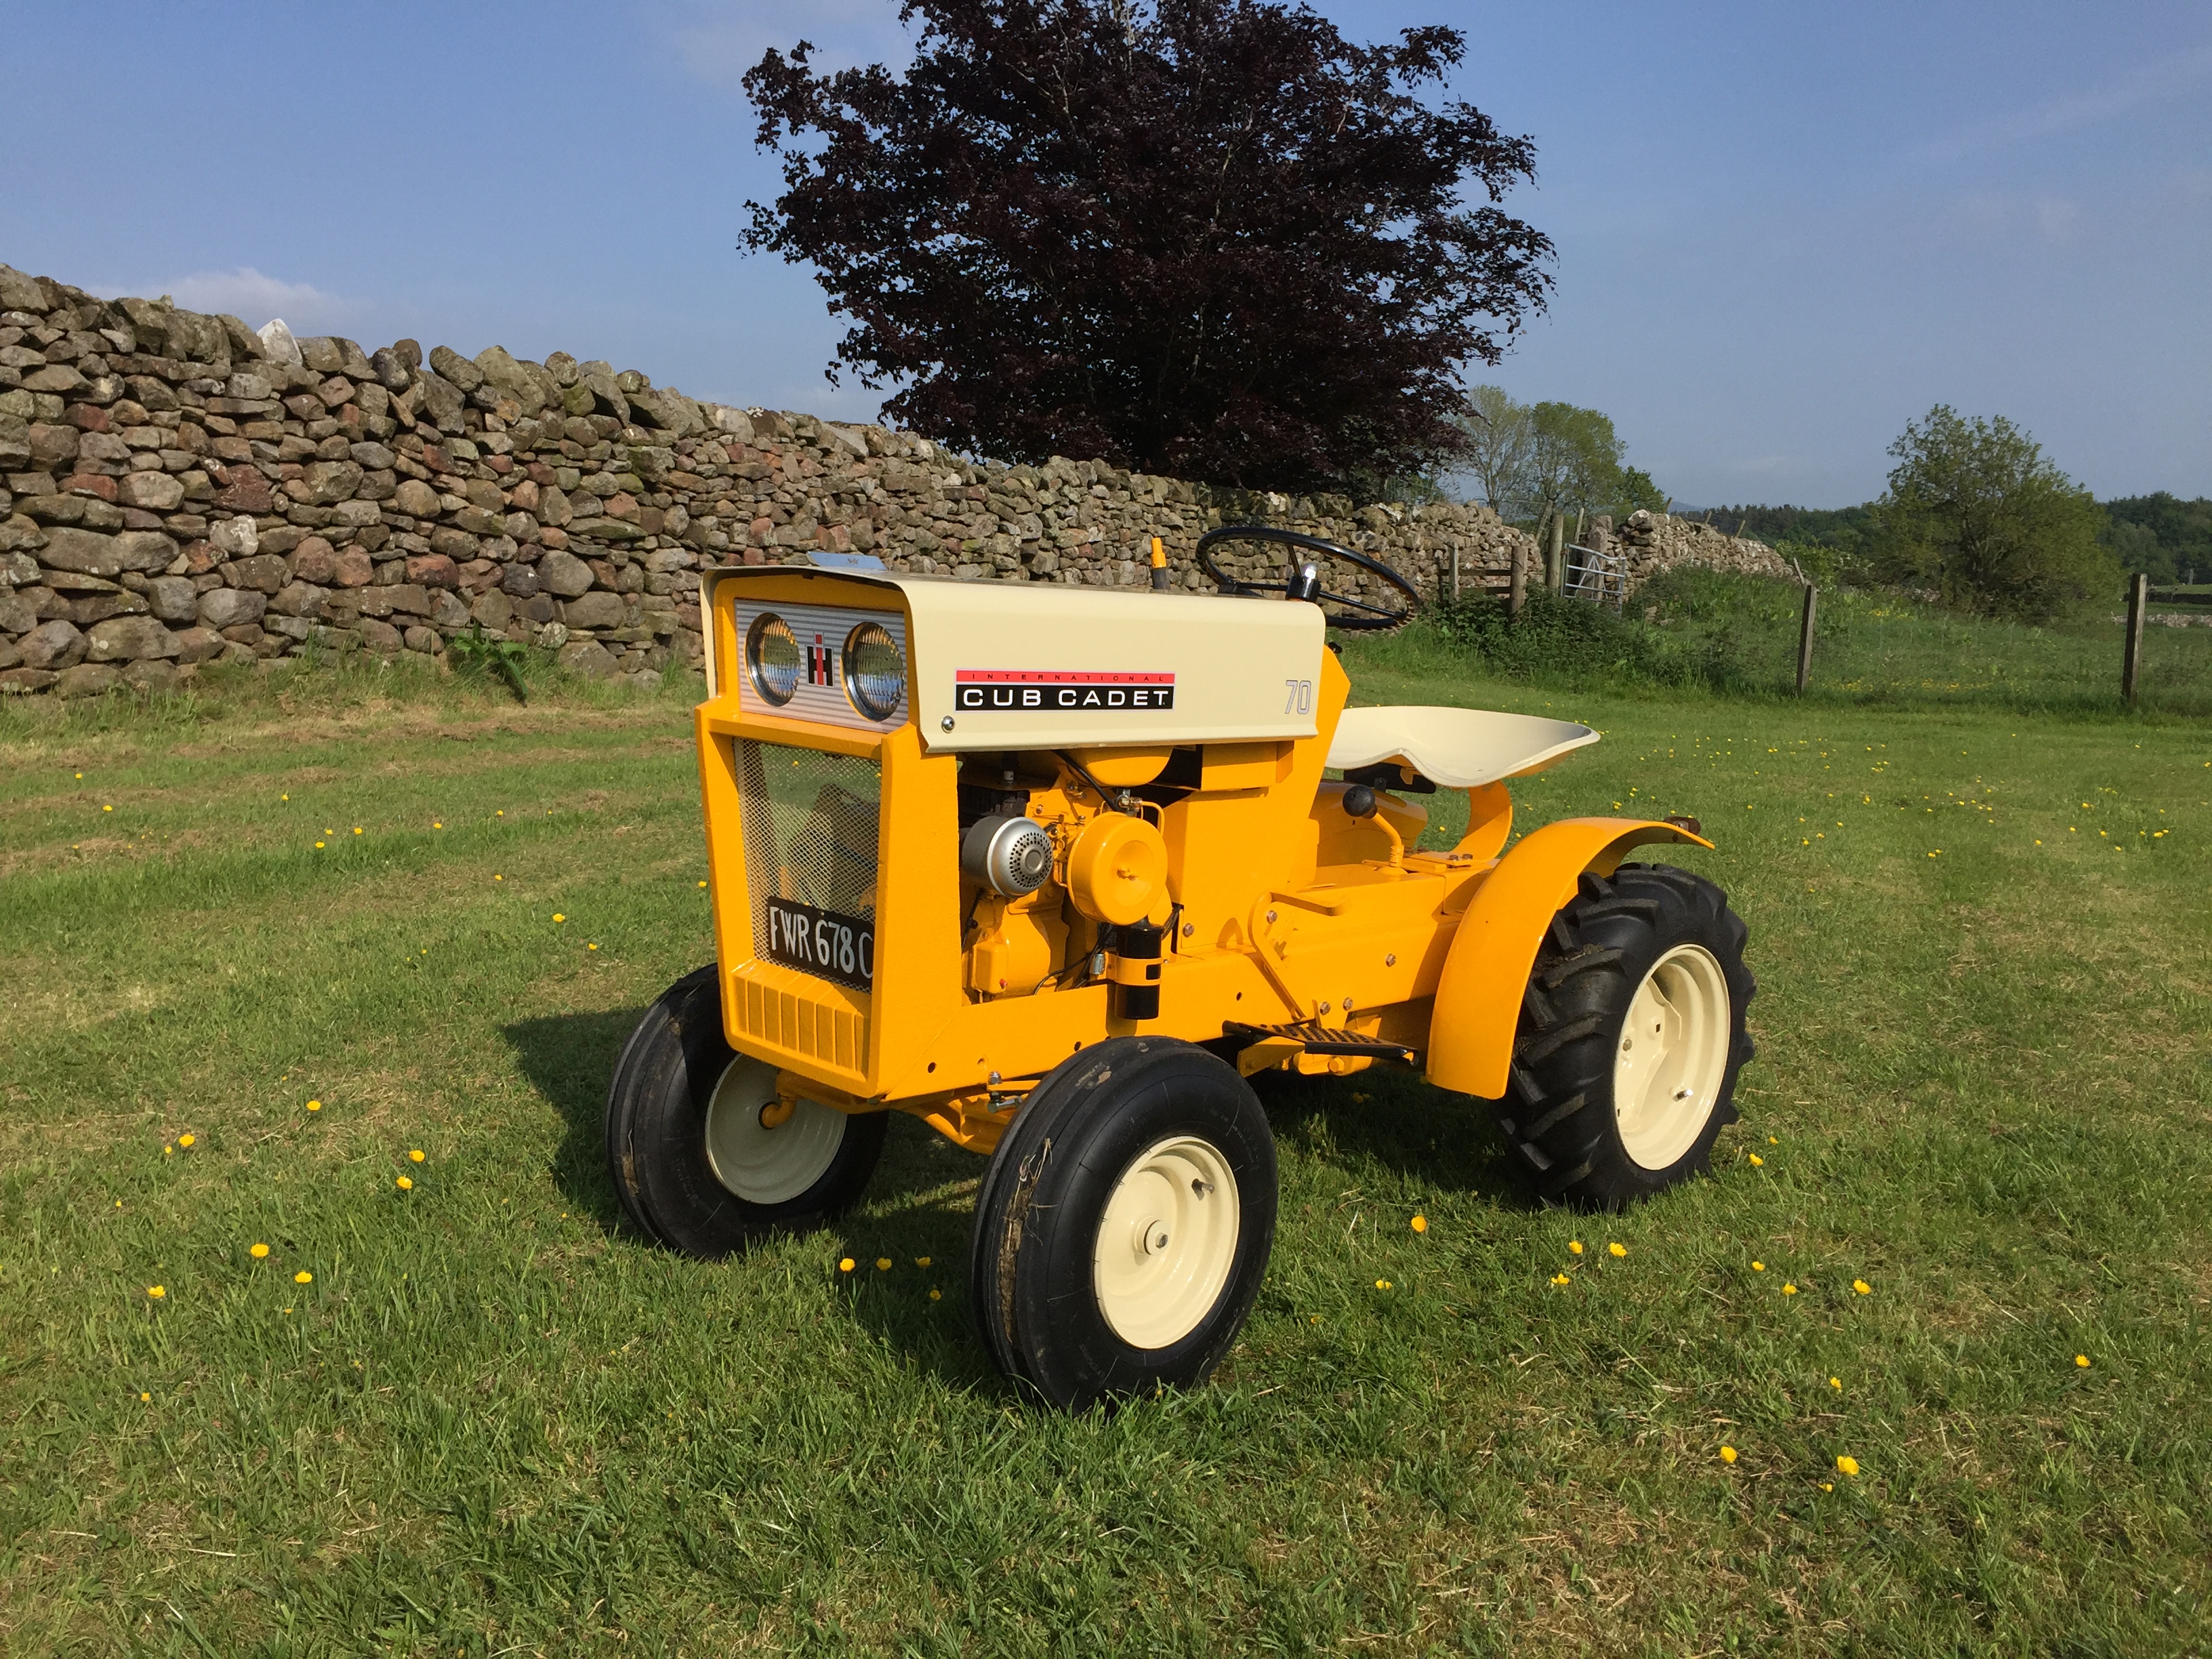
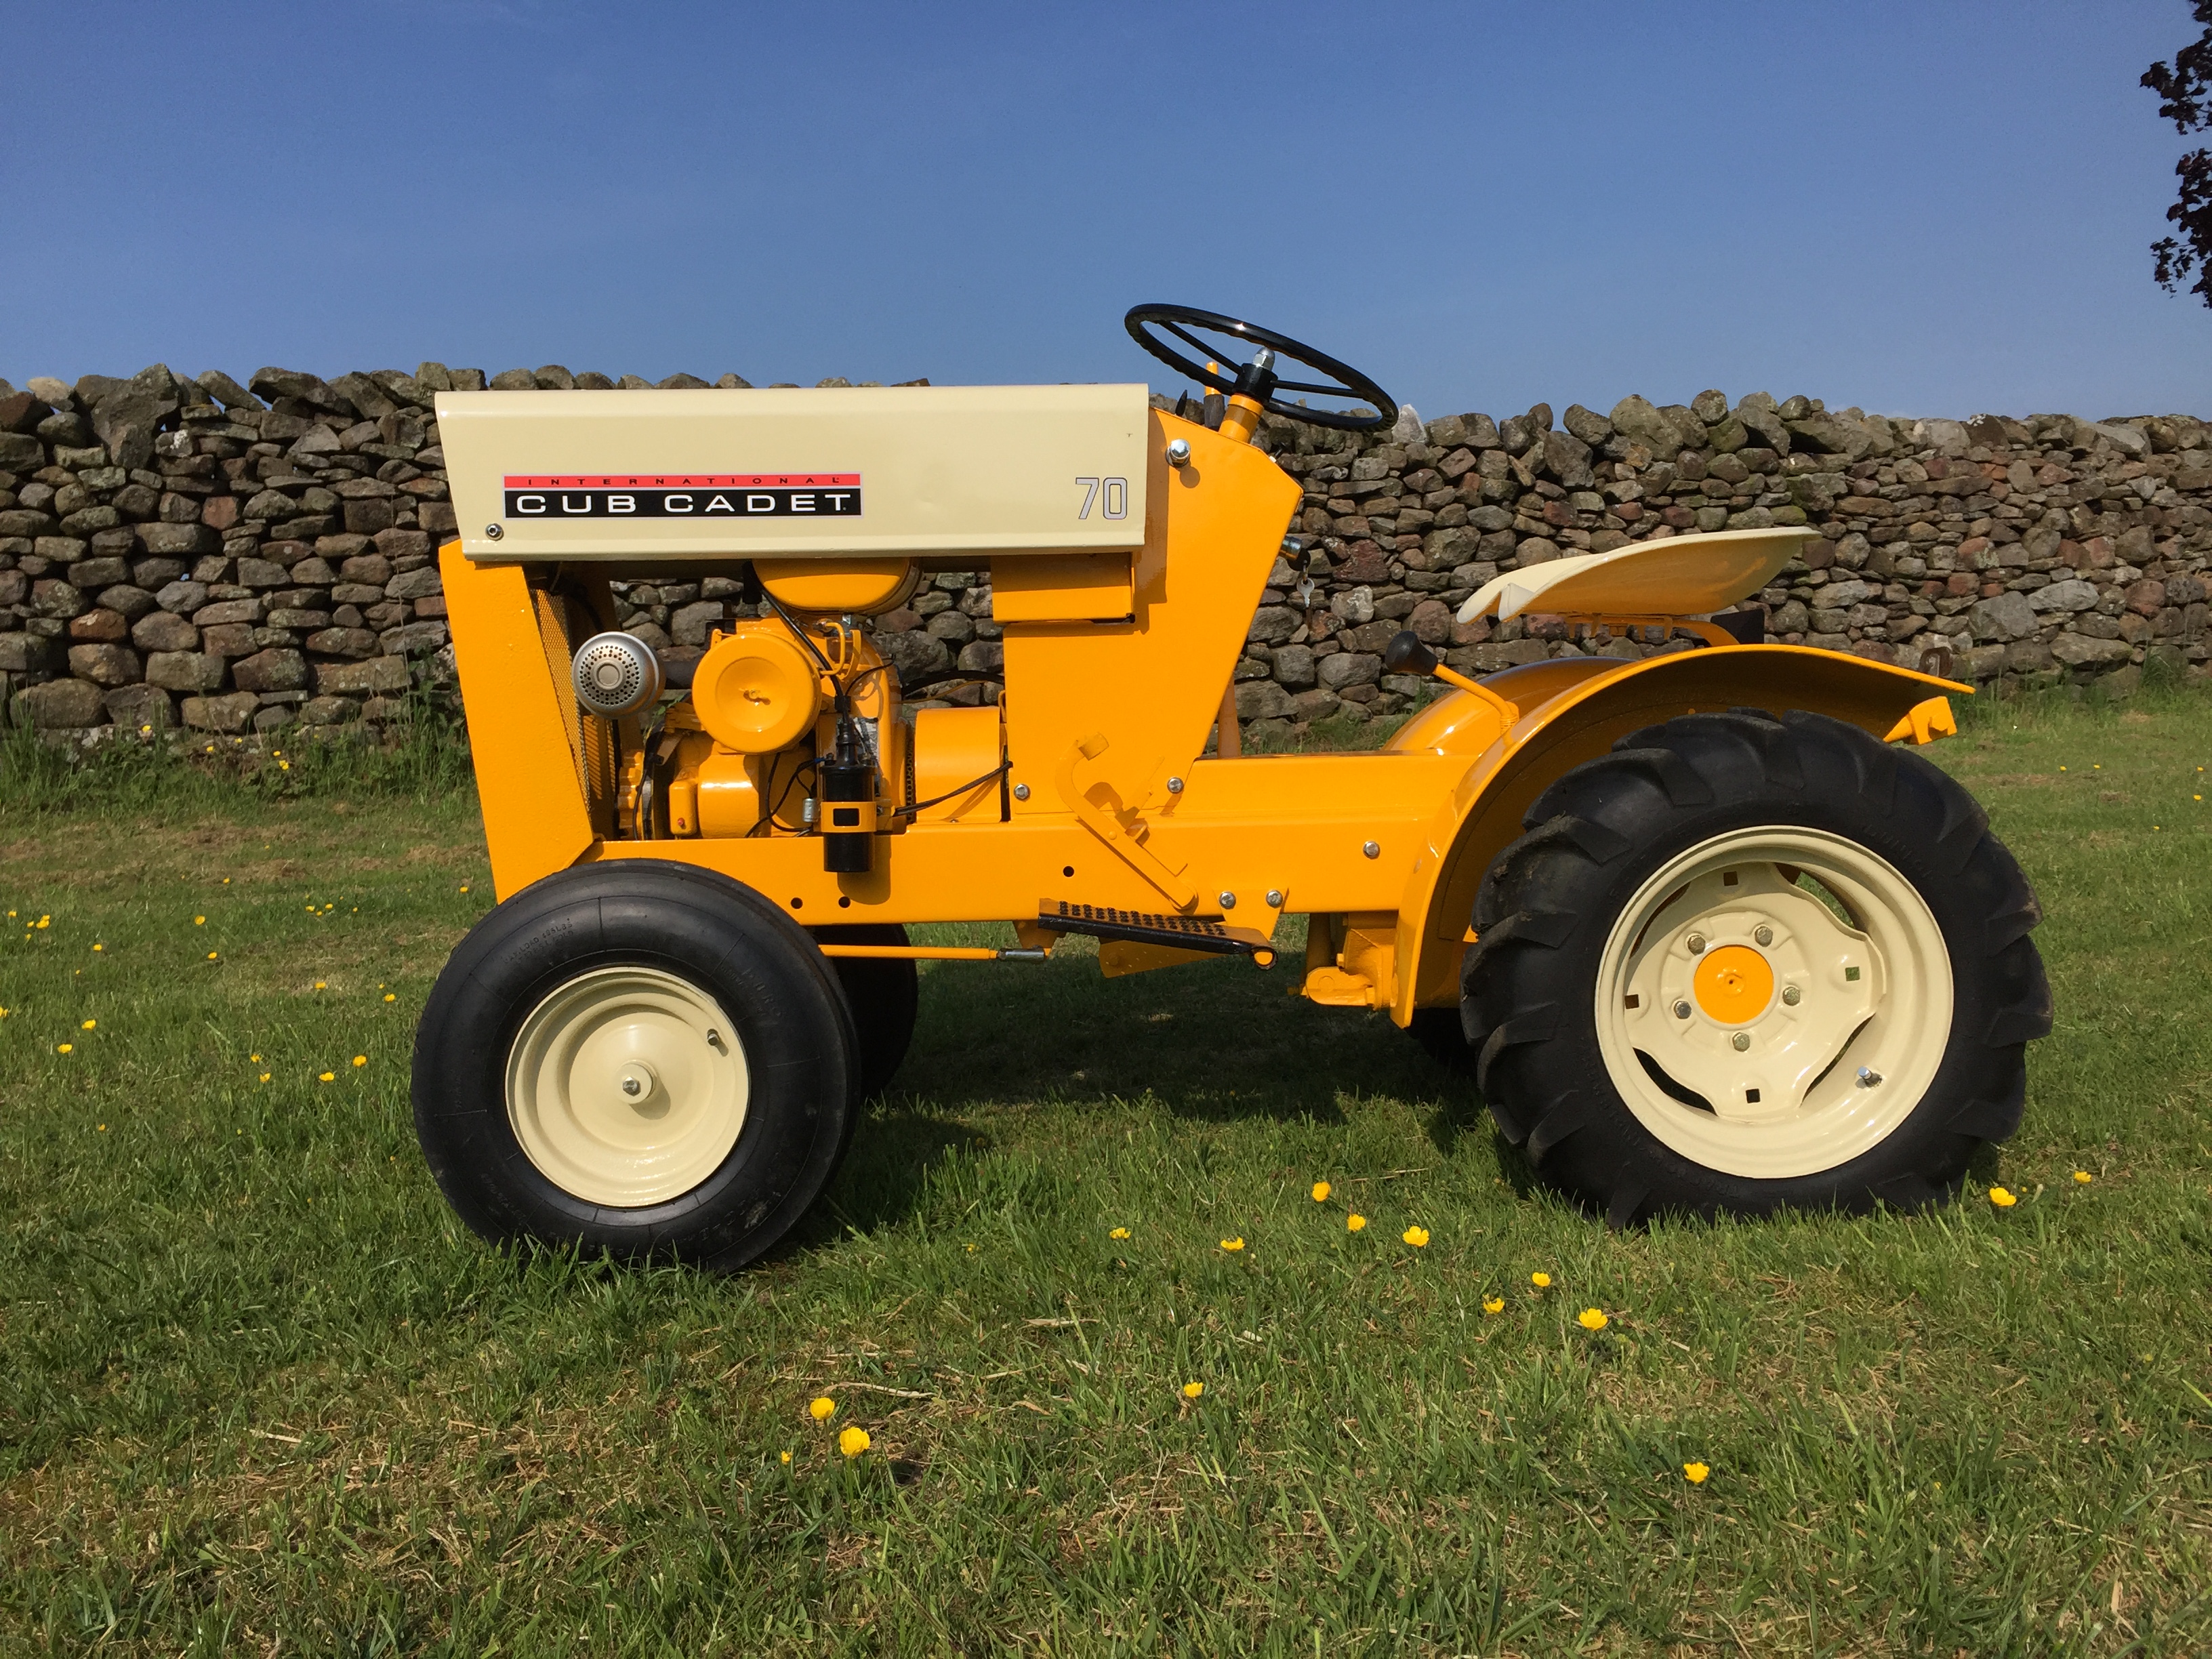
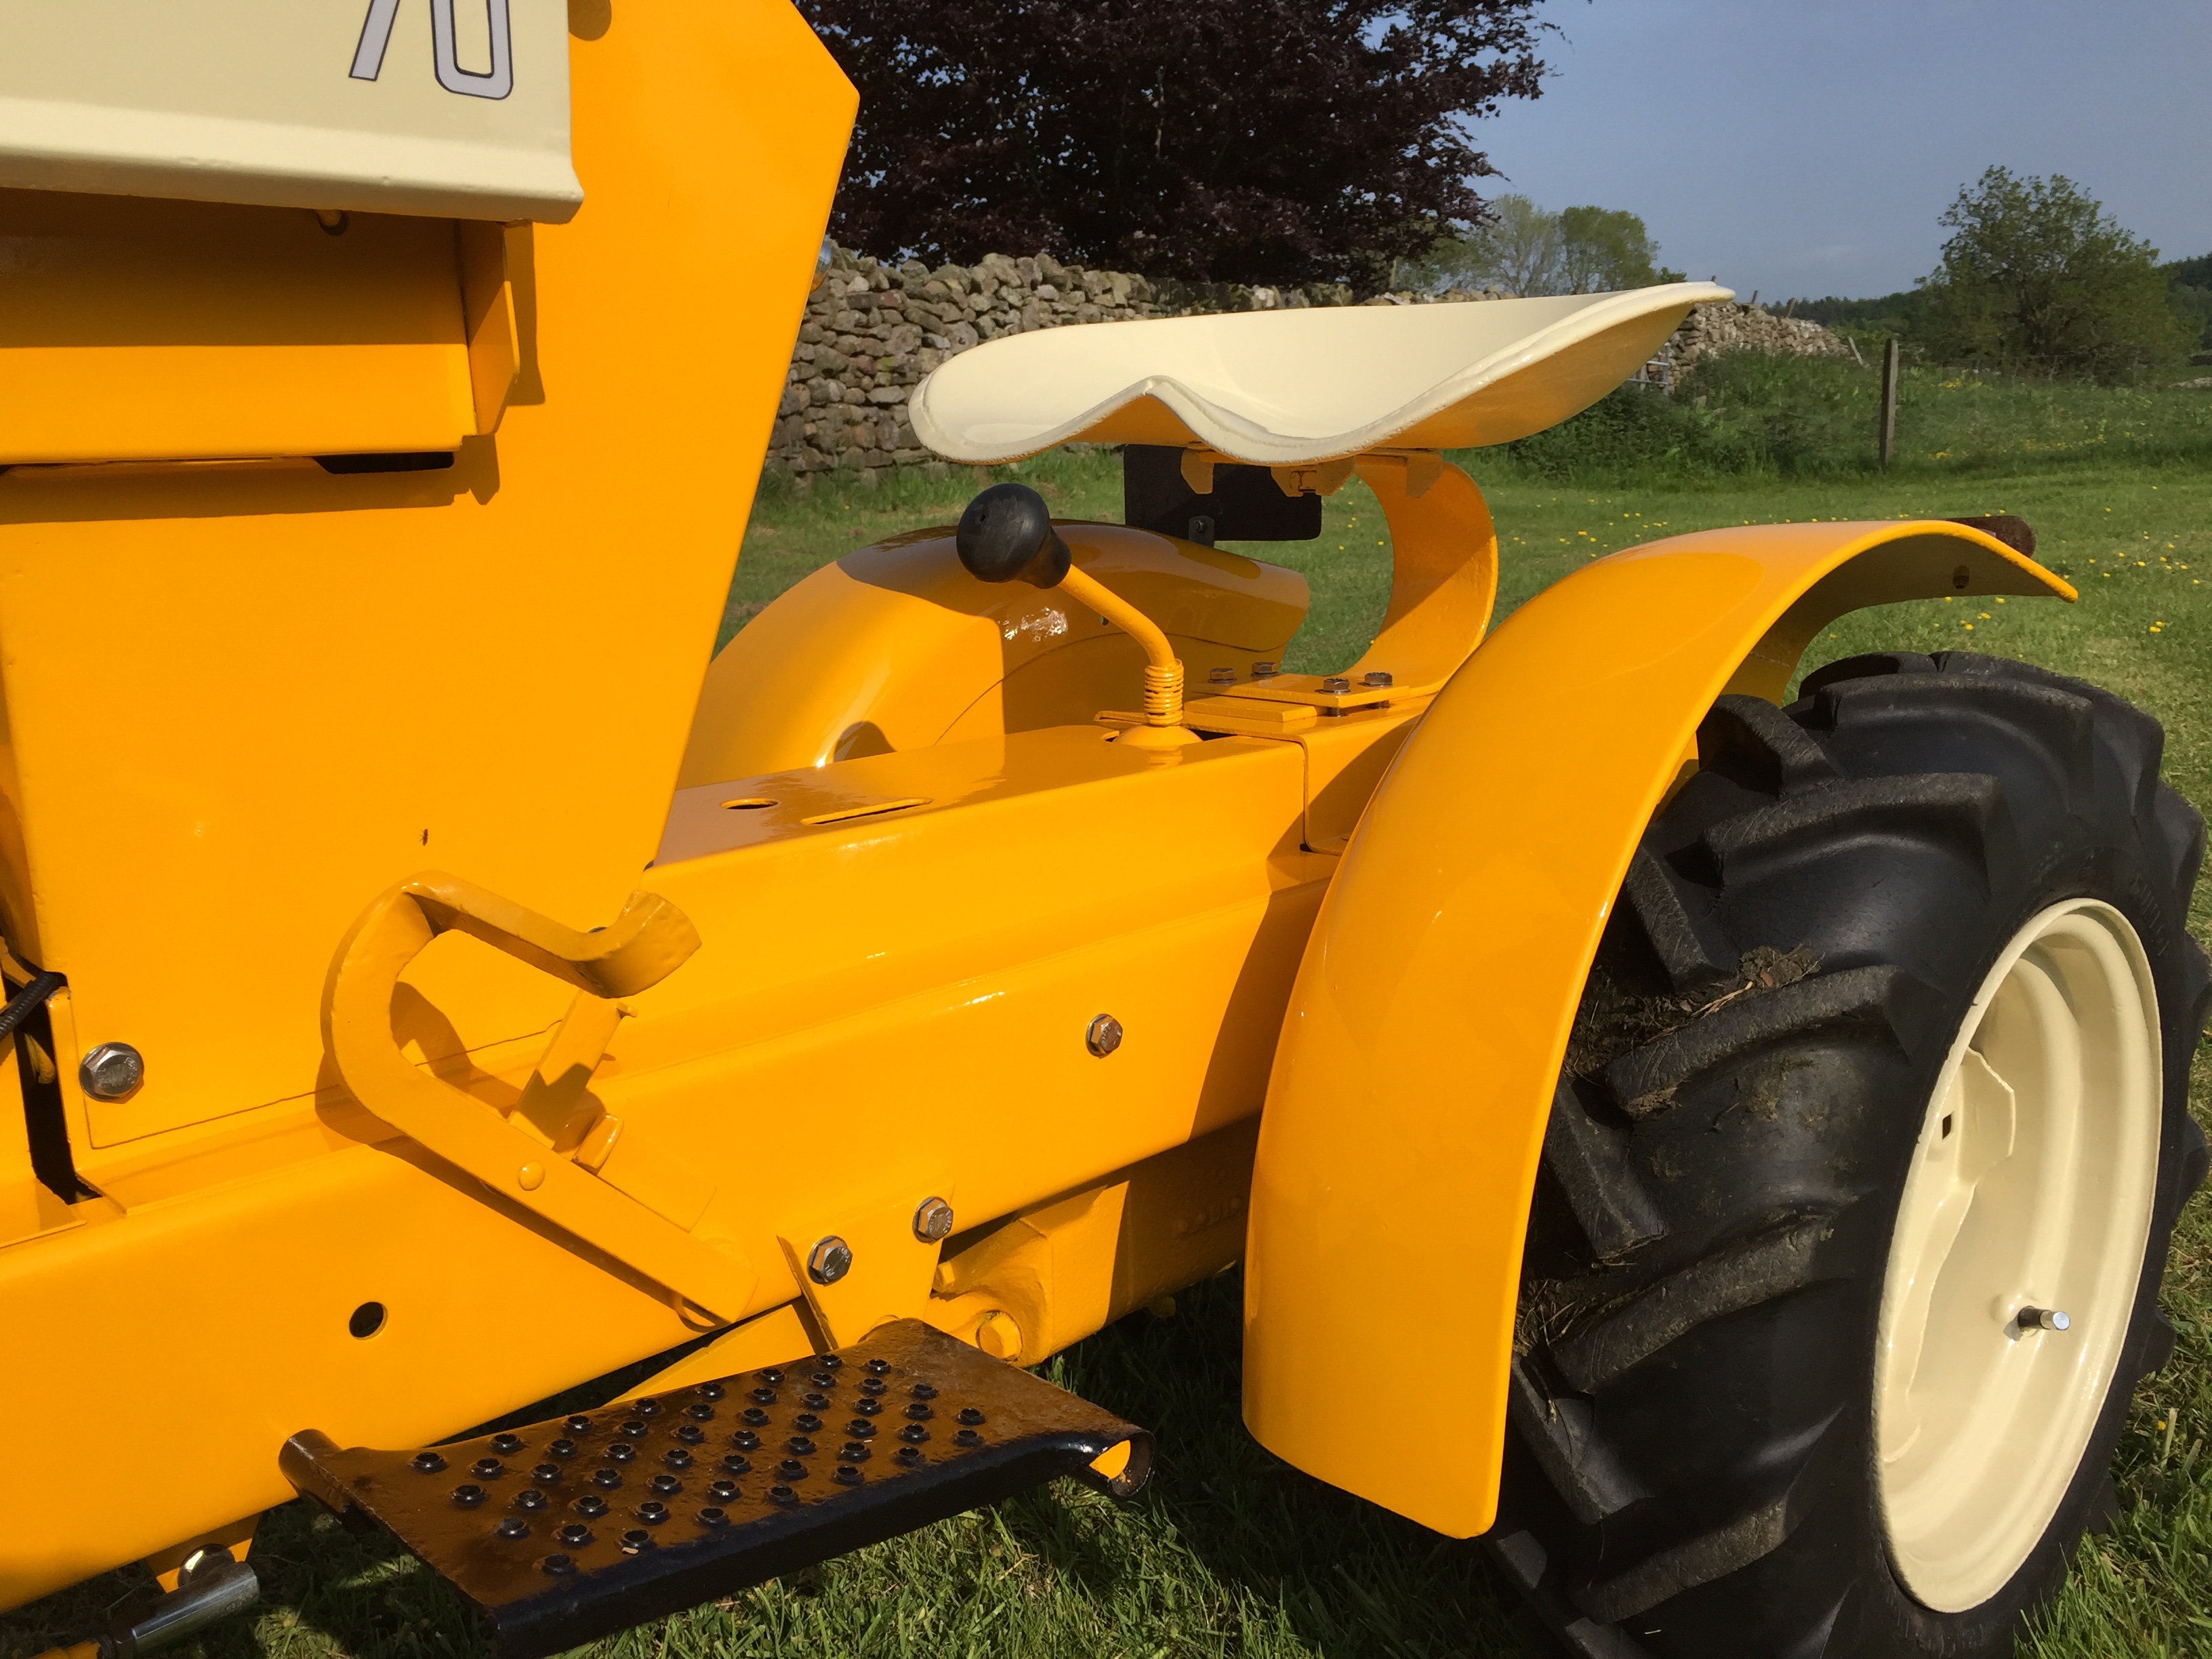
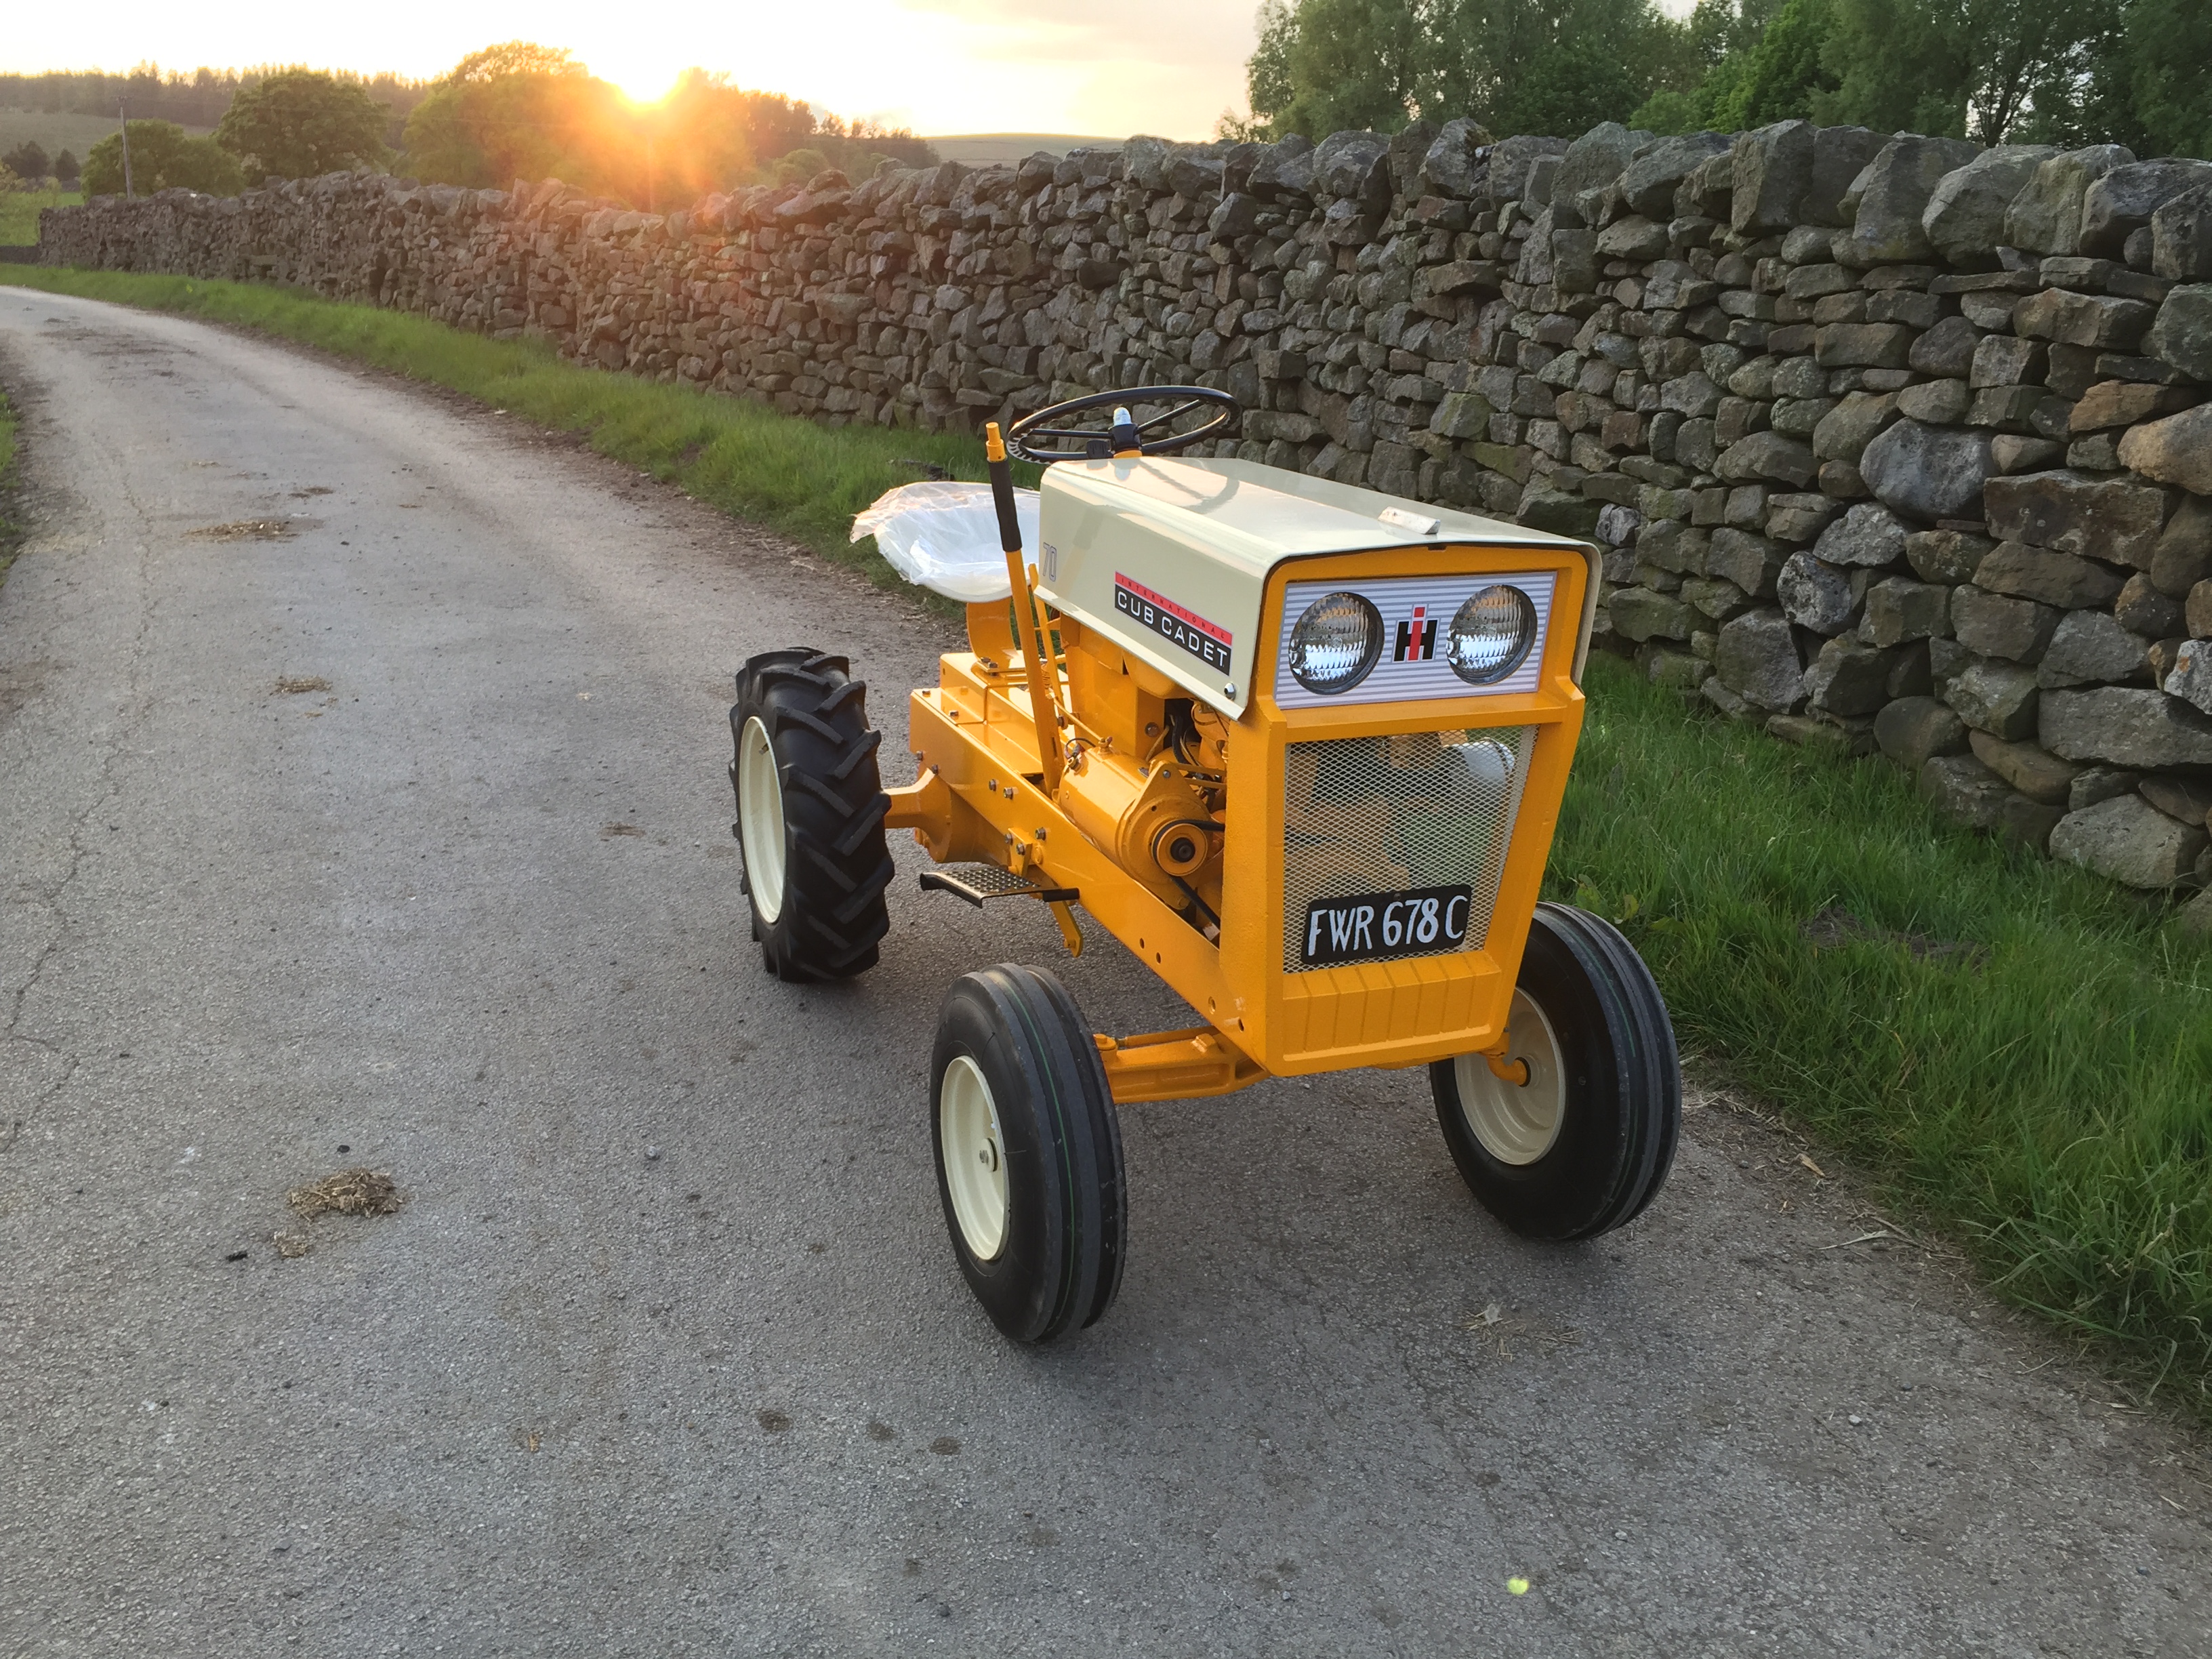
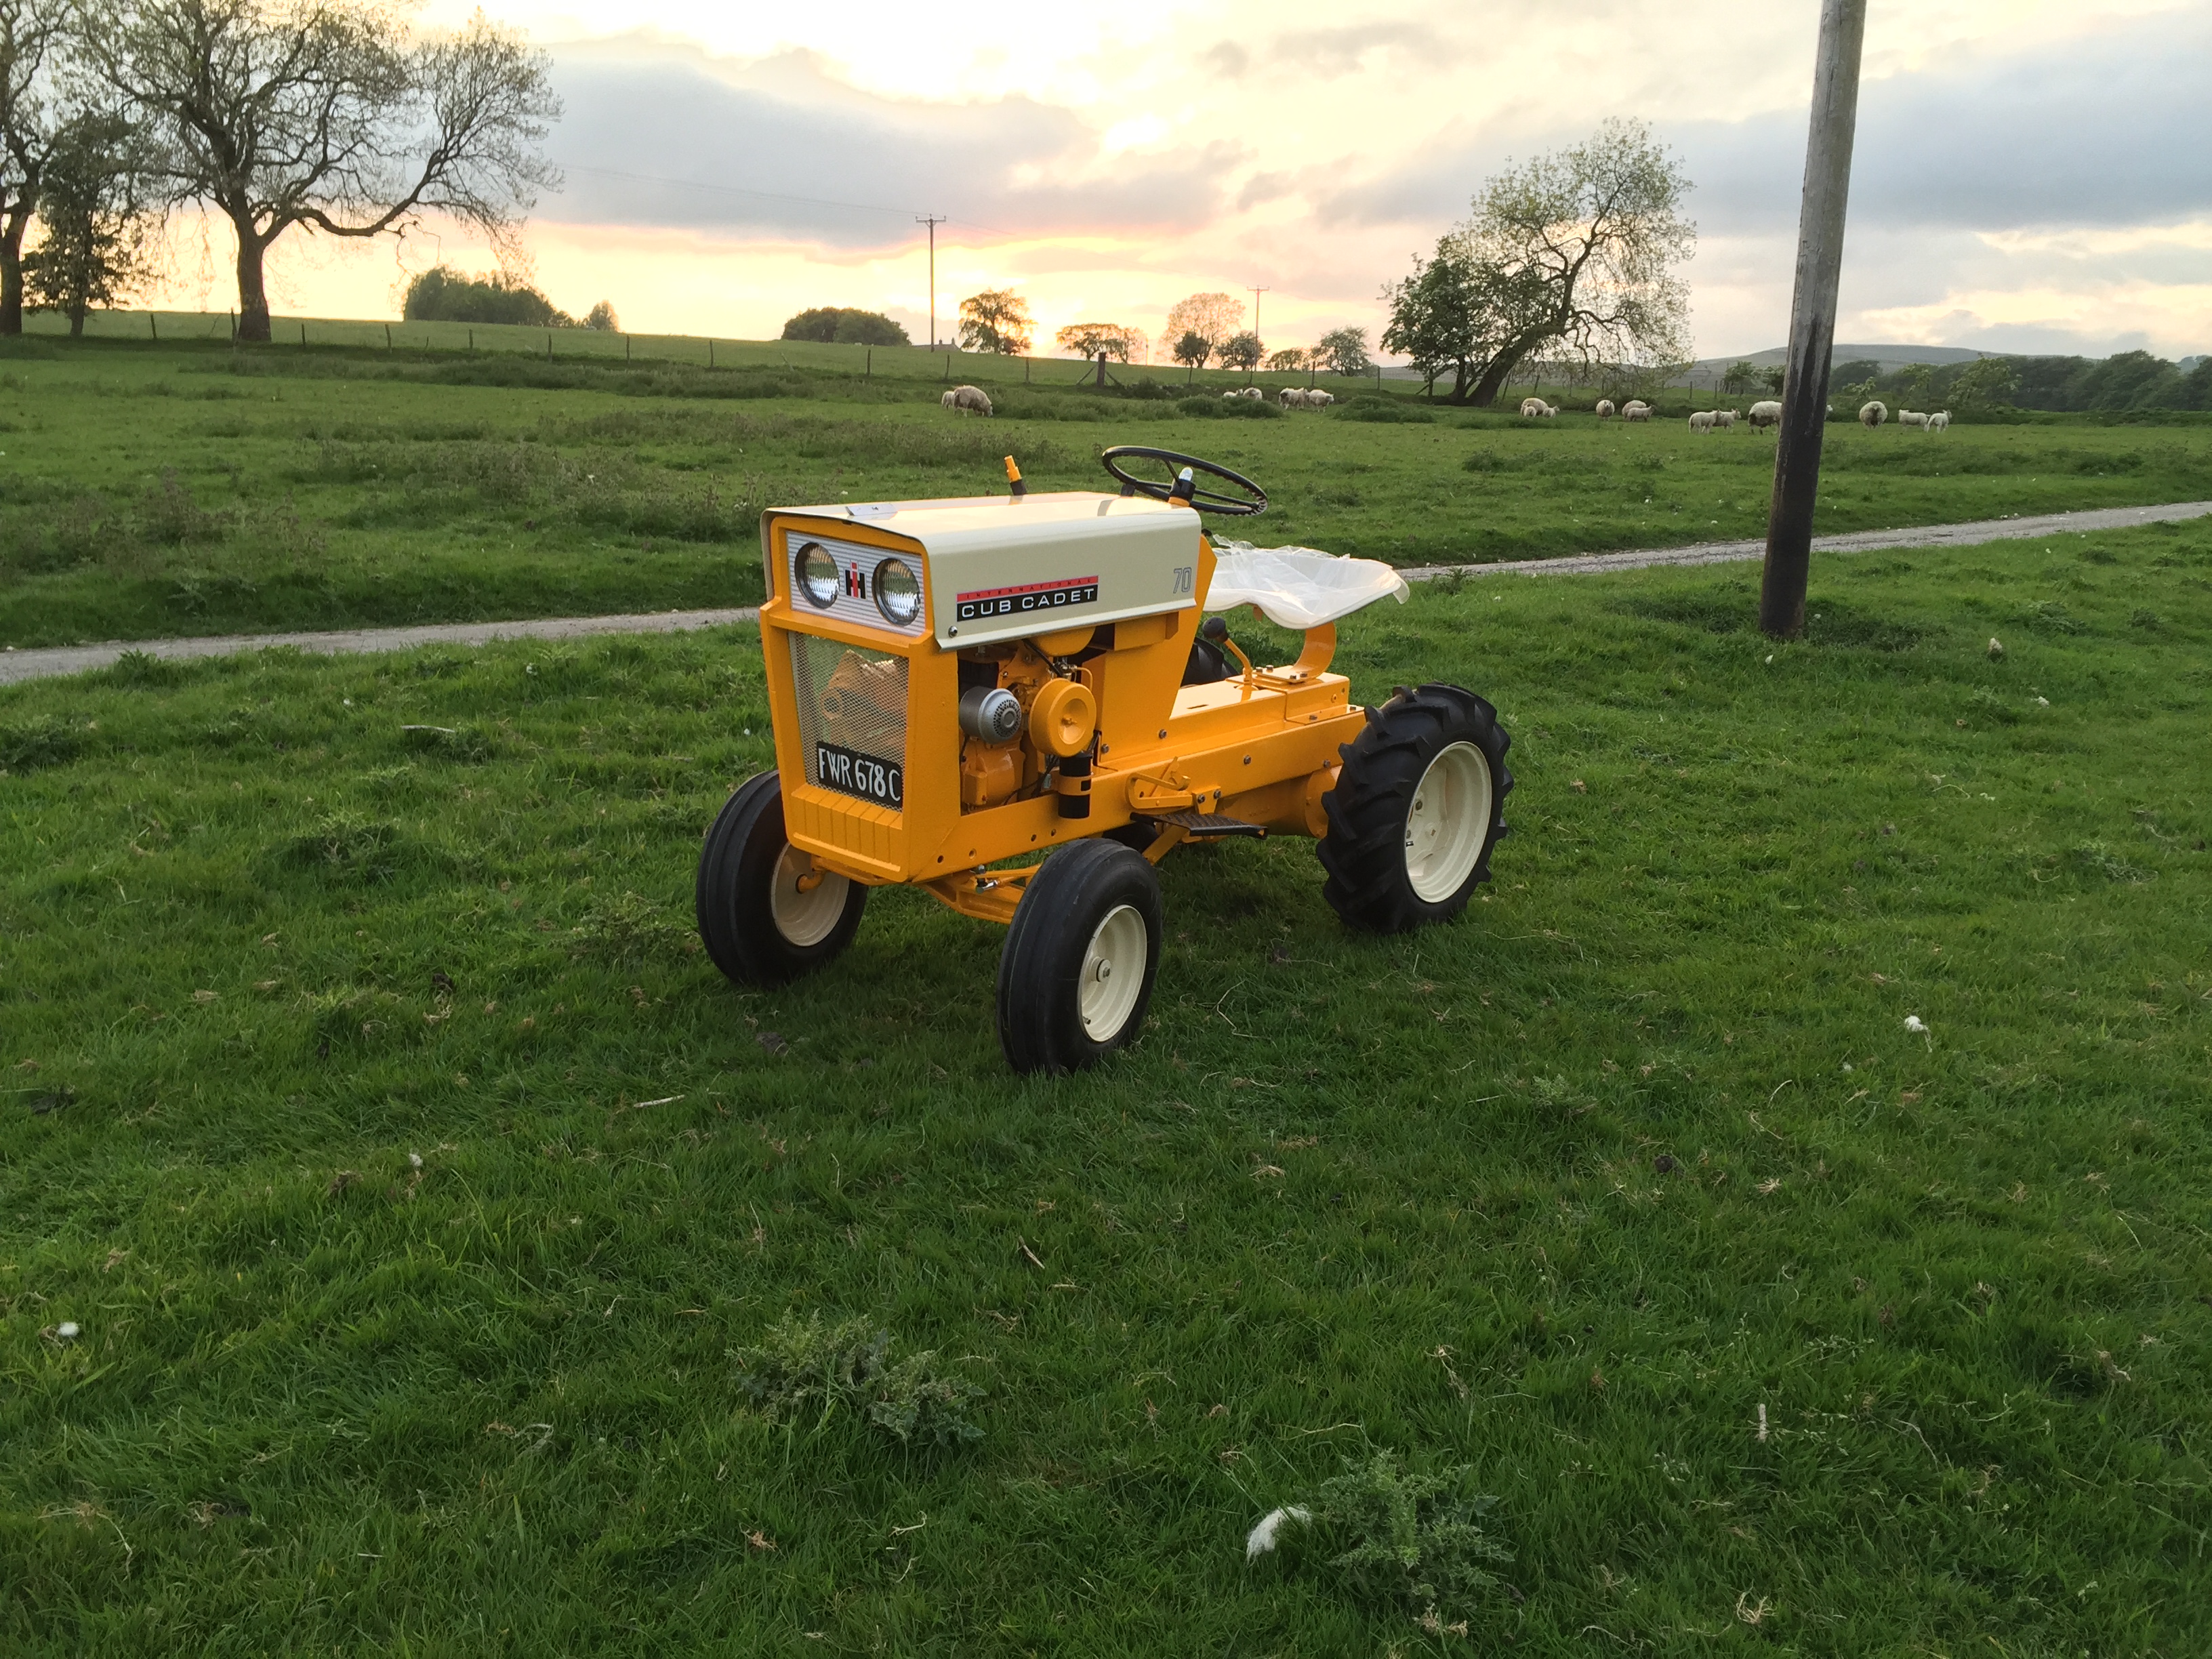
Thanks guys, I'm really pleased with what it's turned out like.
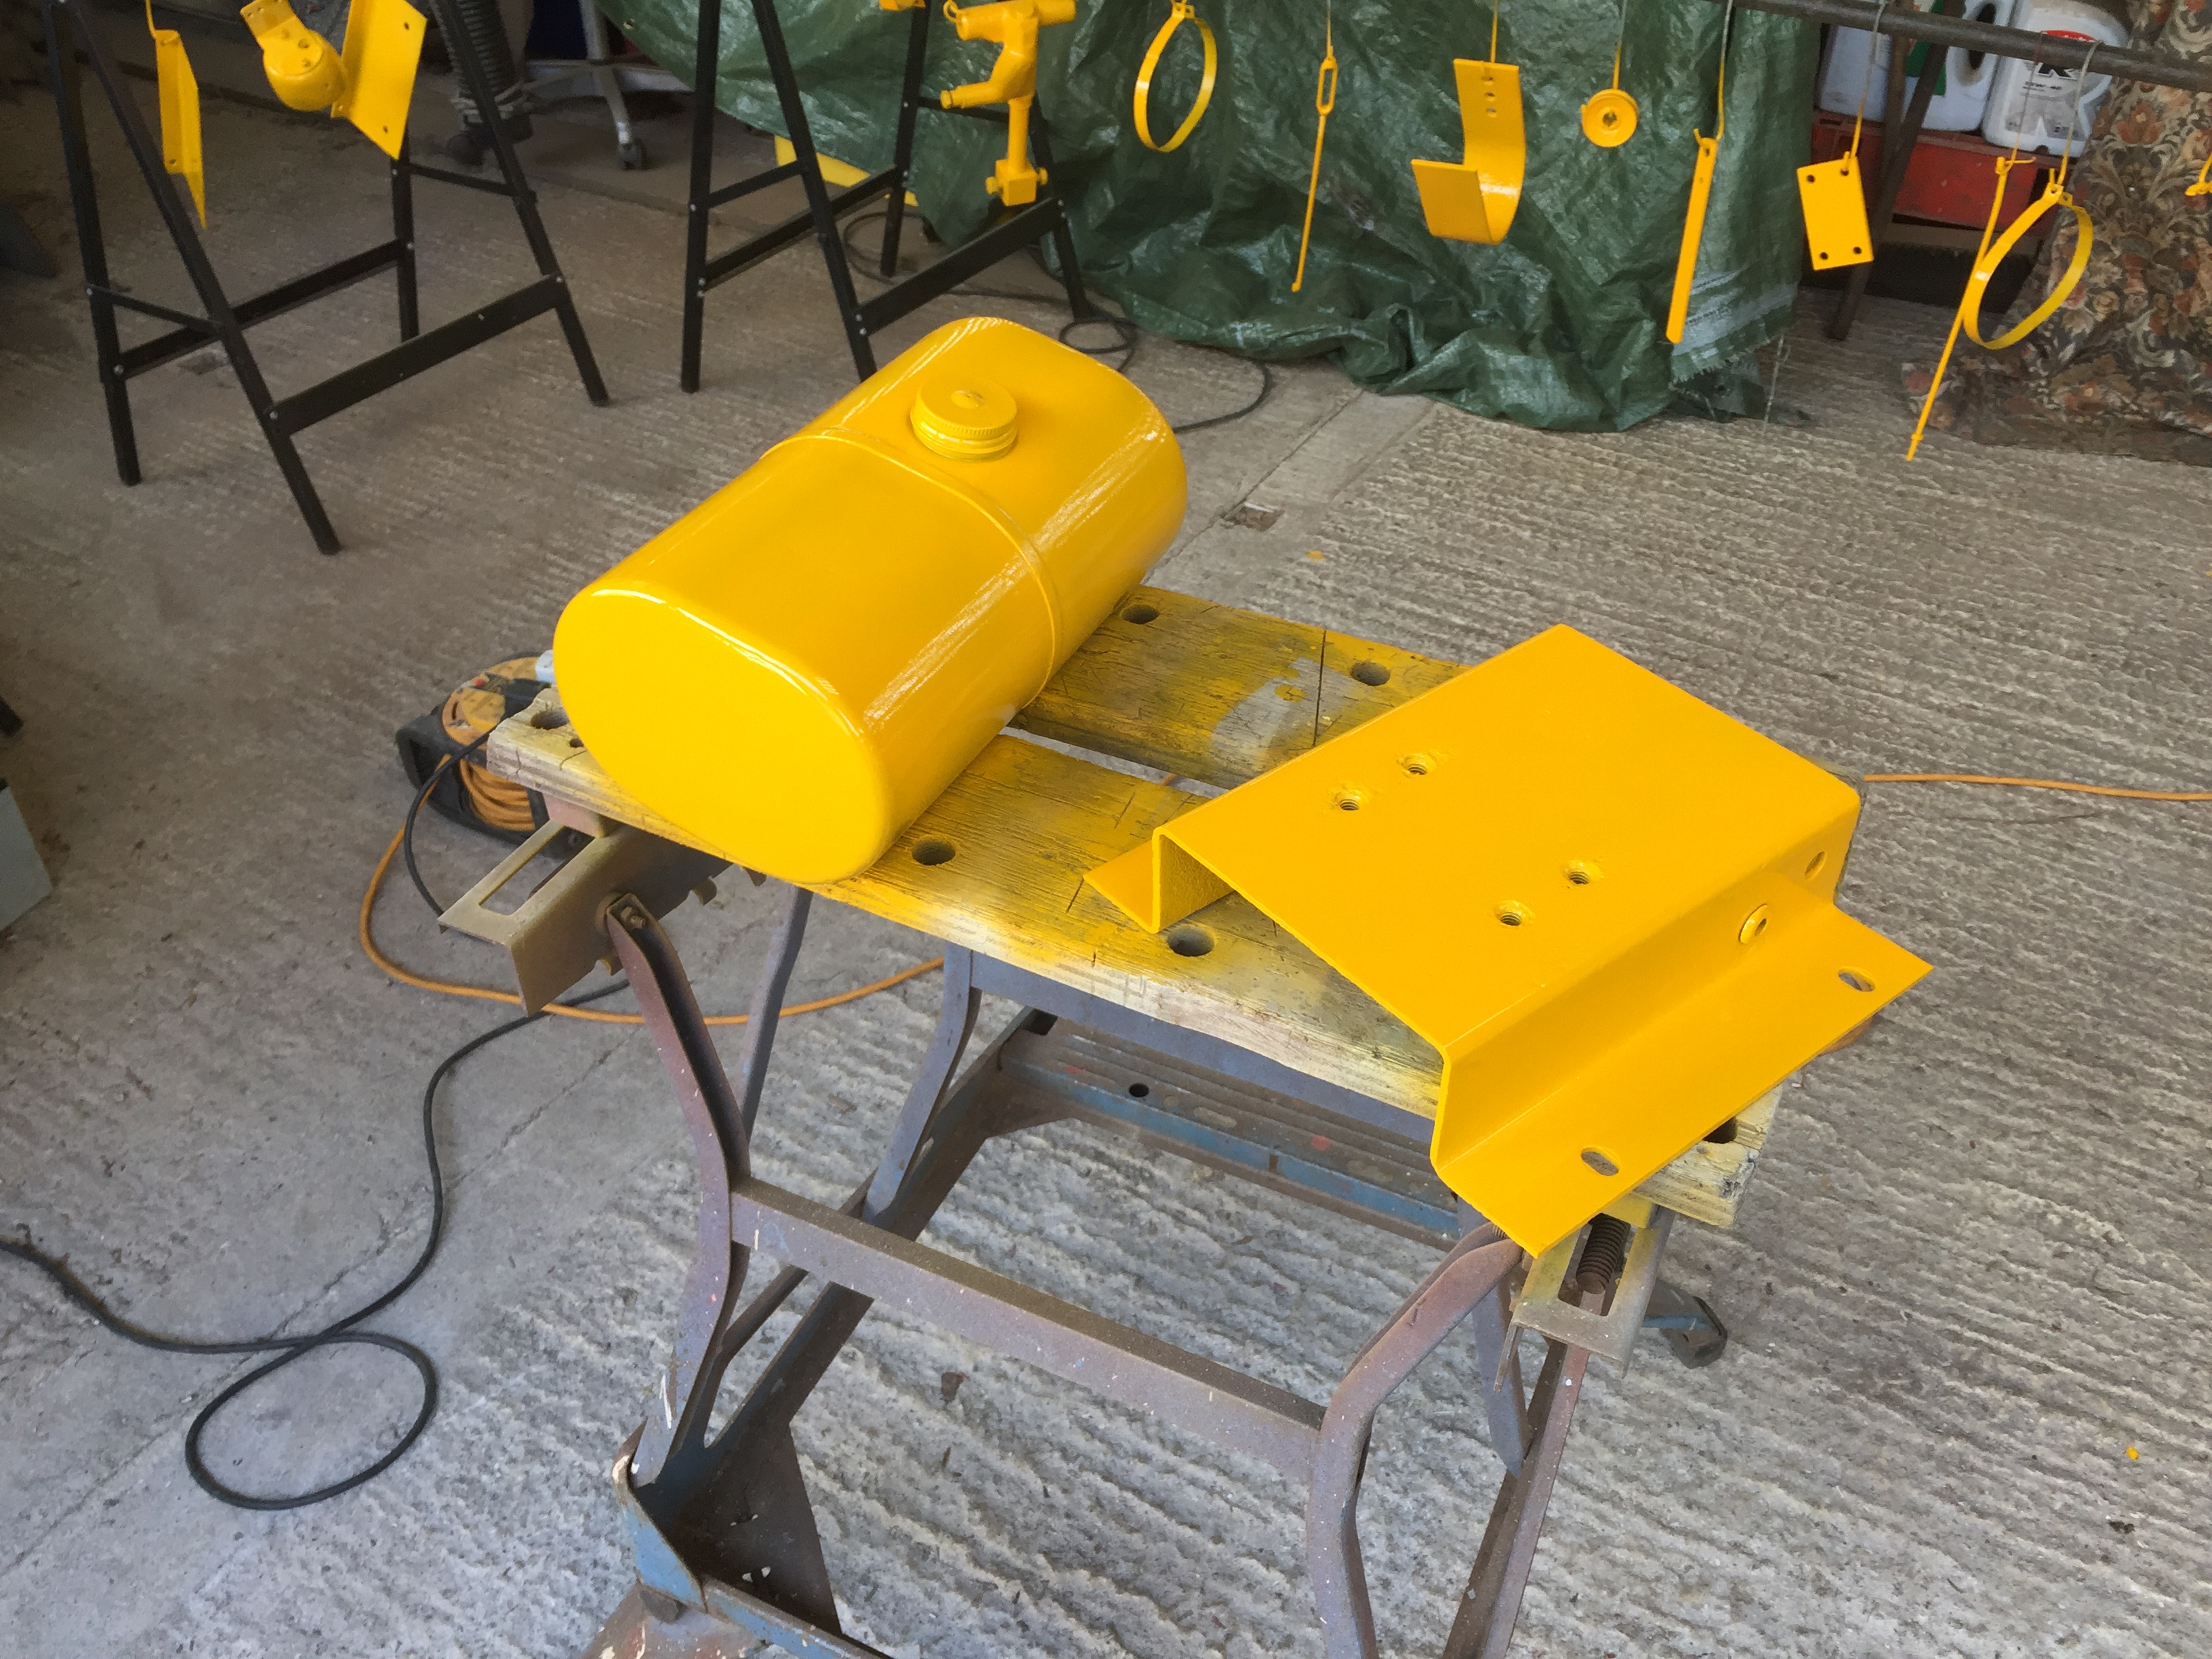
After using up all of the stock of yellow paint from my local ag merchant they ordered some more from another one of their stores, two days later it arrived and it was a different brand of paint somewhere along the line the paint code got lost so in desperation we made a 60 mile round trip (thanks mum) to another ag merchant and I finally got the paint meaning the last parts could be painted .
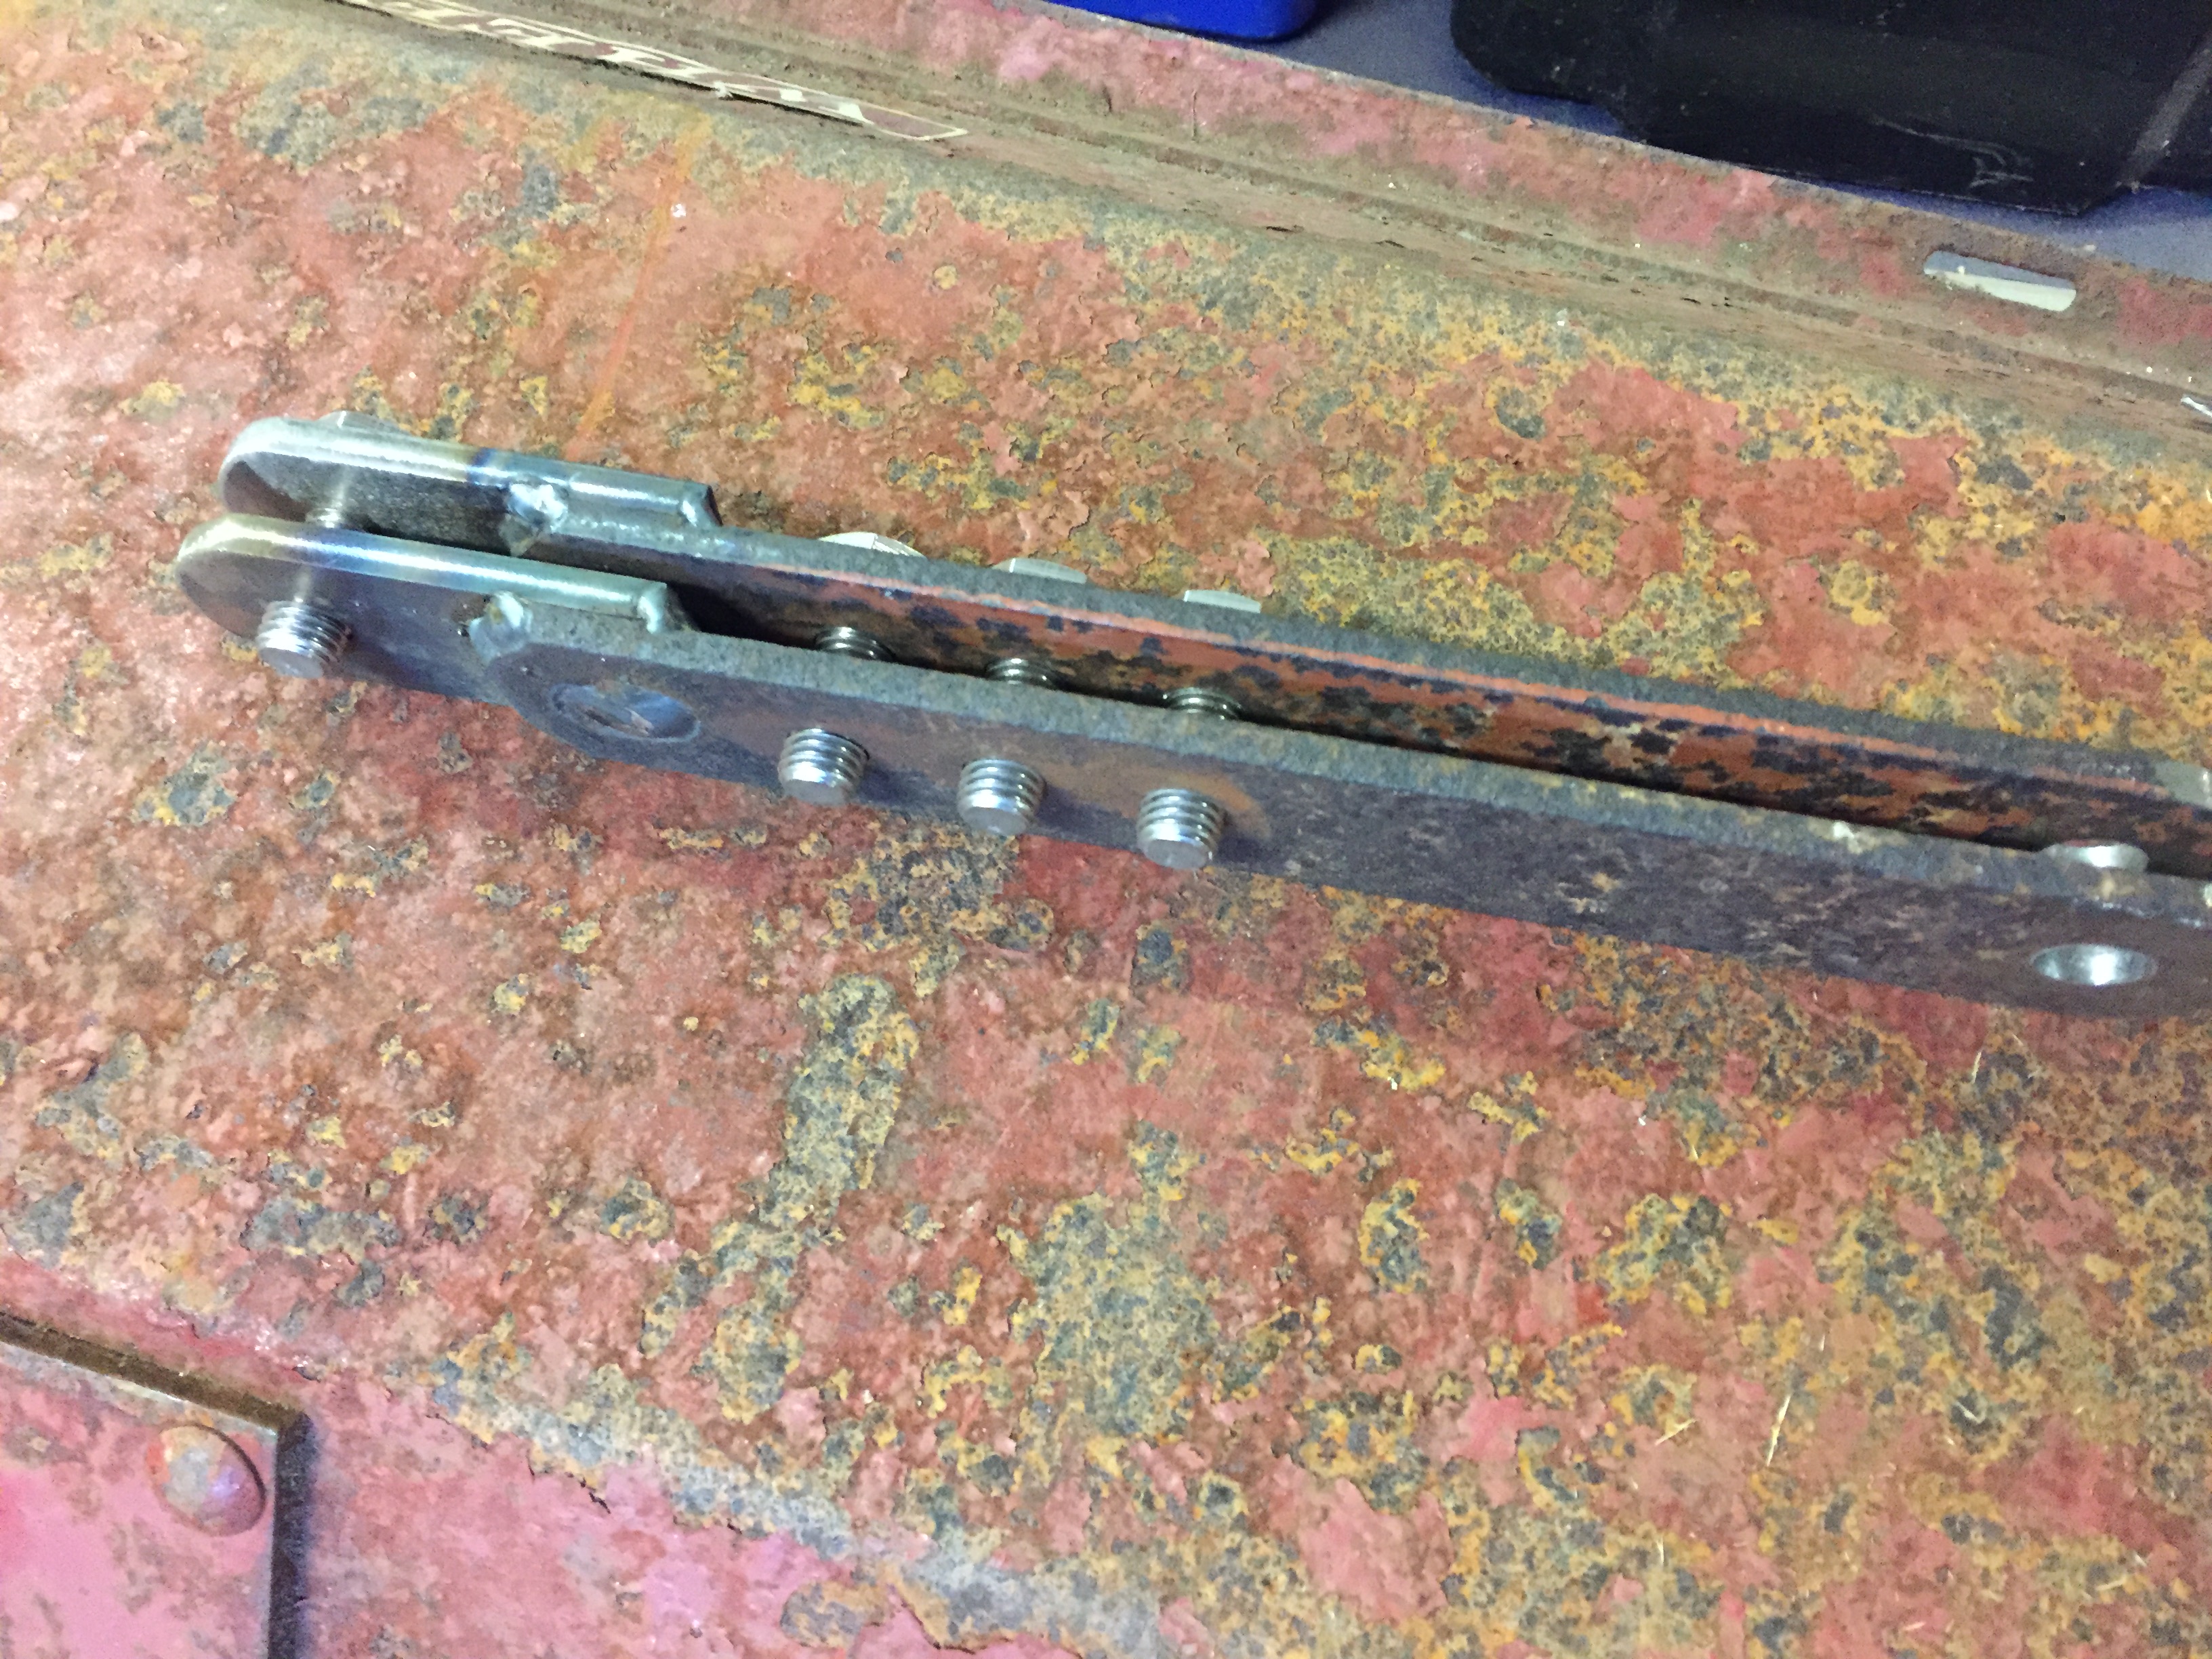
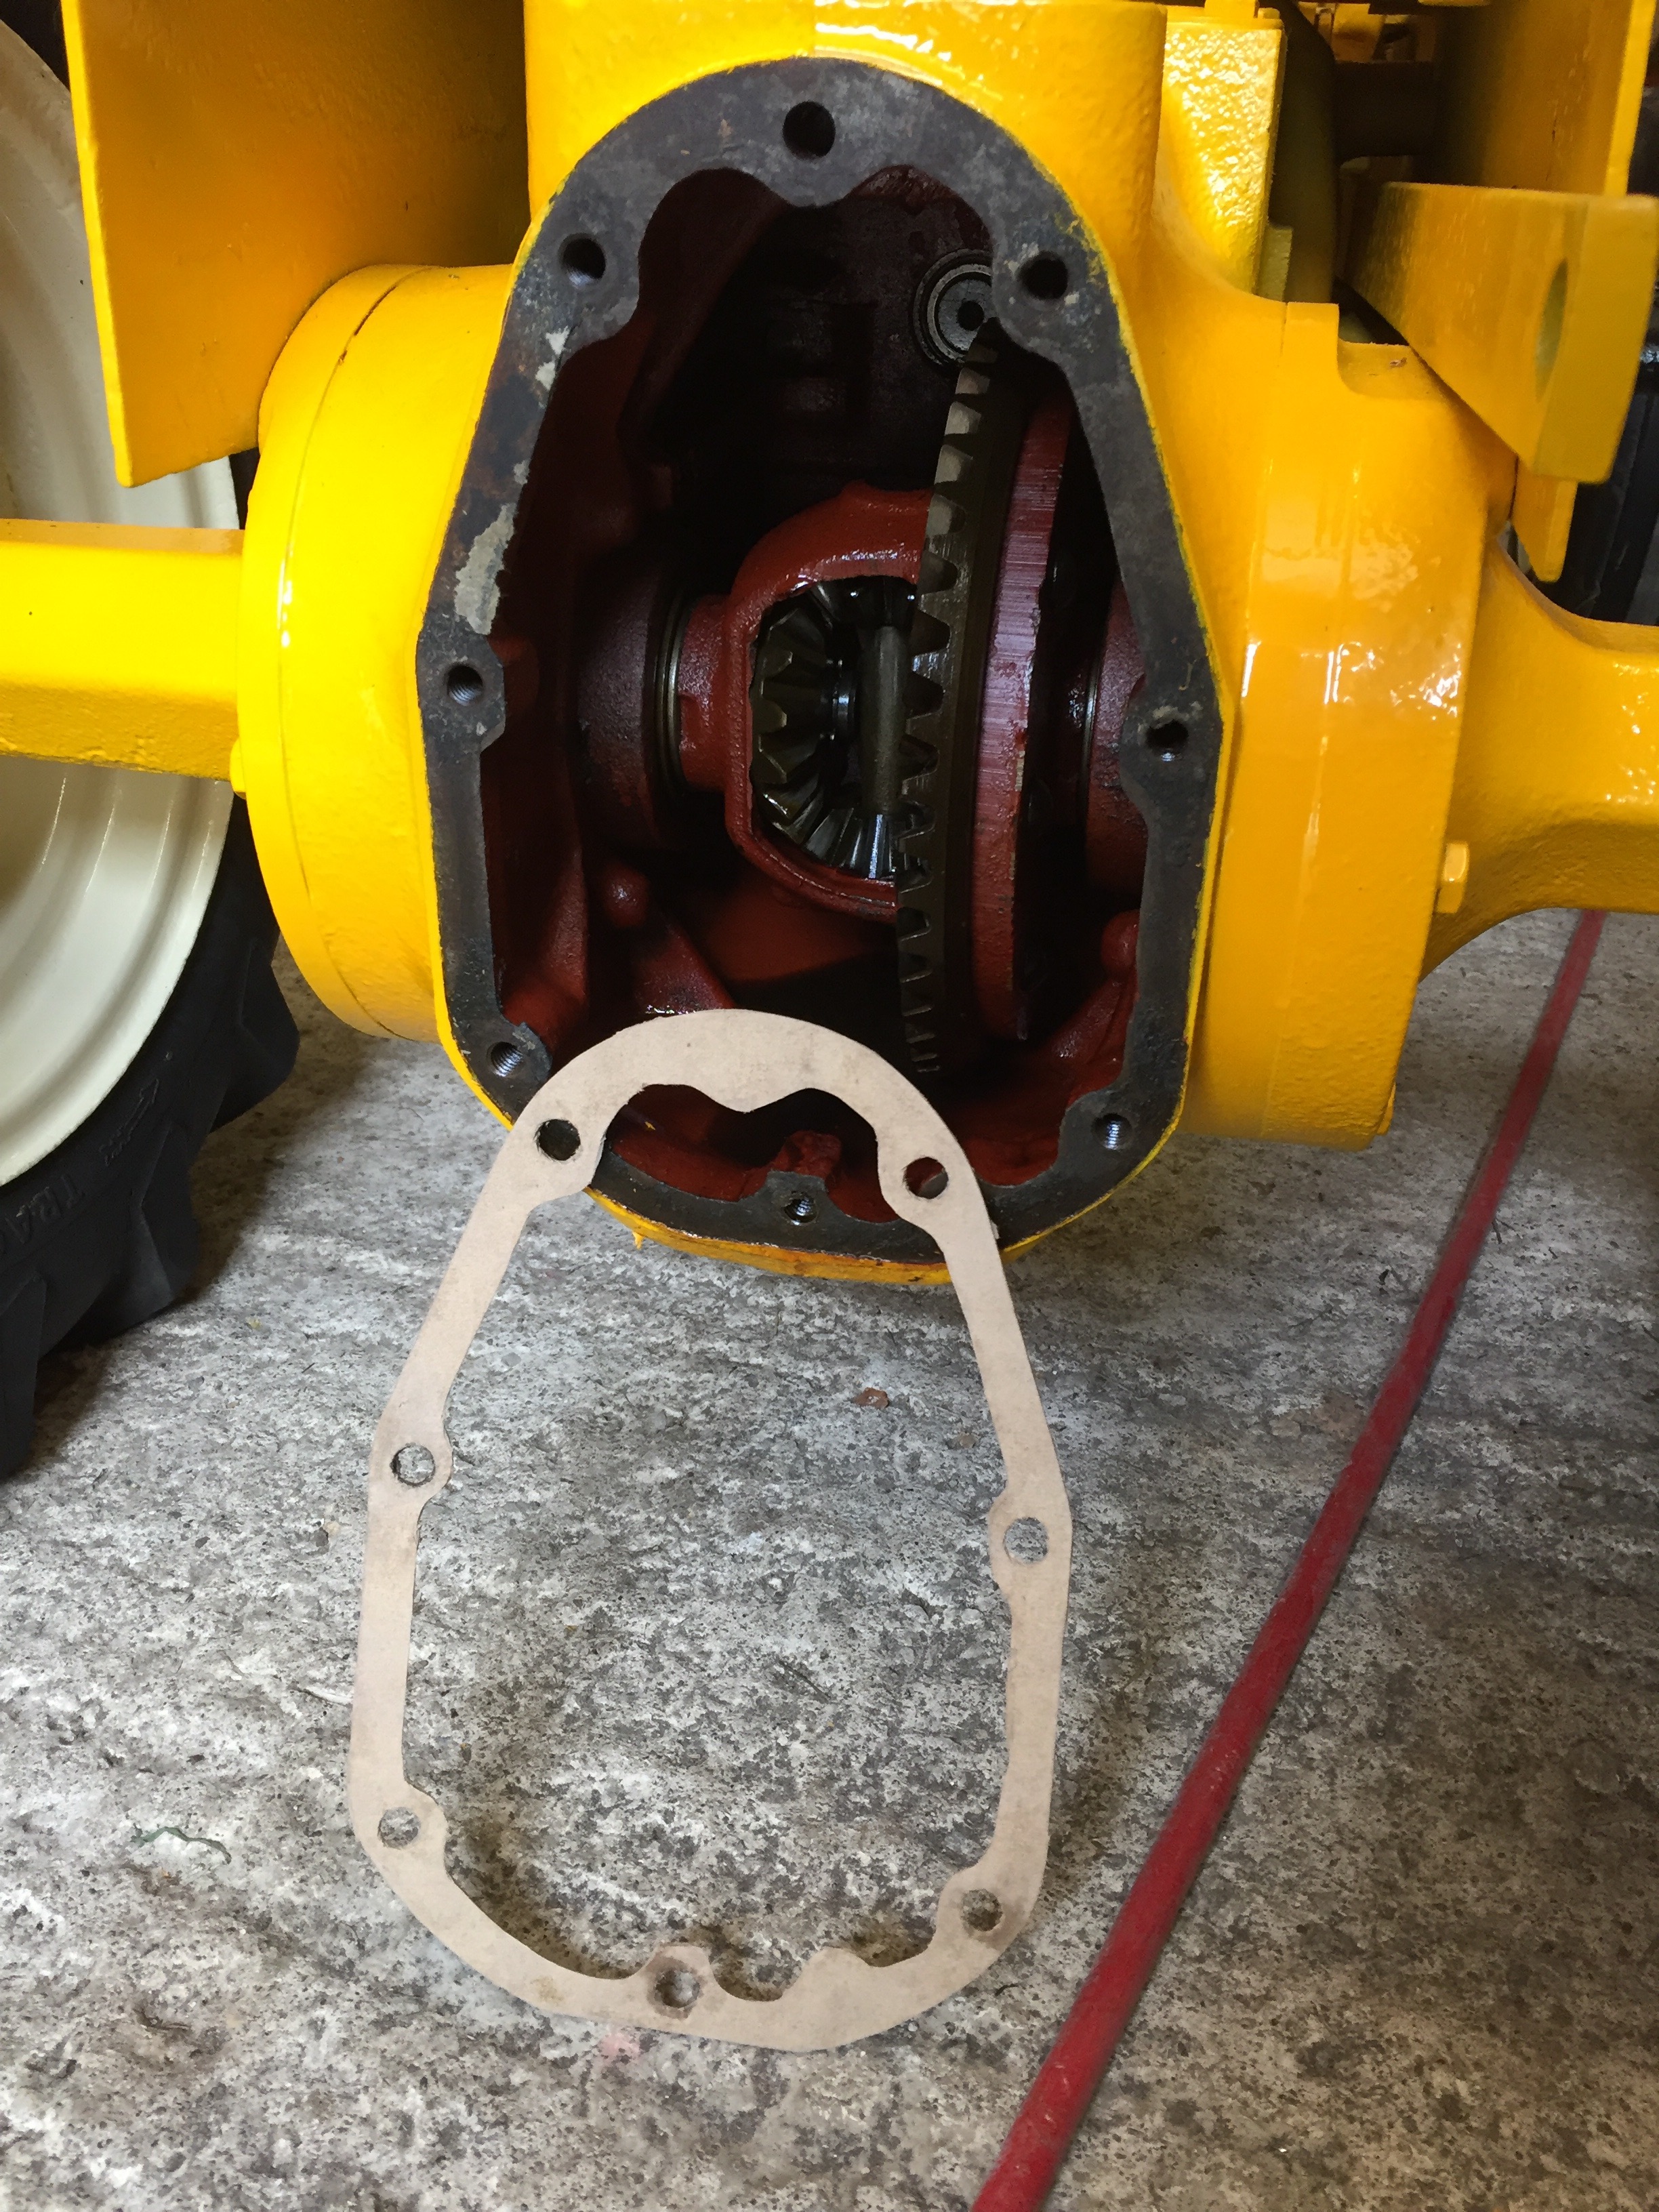
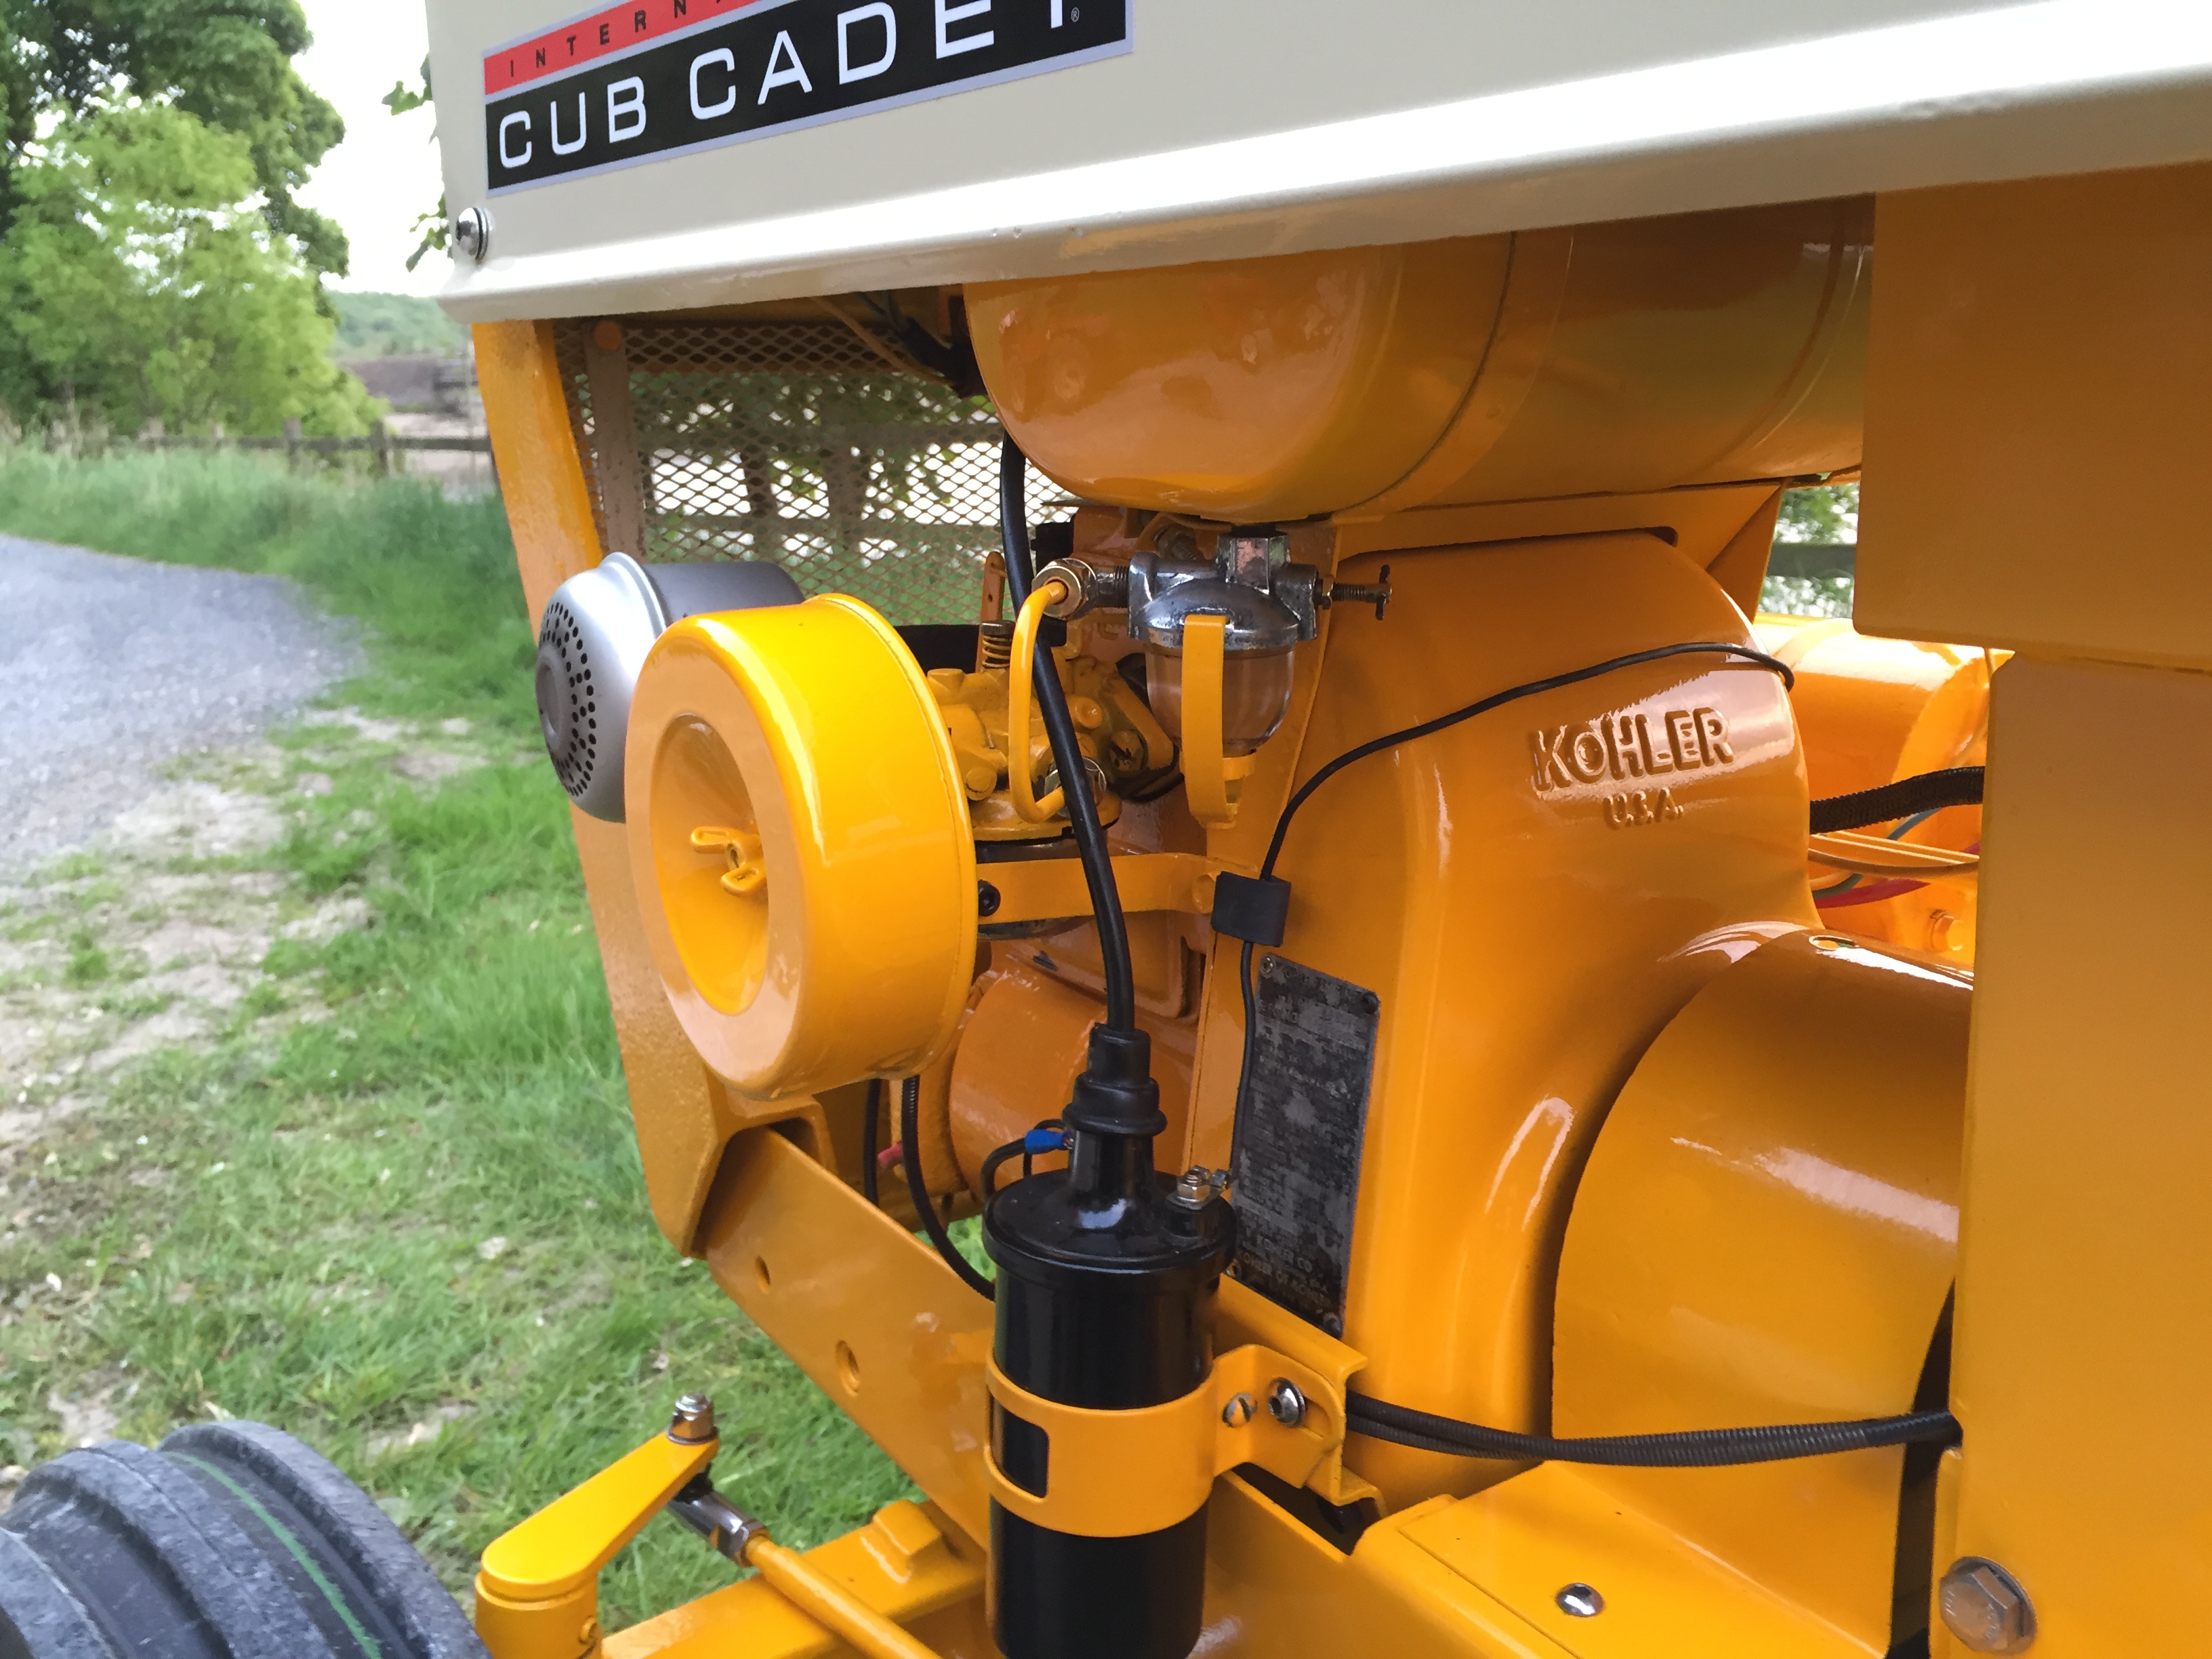
I made a new gasket for the transmission.
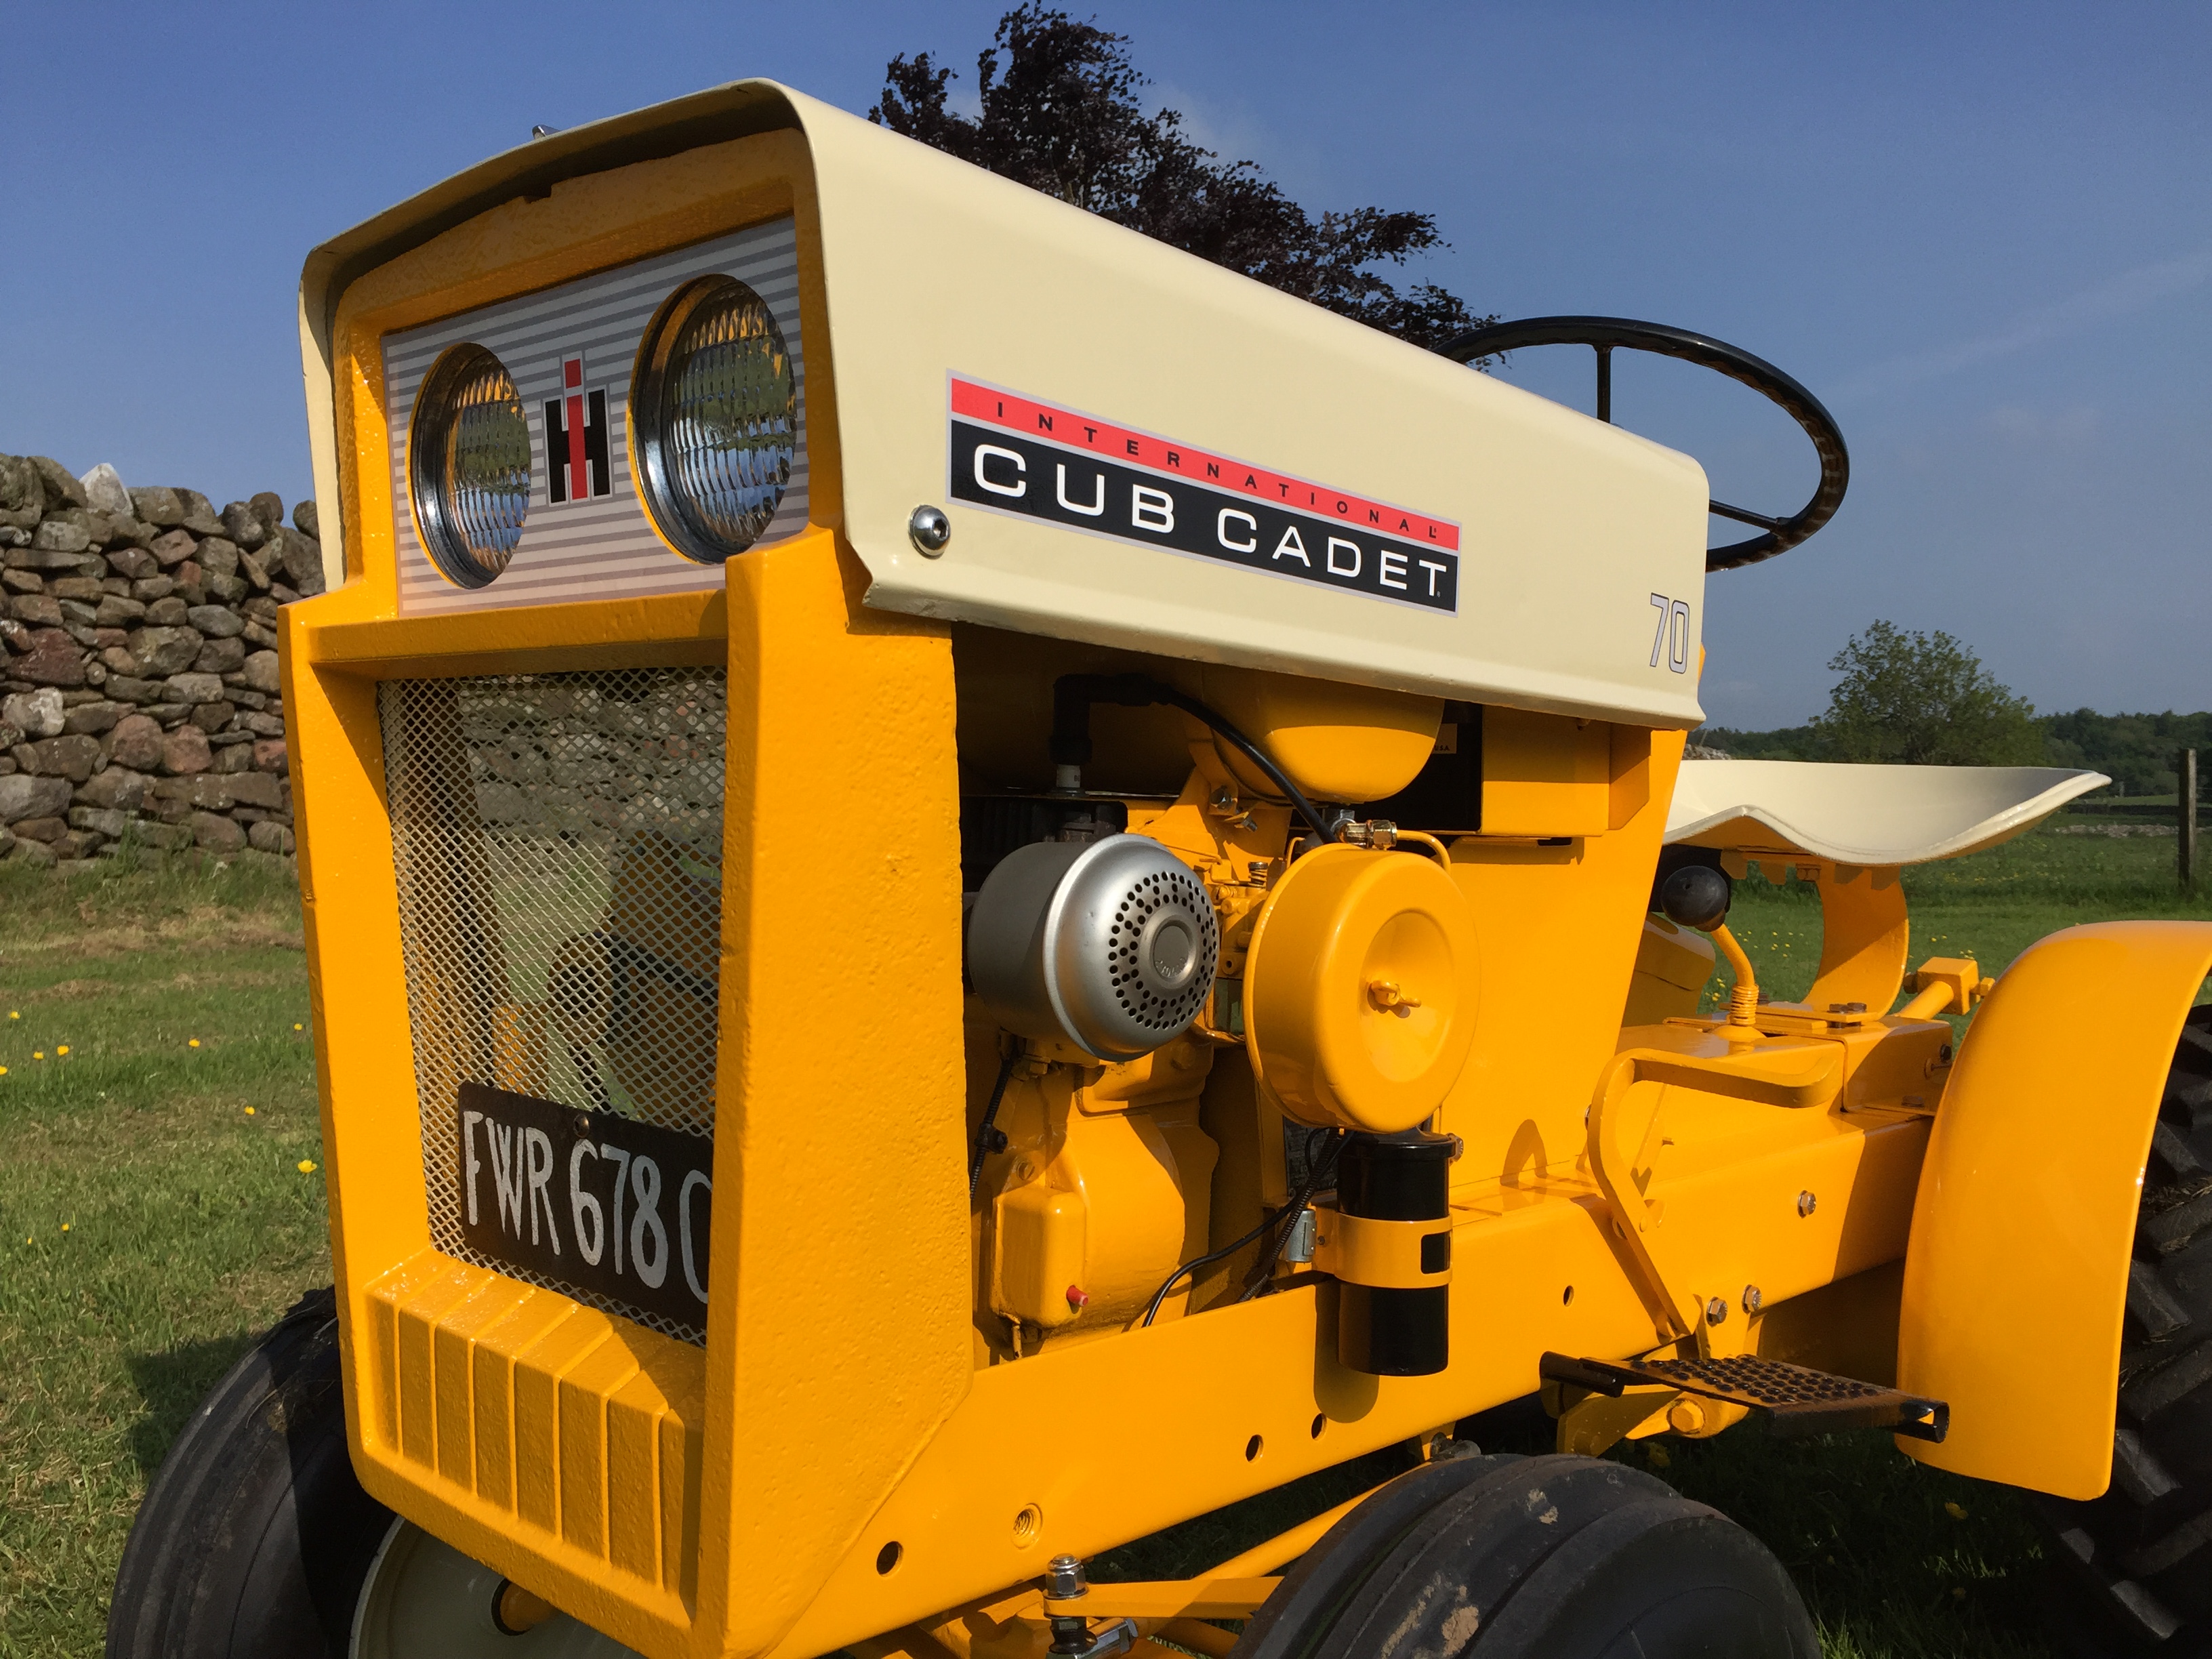
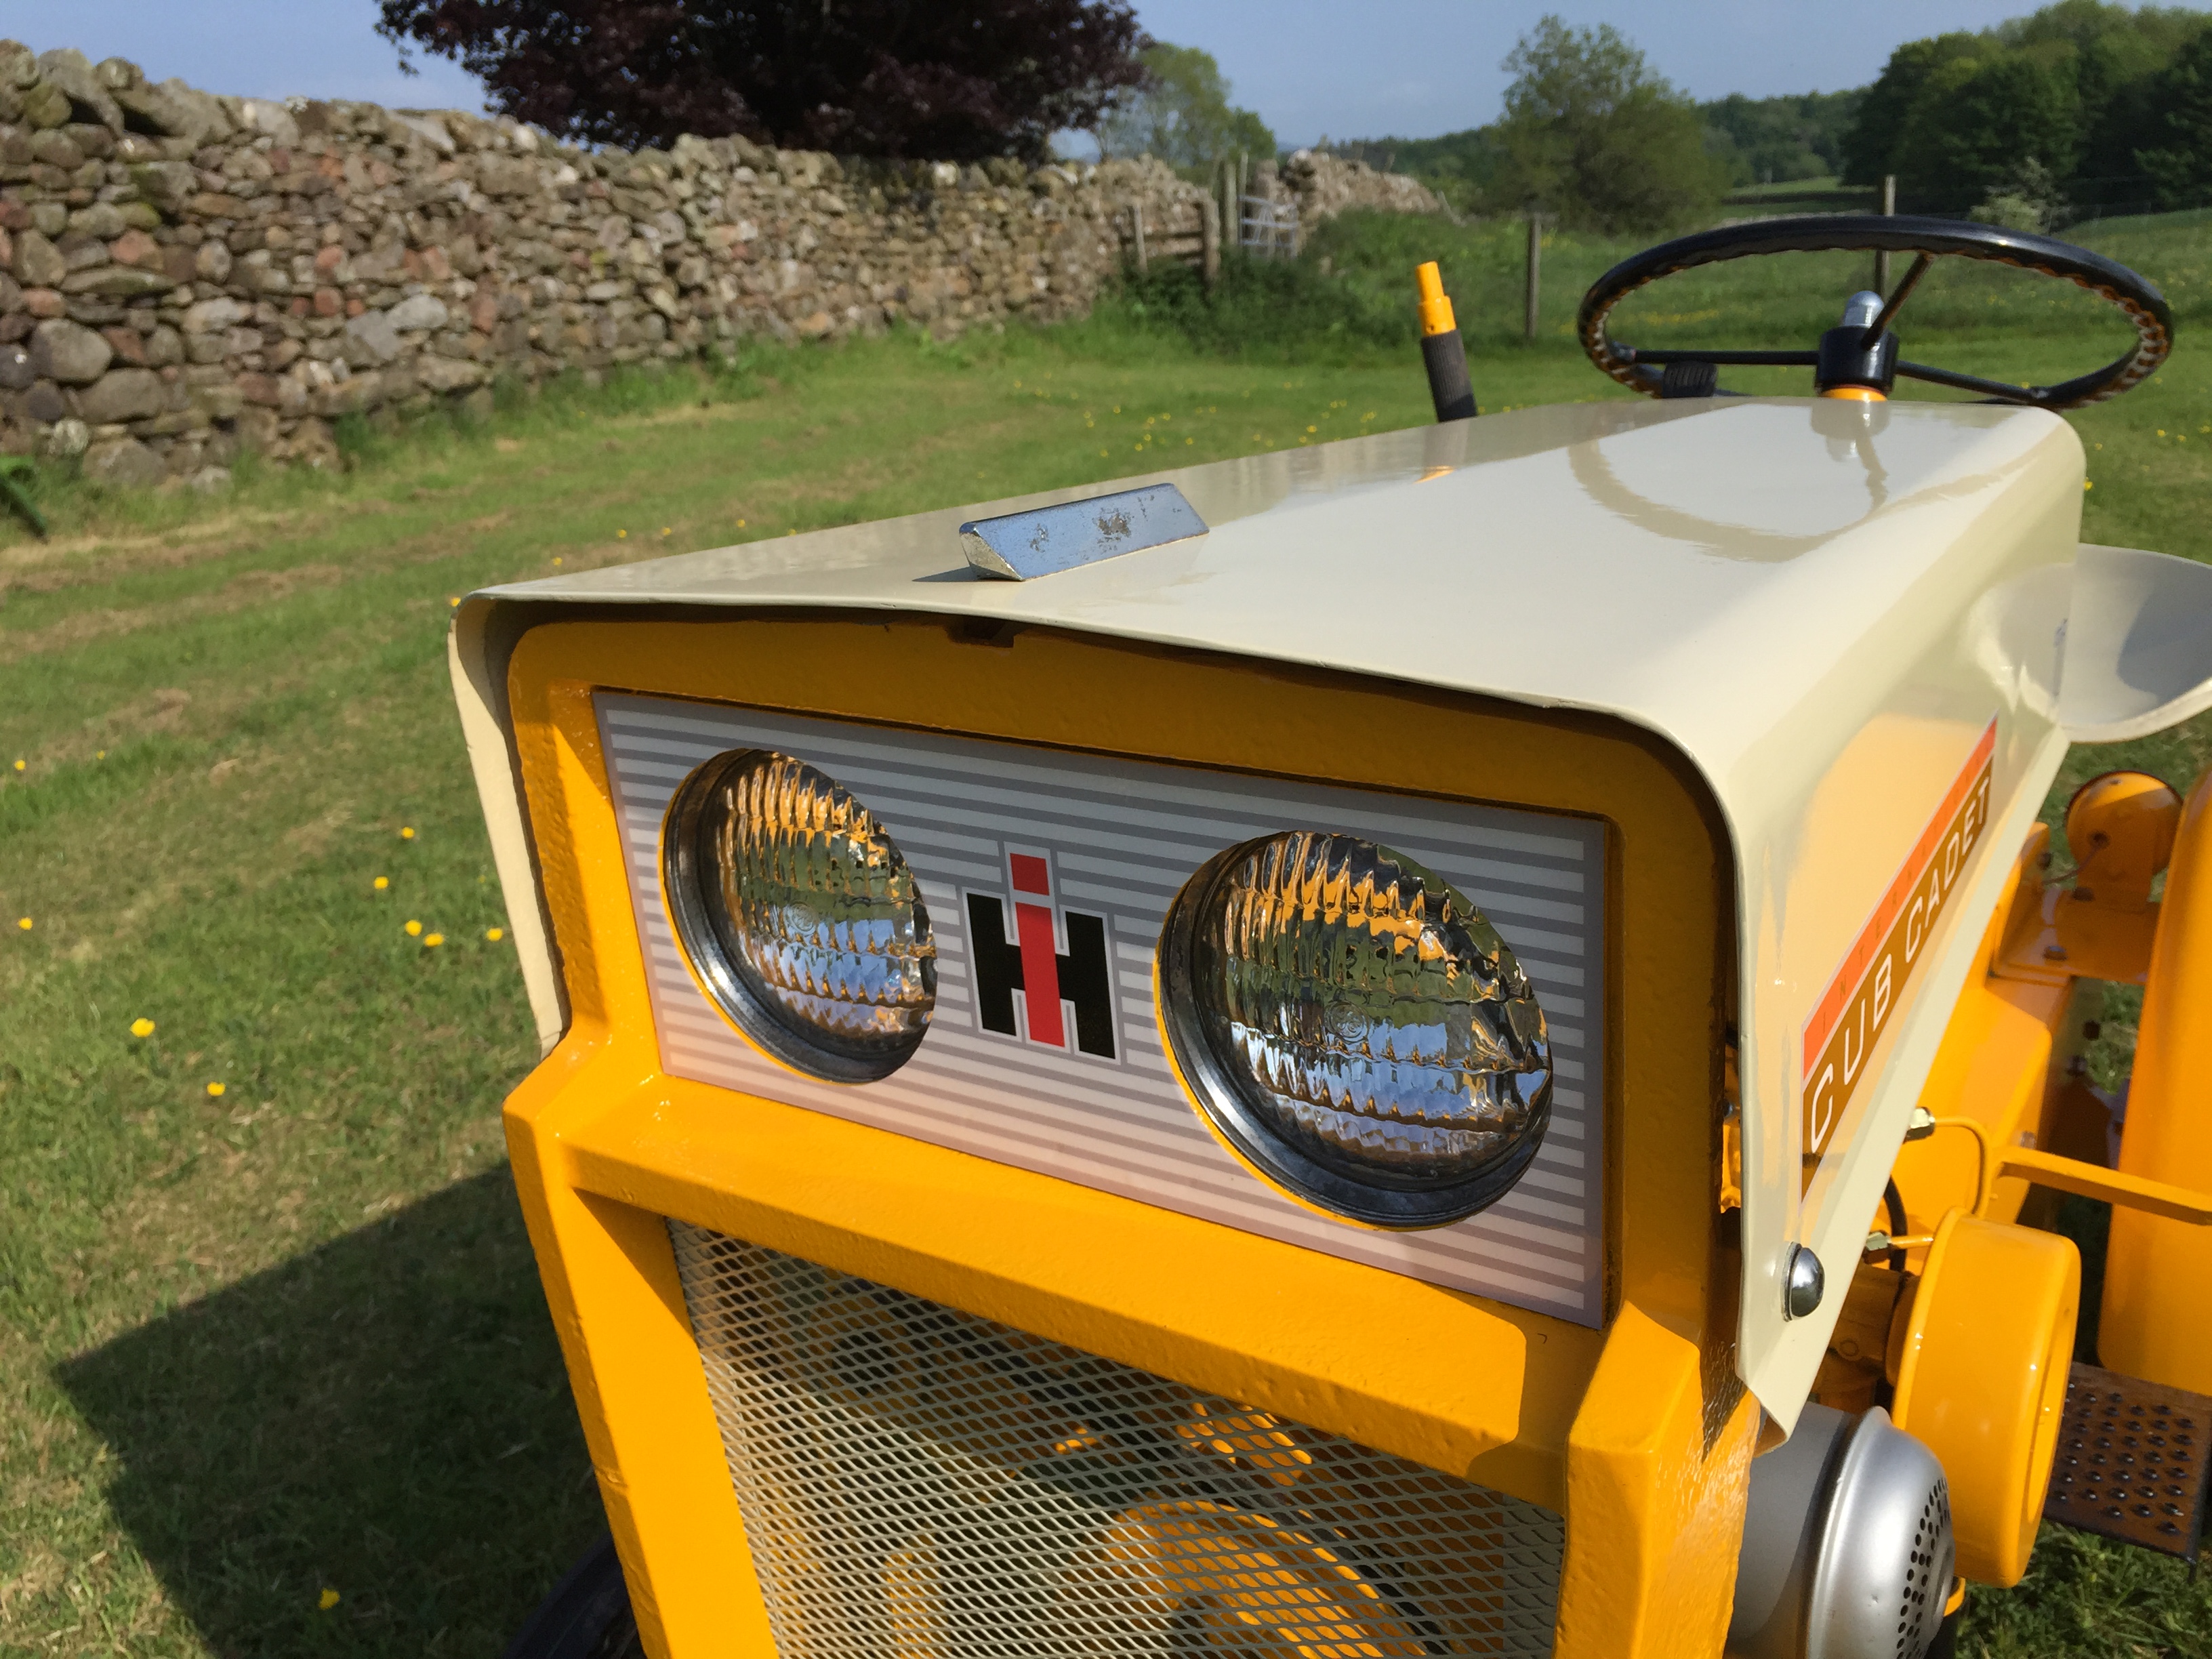
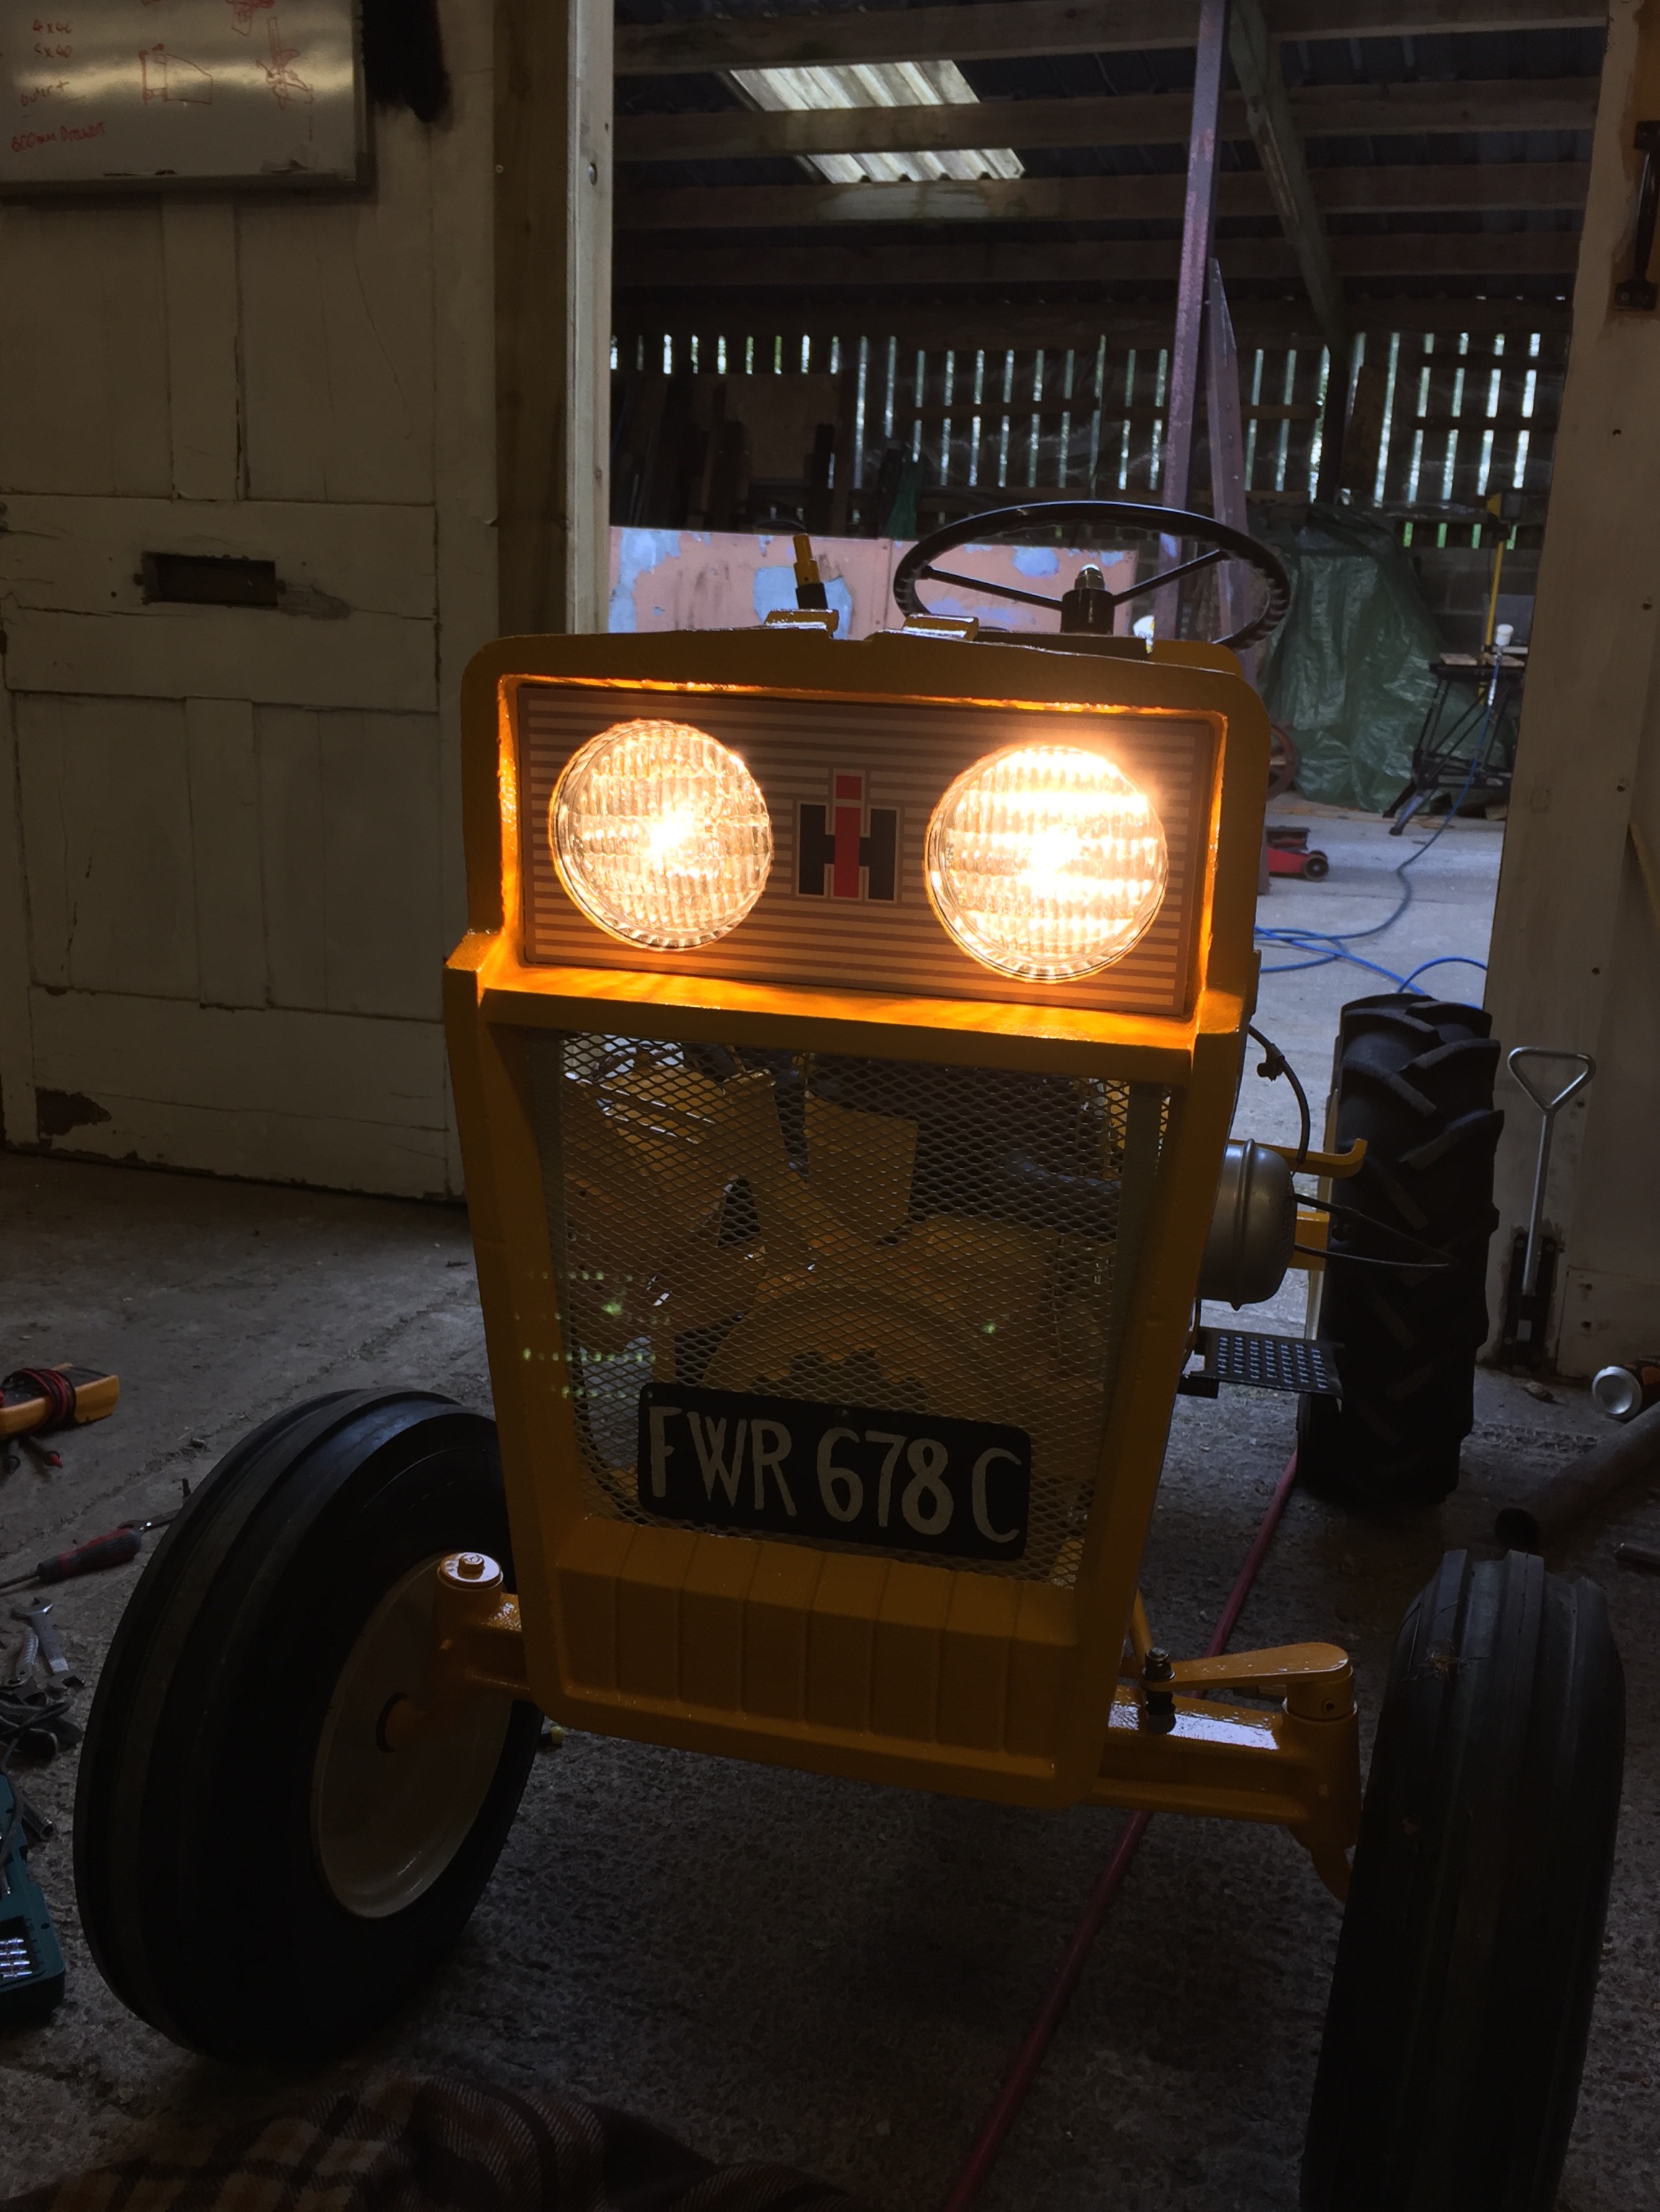
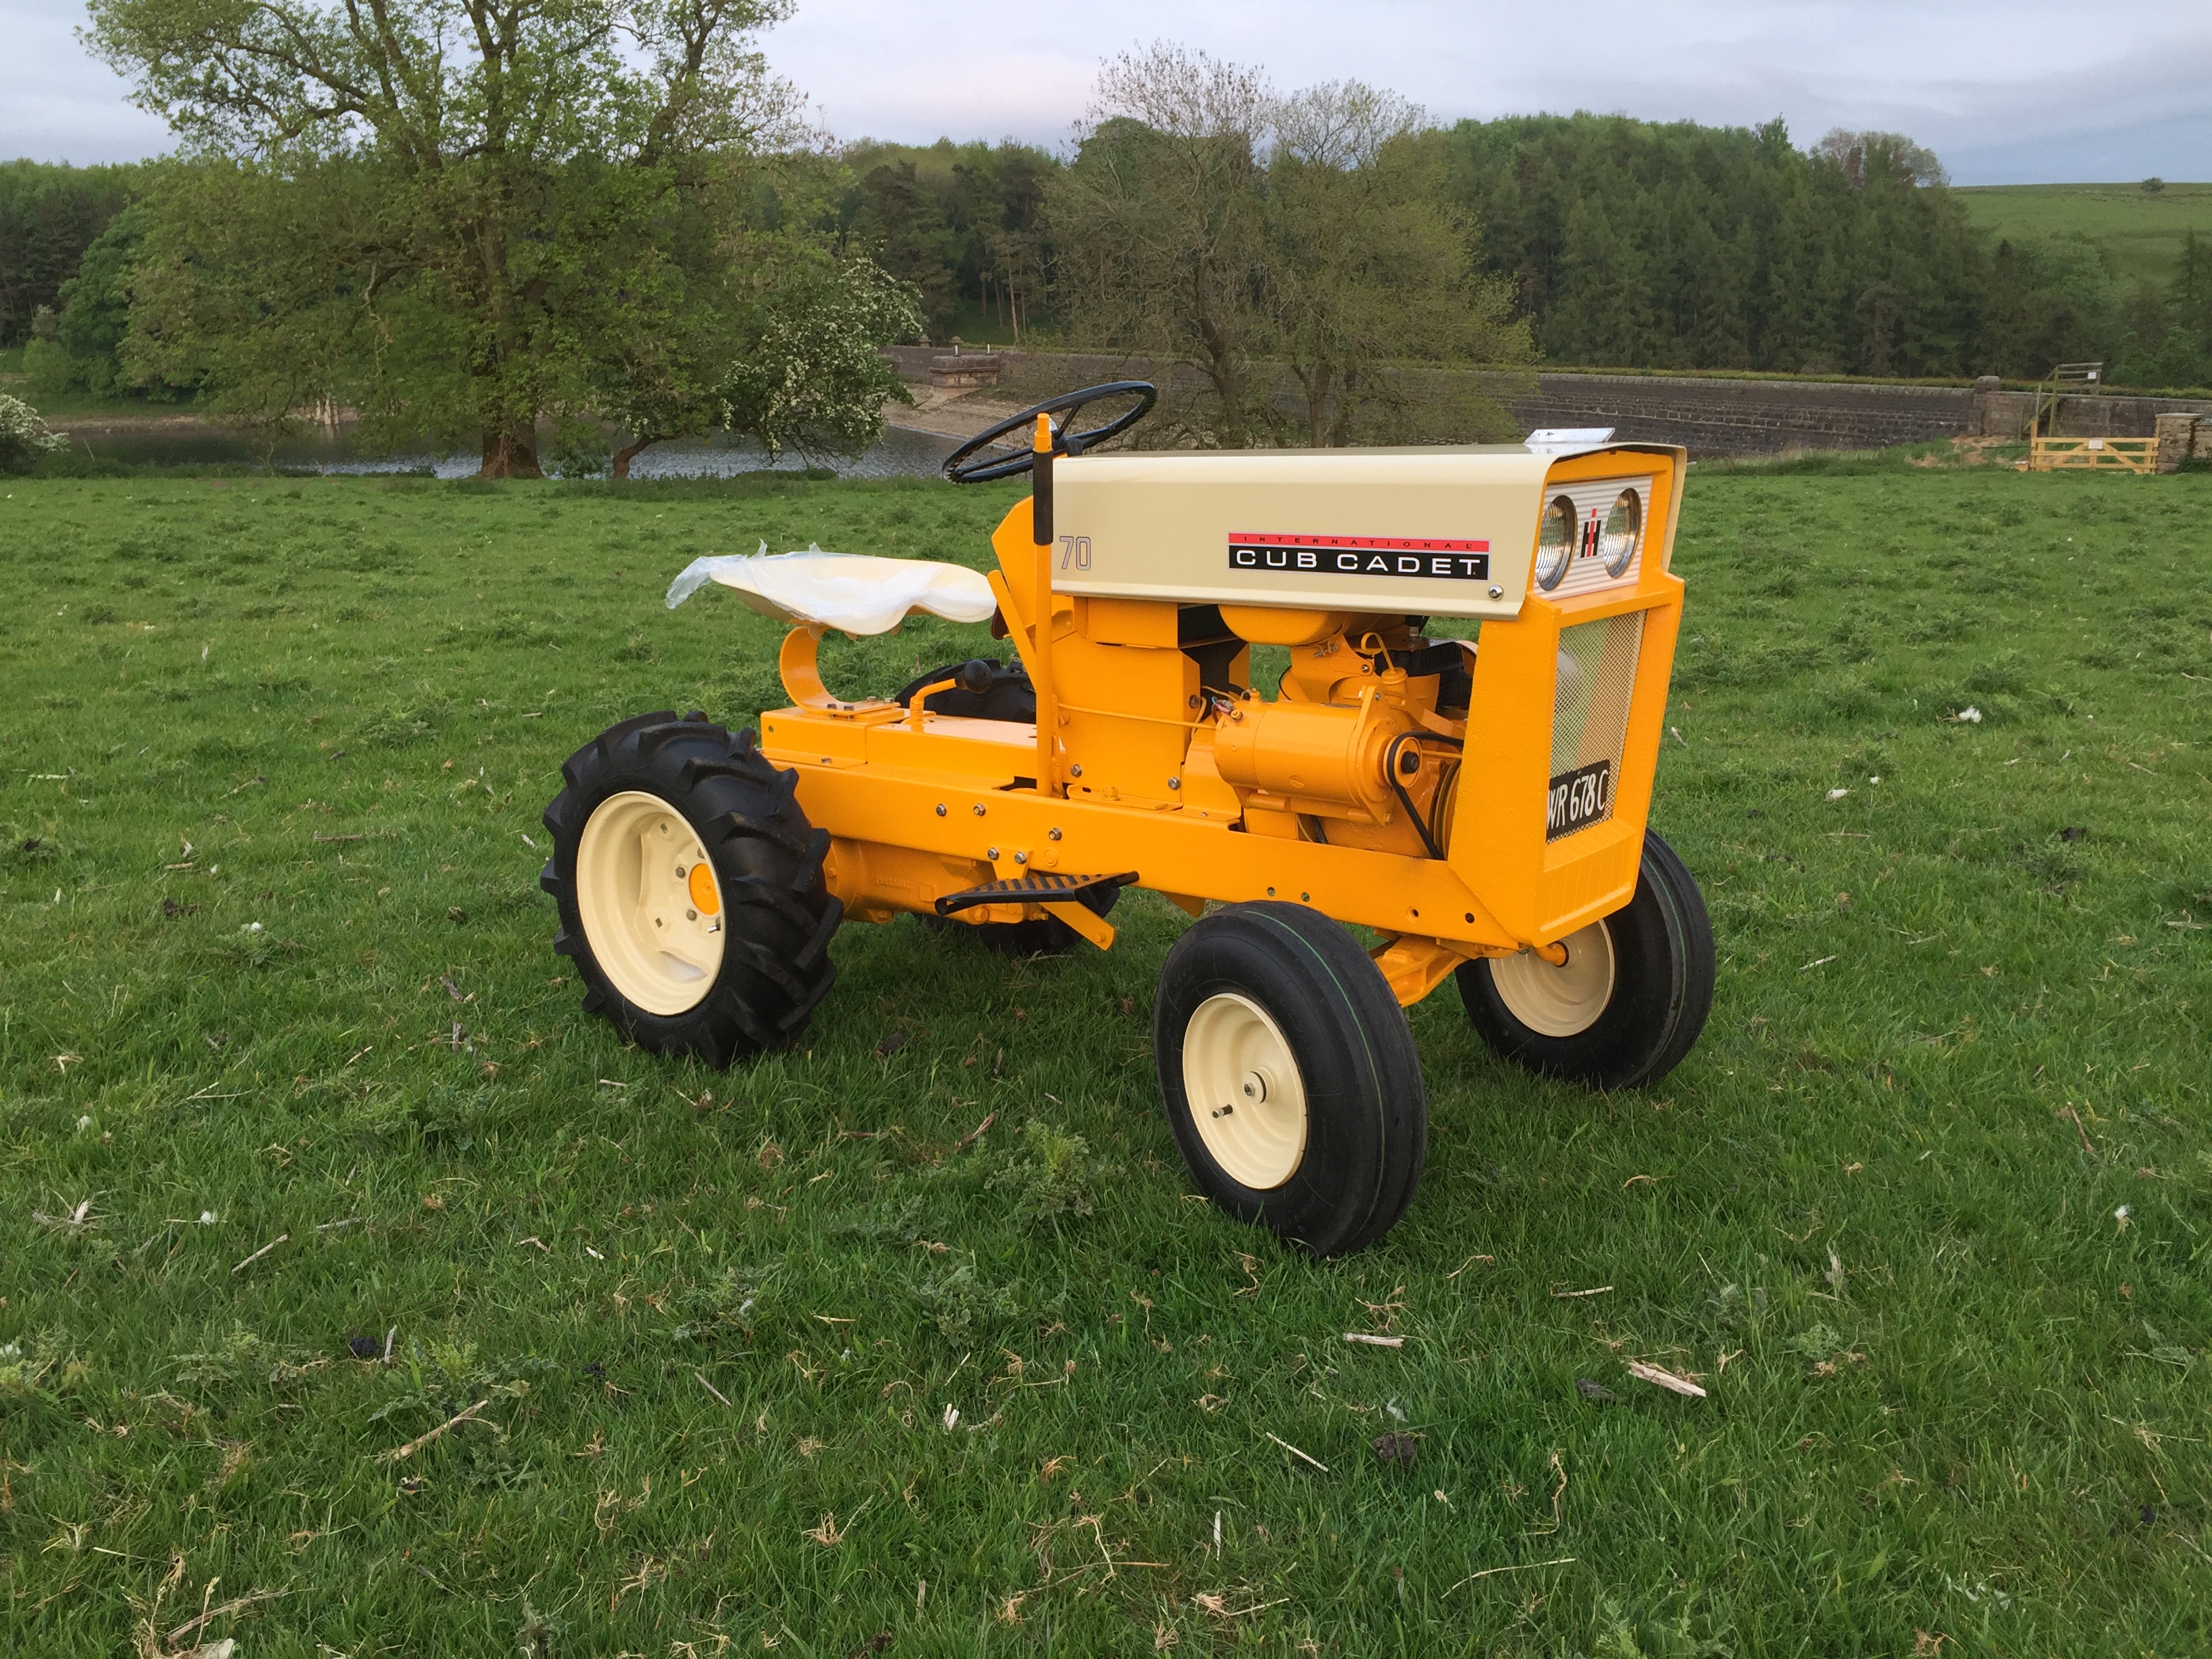
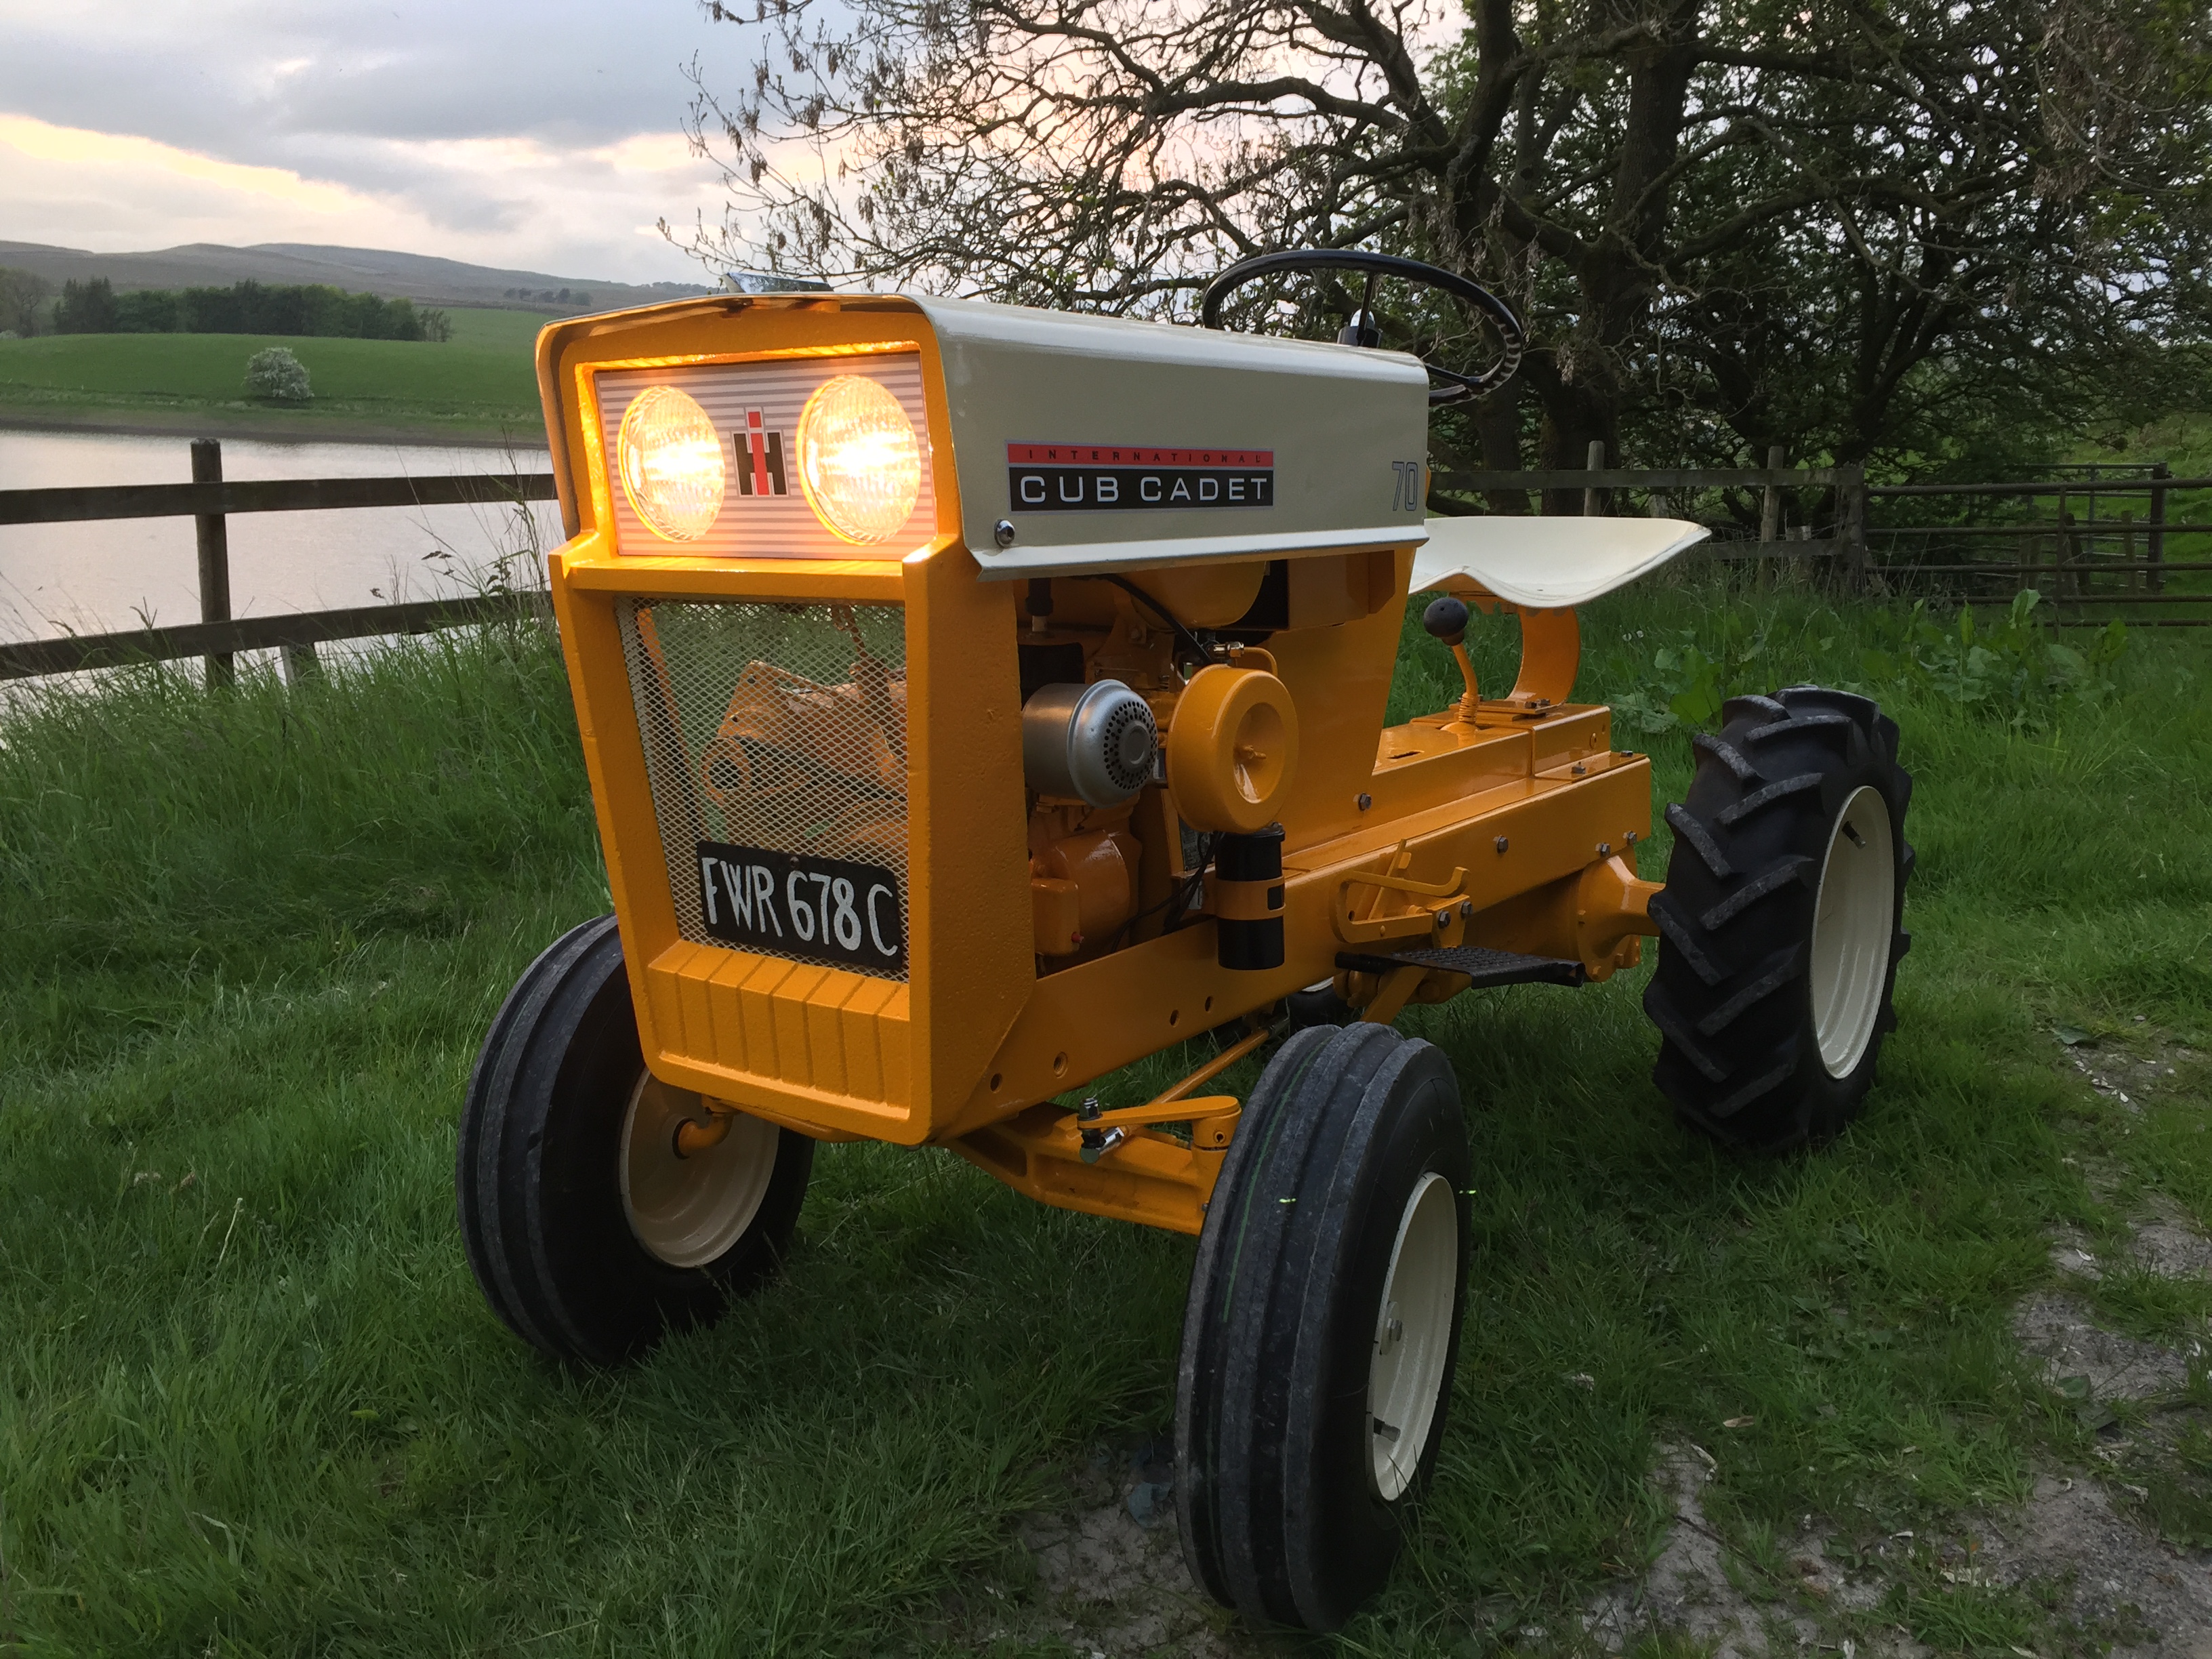
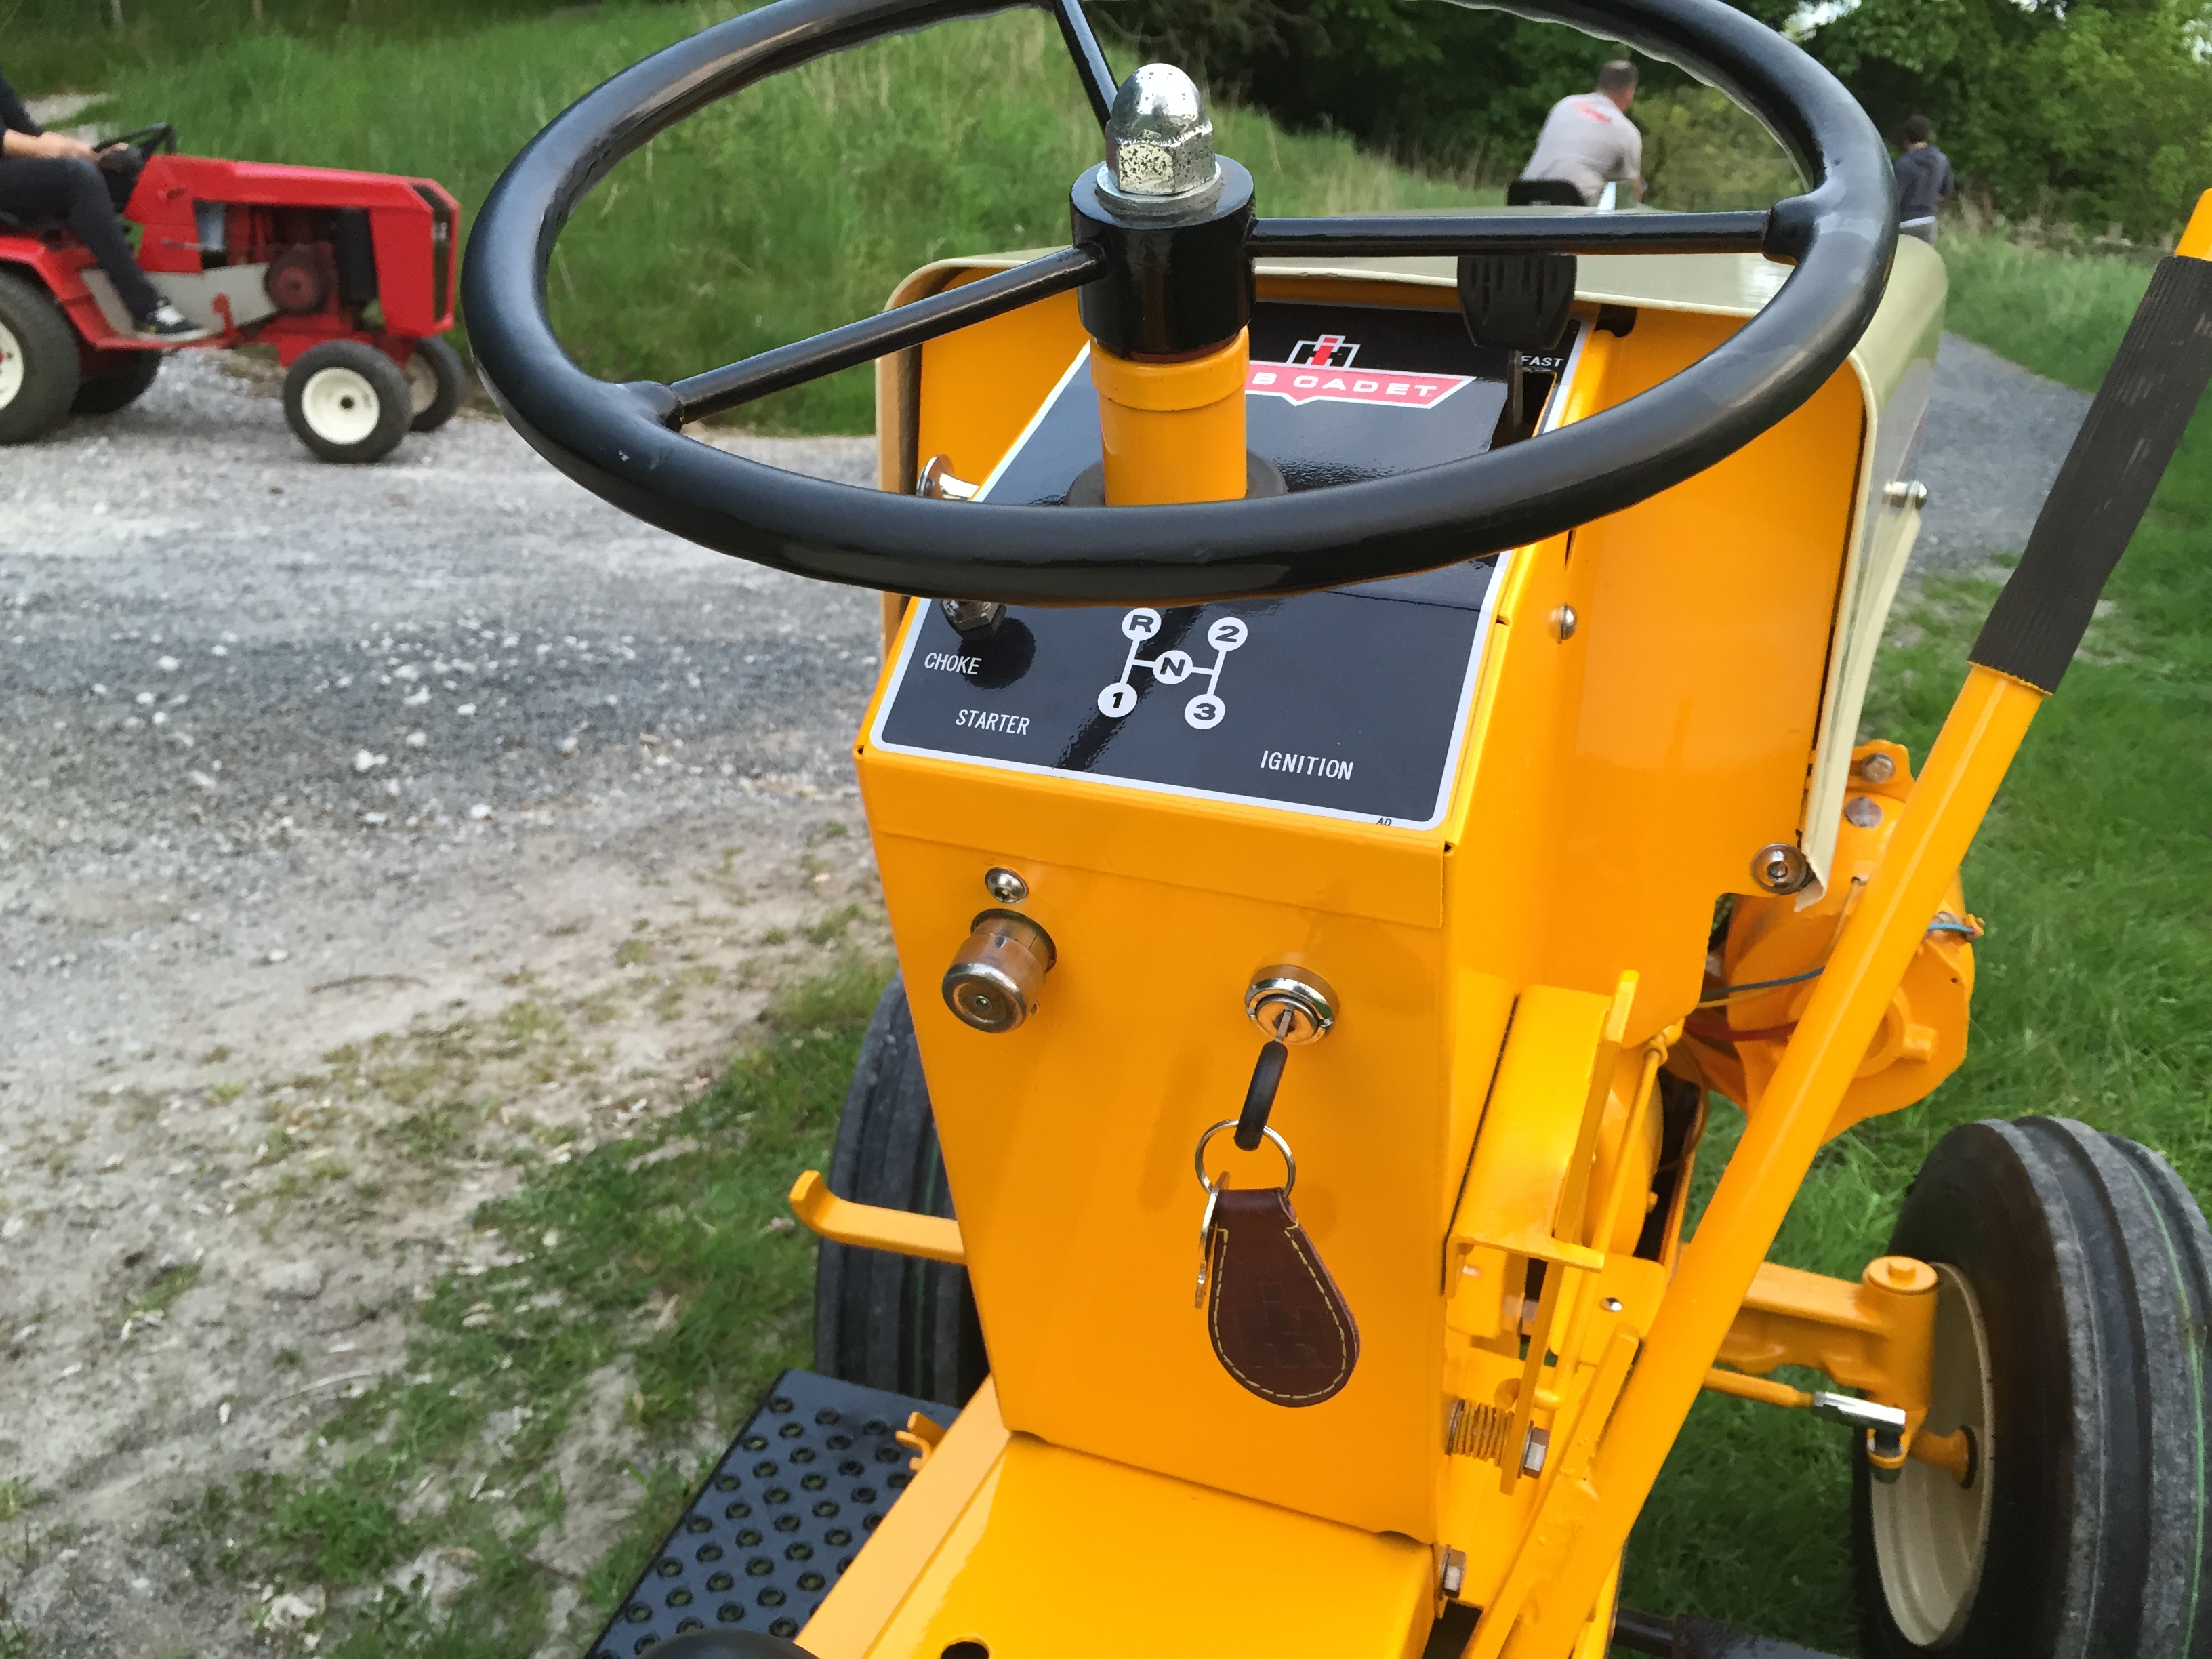
The wiring has now been finished and the lights work
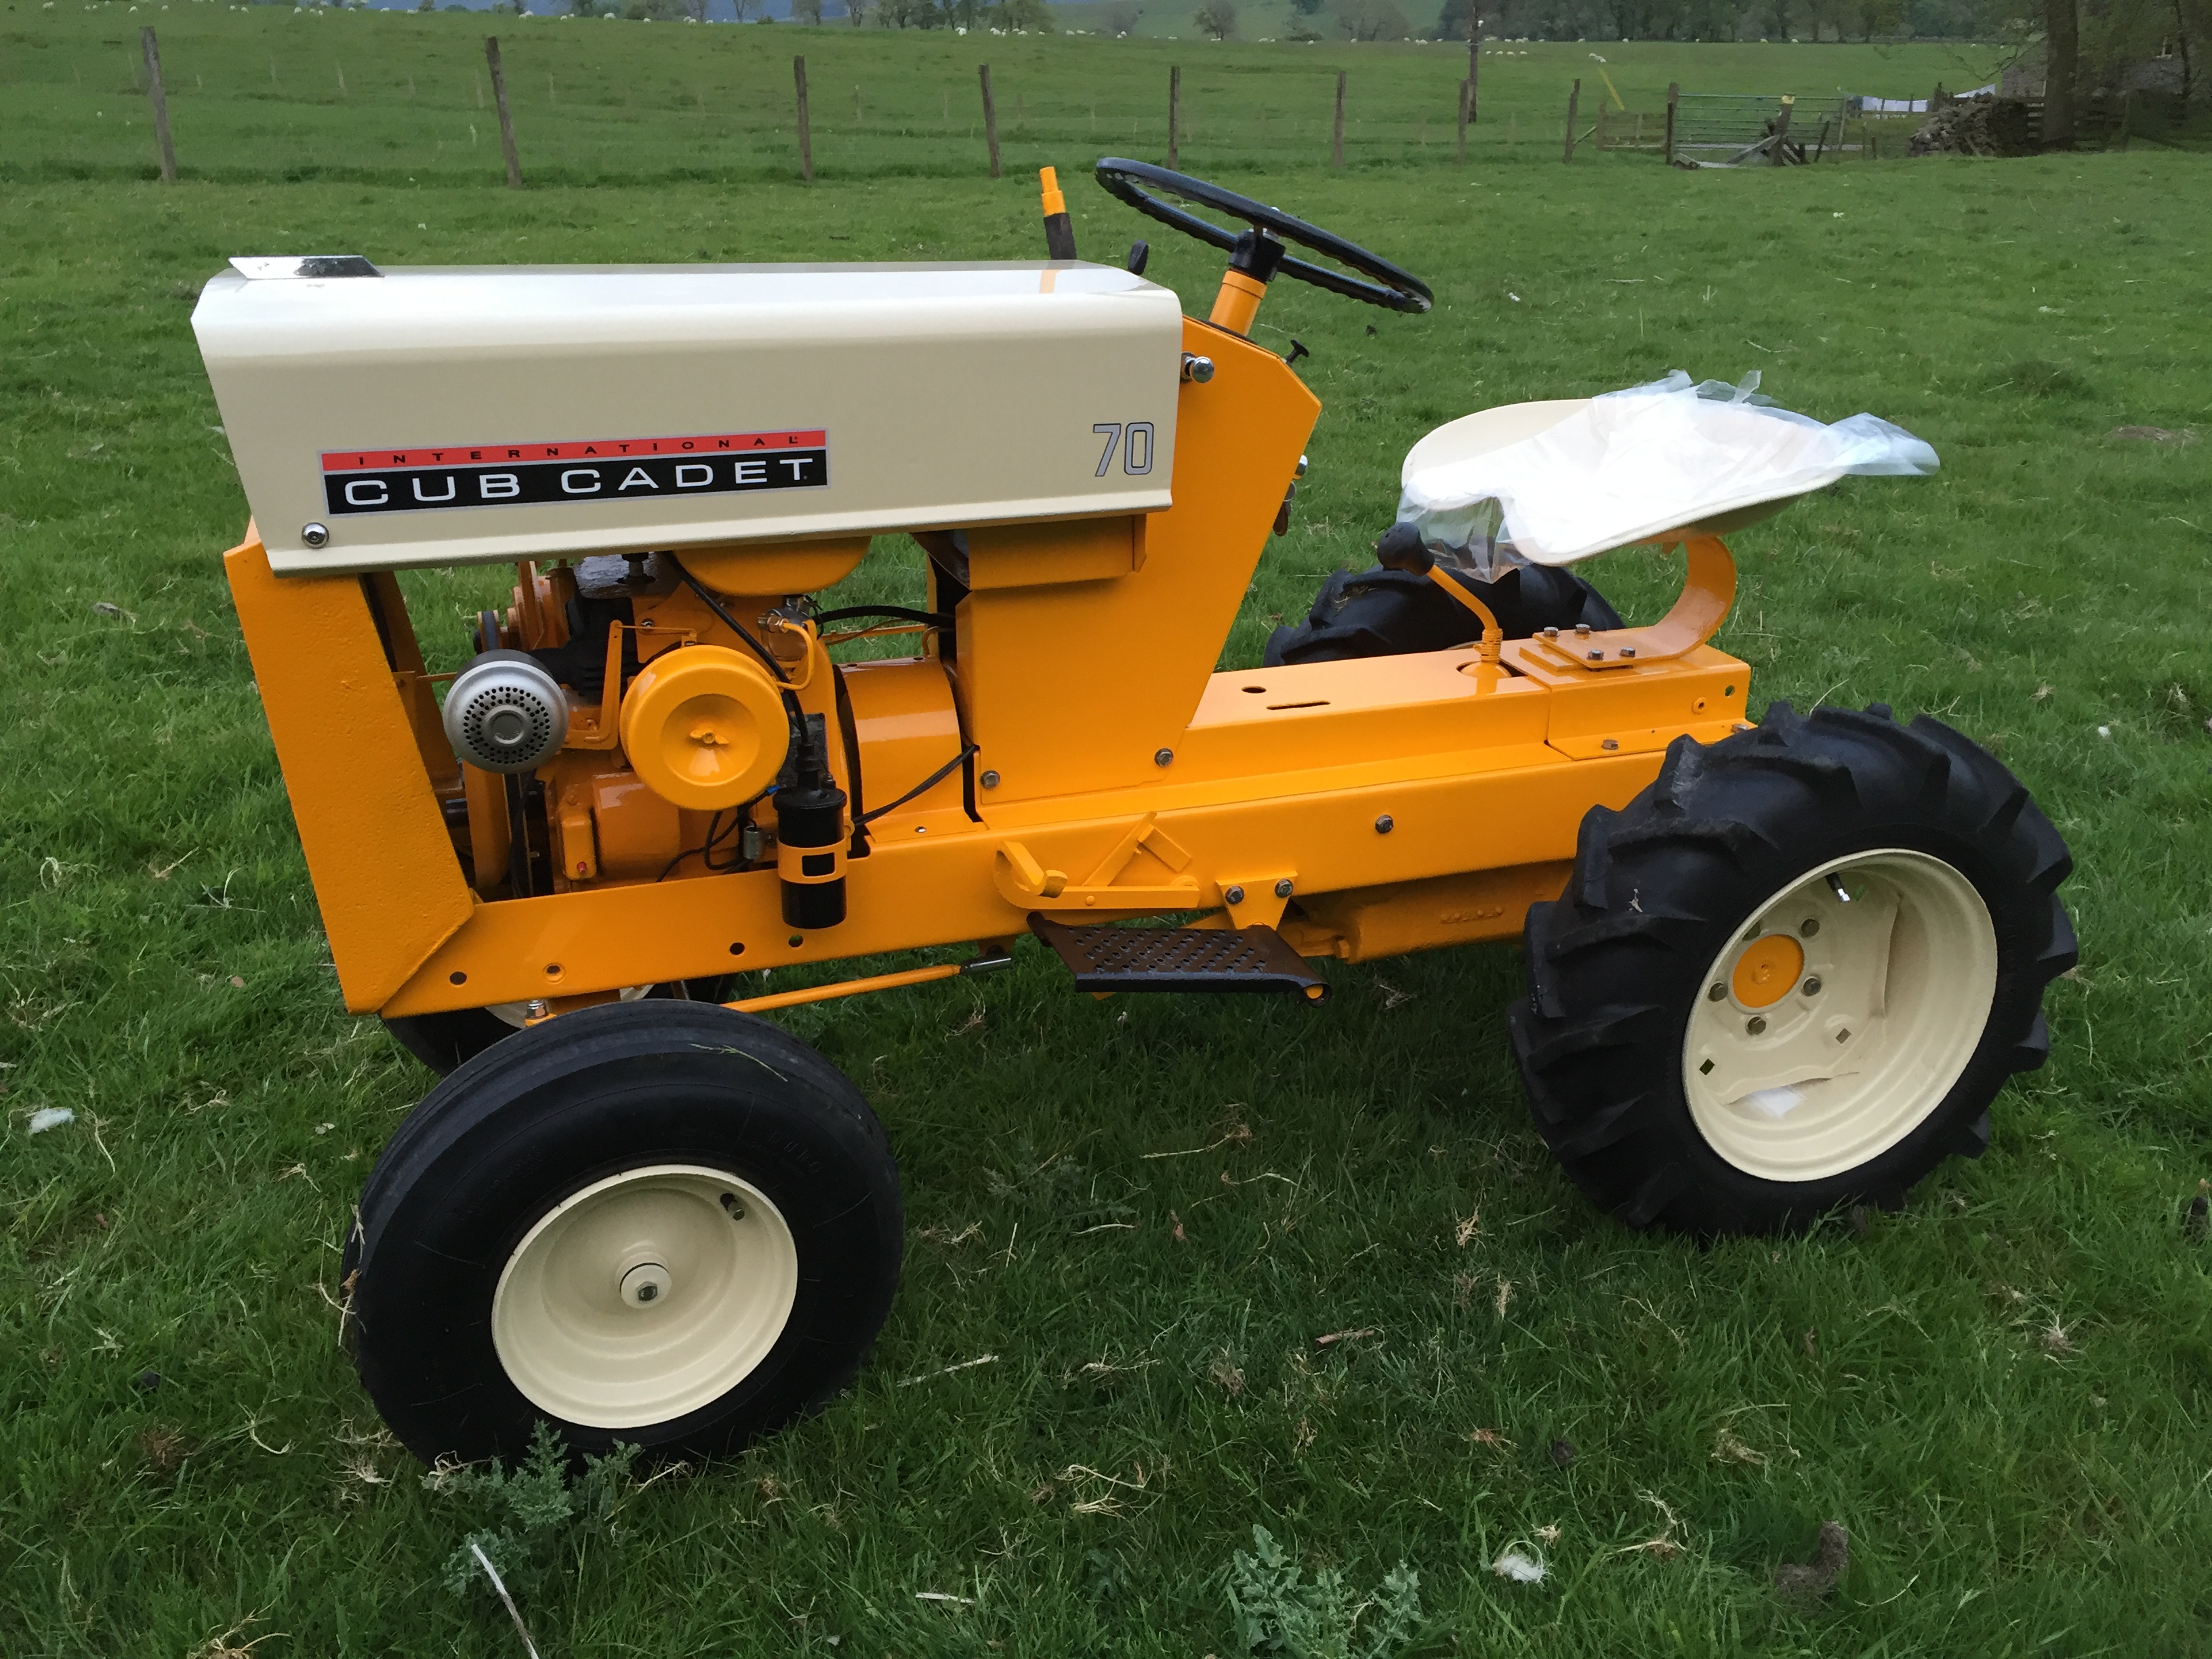
The bonnet got its final coat of paint and my IH wheel weights arrived (thanks @Charlie Smith)
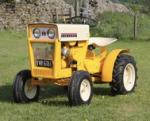
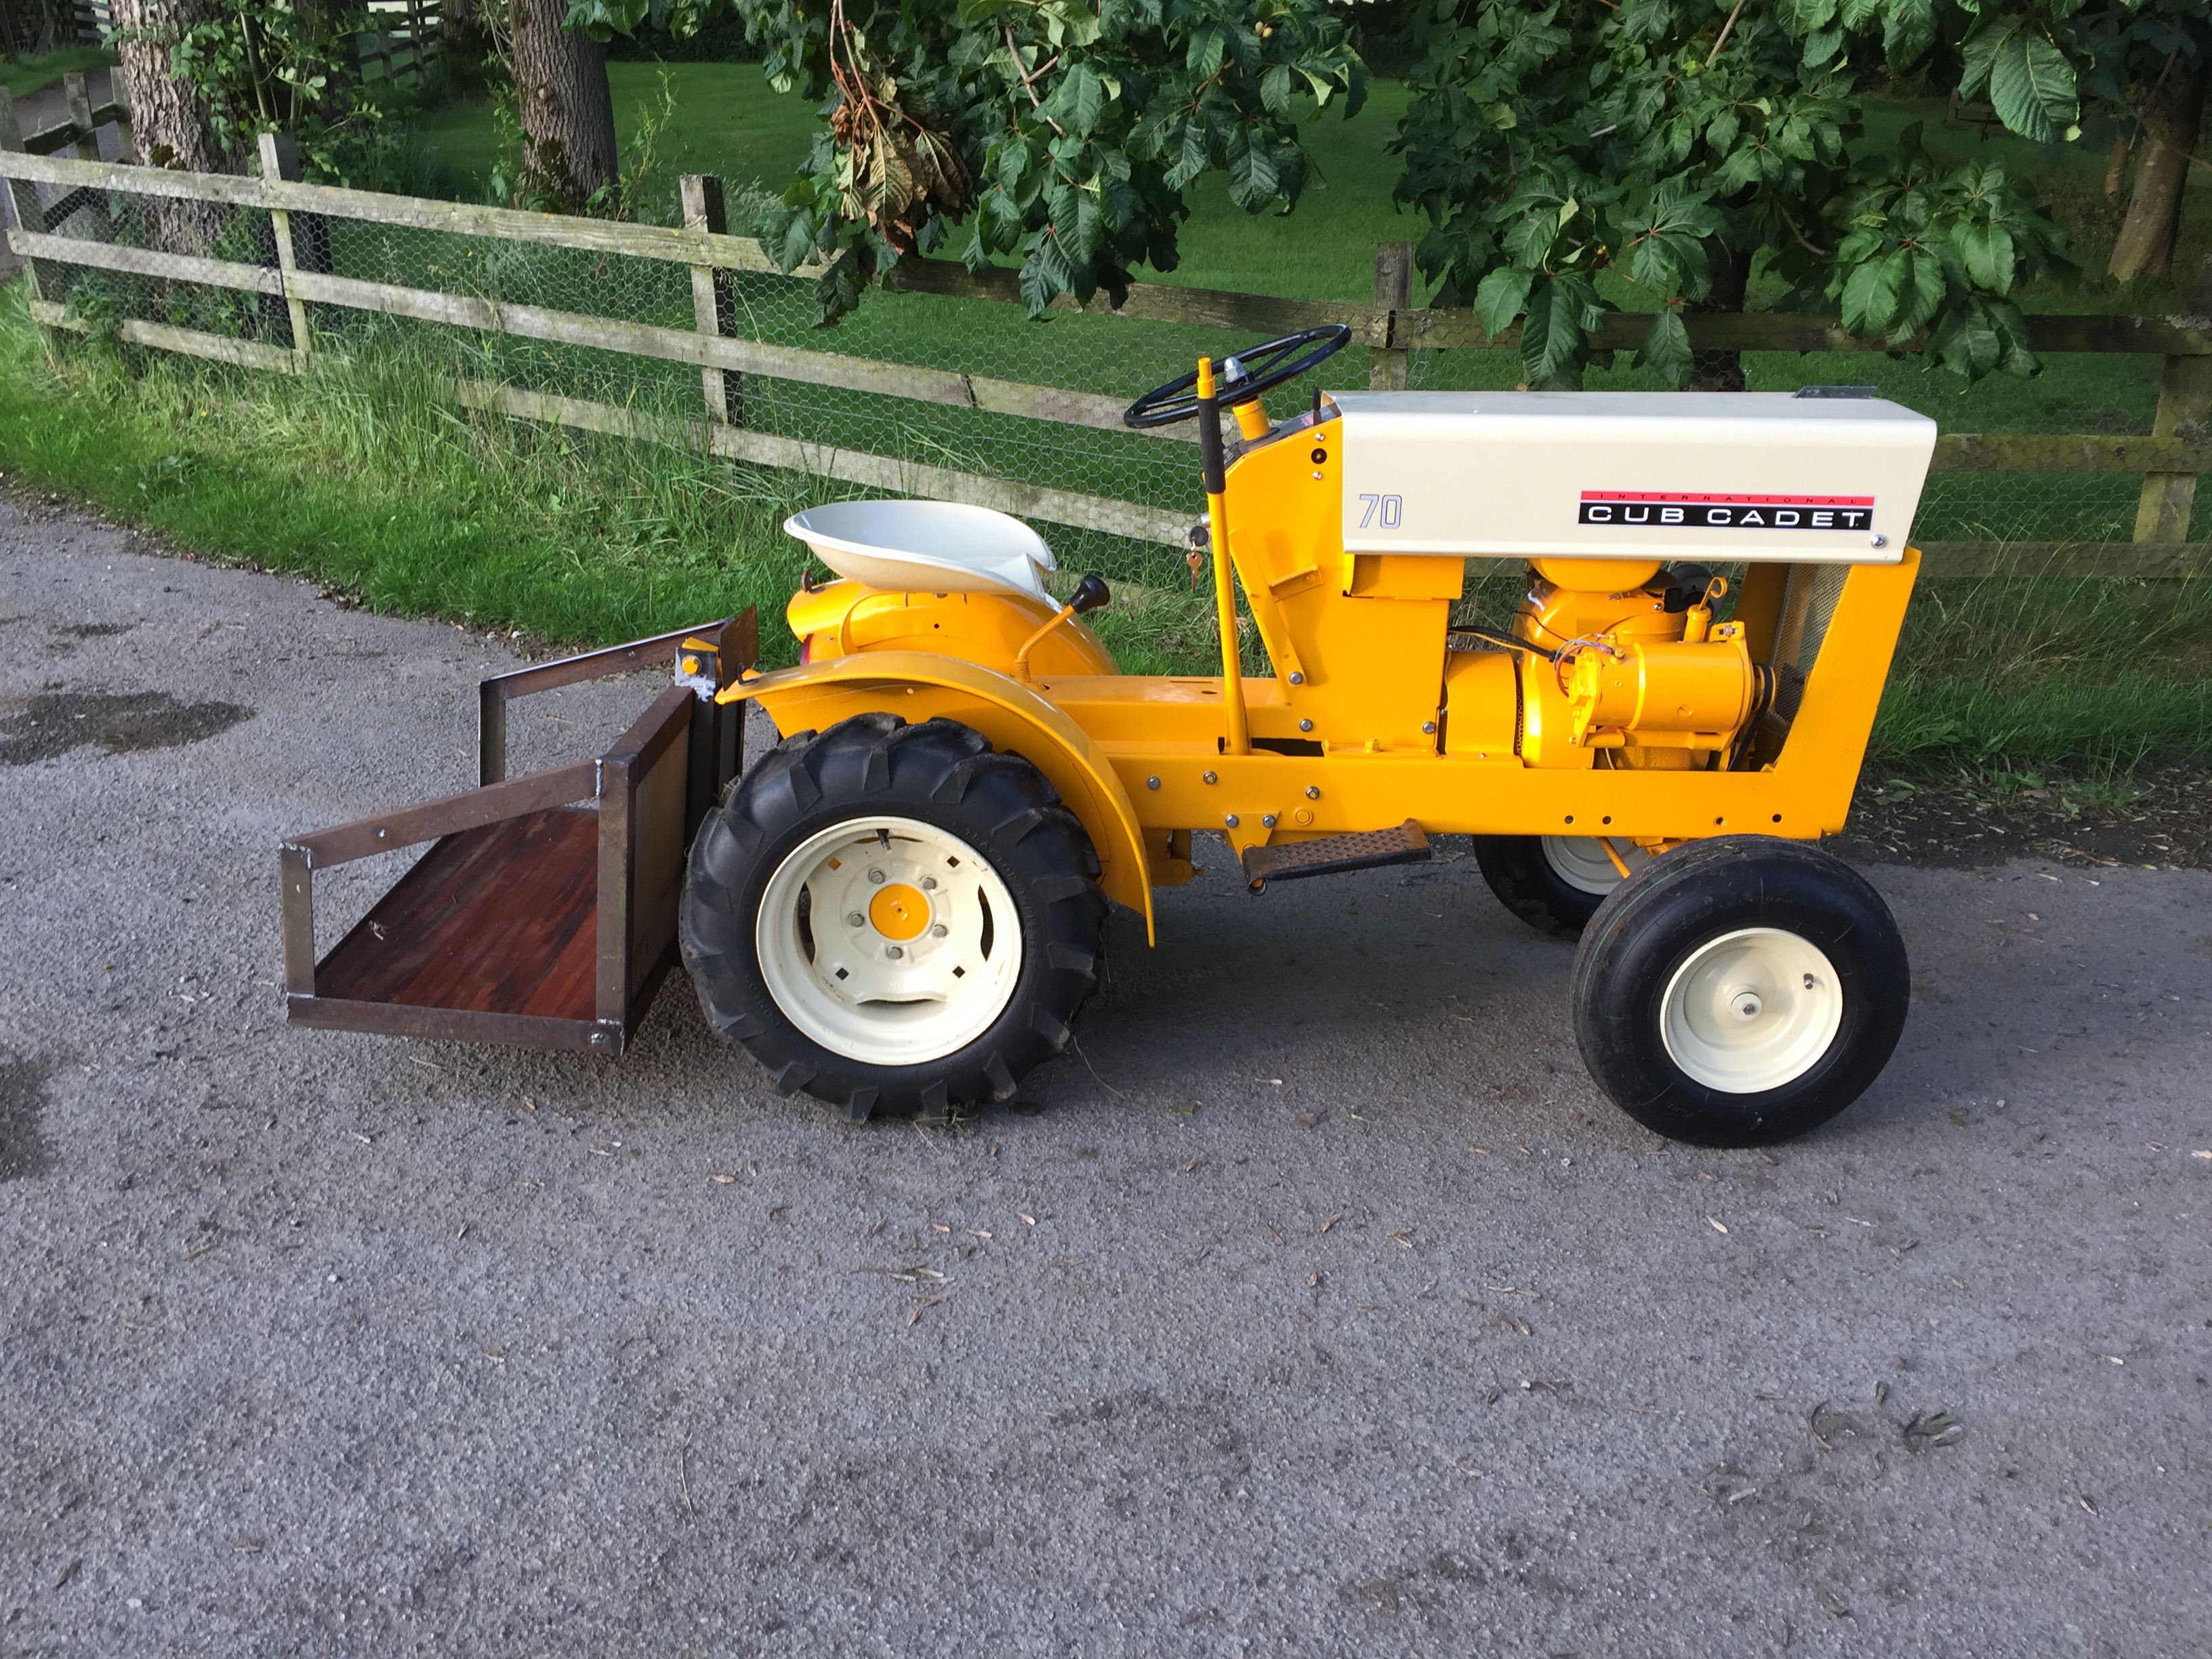
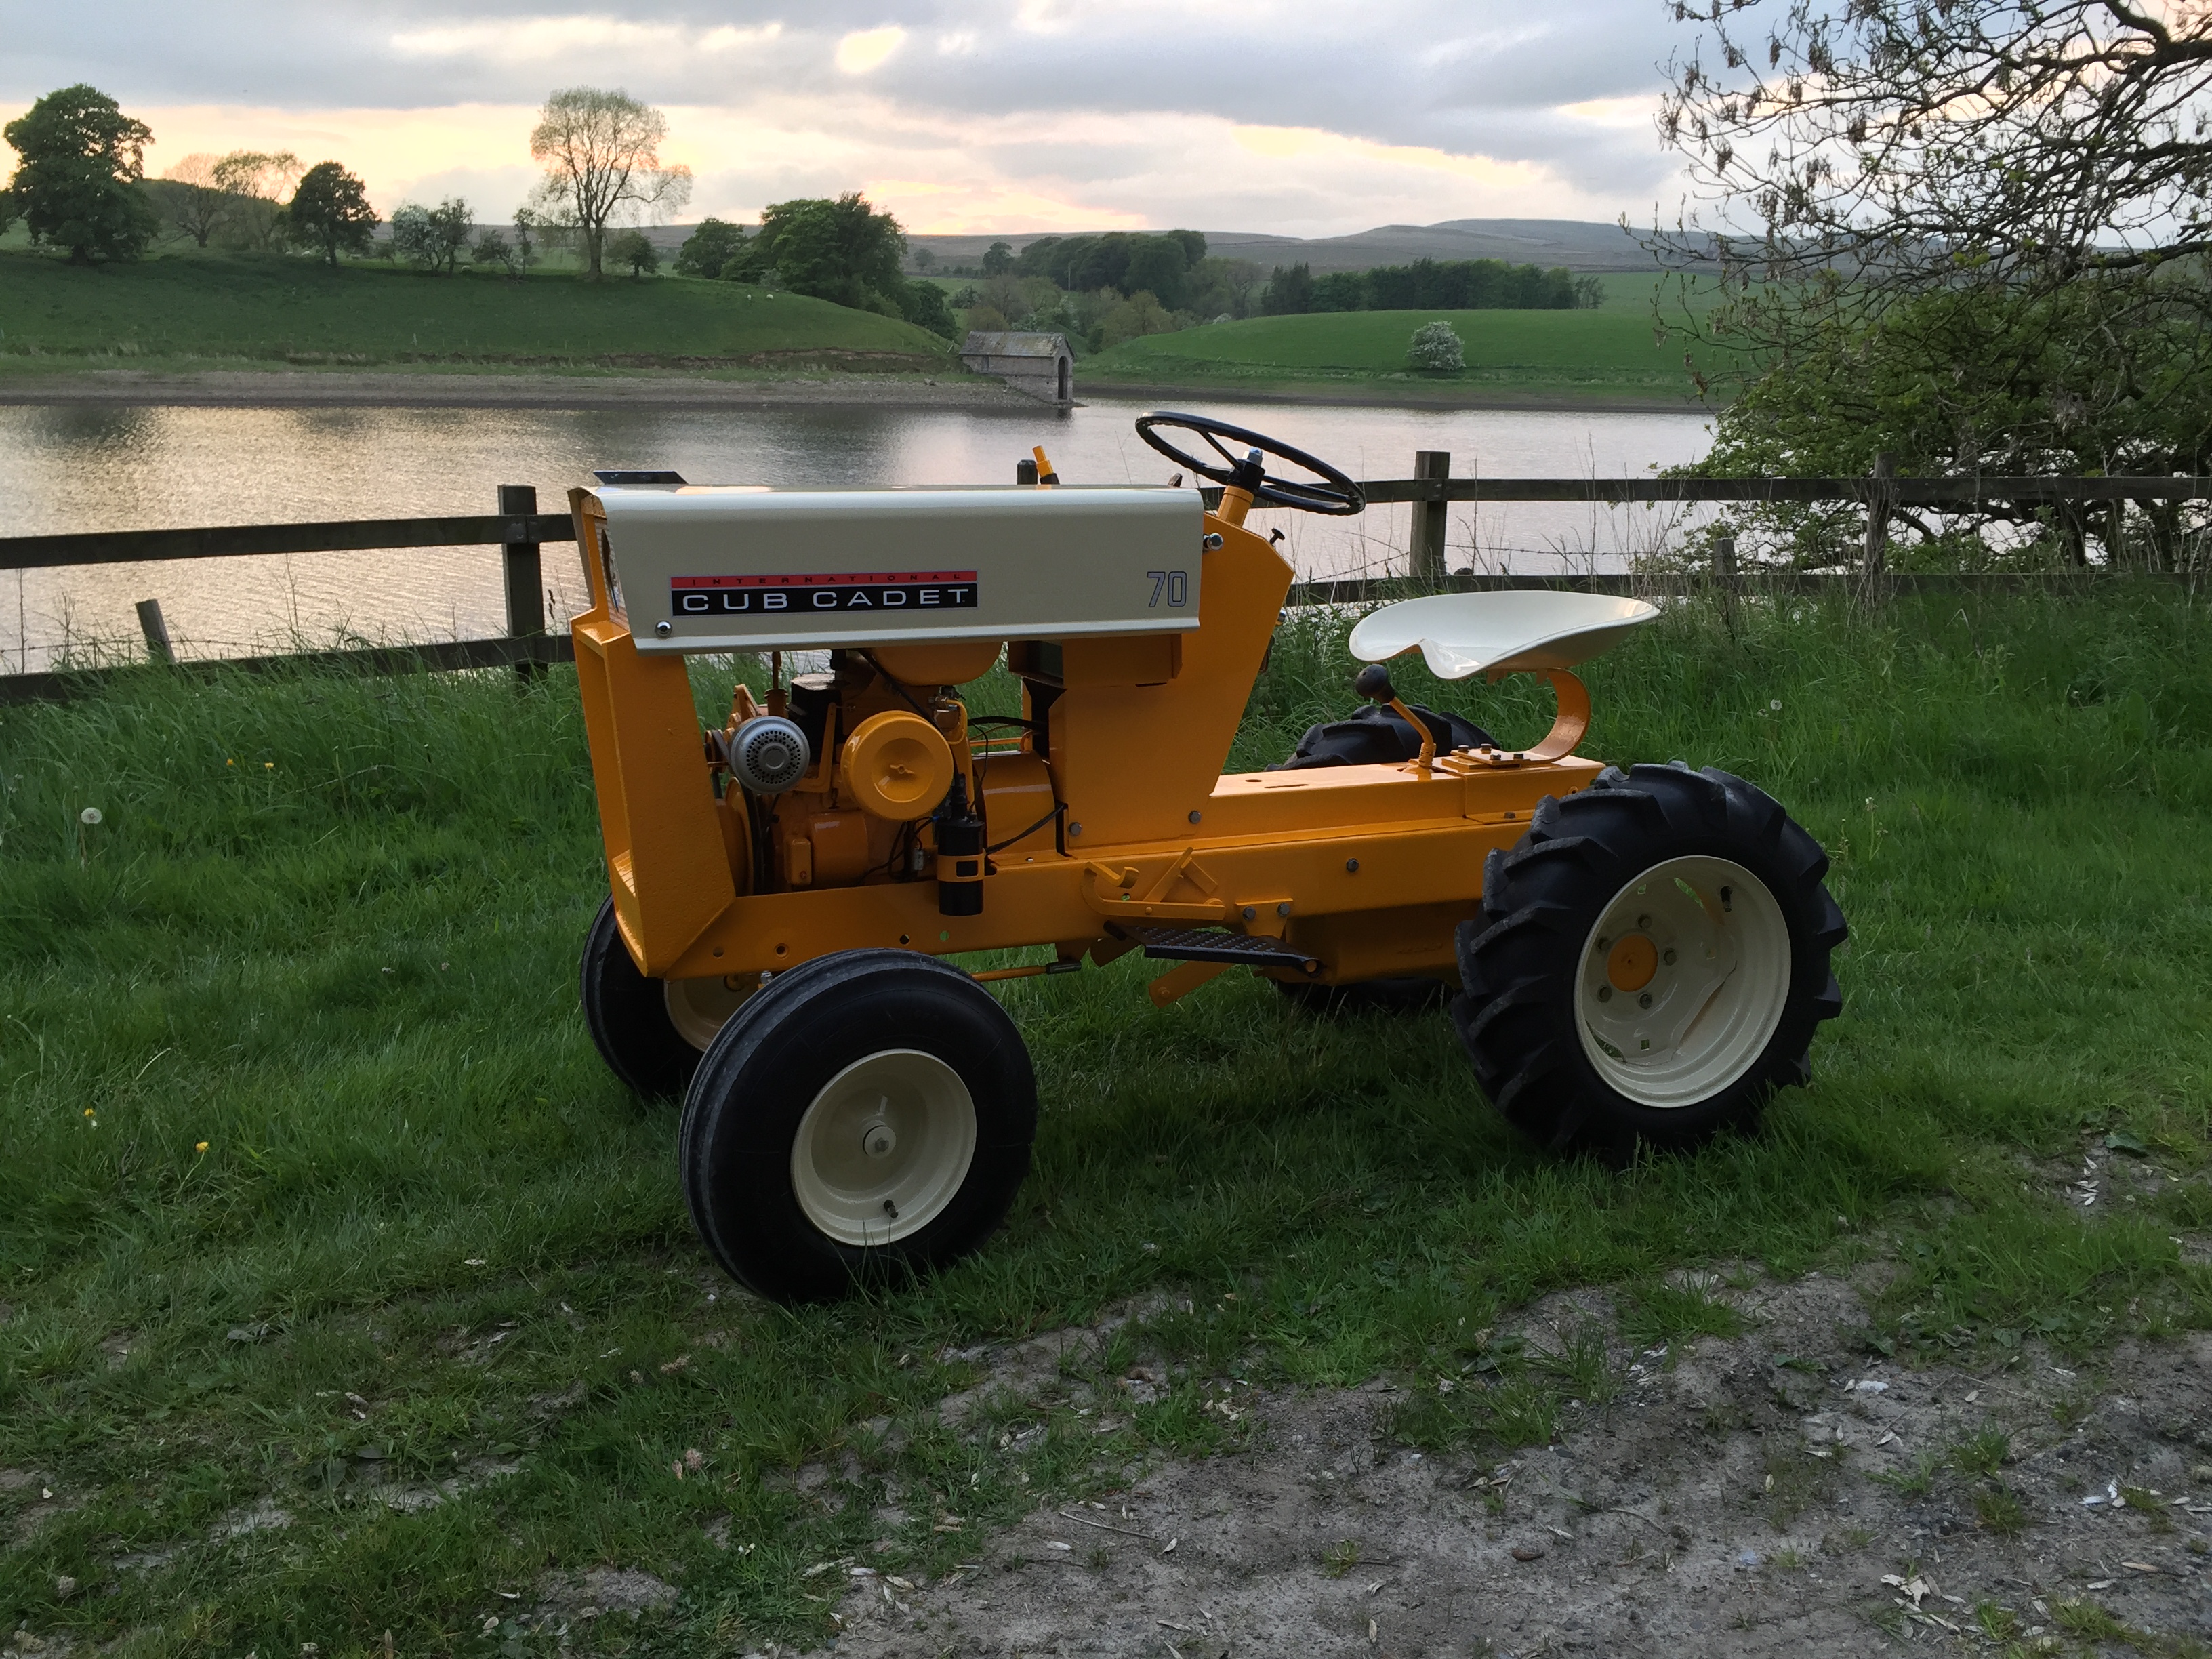
And here it is, nearly finished just a few little bits left to bolt on but it starts and runs like new! I'm very happy
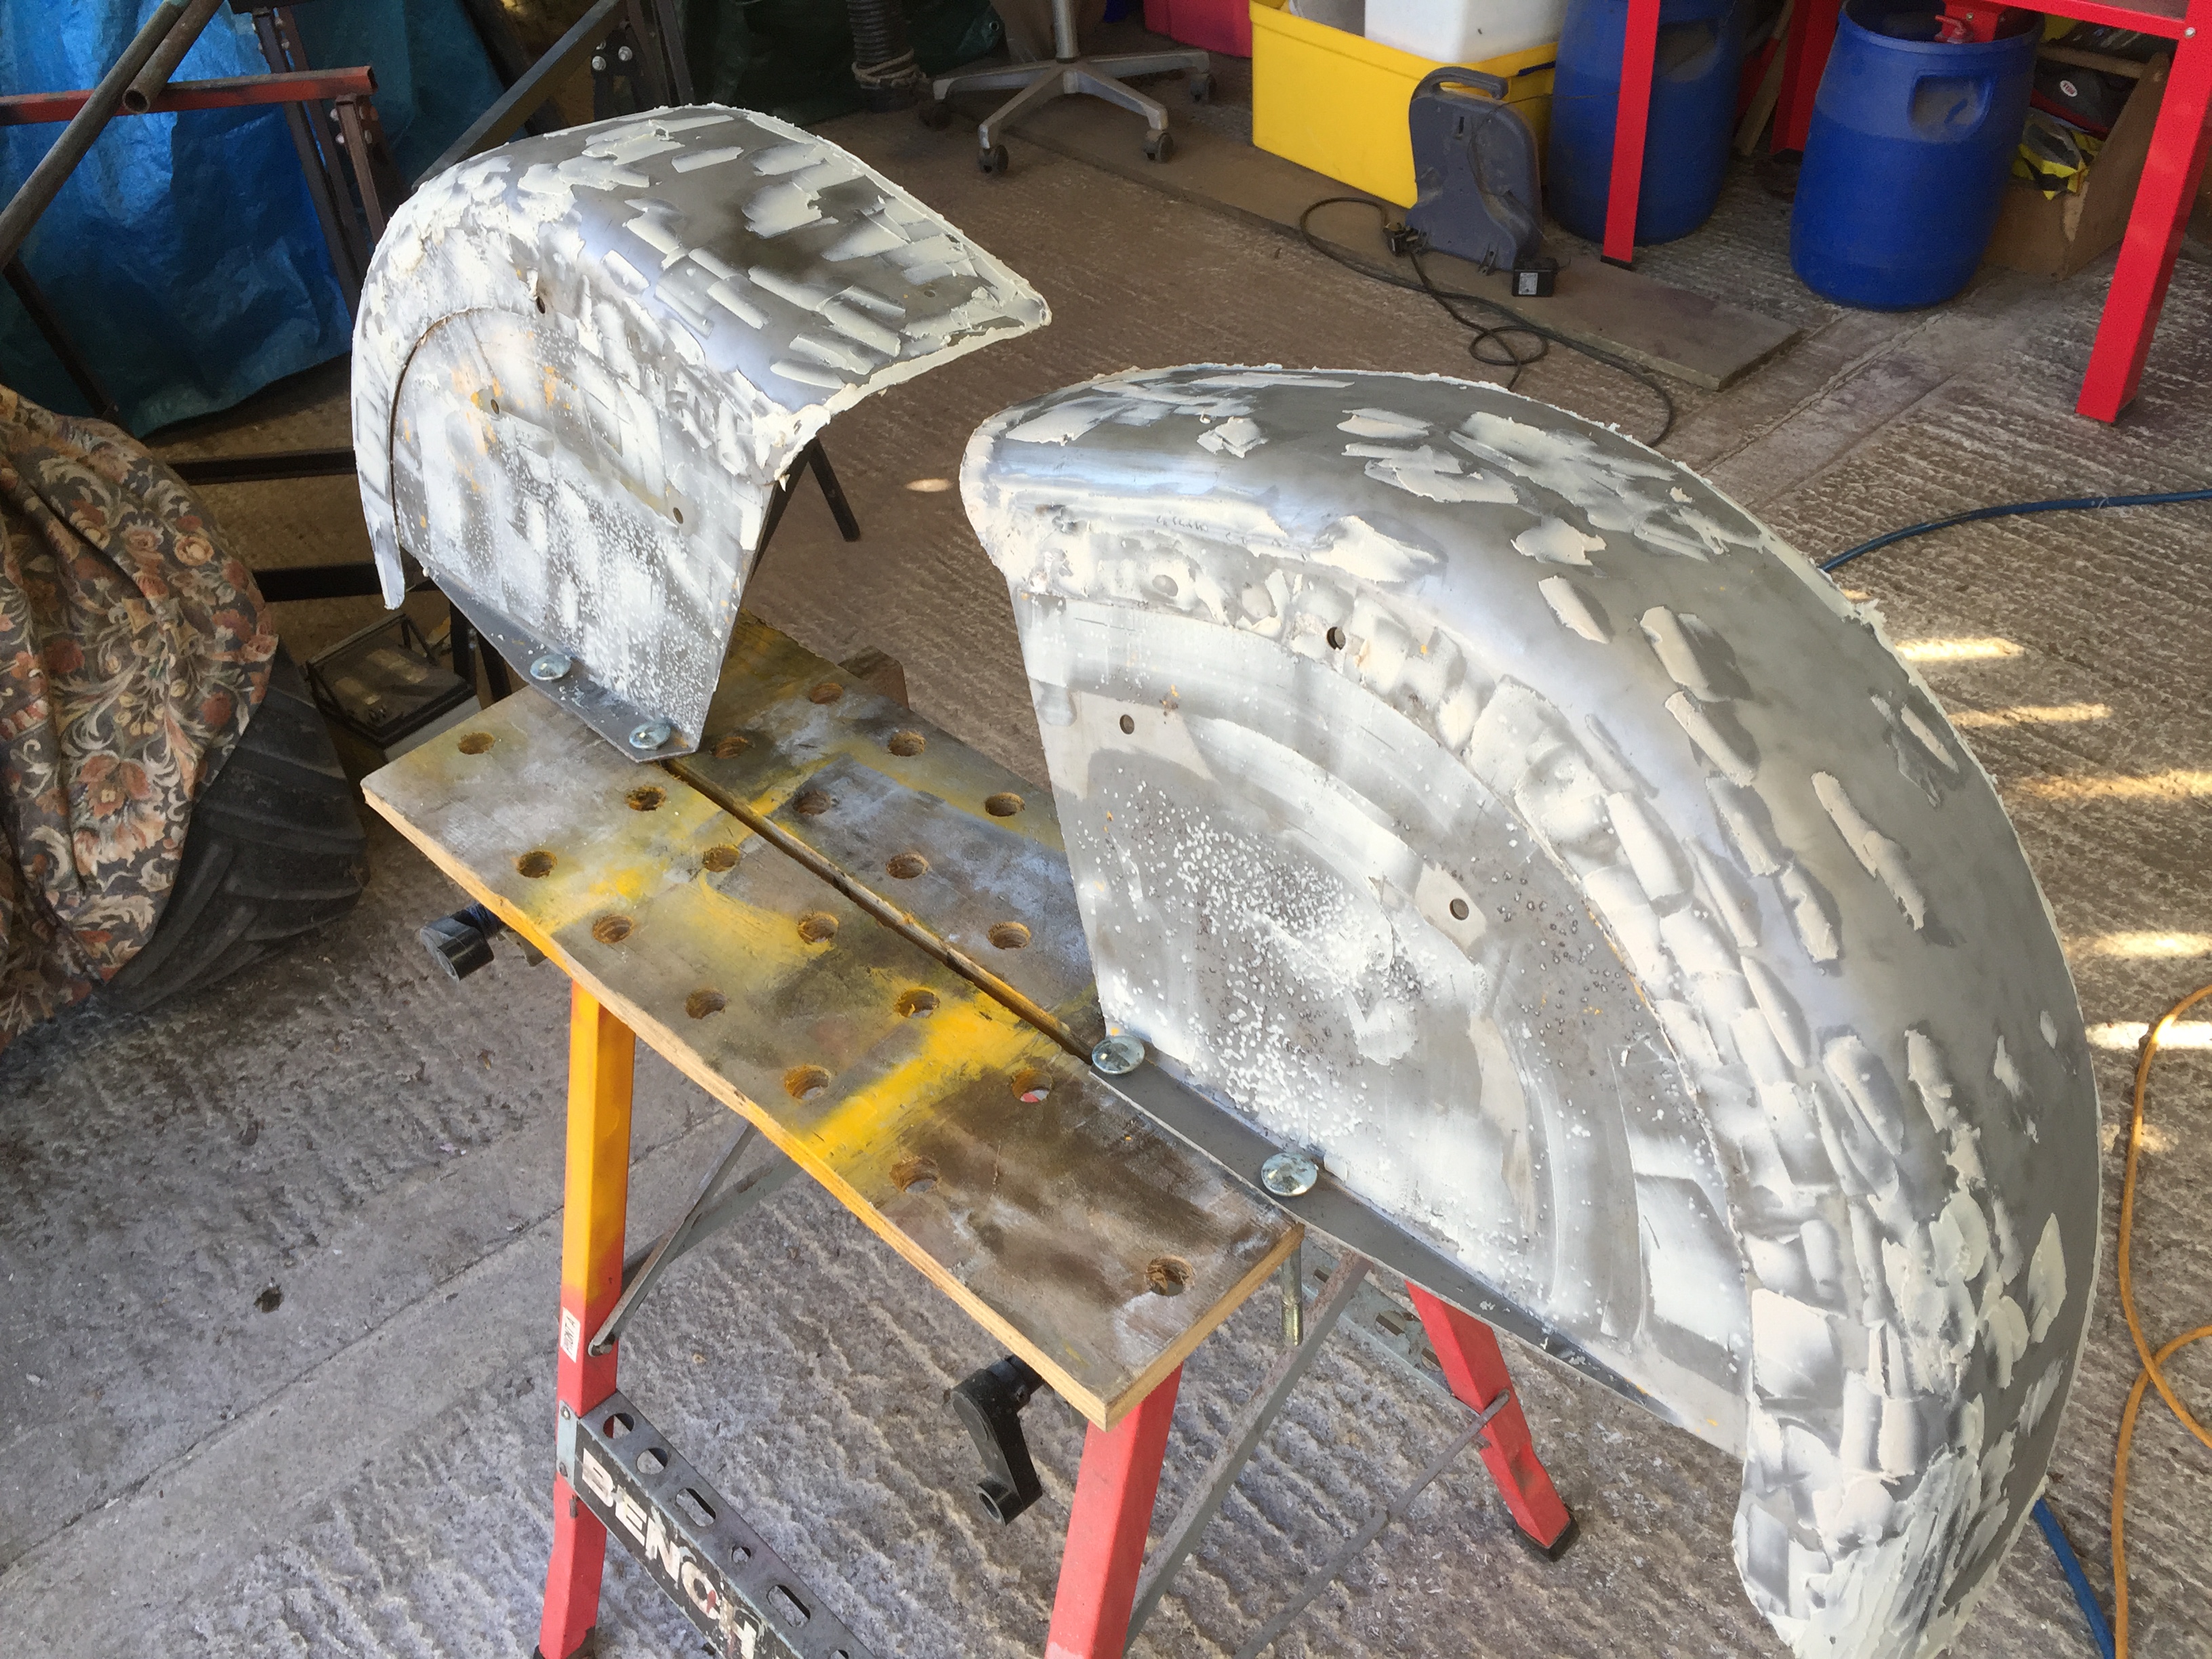
Nice filler work Ewan, not easy to get right on things like curved fenders
They are not the best but they are a lot better than they were, it's a bit of a rush to get it finished for the first show but I can always repaint parts later that I'm not happy with
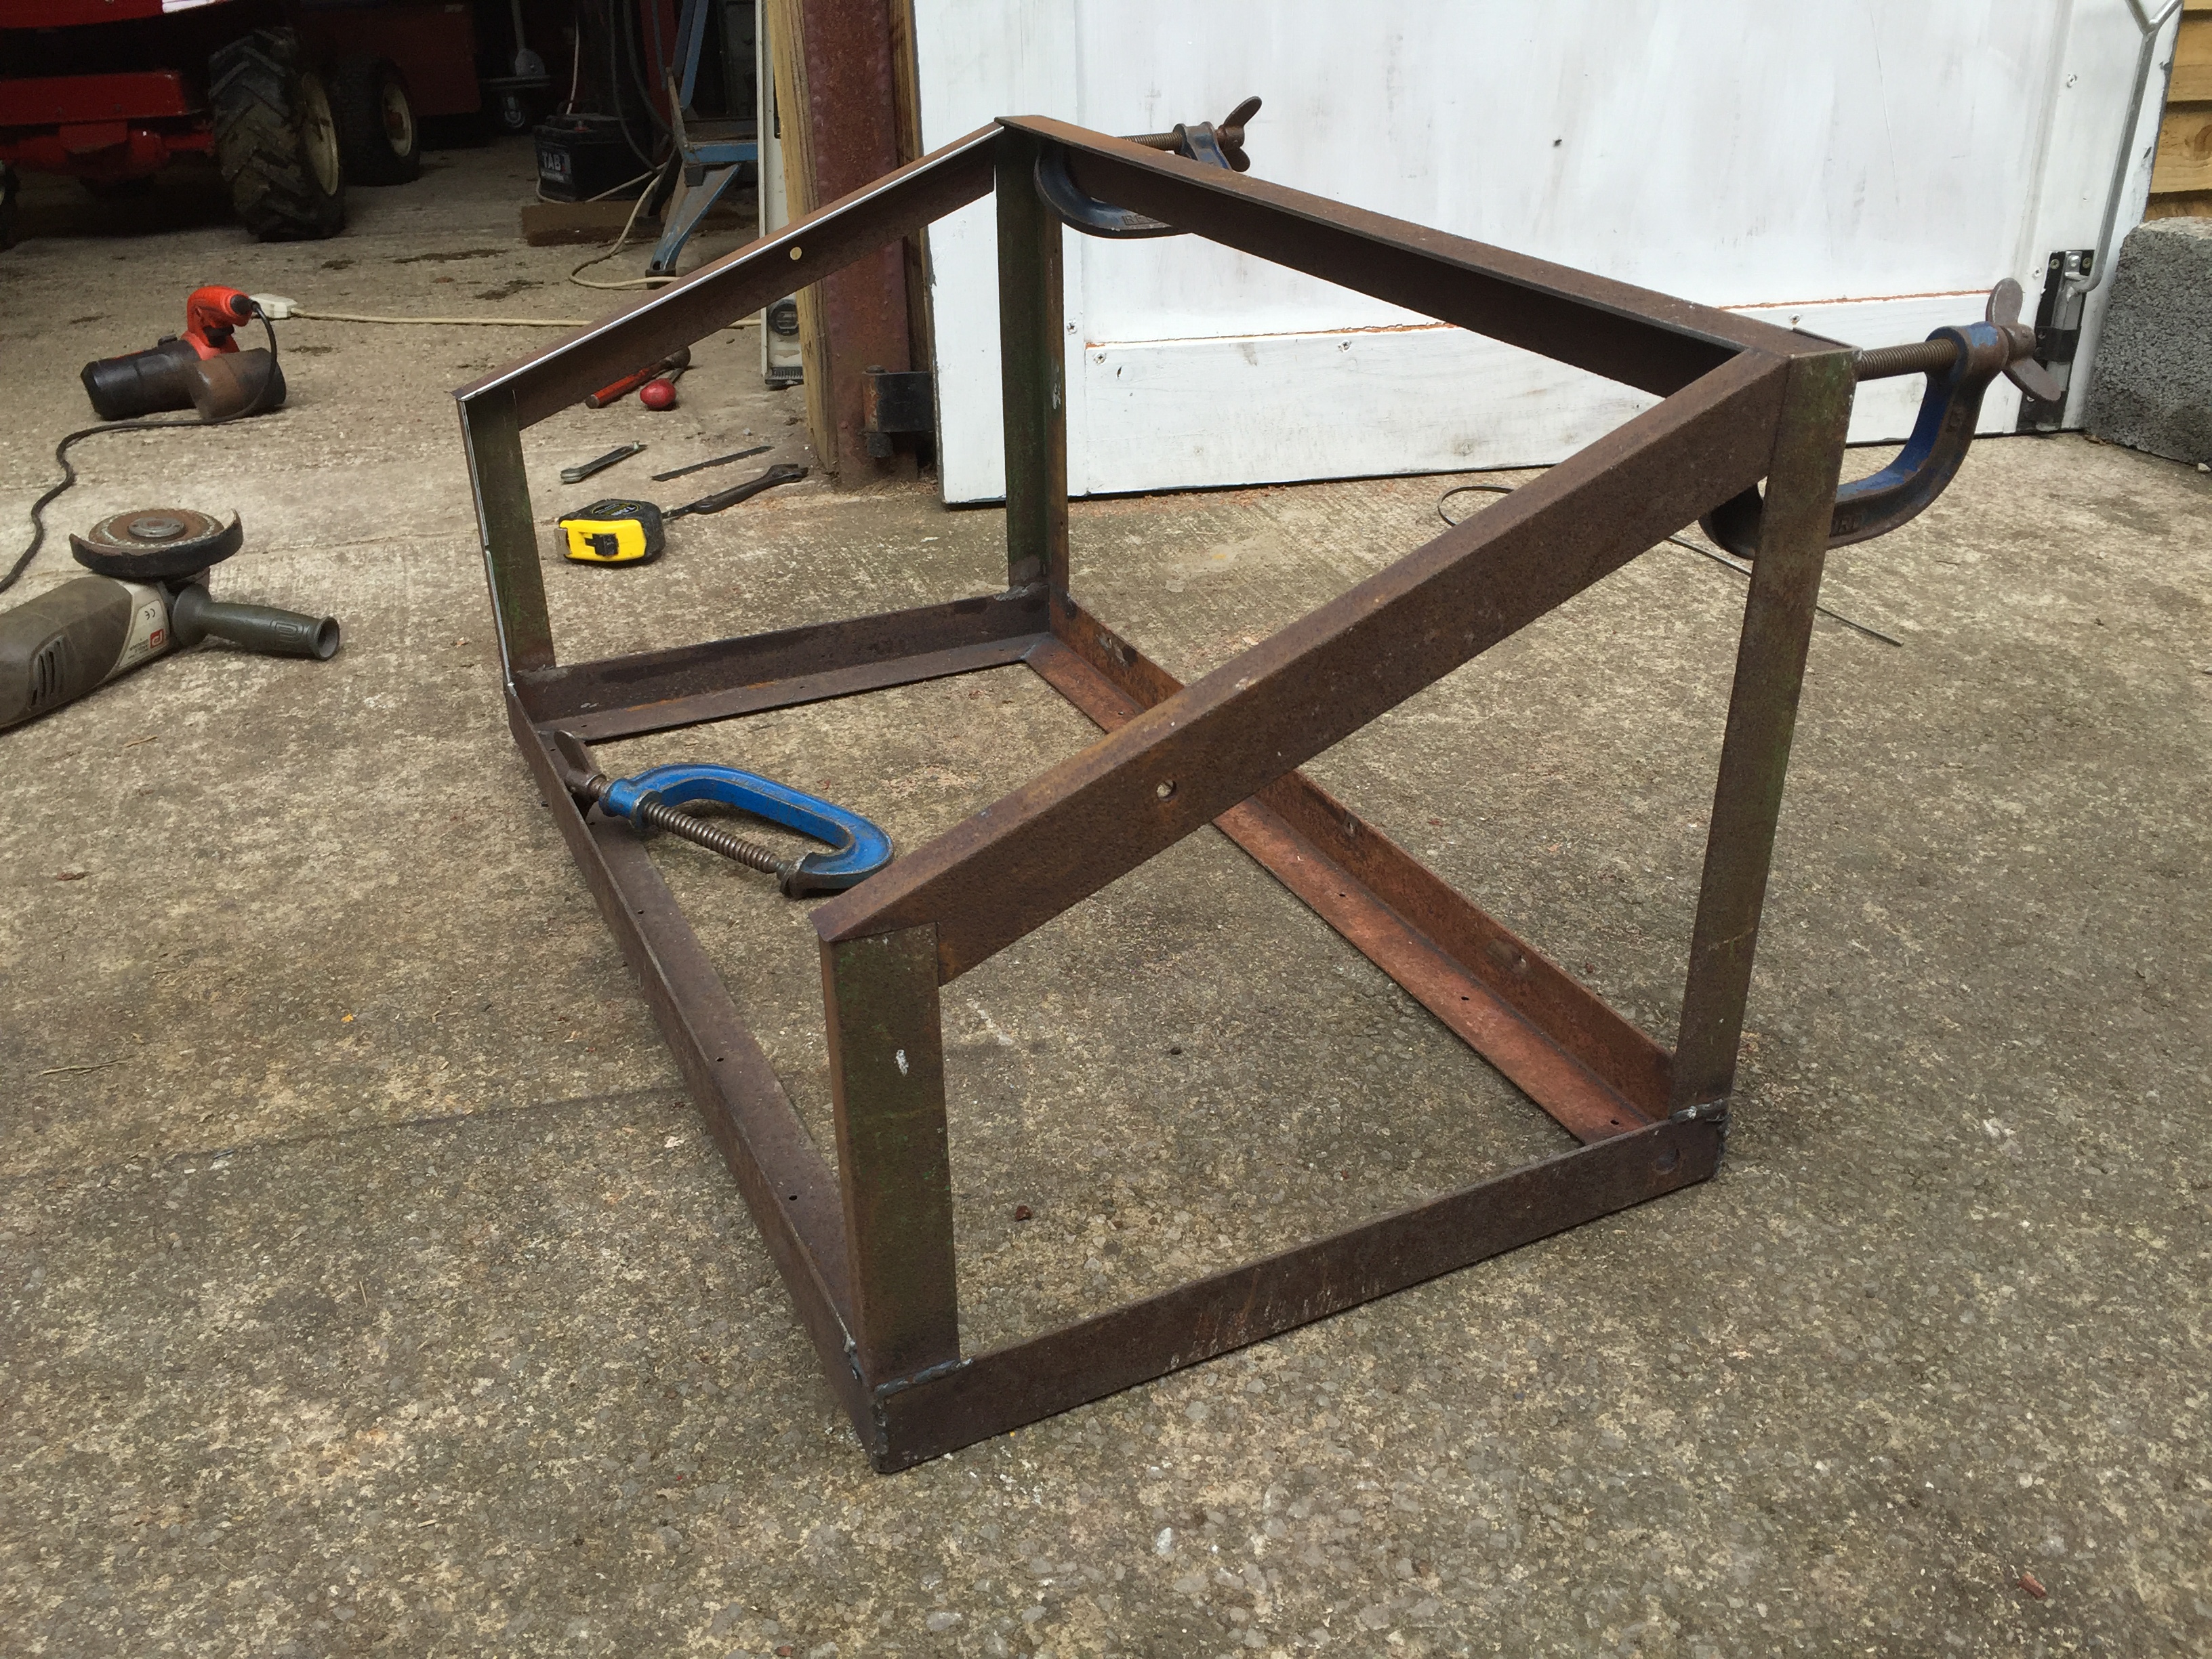
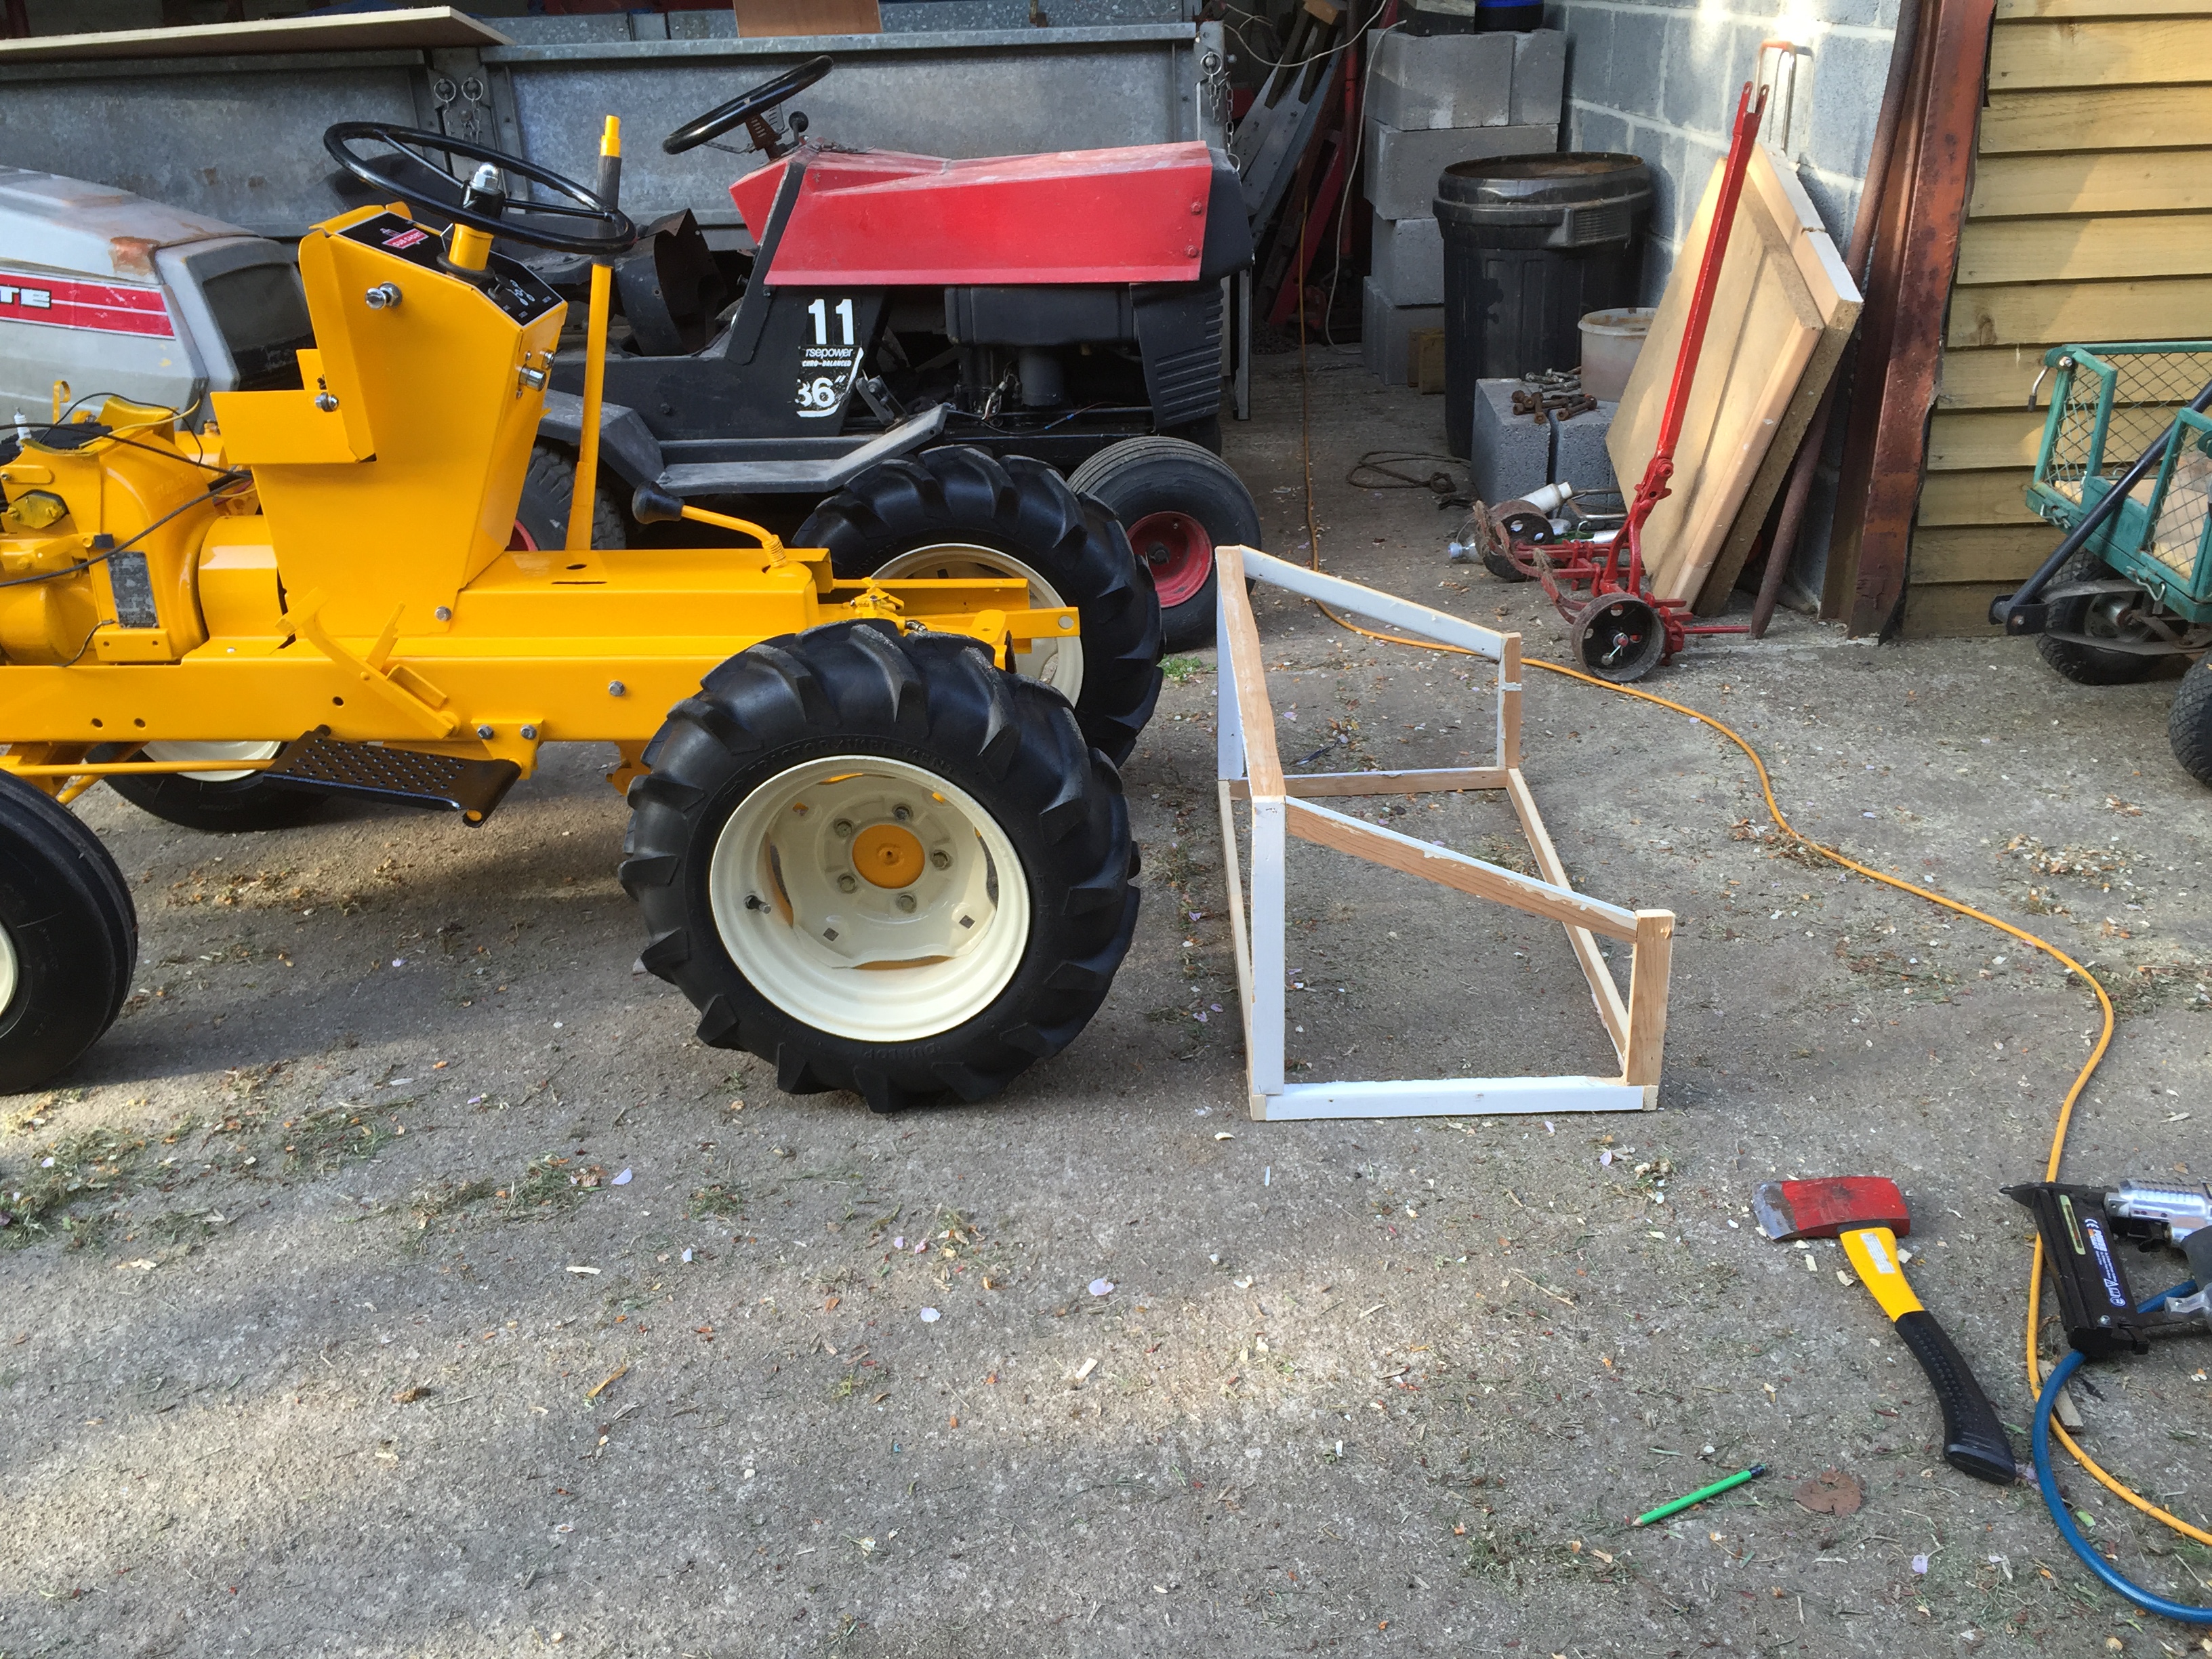
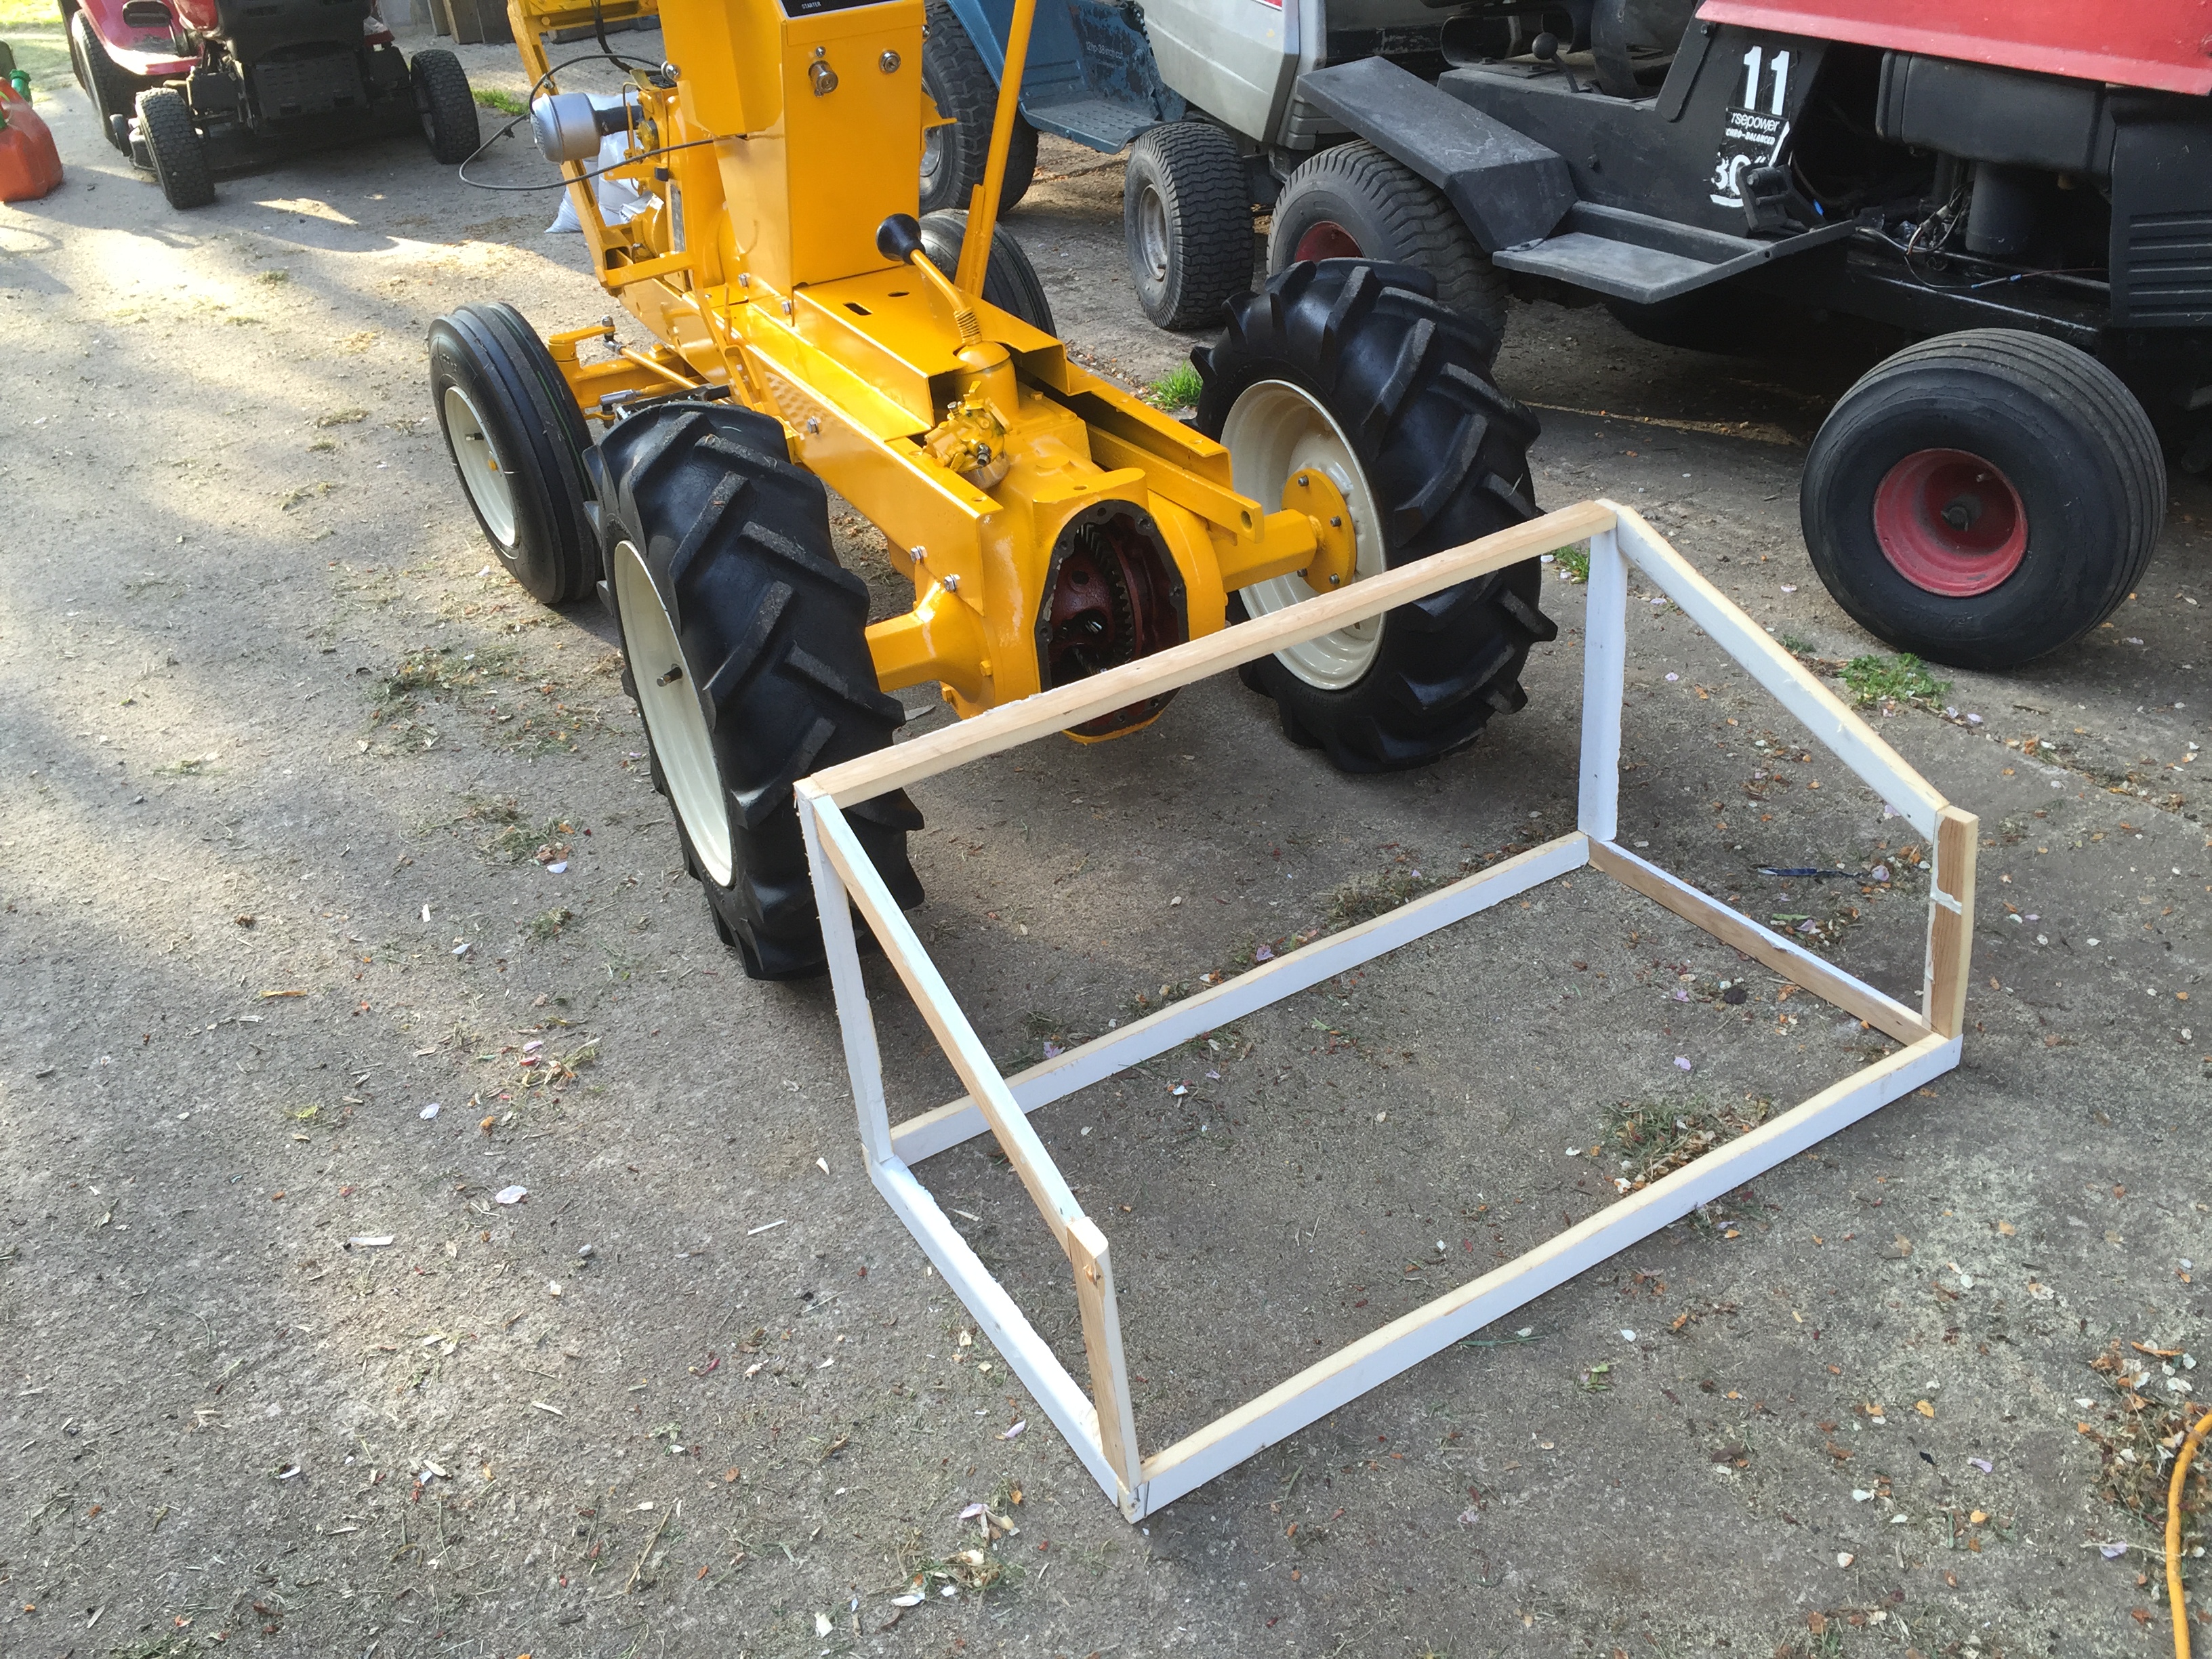
I've been wanting to make one of these for a long time so today in and amongst painting I knocked one up out of scrap wood to work out the sizing of the actual one. Here are some photos.
This is the wooden frame that I made
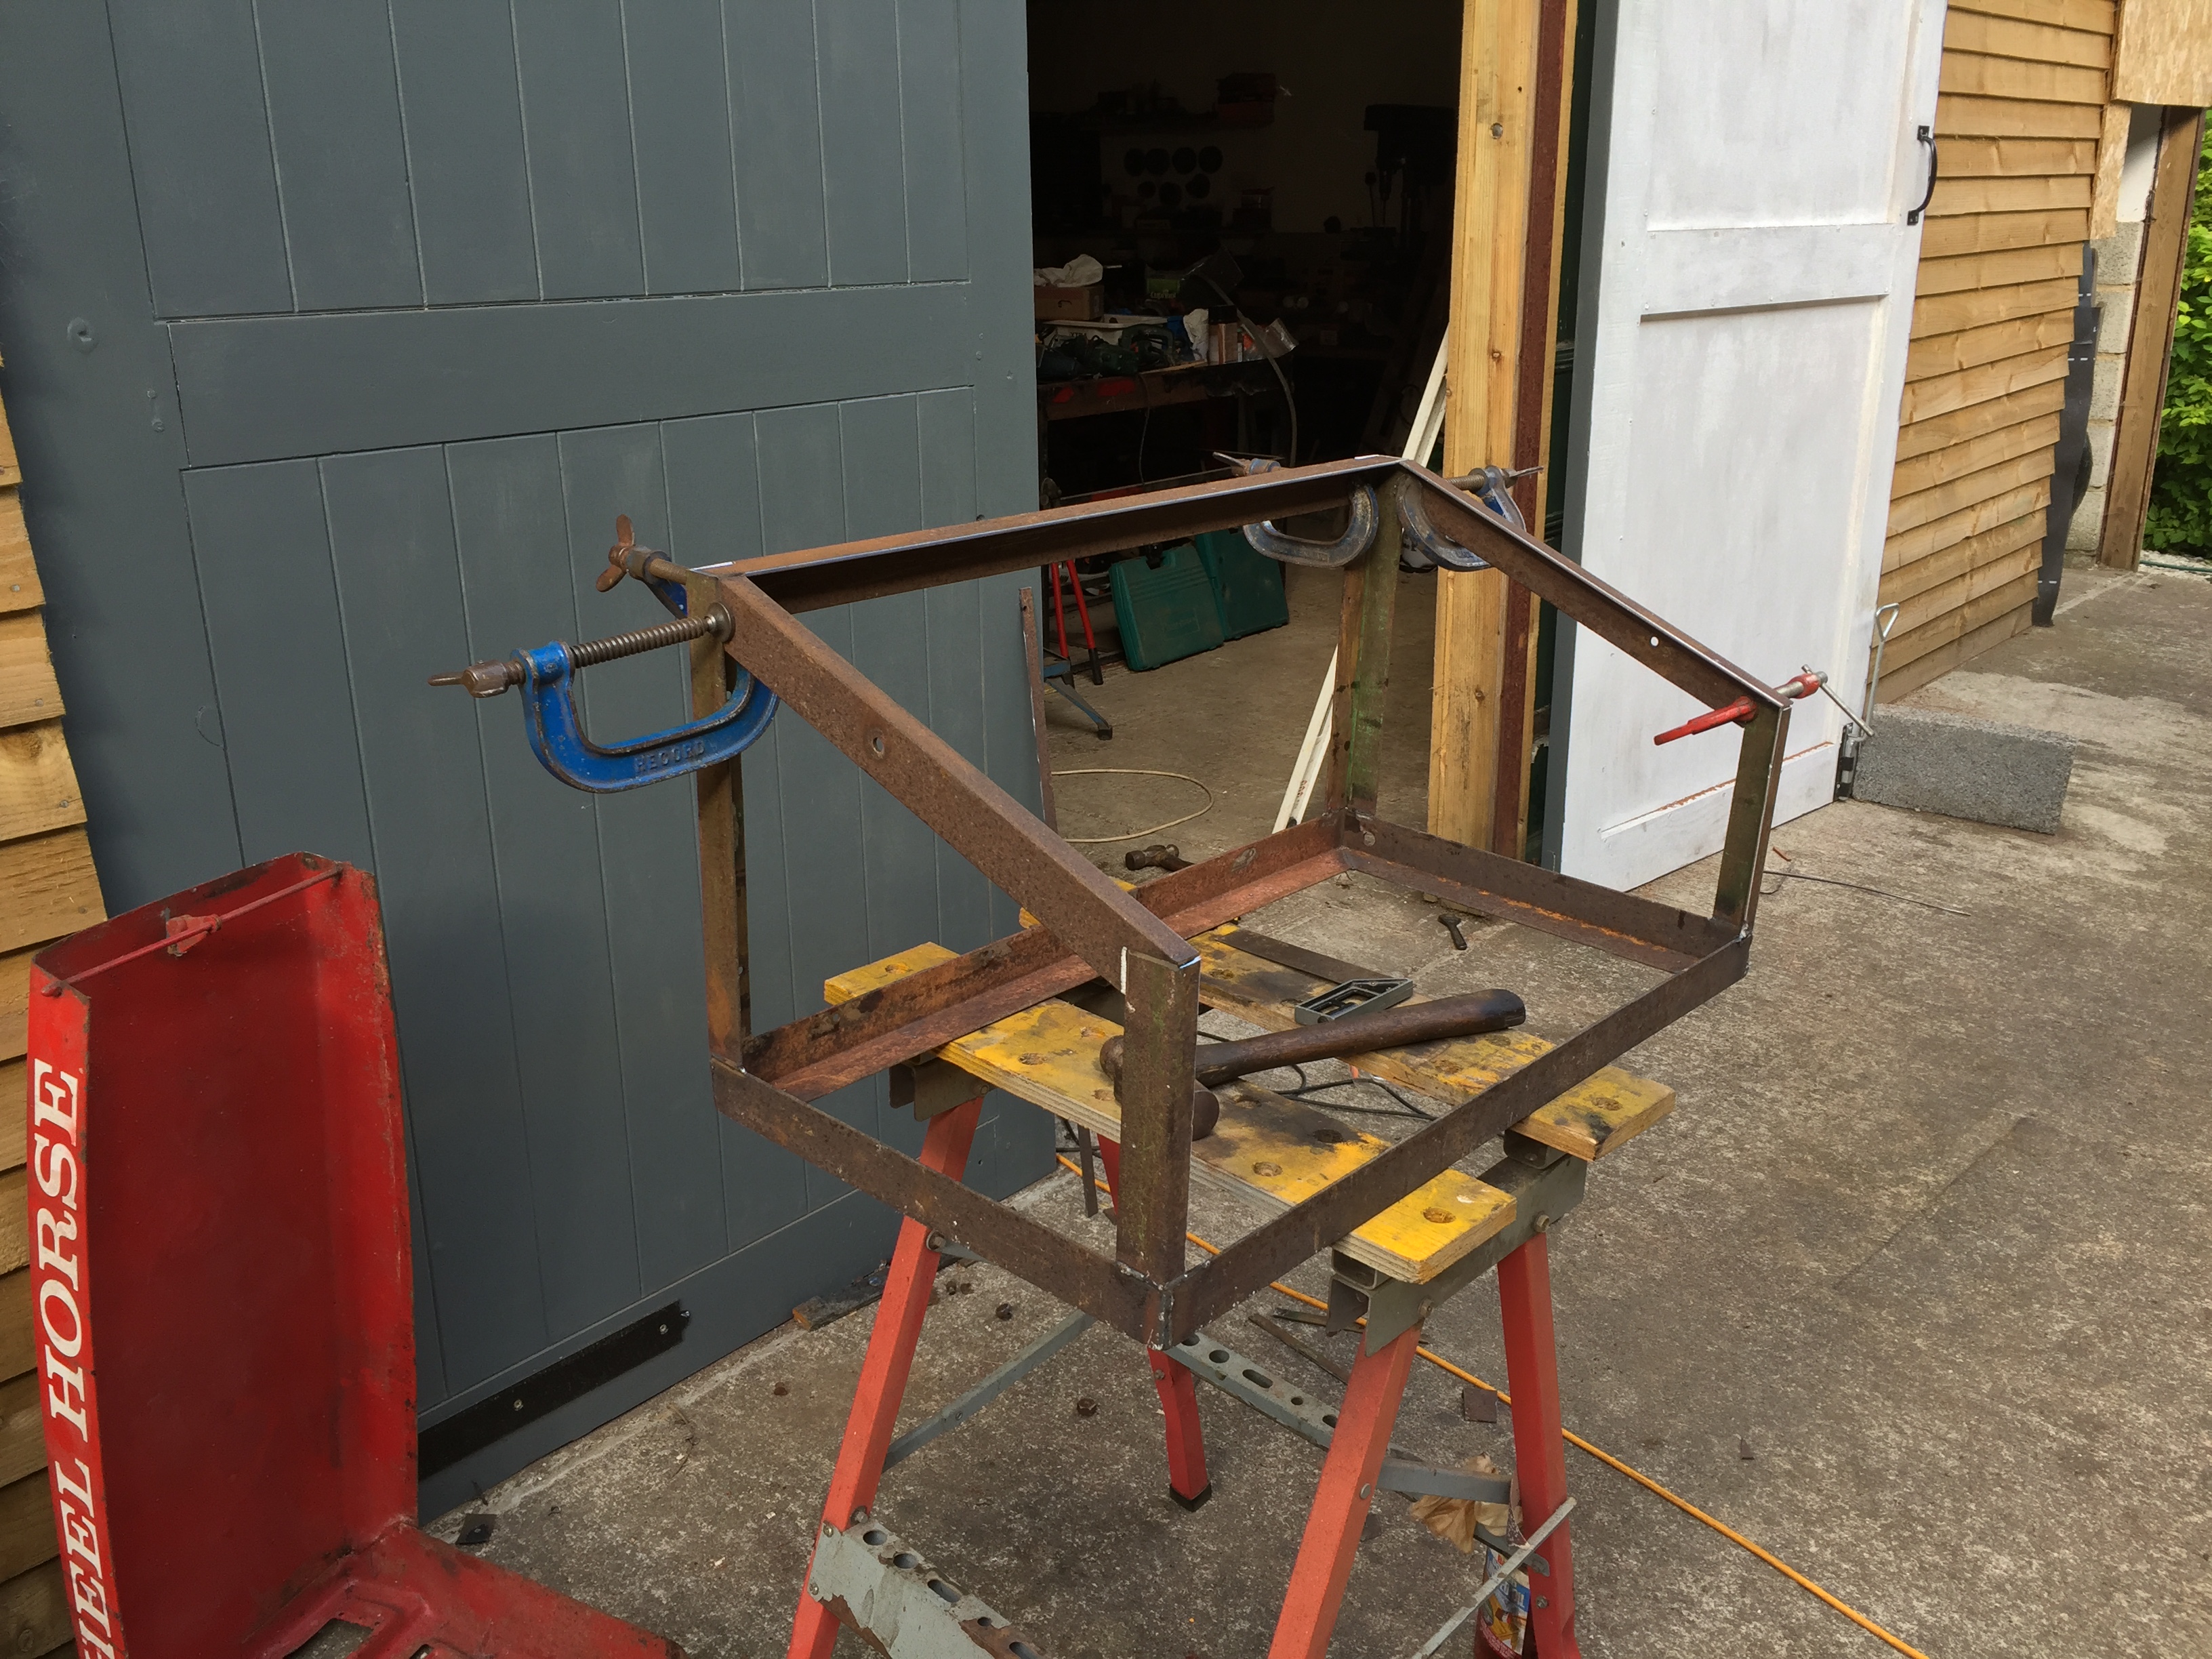
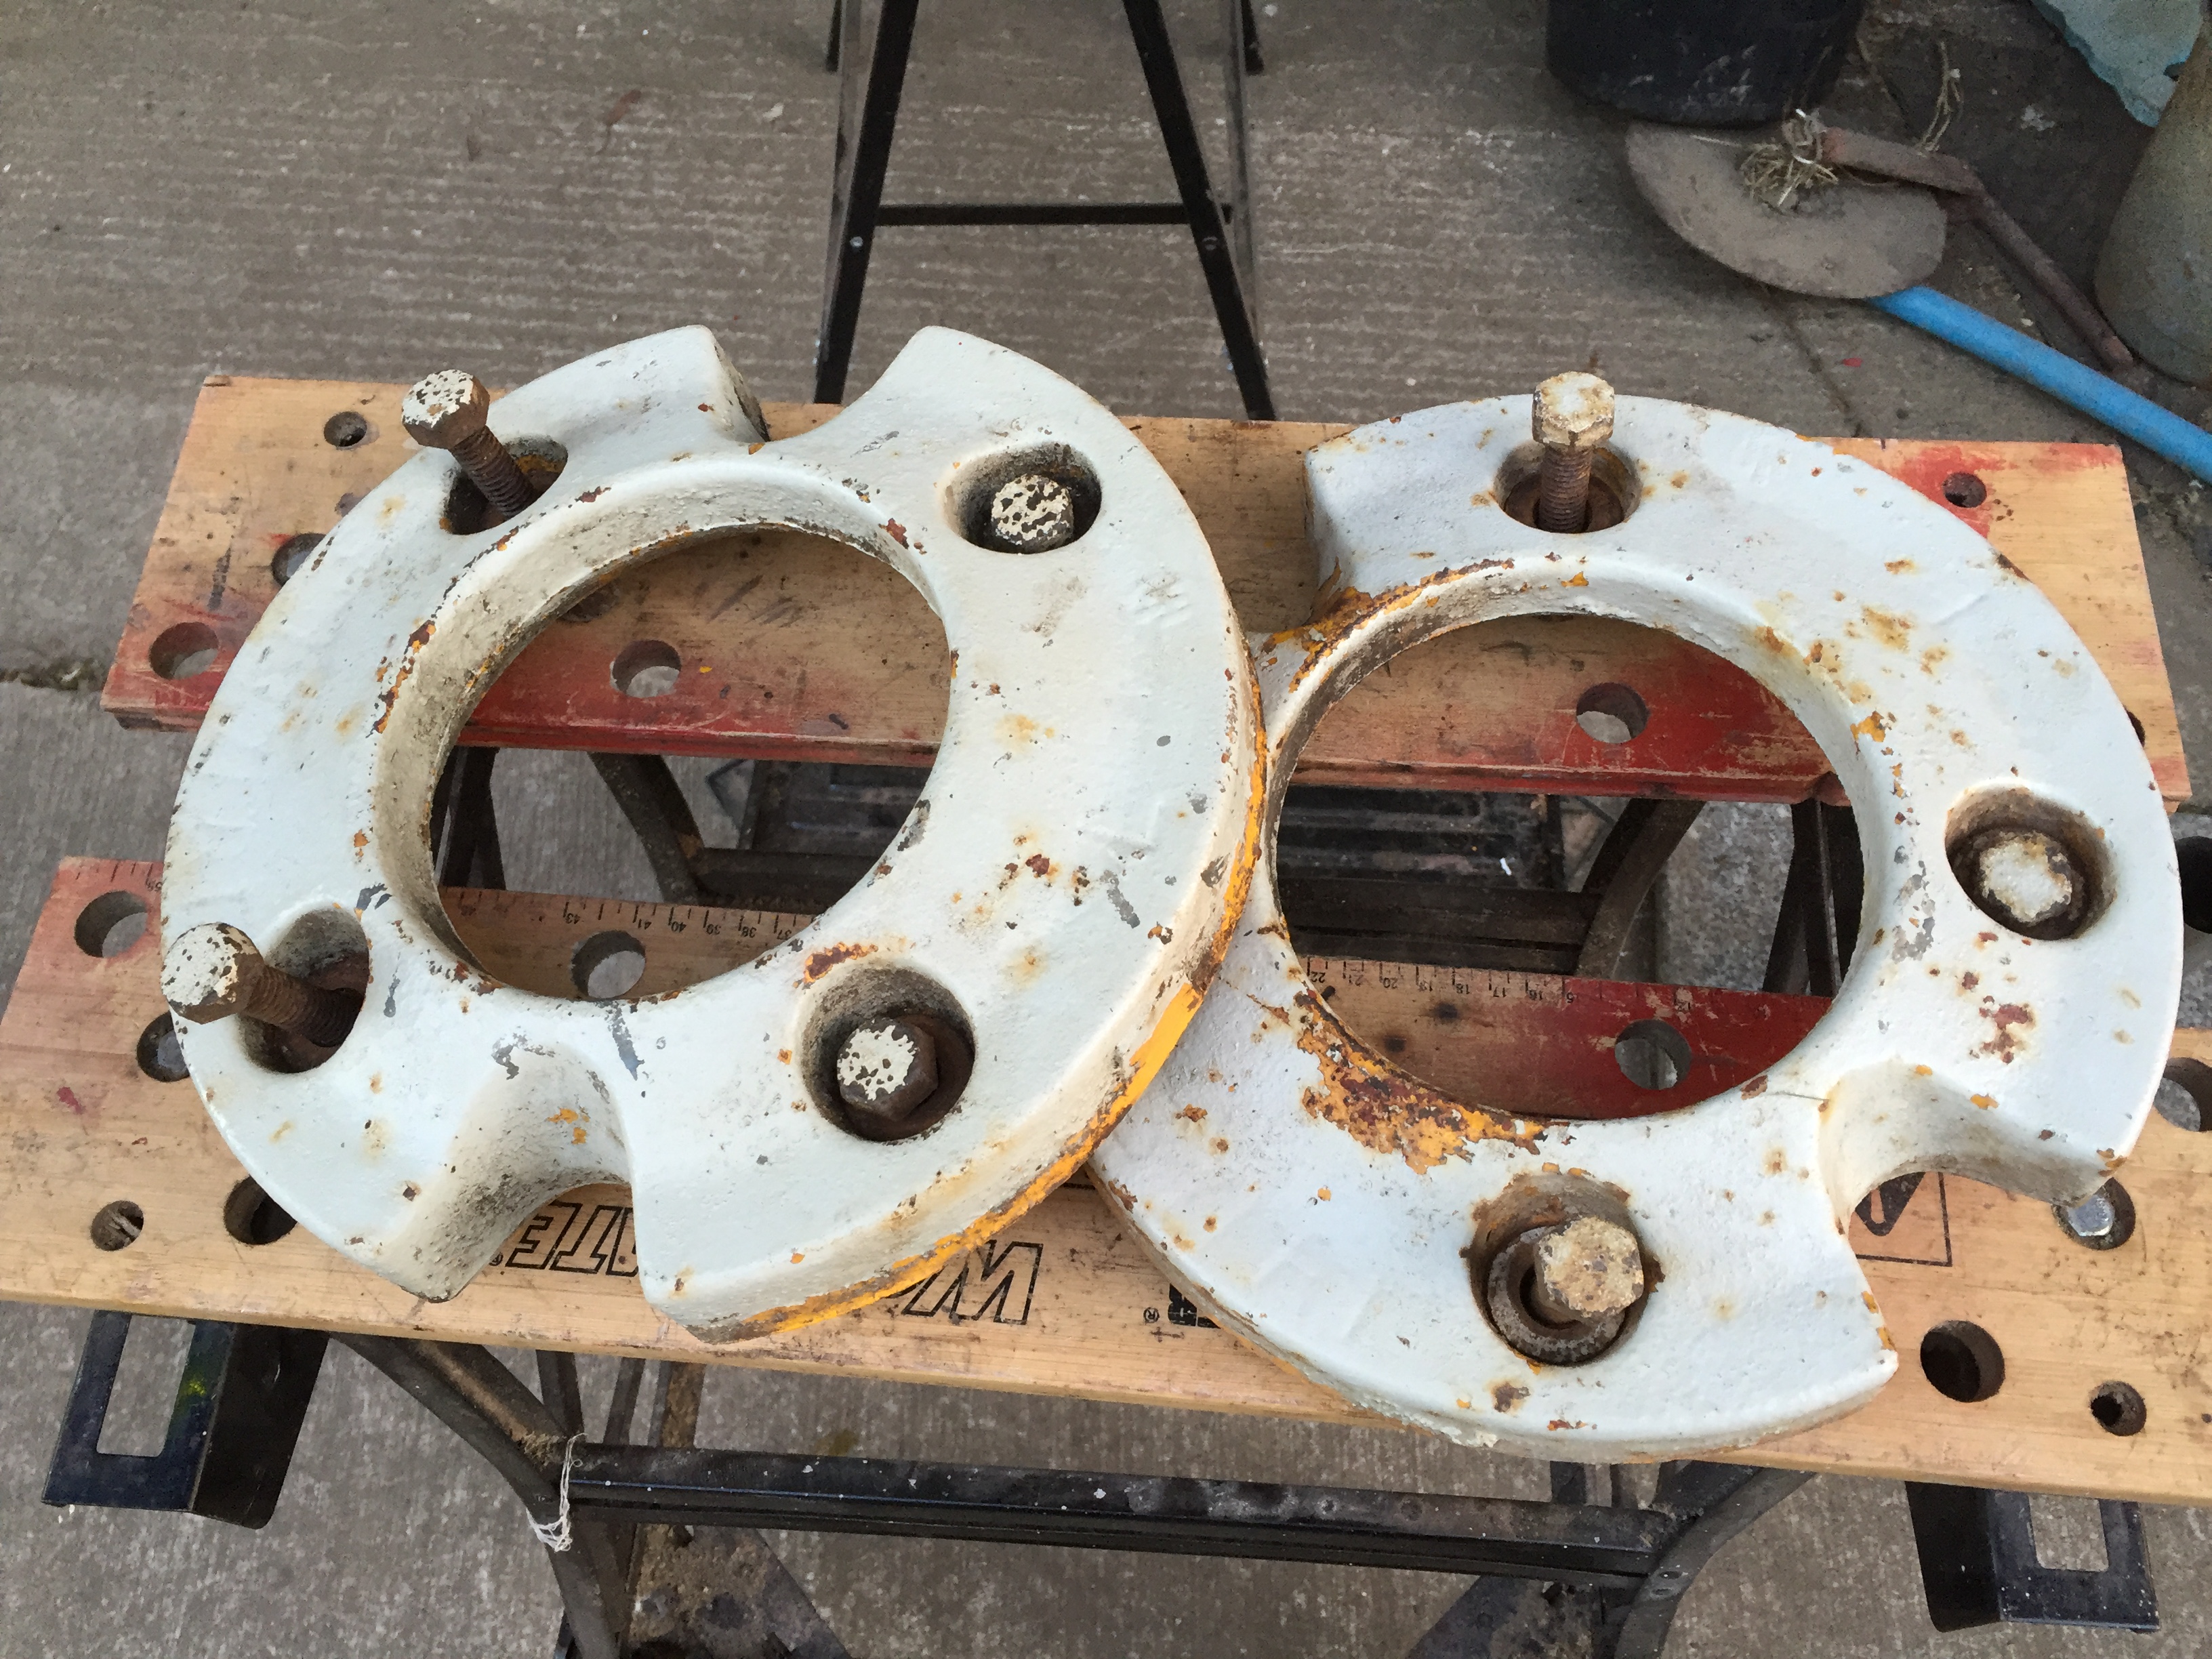
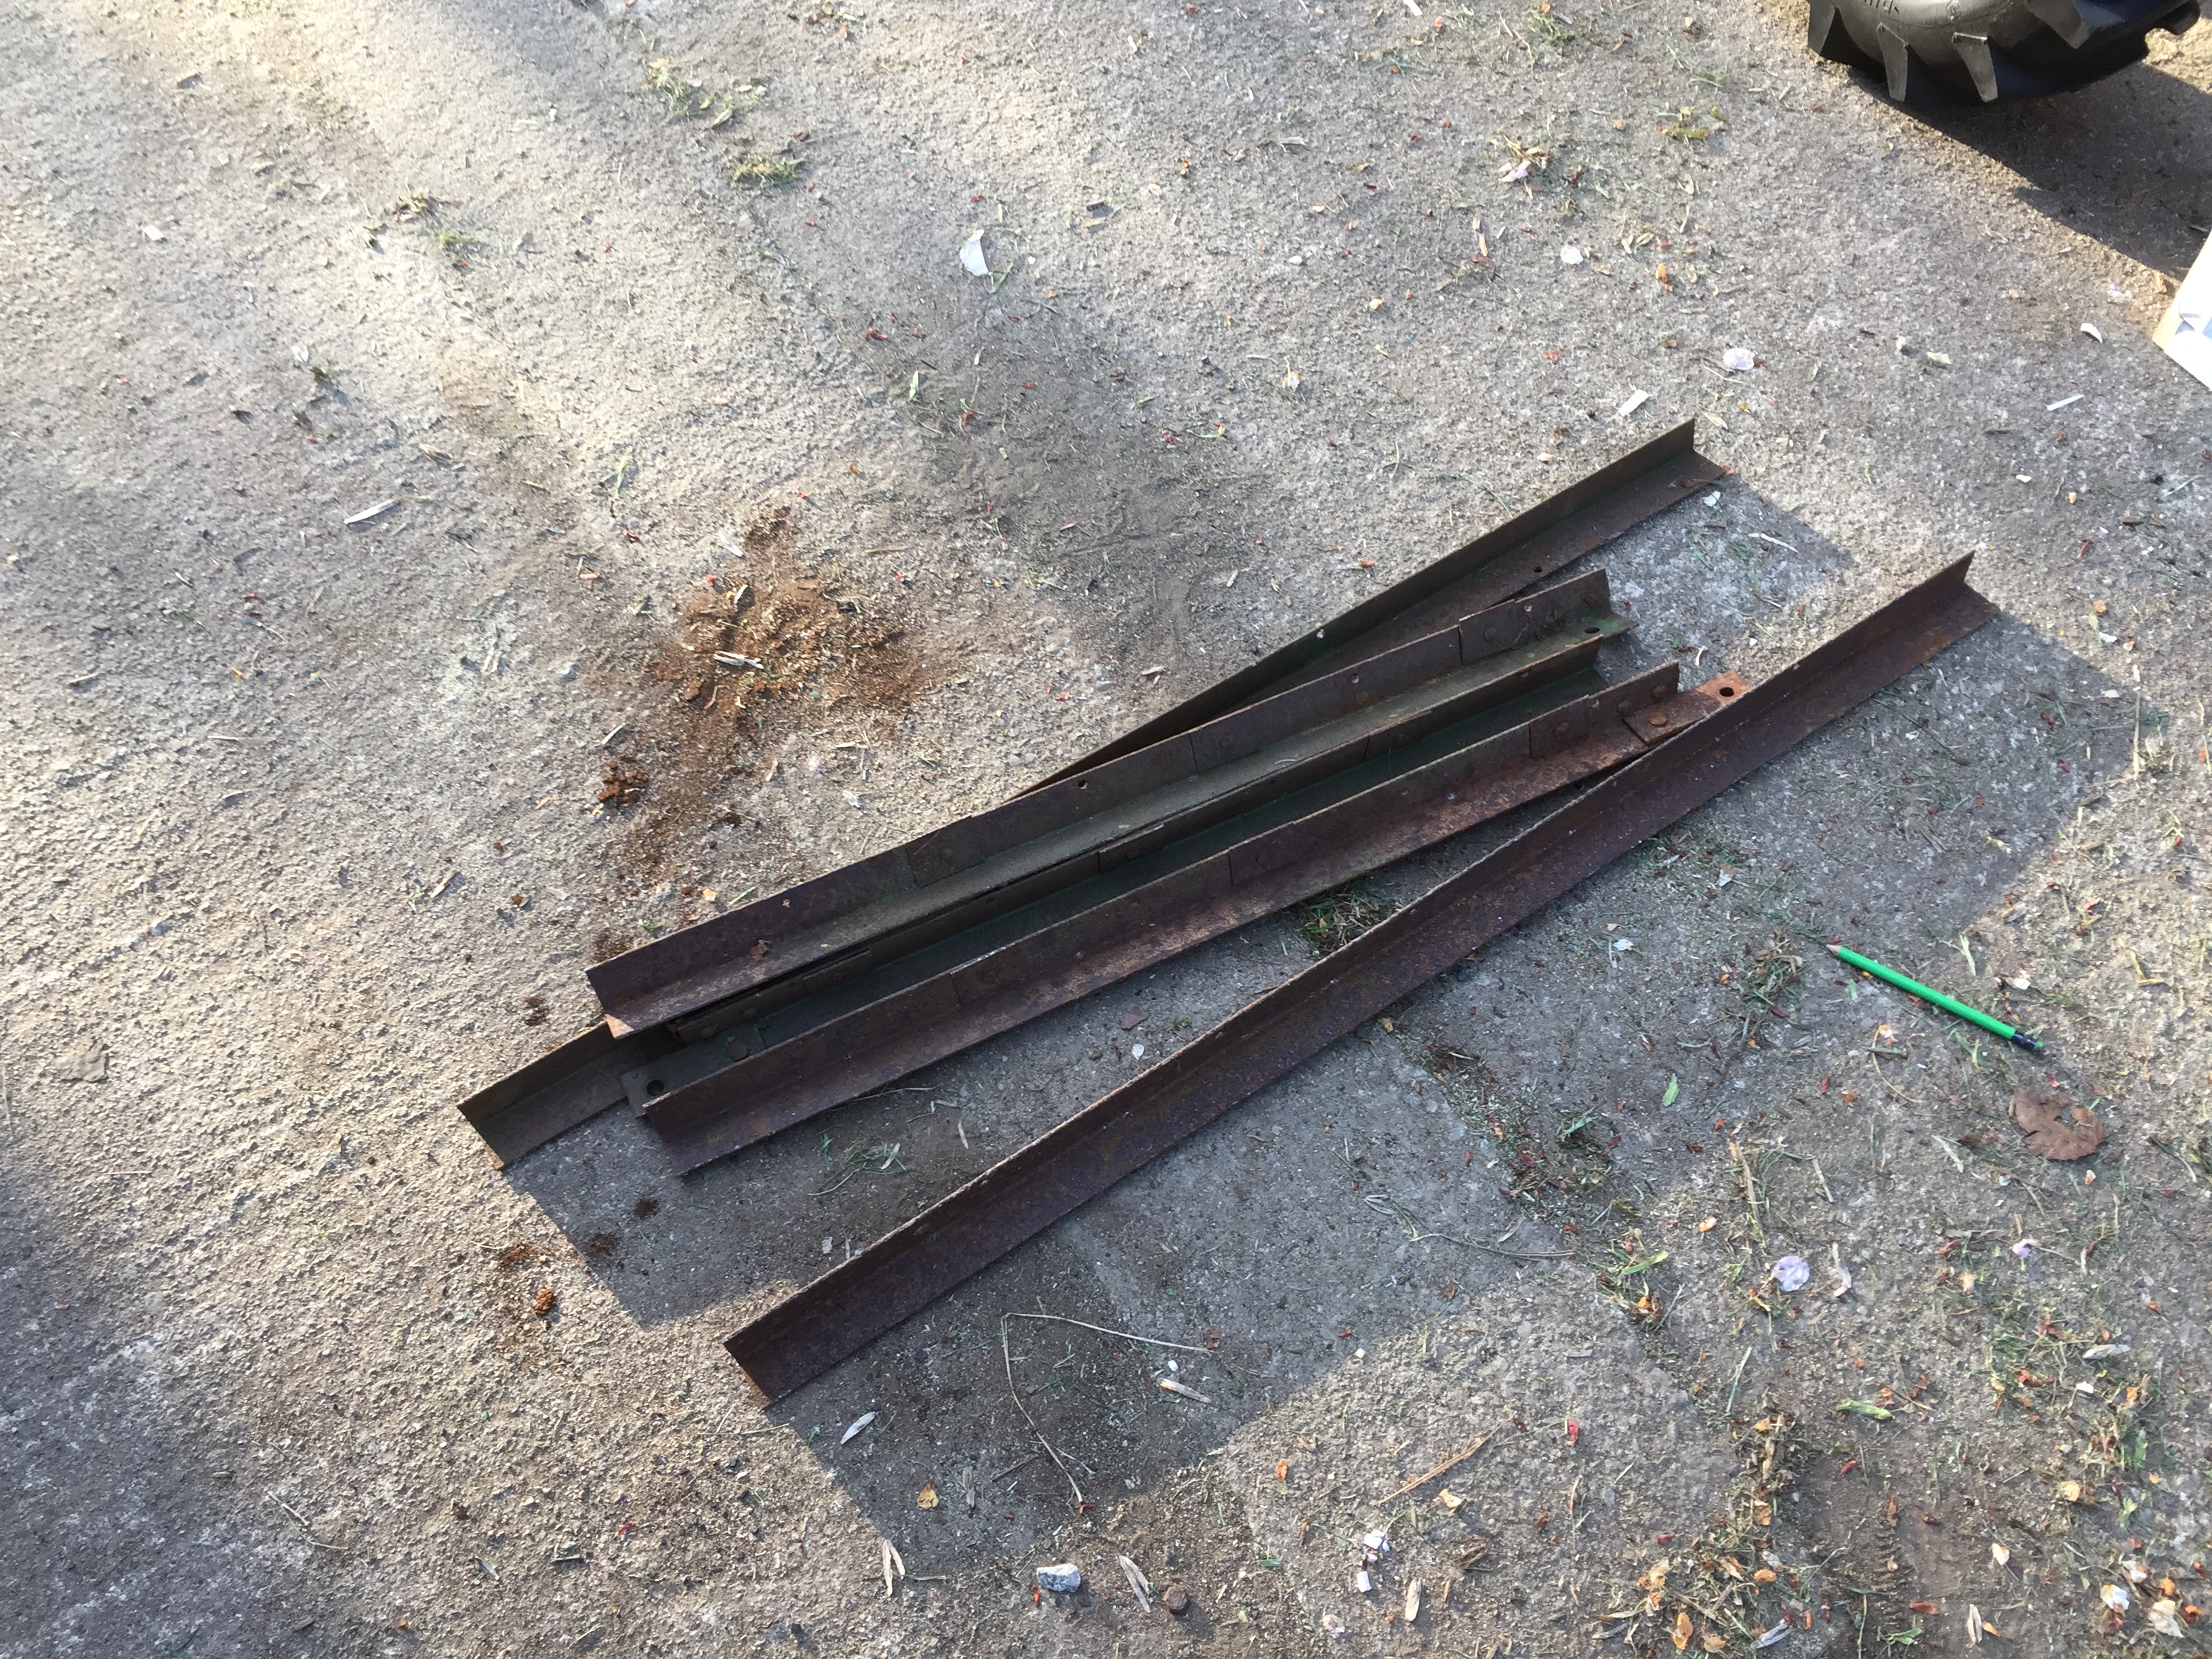
A load of angle iron was dug out that I acquired some time ago.
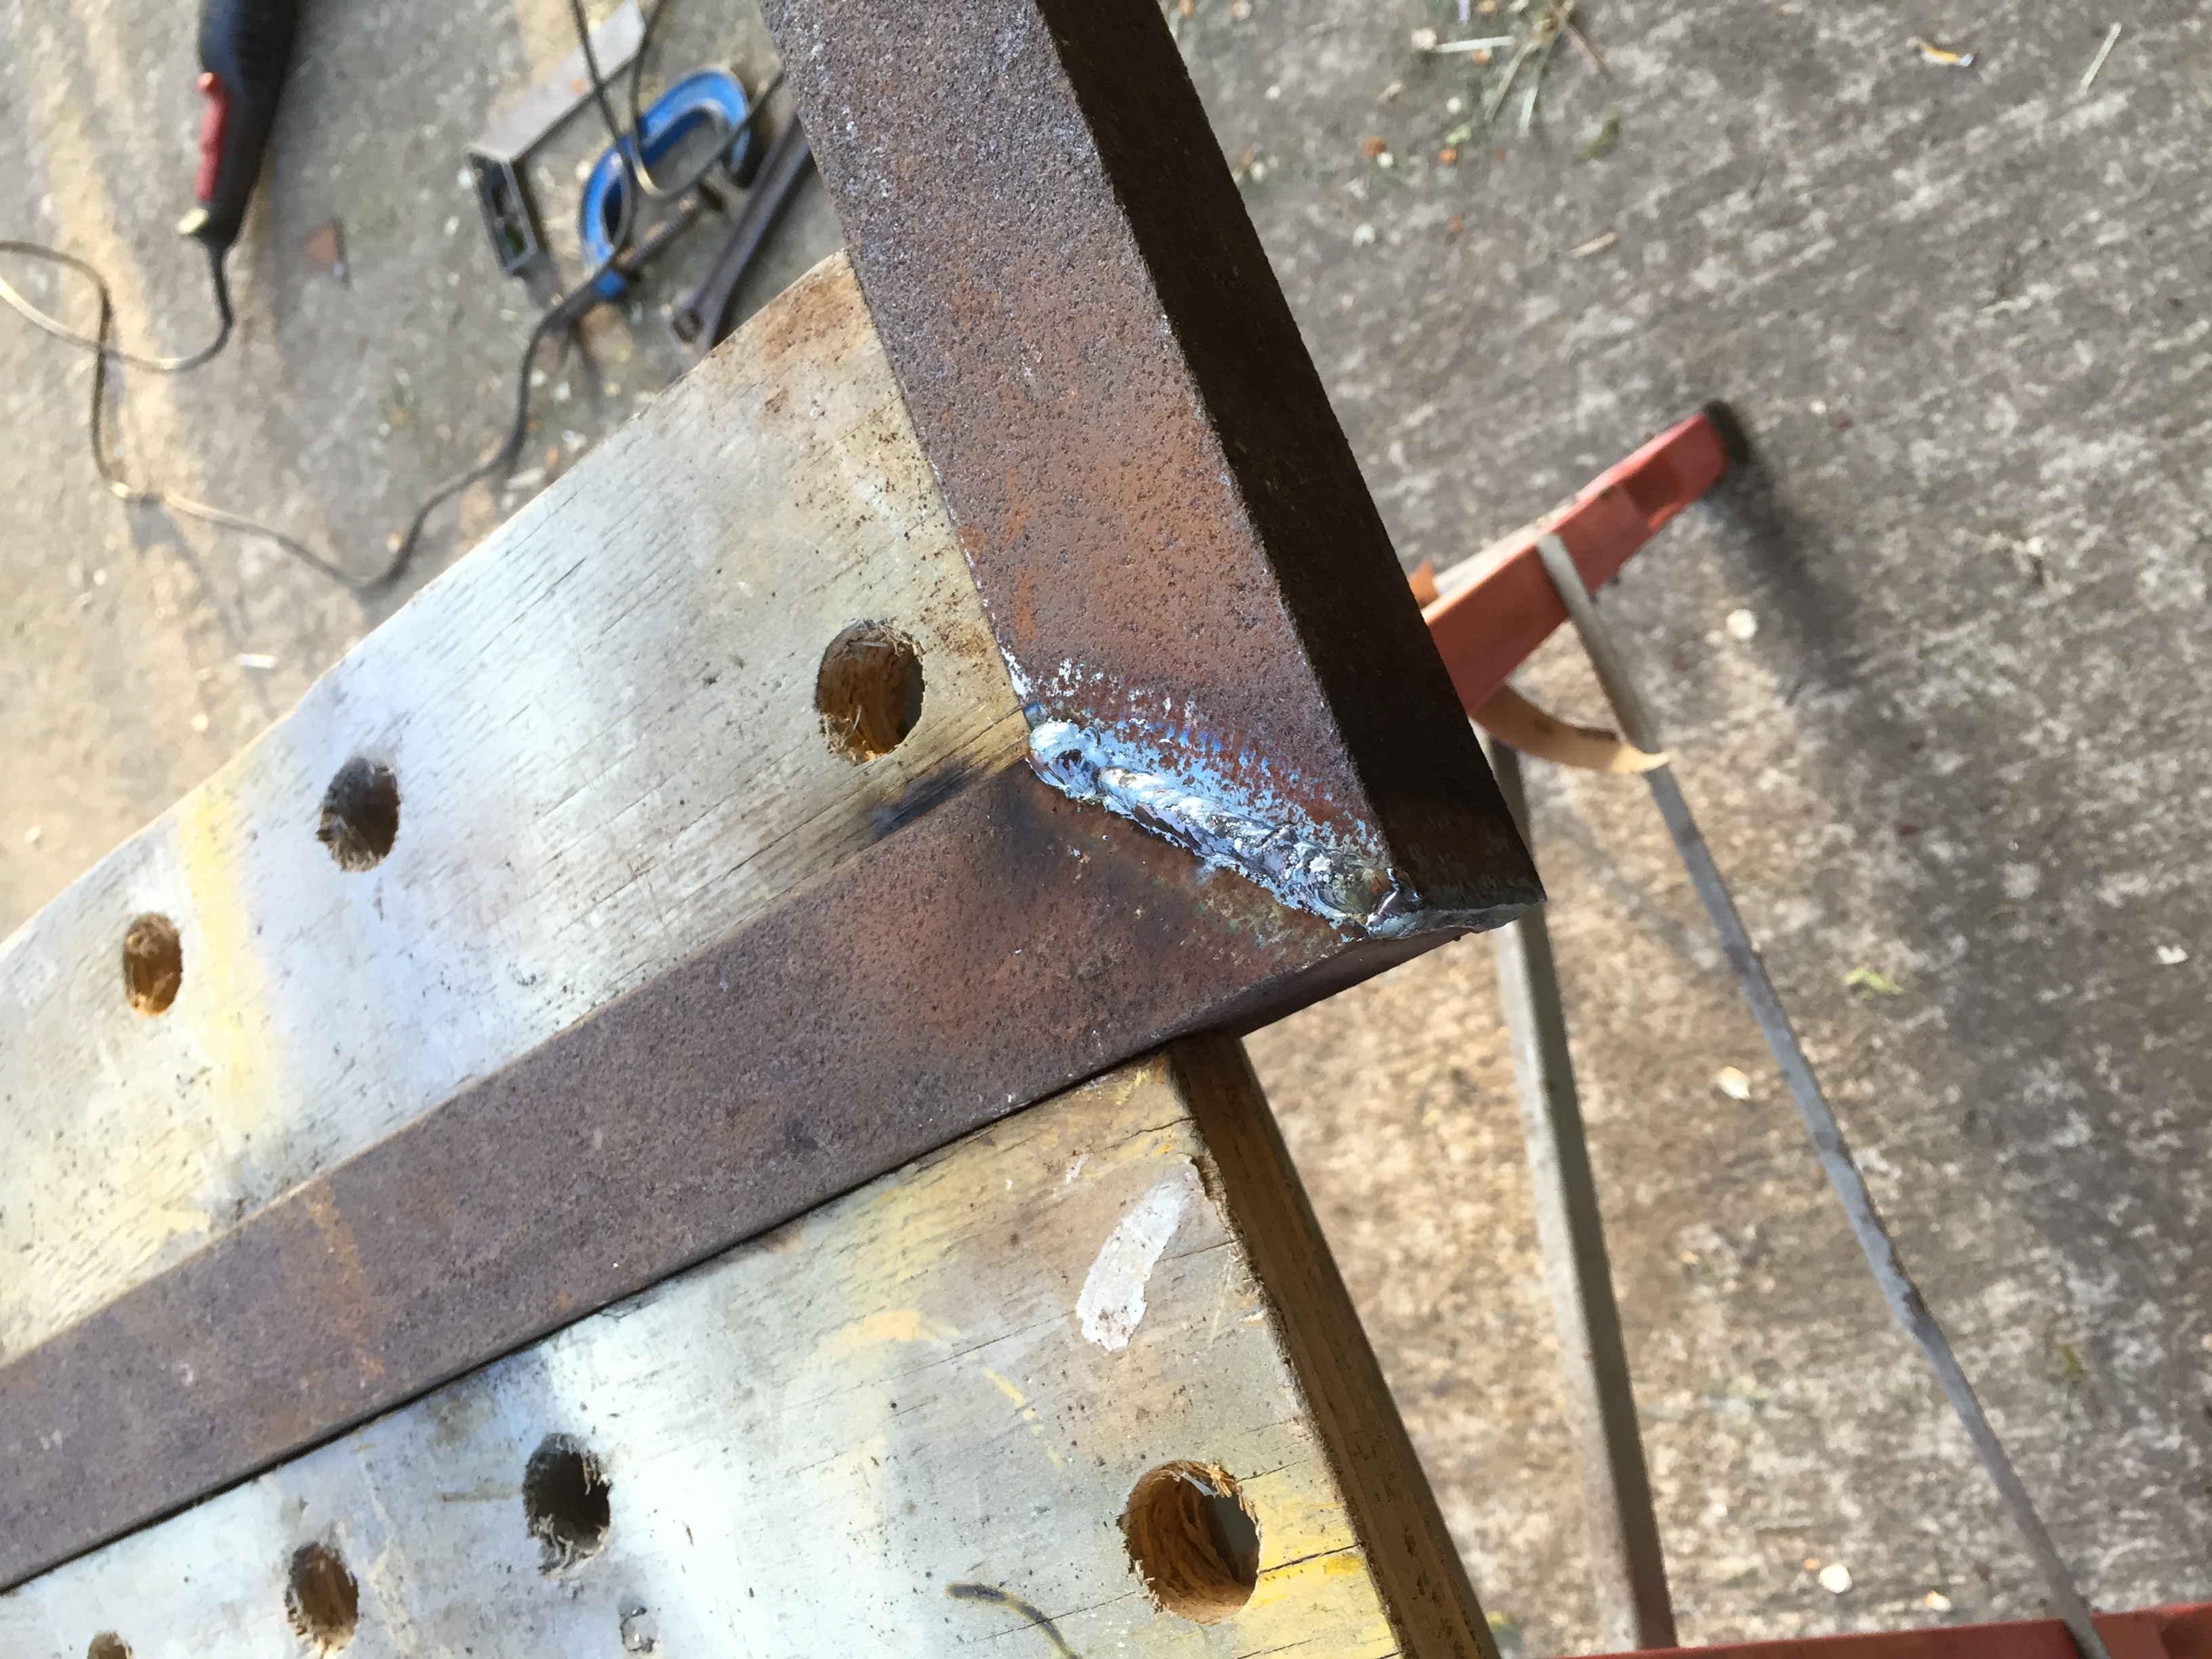
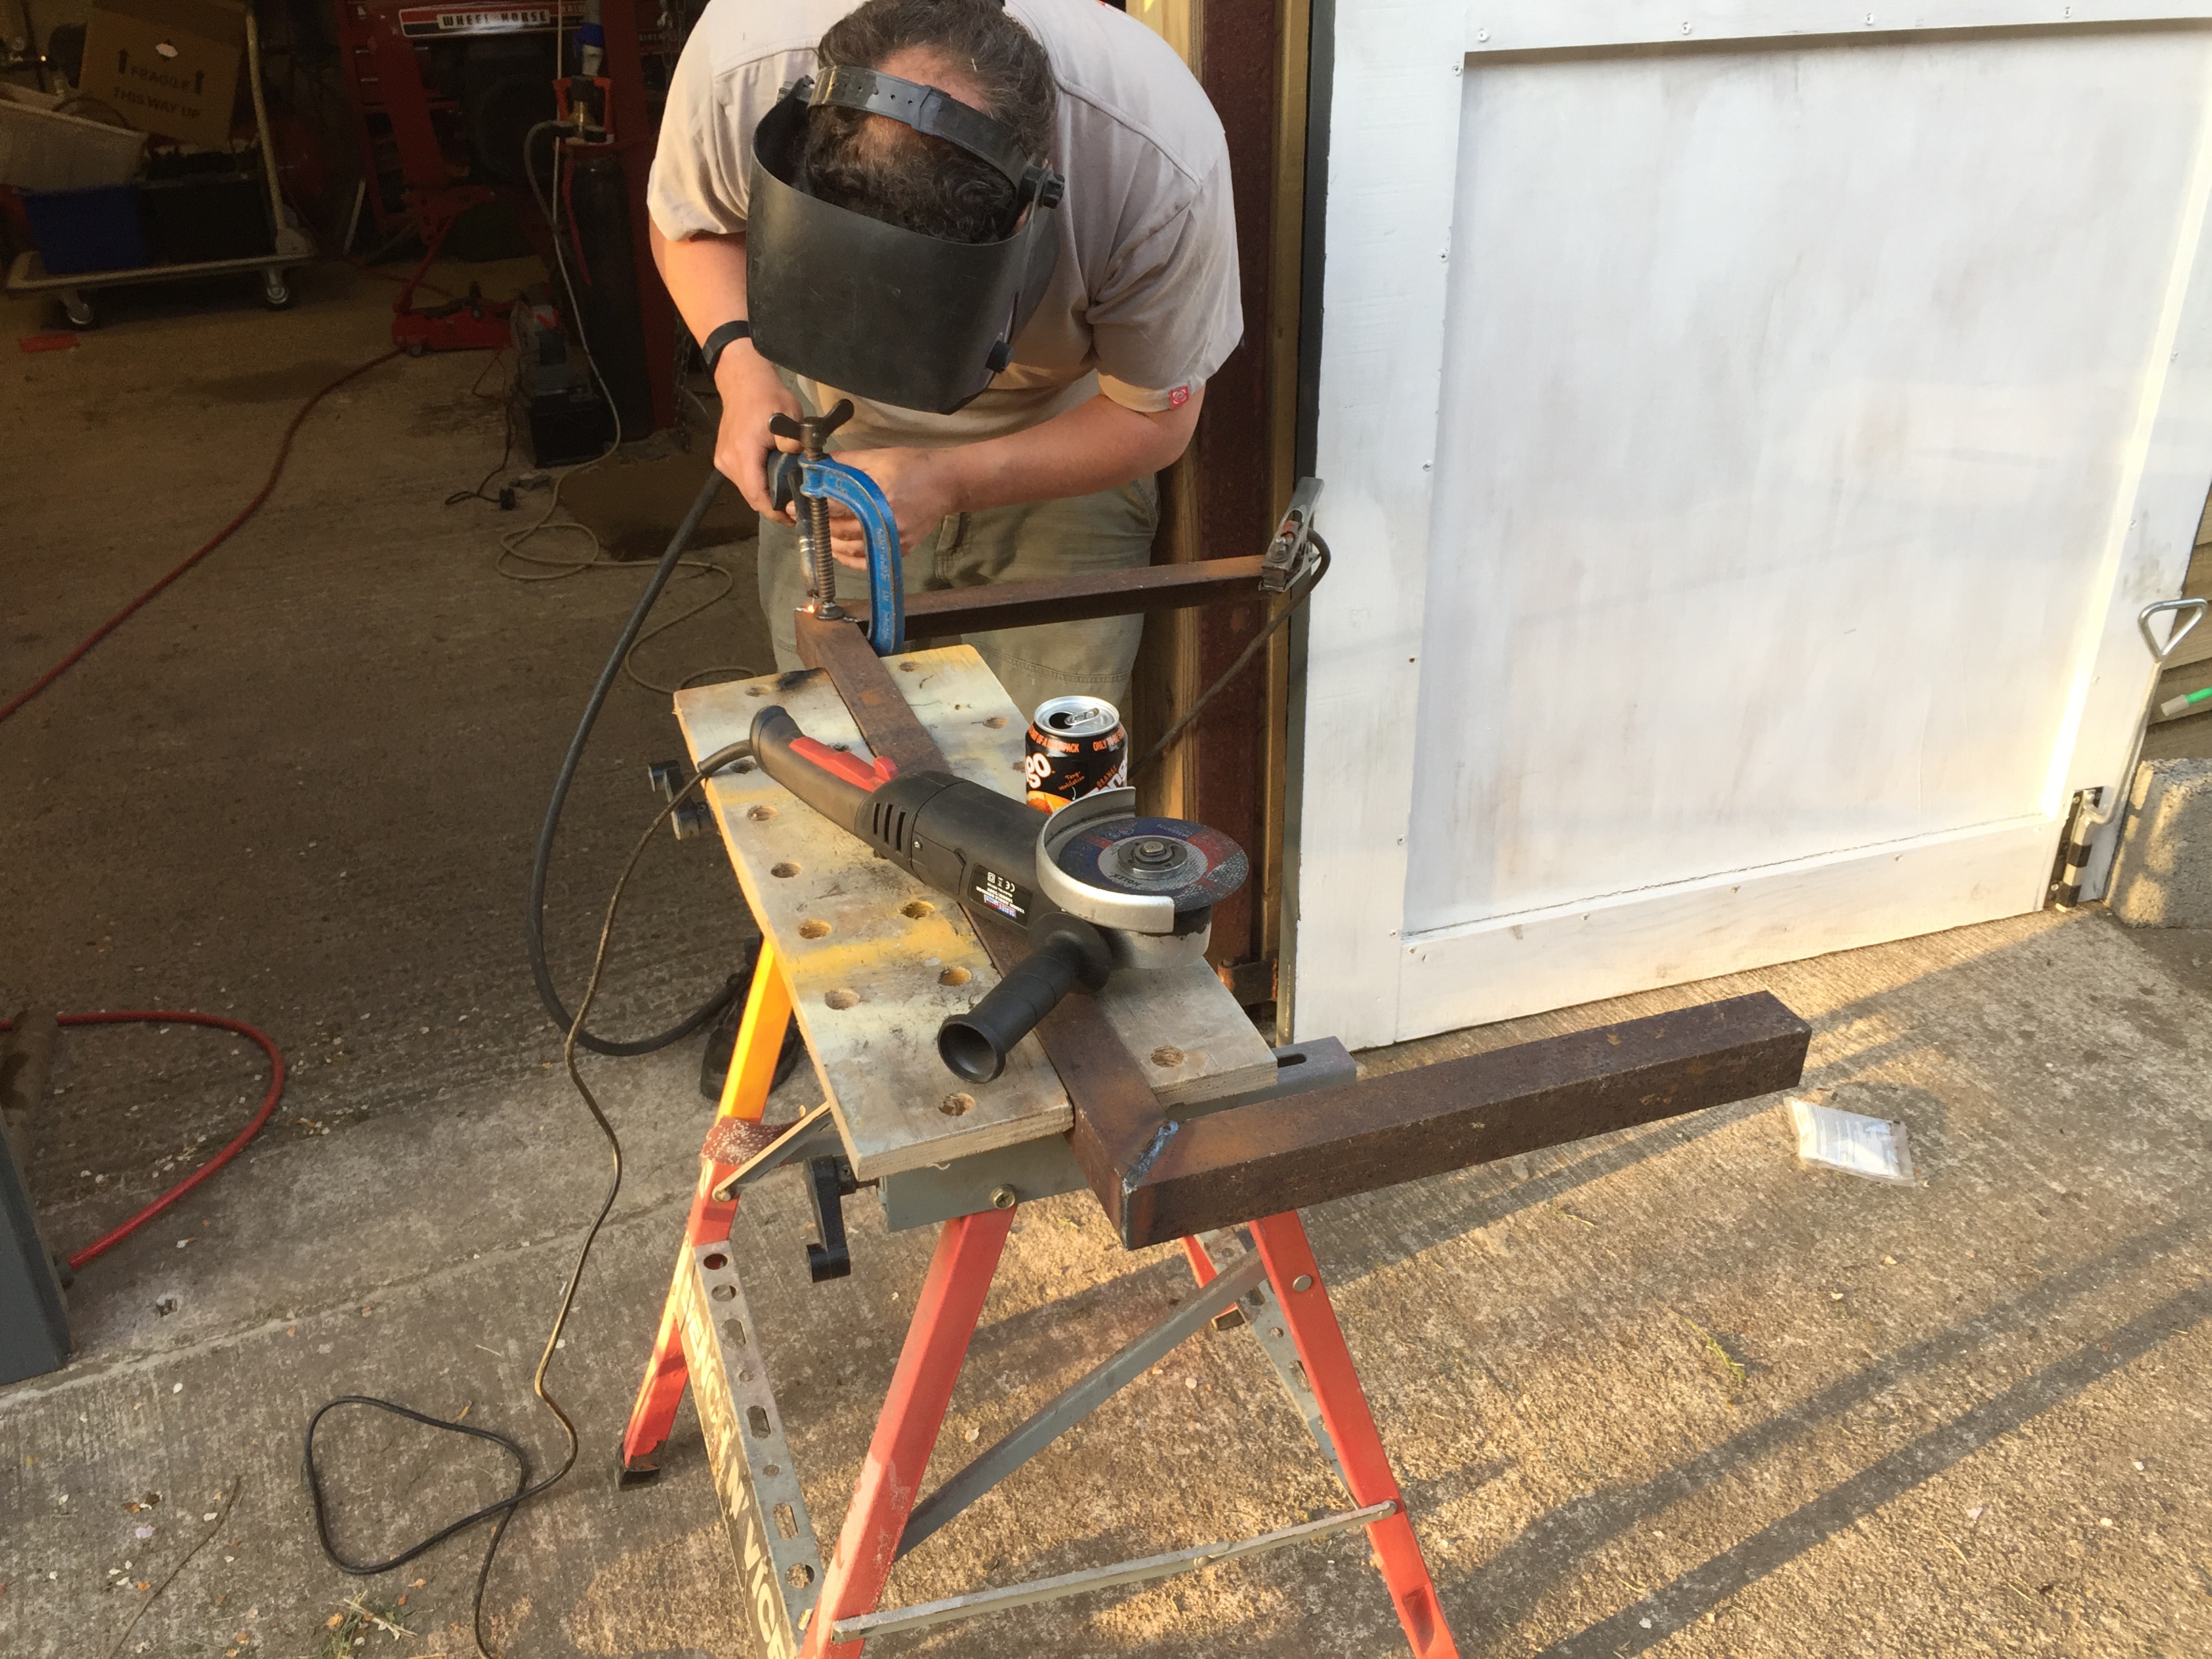
Thanks to my dad for the welding.
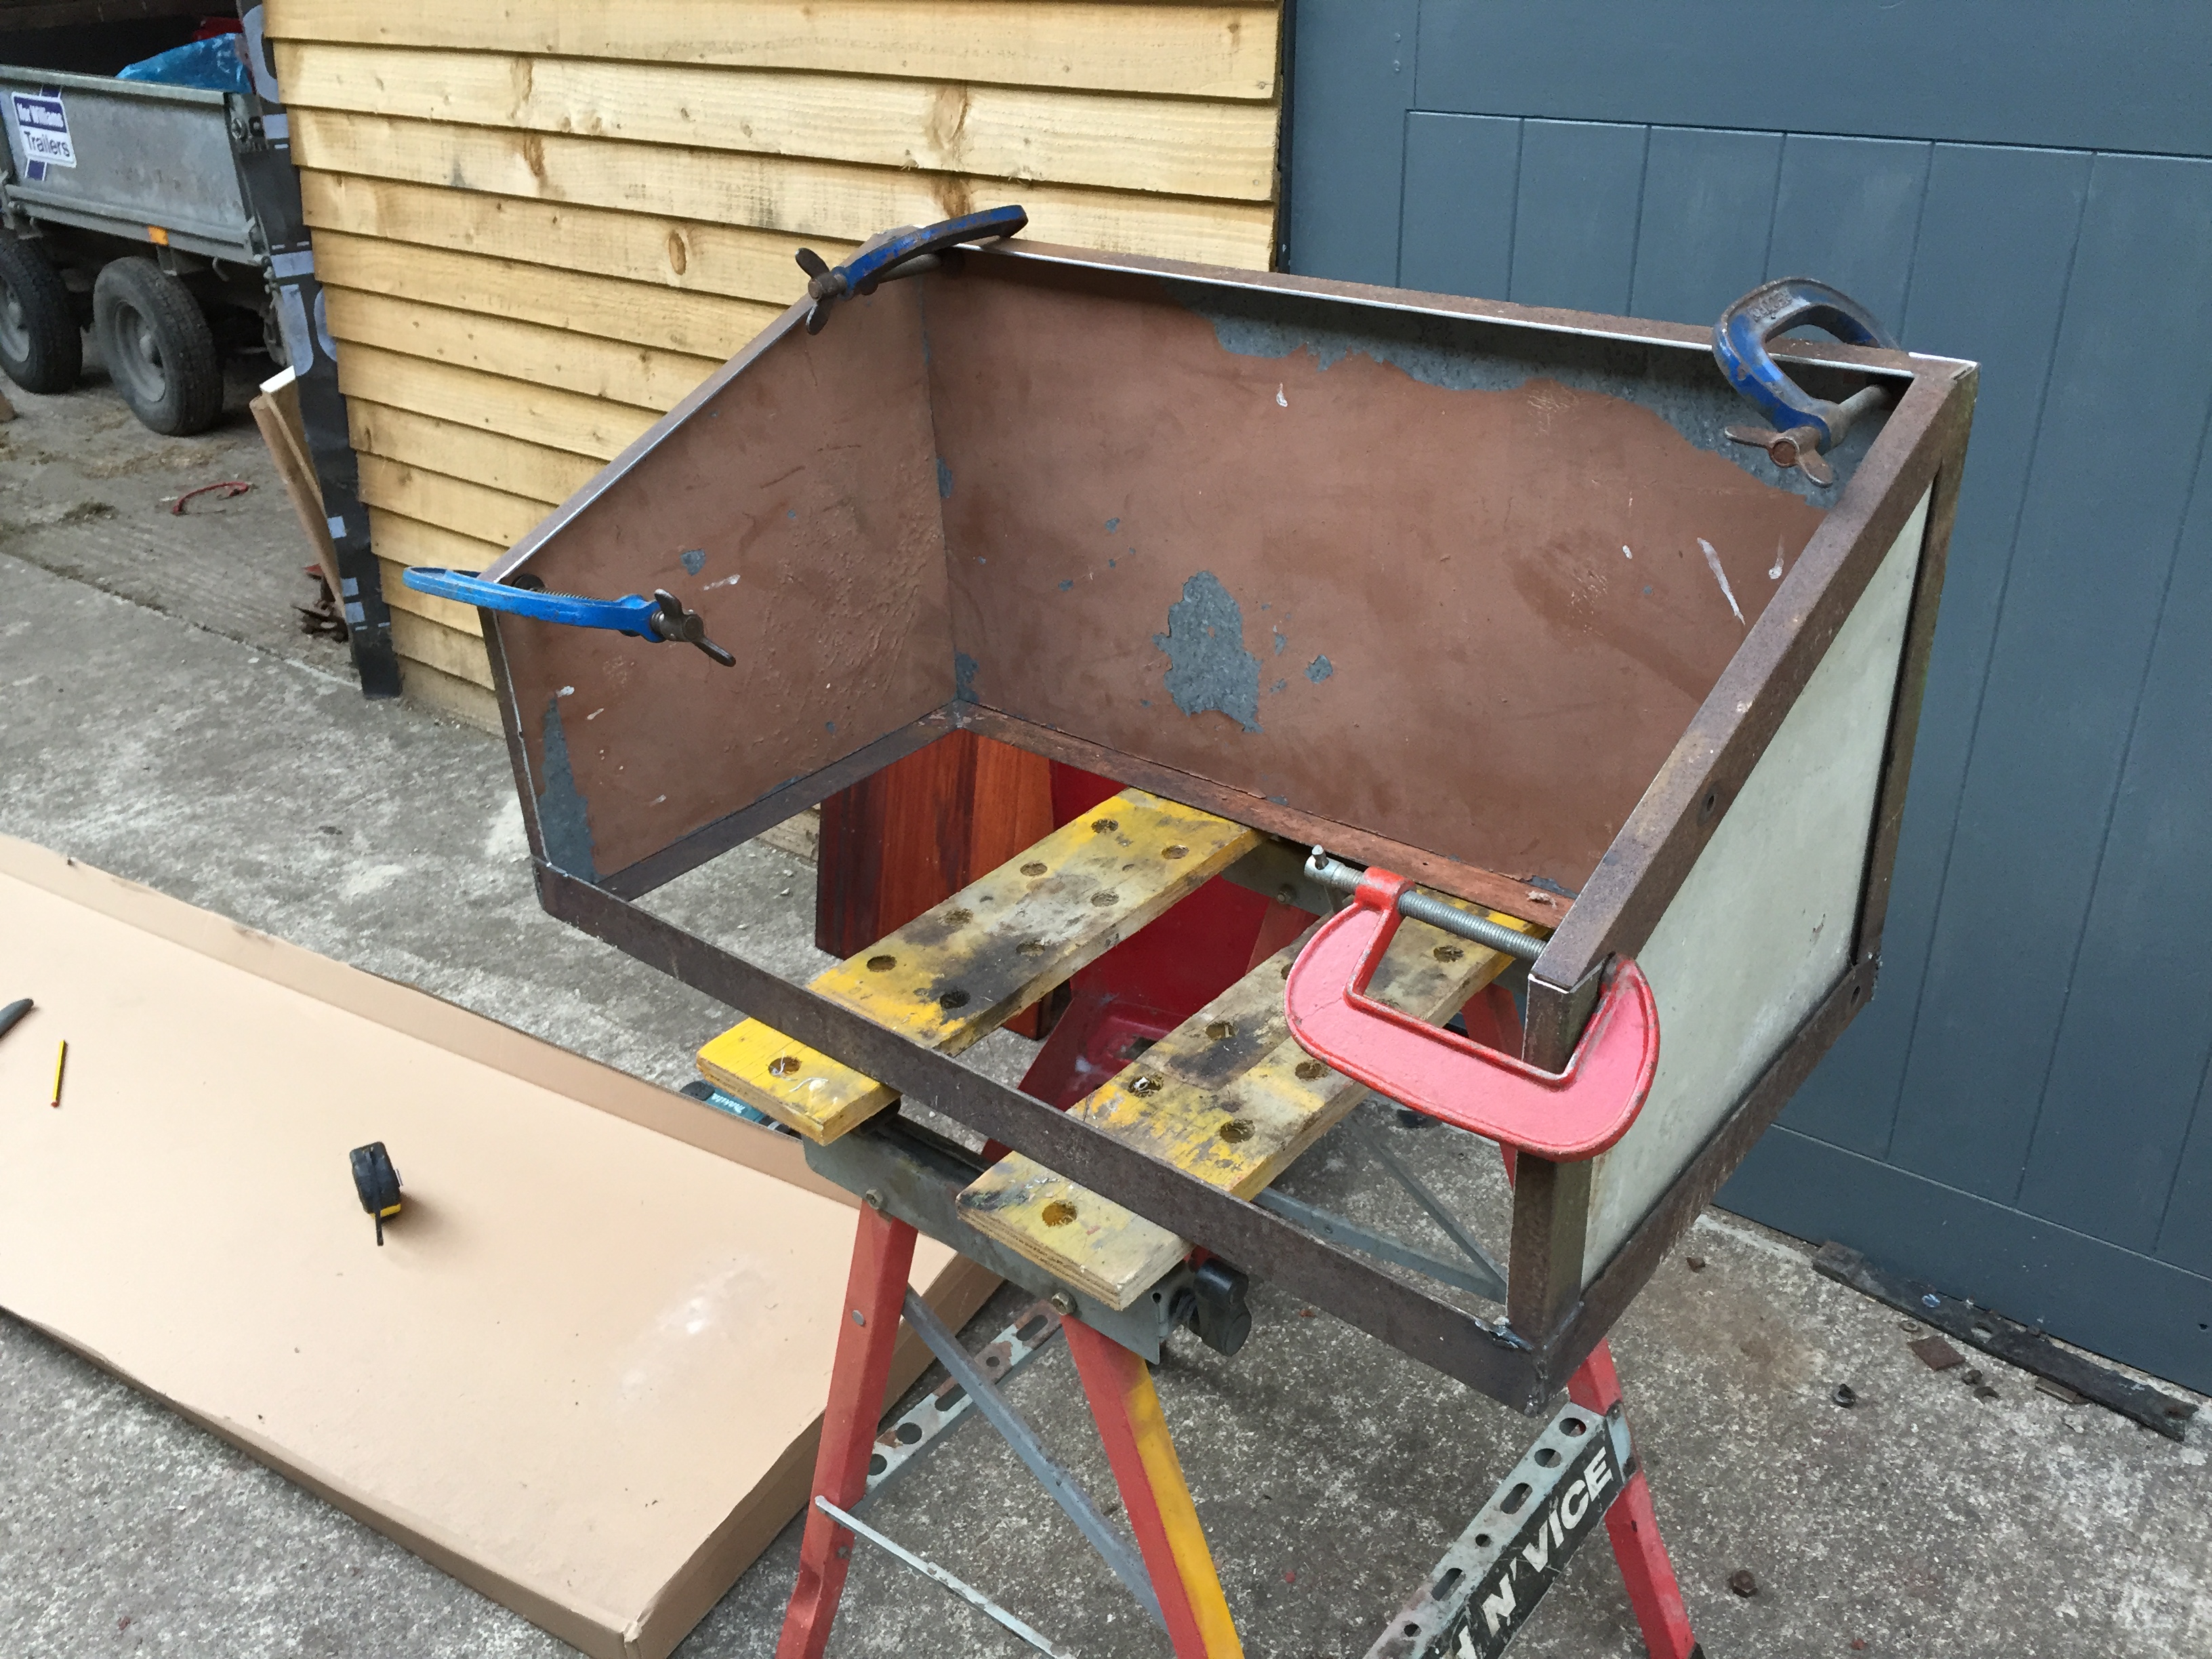
Here is how far we got, still lots to do but it's getting there
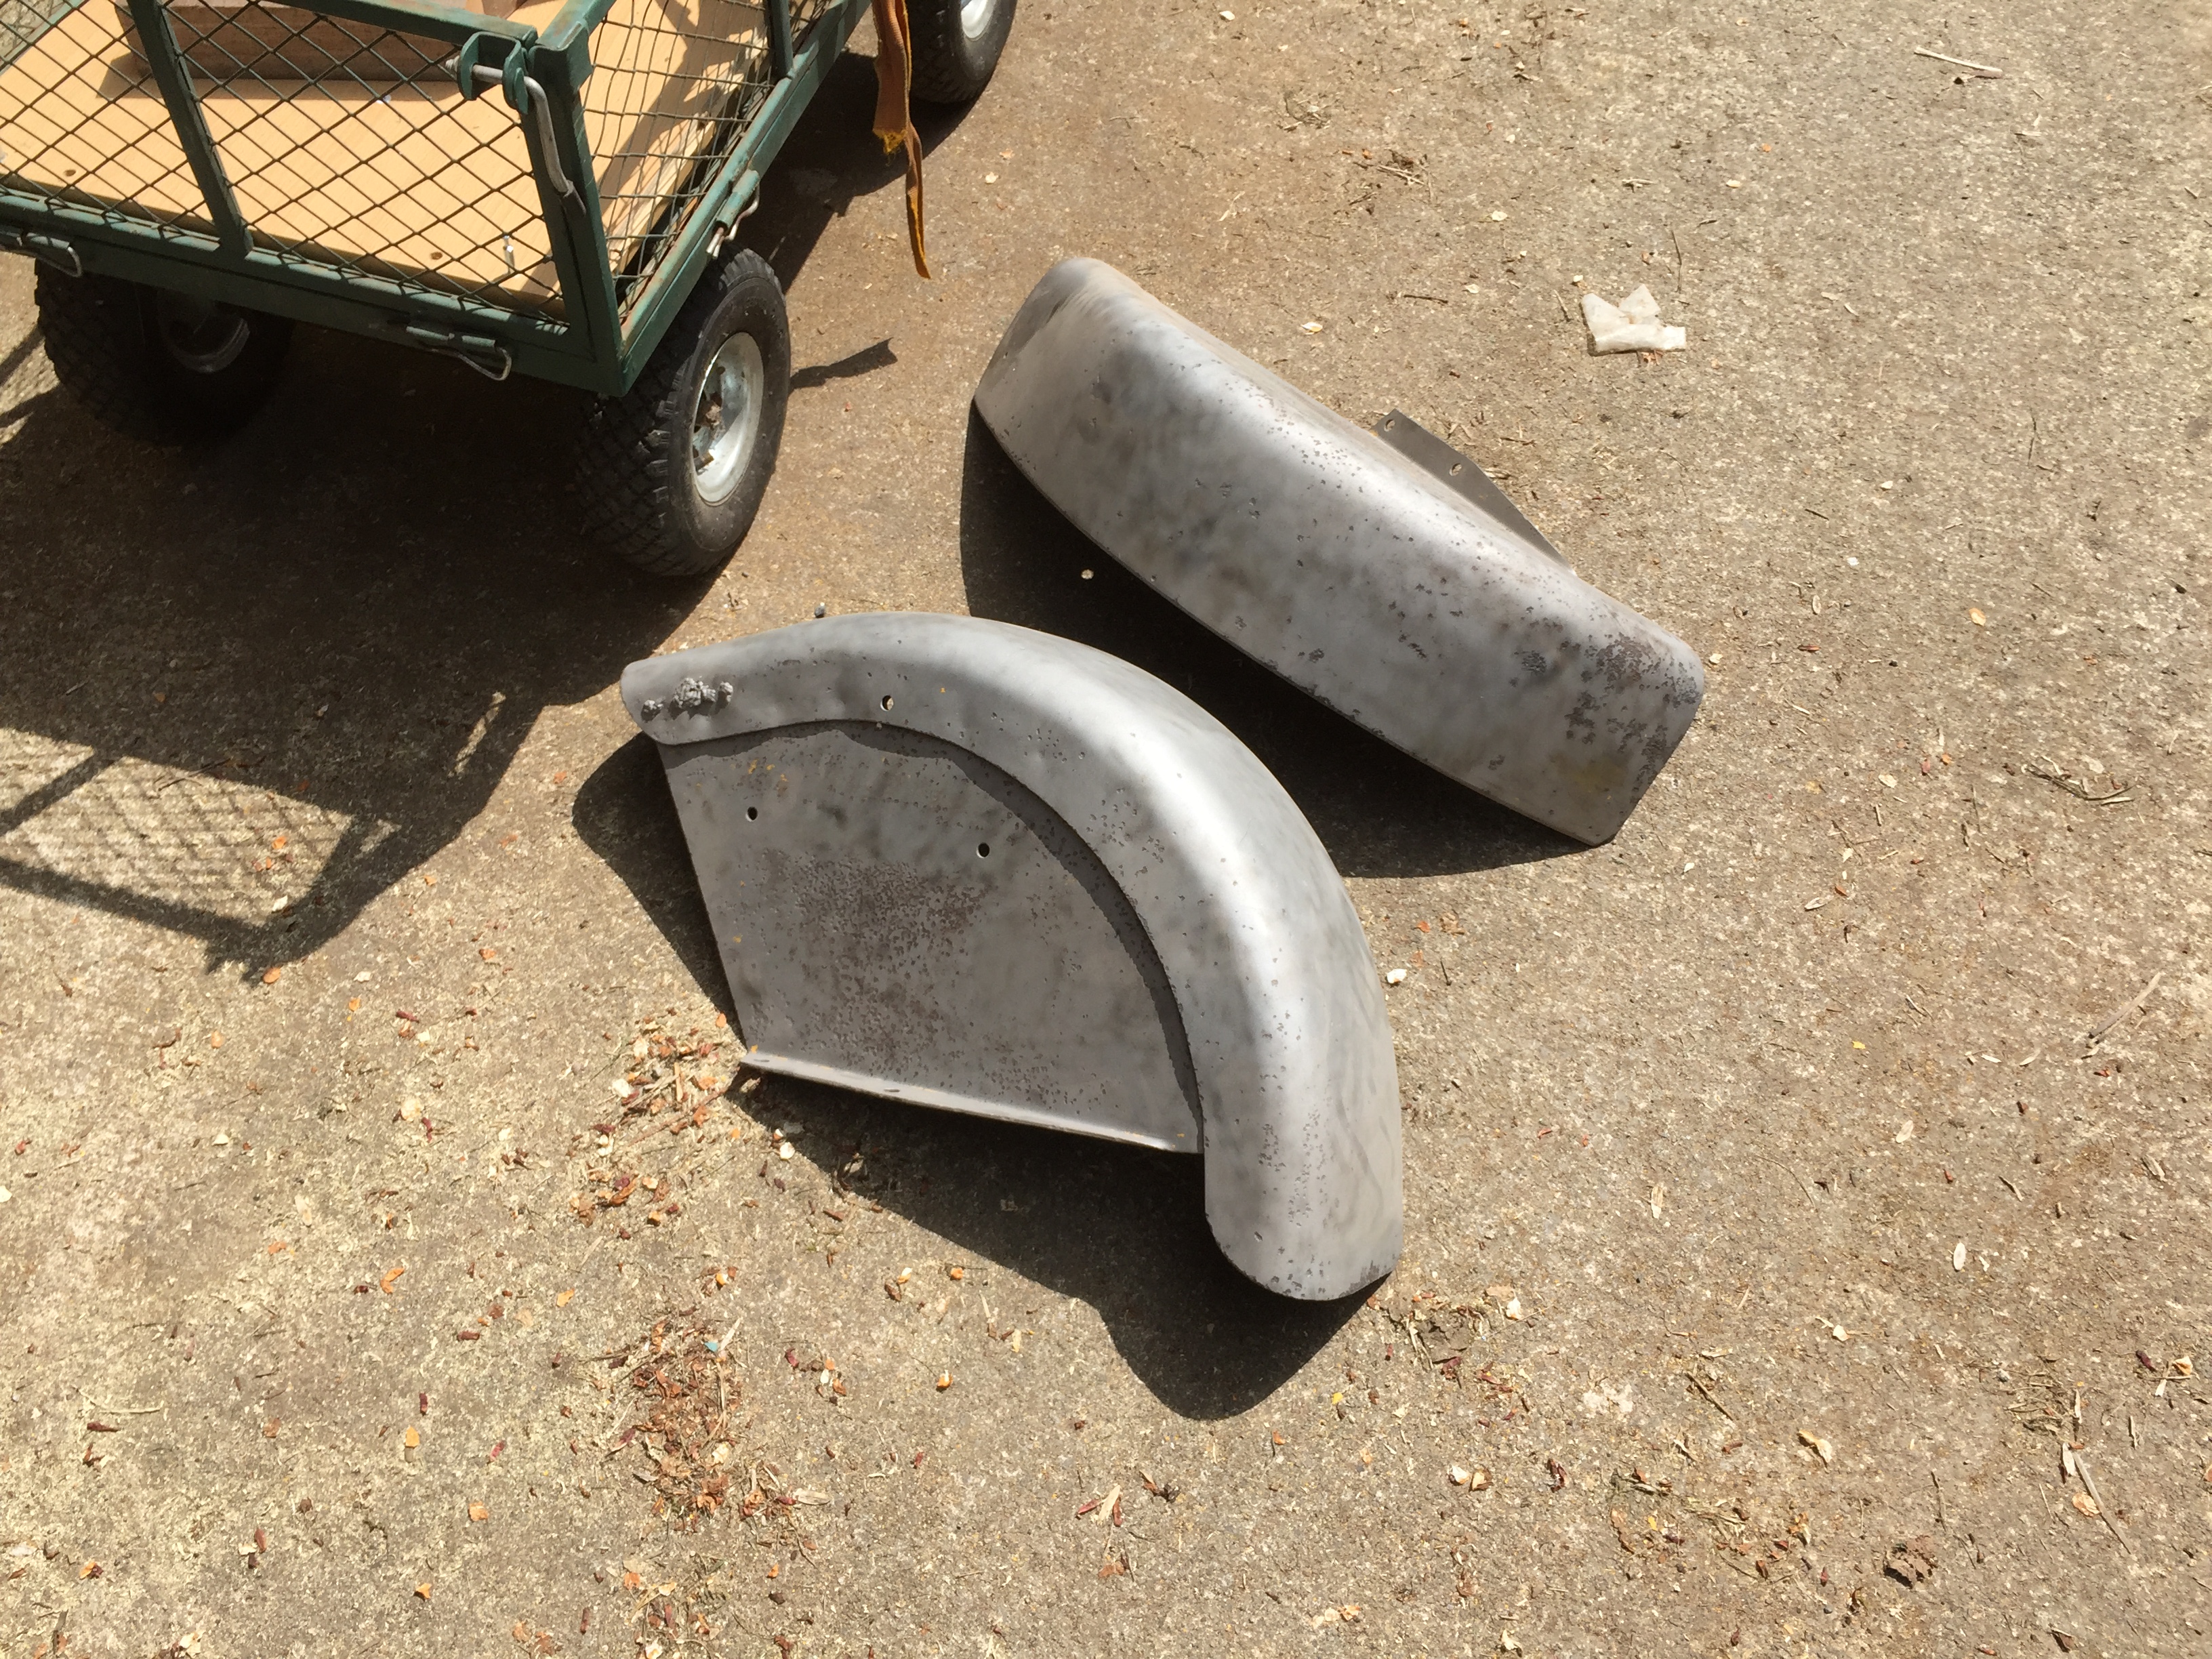
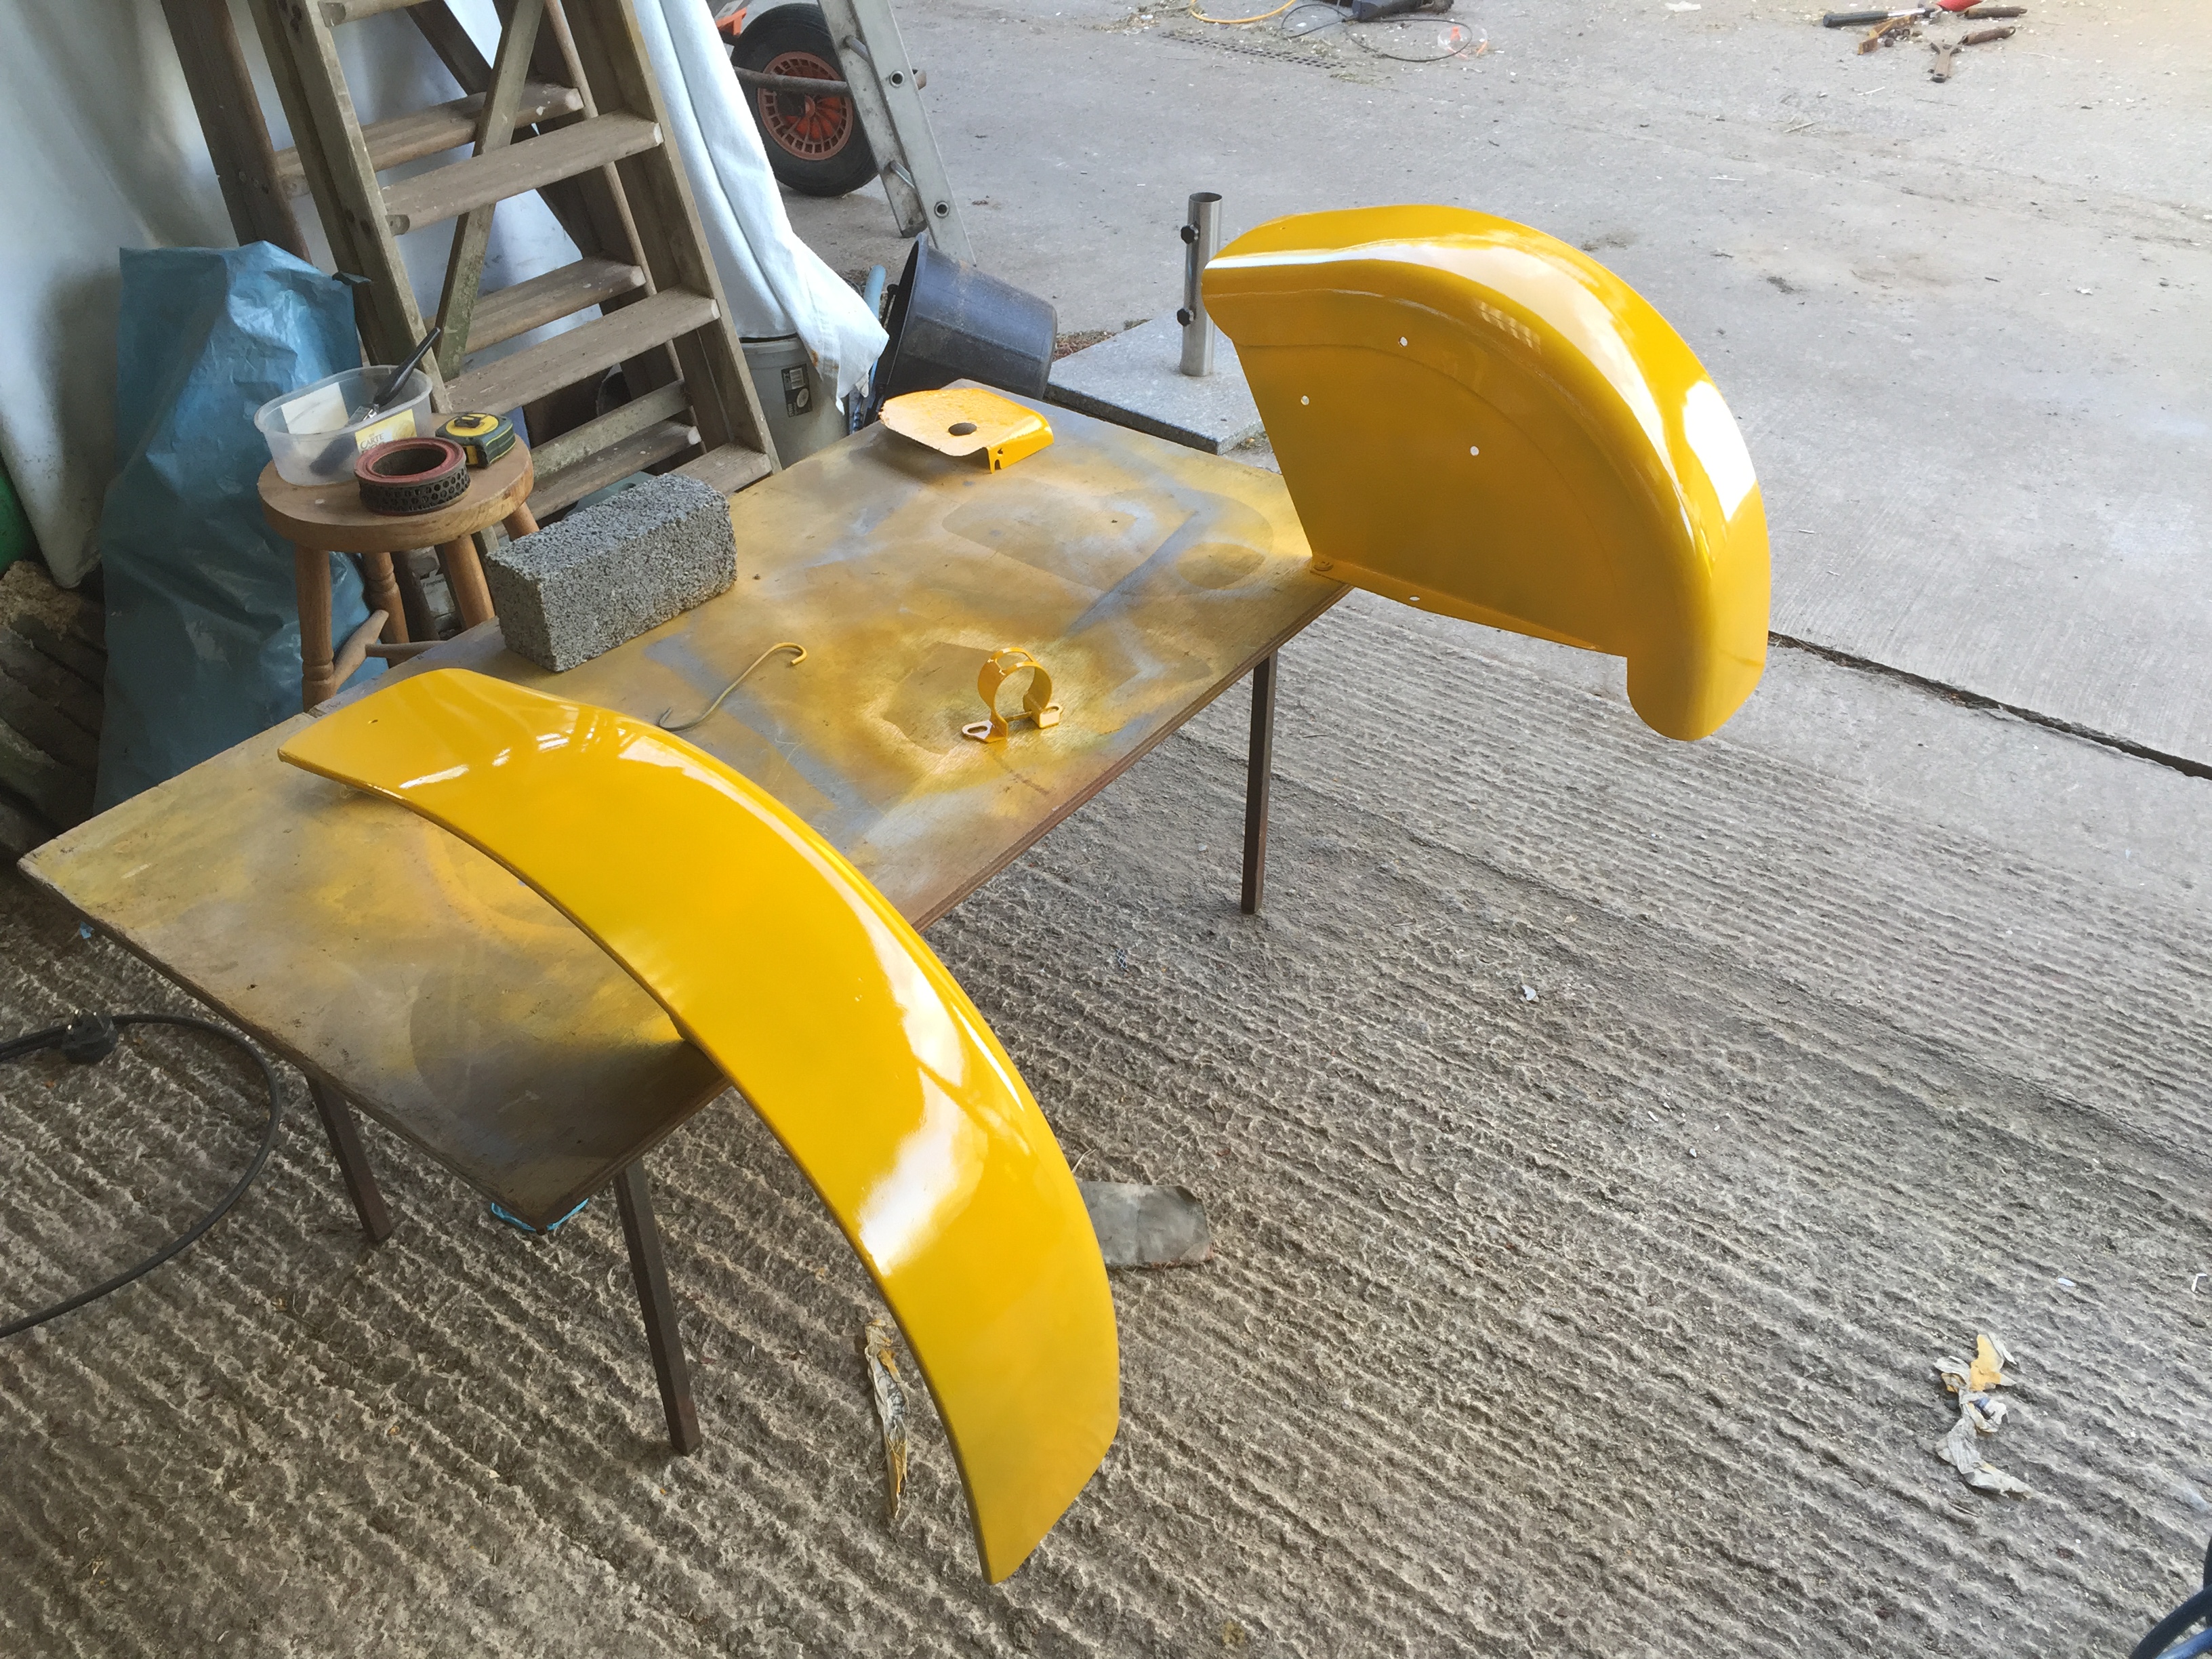
The fenders have now been sandblasted and rust holes have been welded.
They were then filled the best they could.
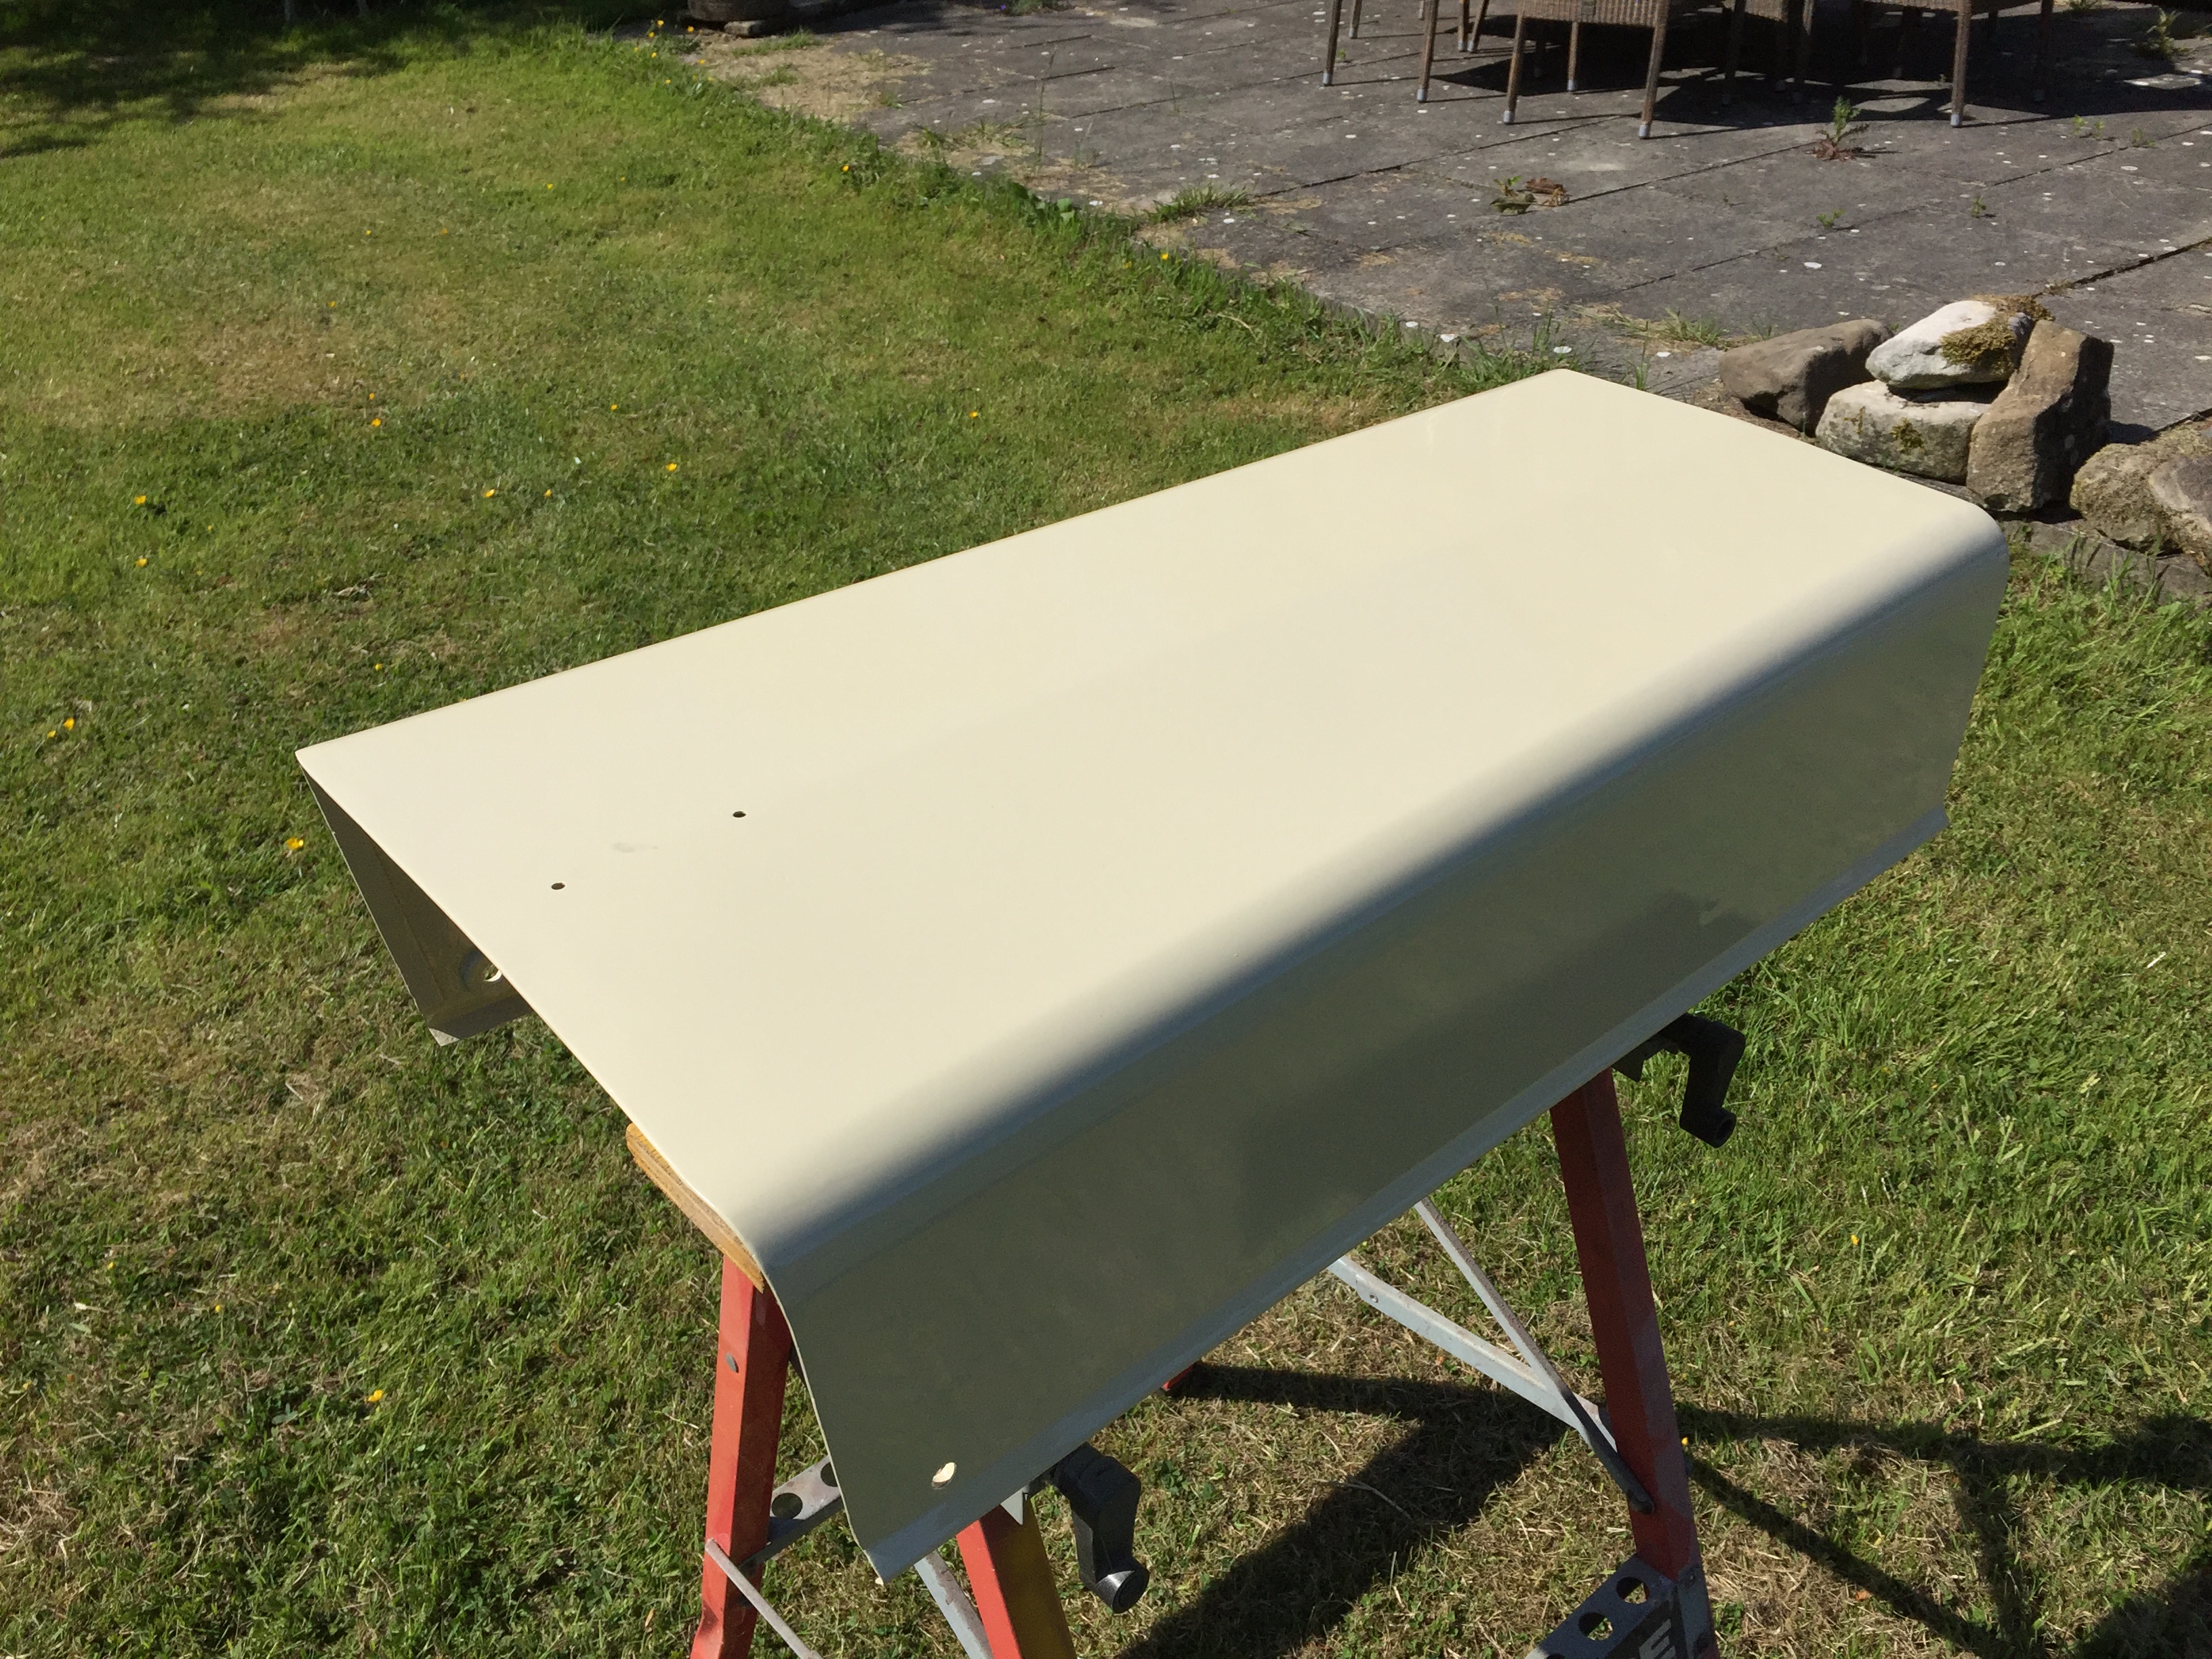
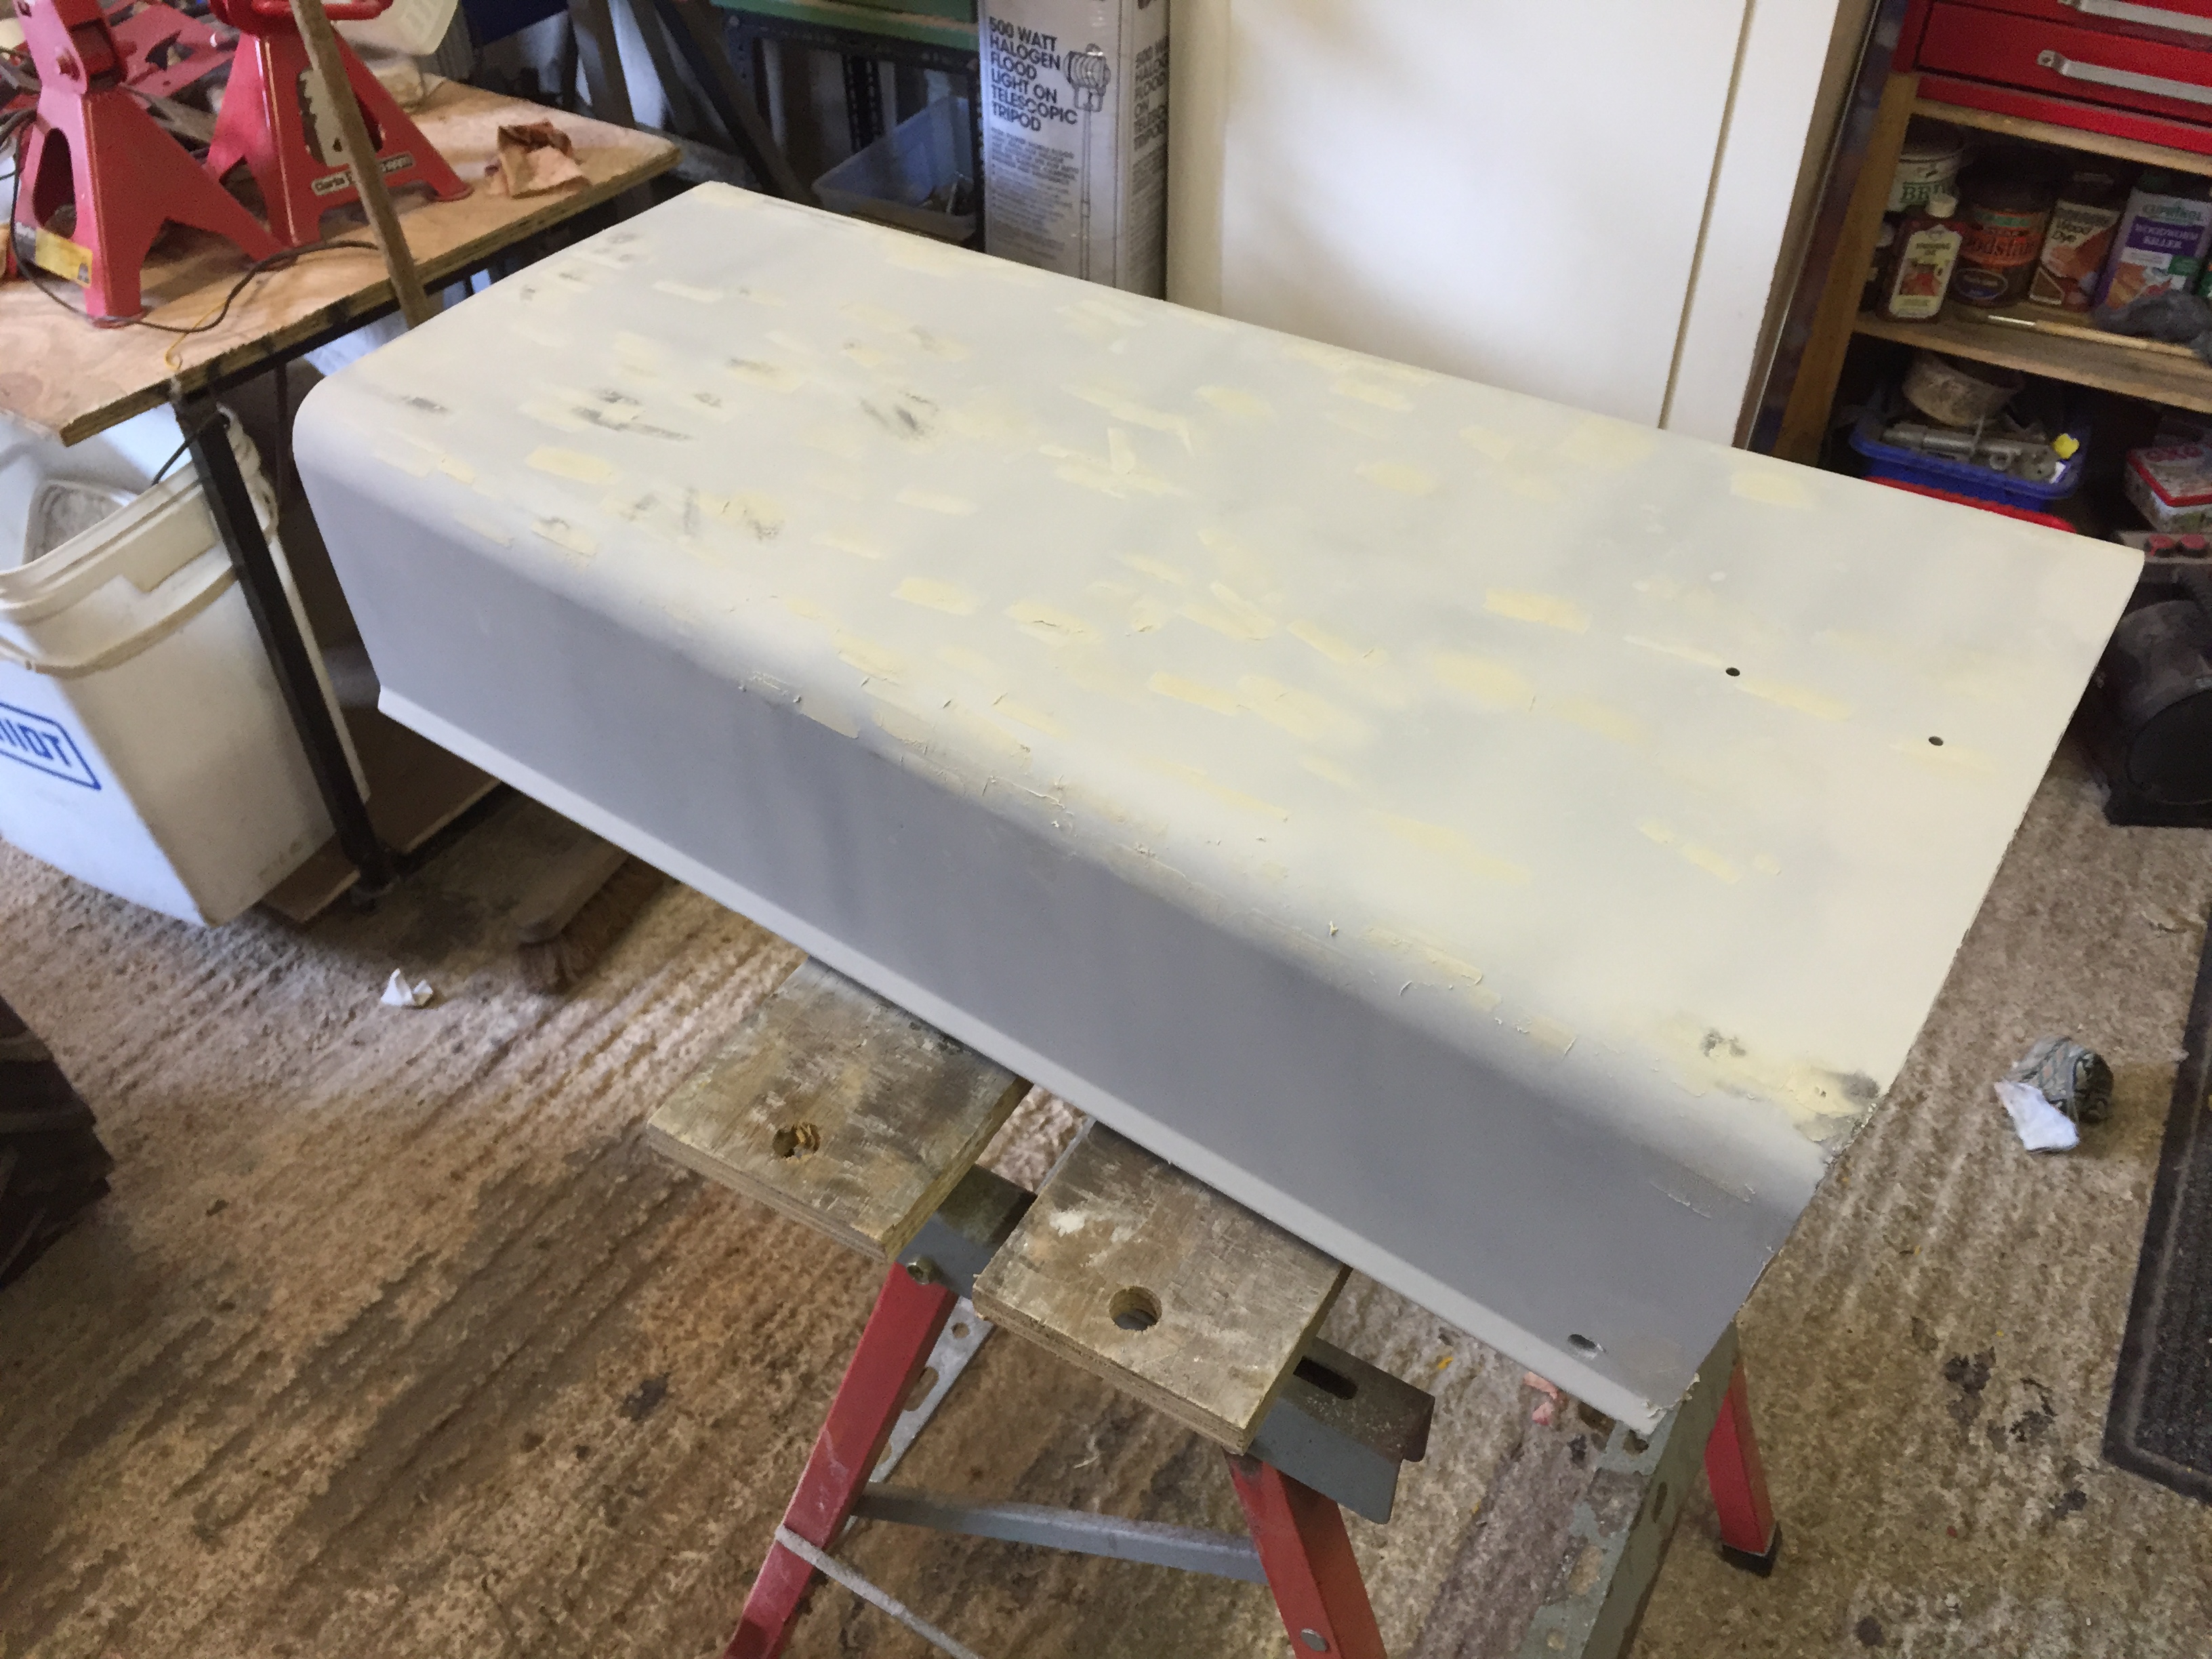
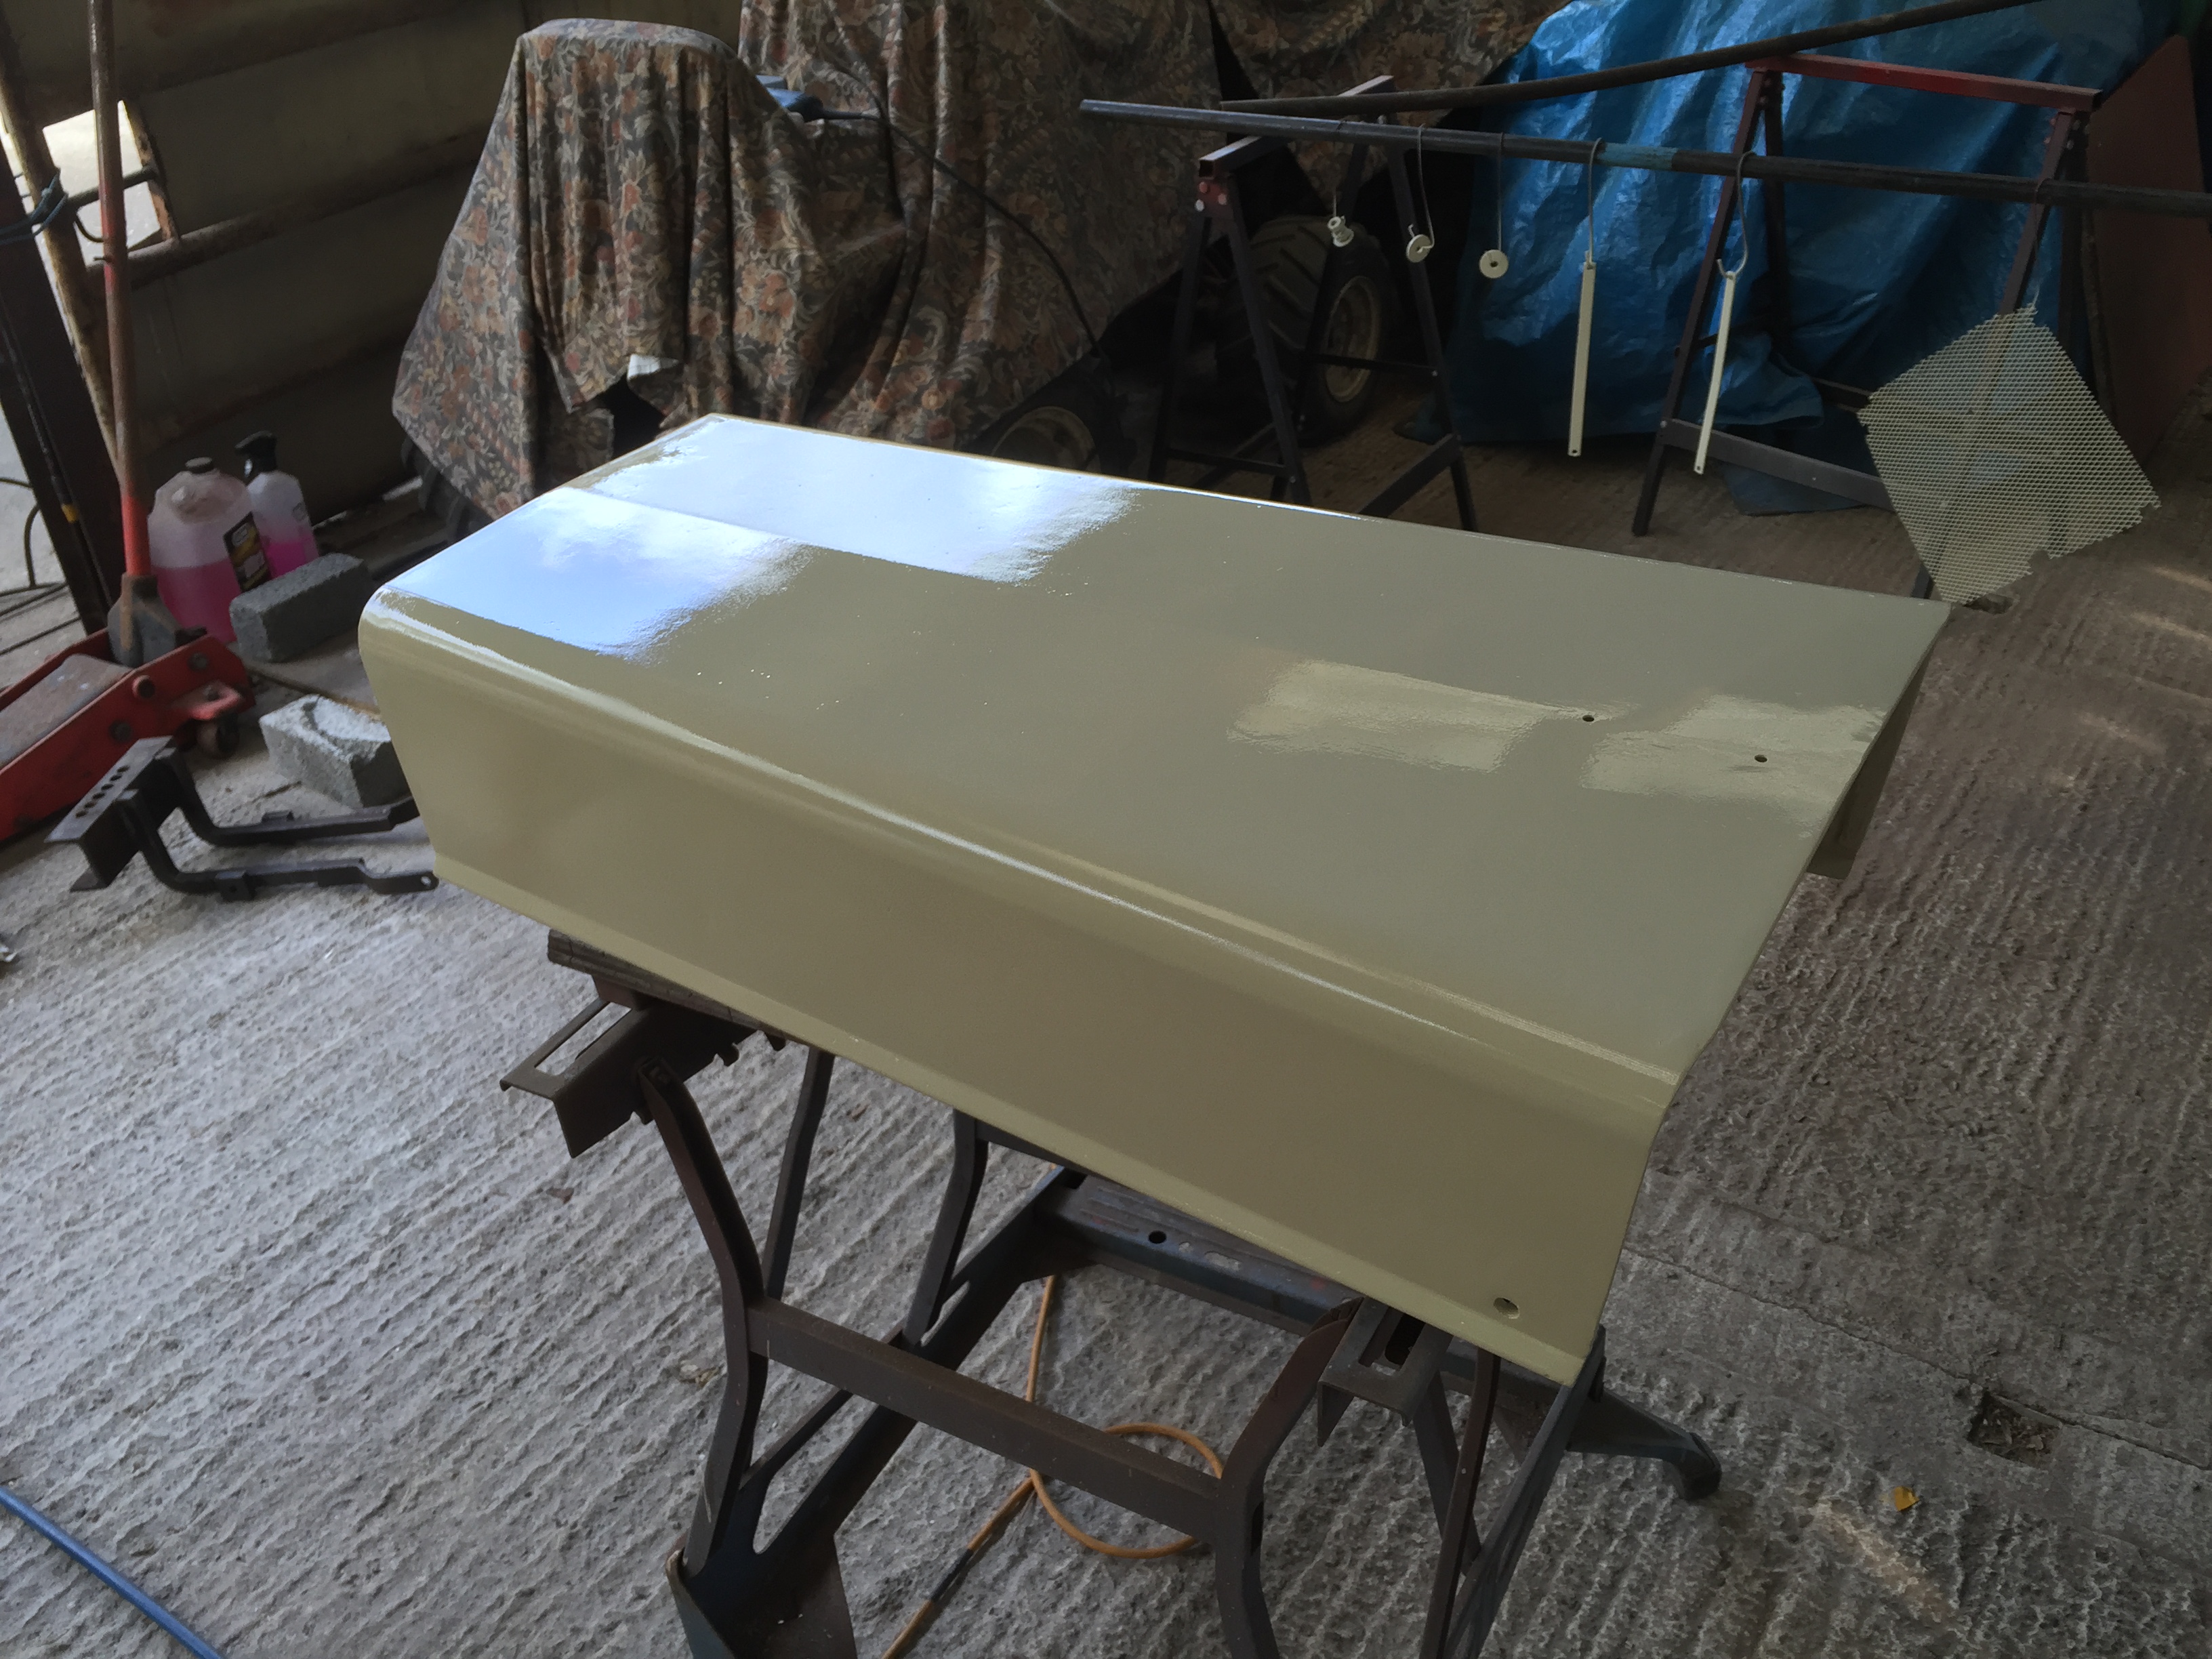
Bonnet has now been etch primed and any small pits were filled.
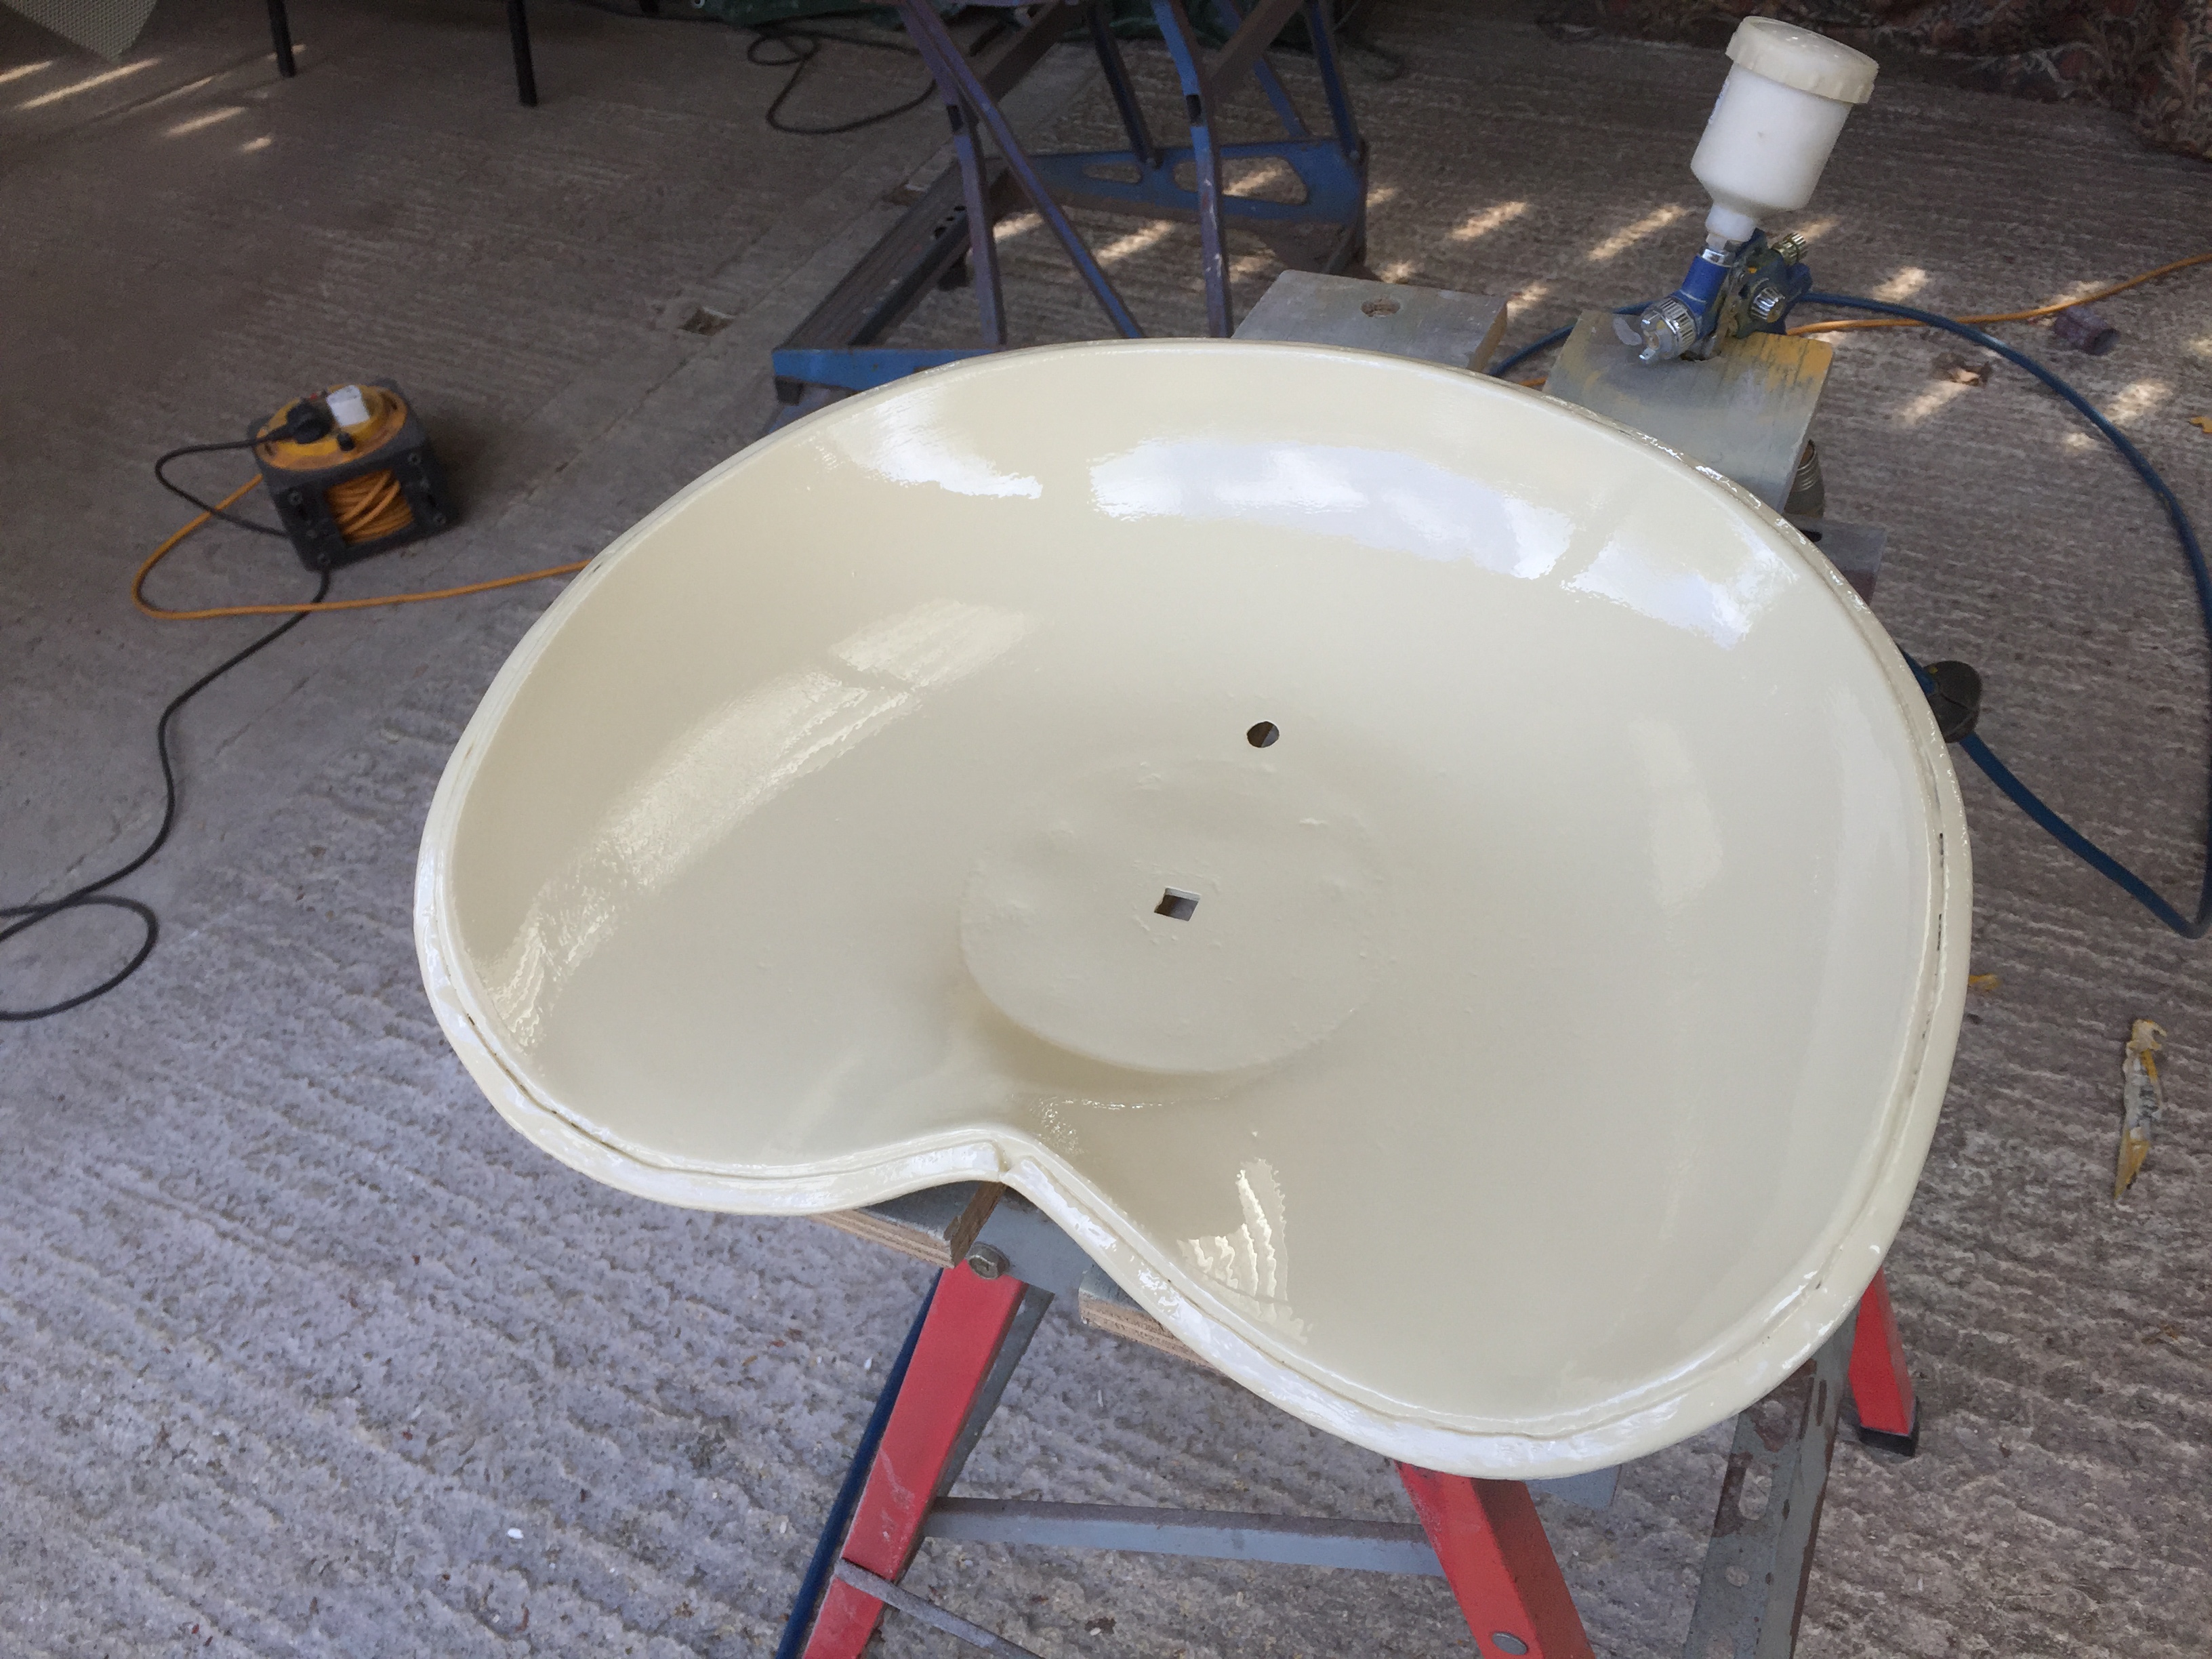
The bonnet, seat and a few other parts have now been painted cream, it looks a lot better on the photos than it is in real life but they were both rough to start with.
The first coat of paint has been put on the fenders and some other parts.


")


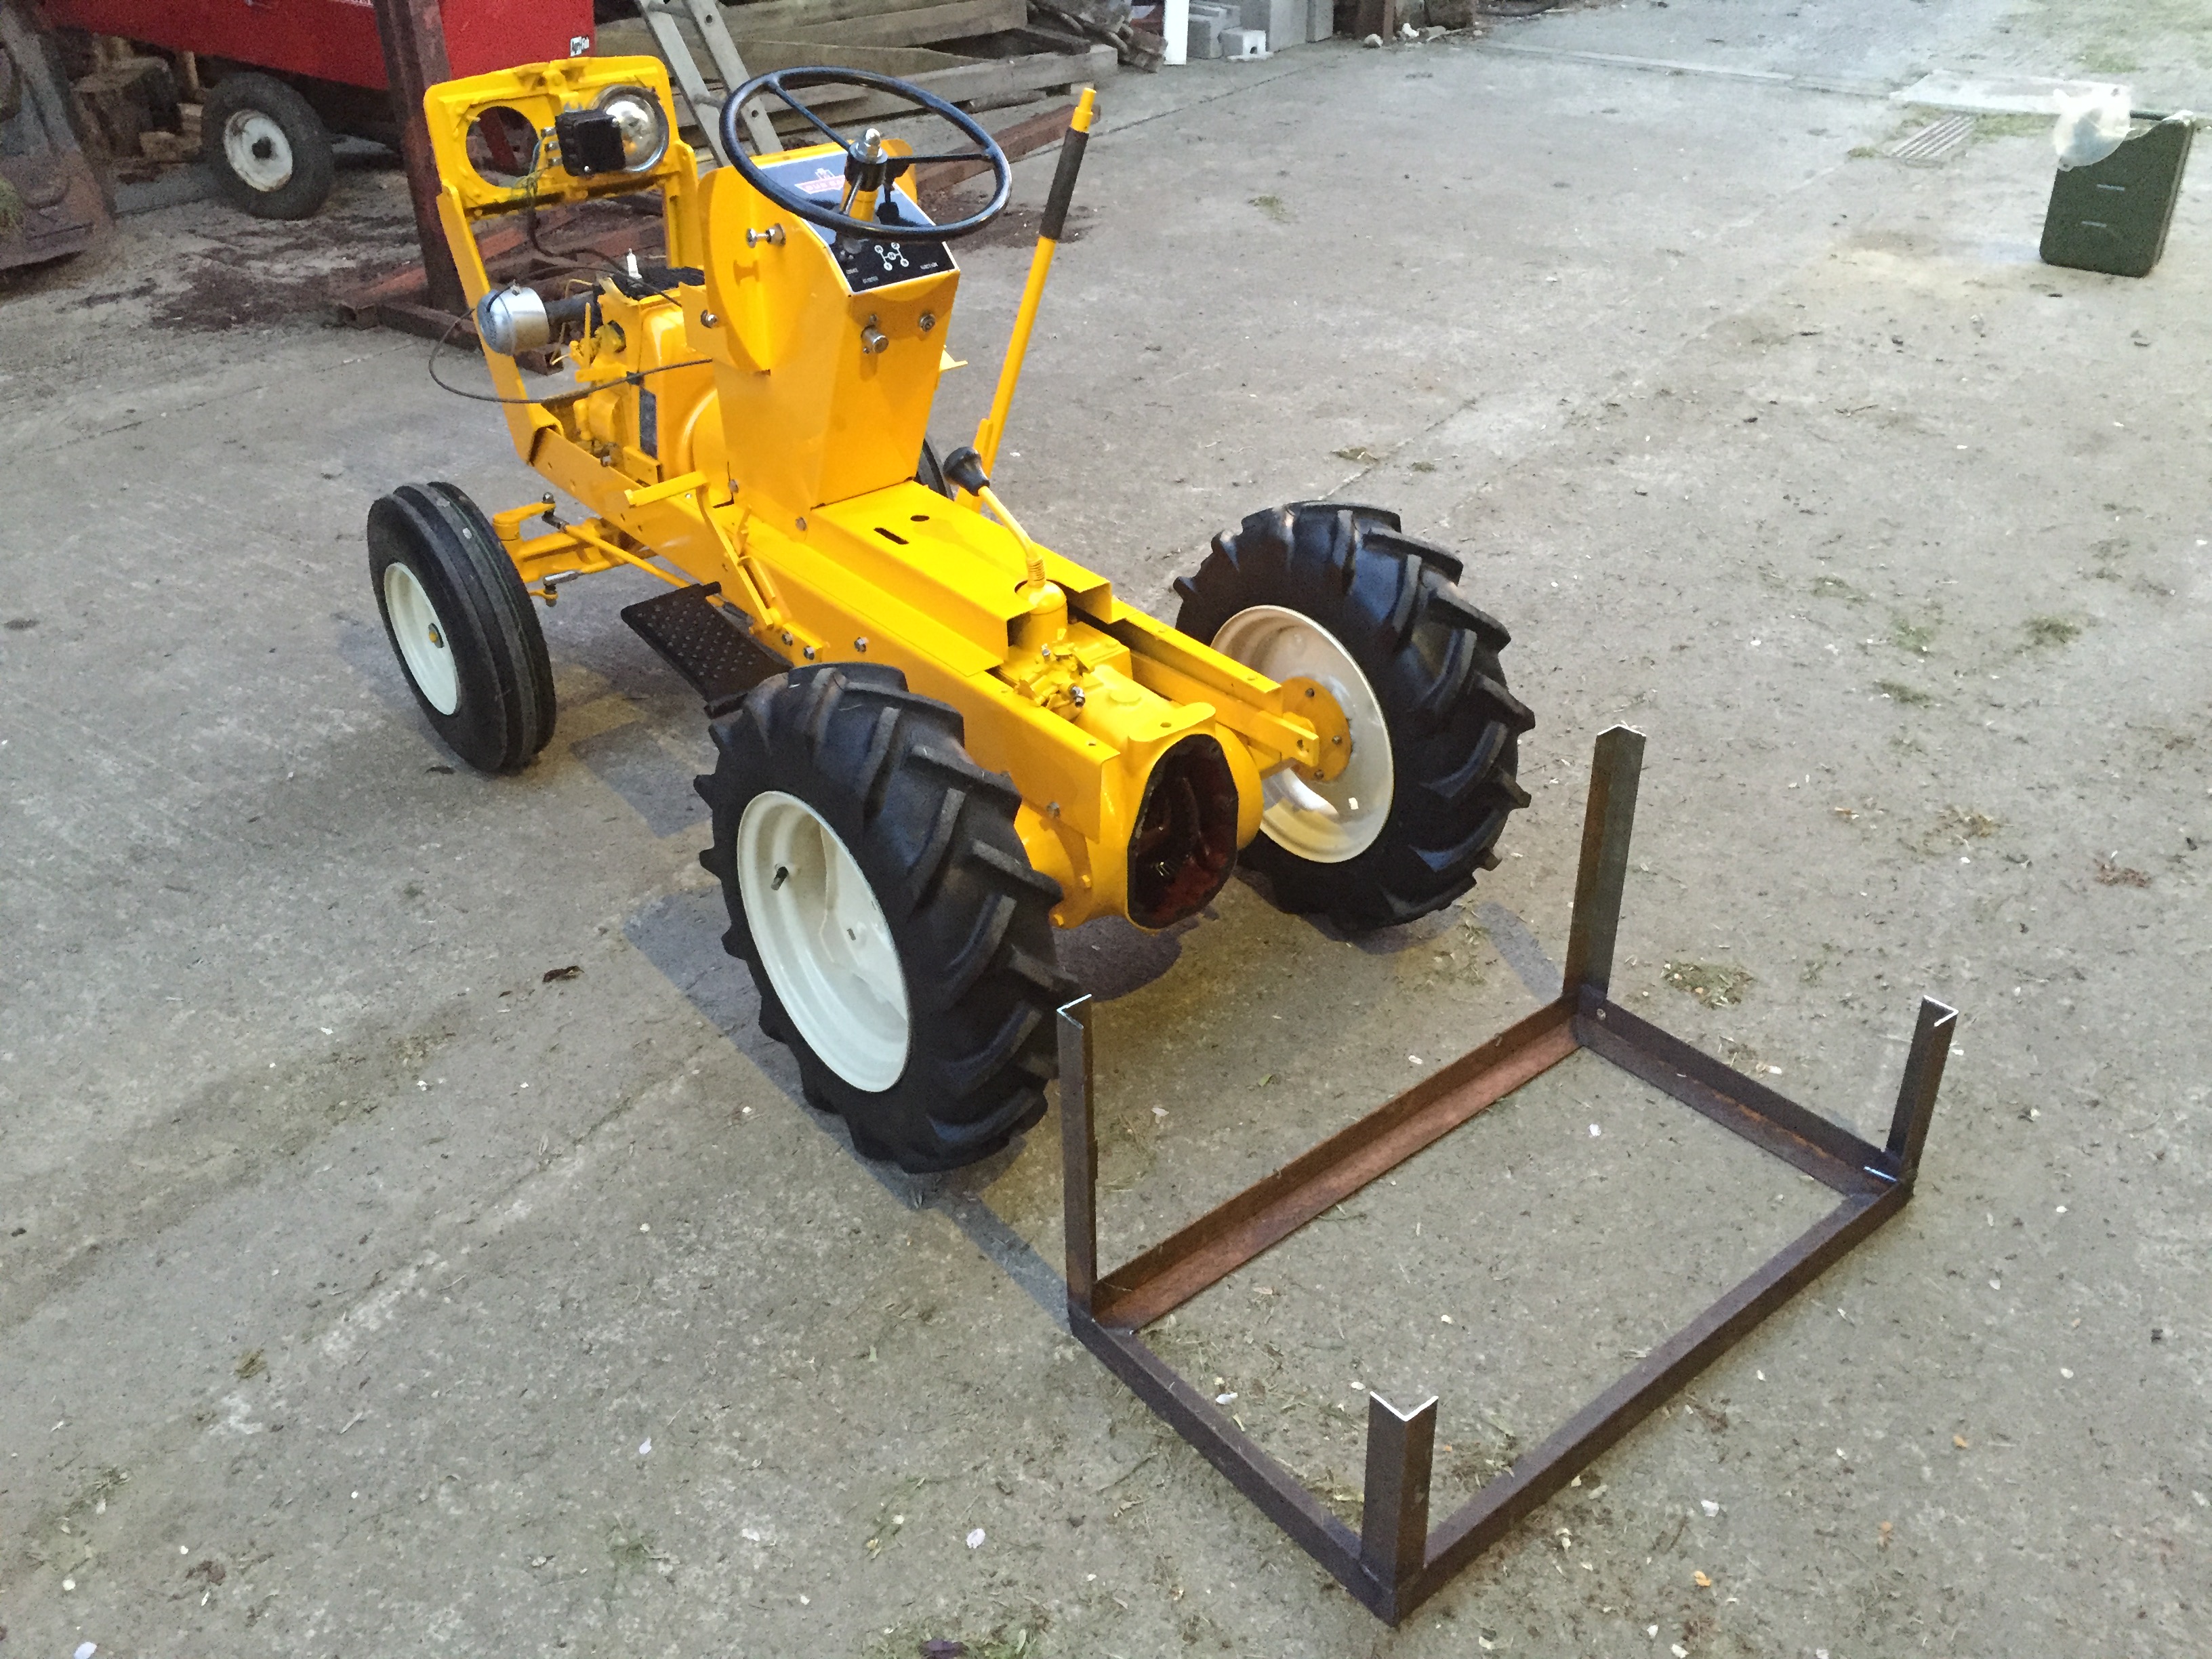
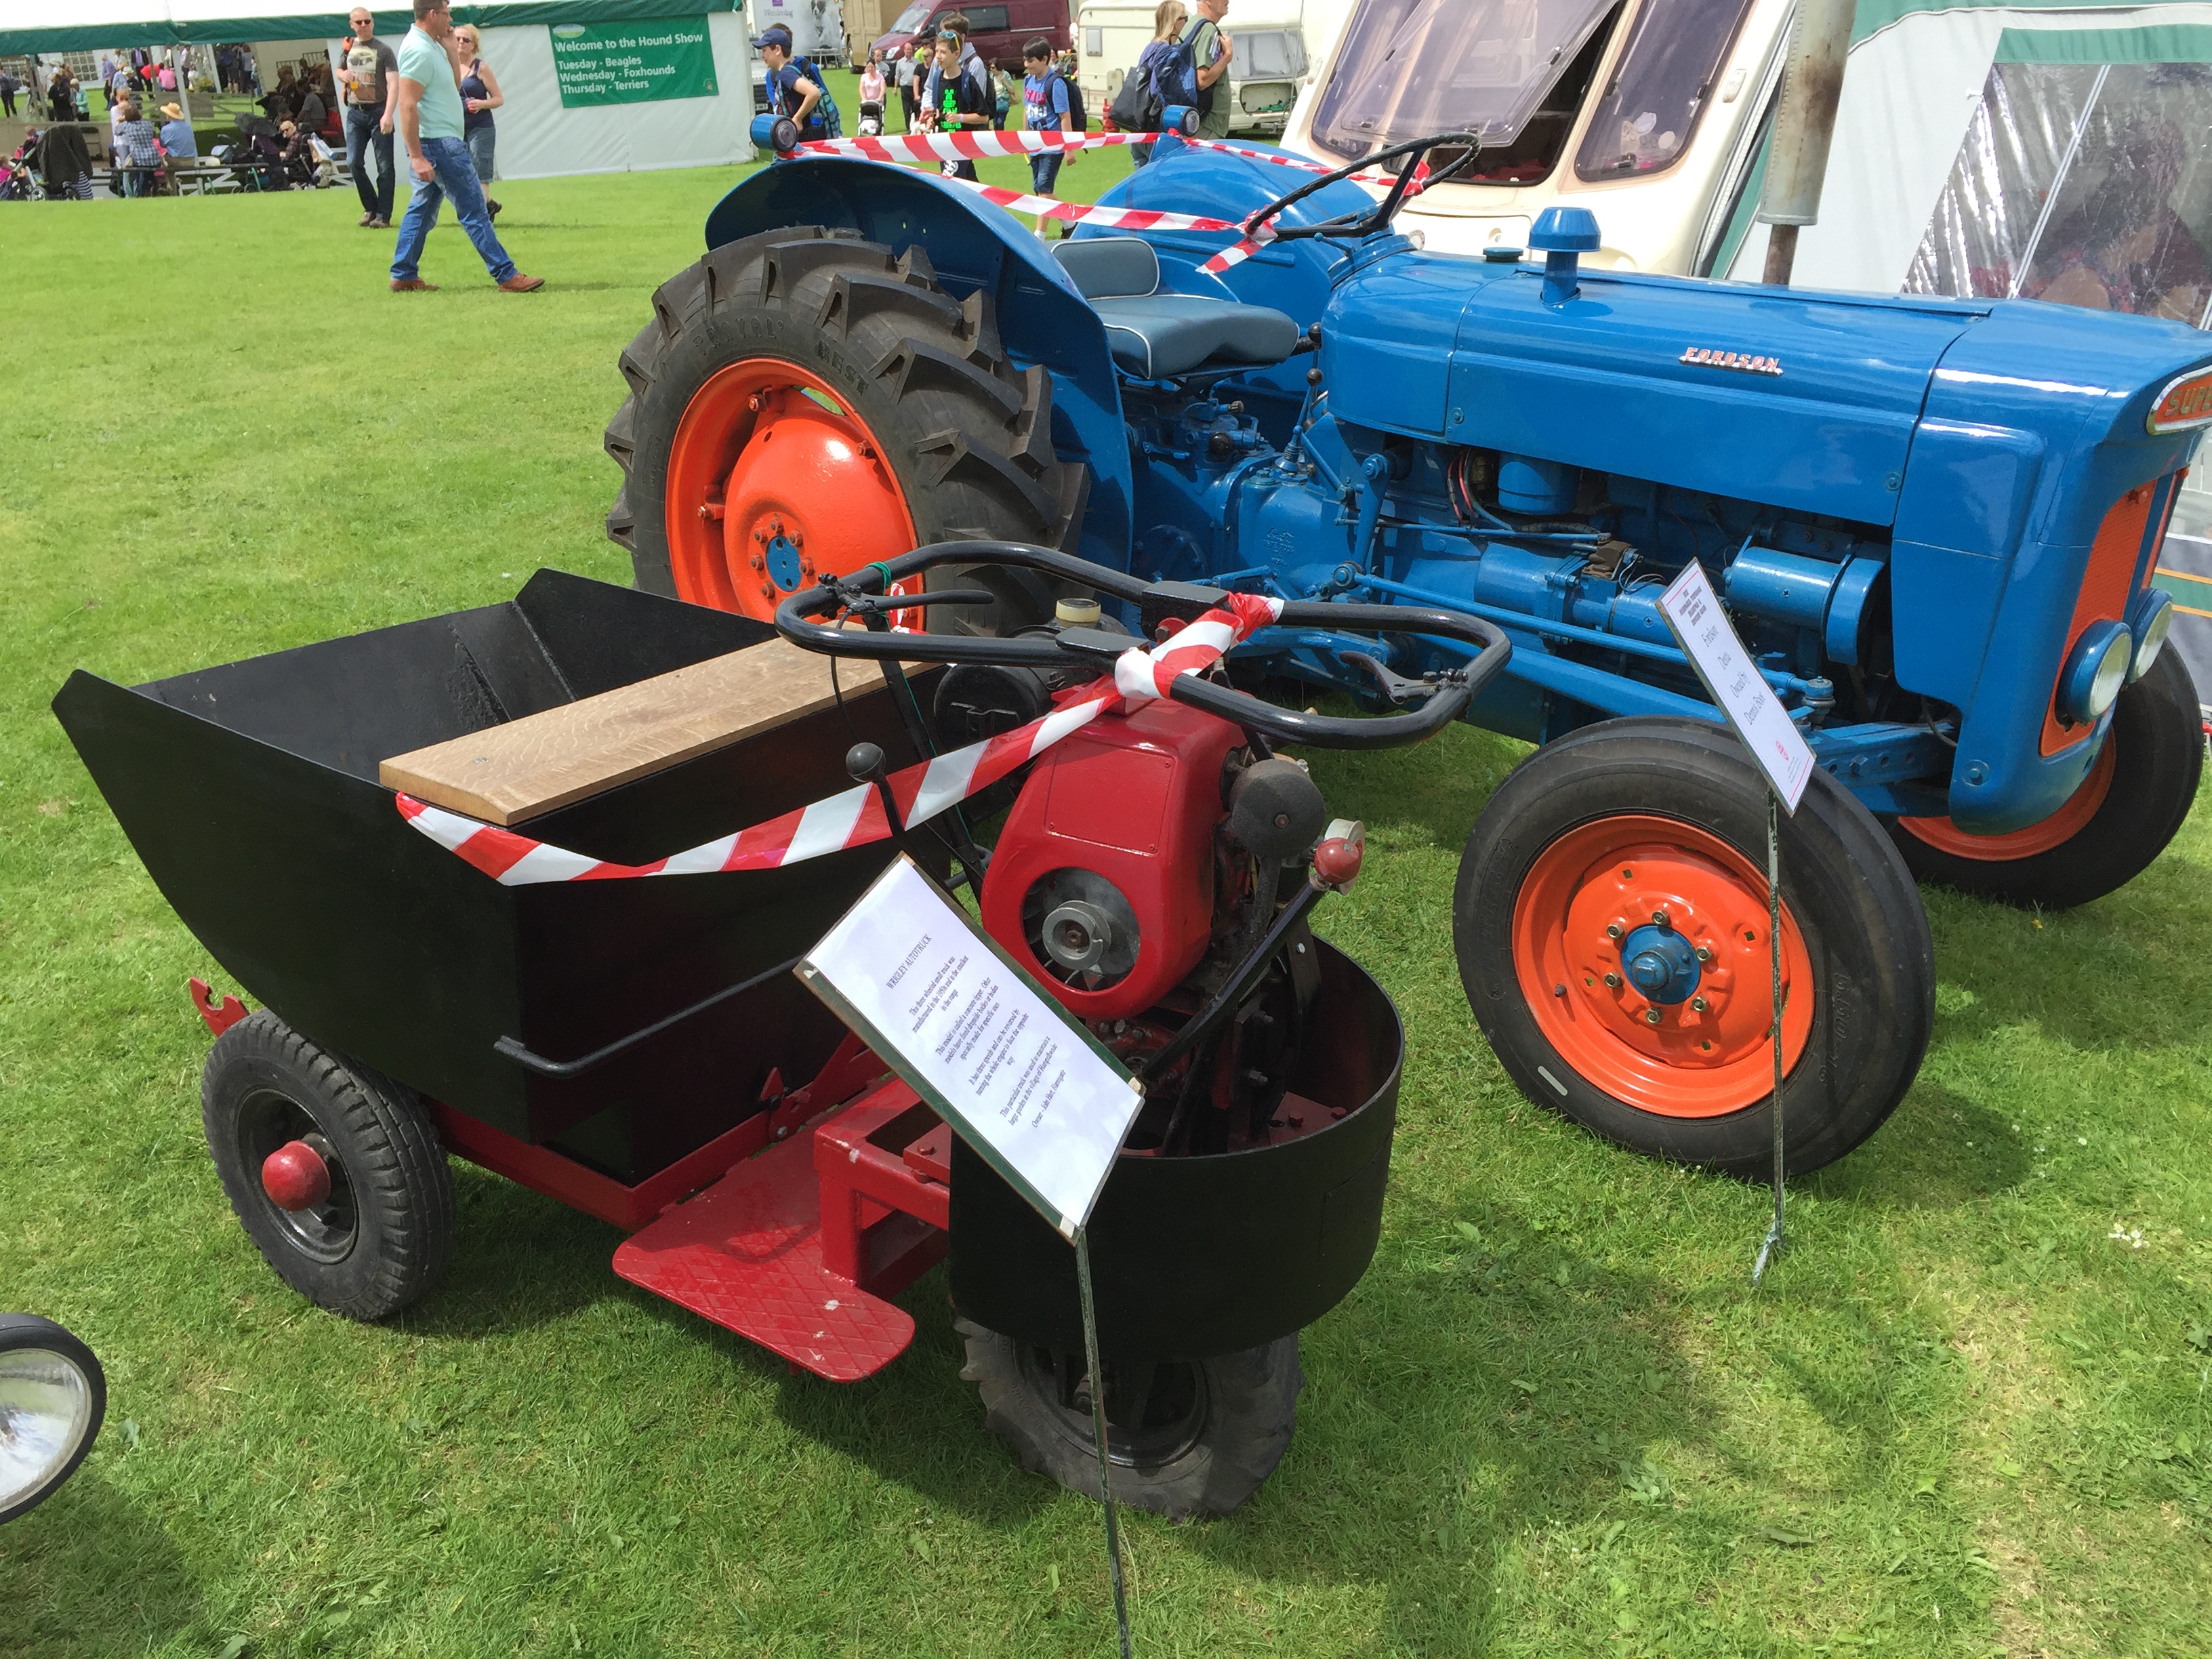
Transport Box
in Home Built Items
Posted
My thoughts exactly, black frame with white sides it is then!")