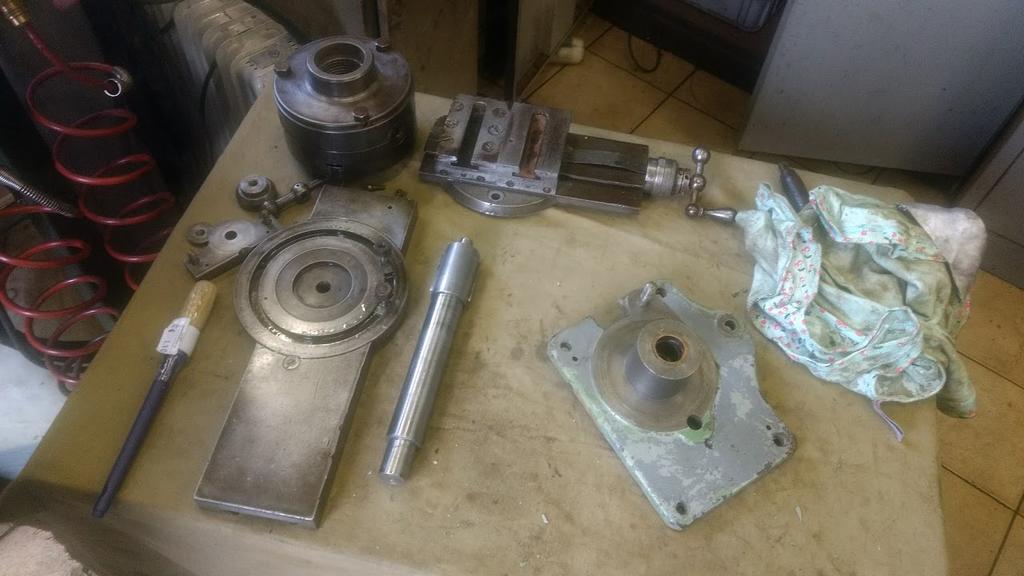
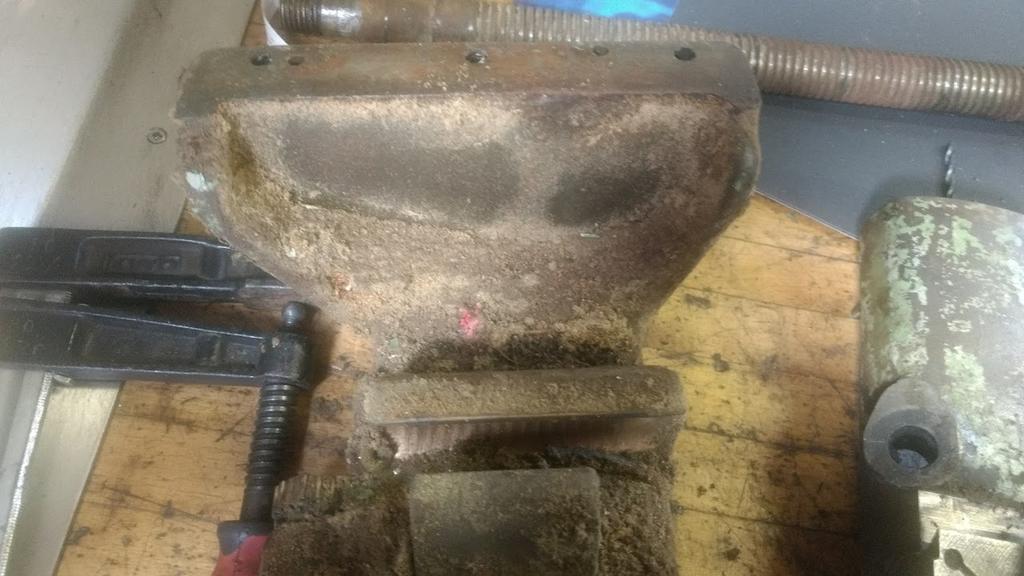
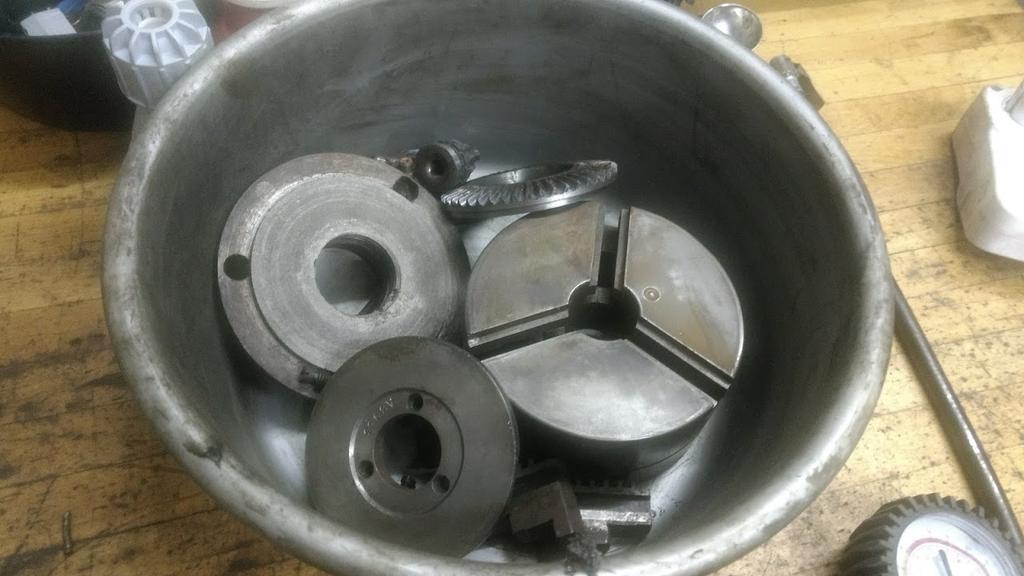
im looking for a decent condition cross slide screw as mine is a bit worn(the acme thread looks like standard allthread/threaded rod) and maybe the original coolant pump if its there.
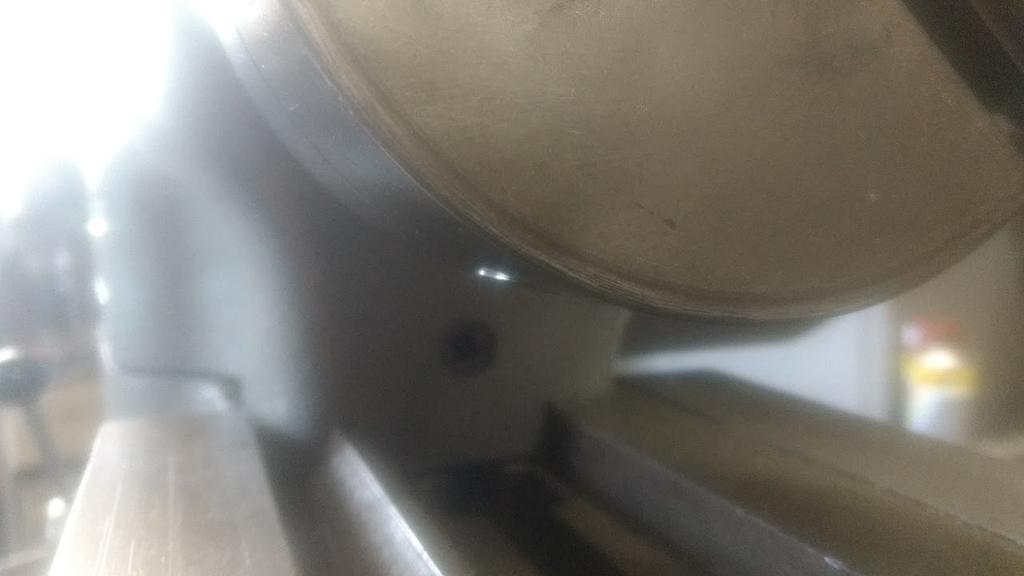
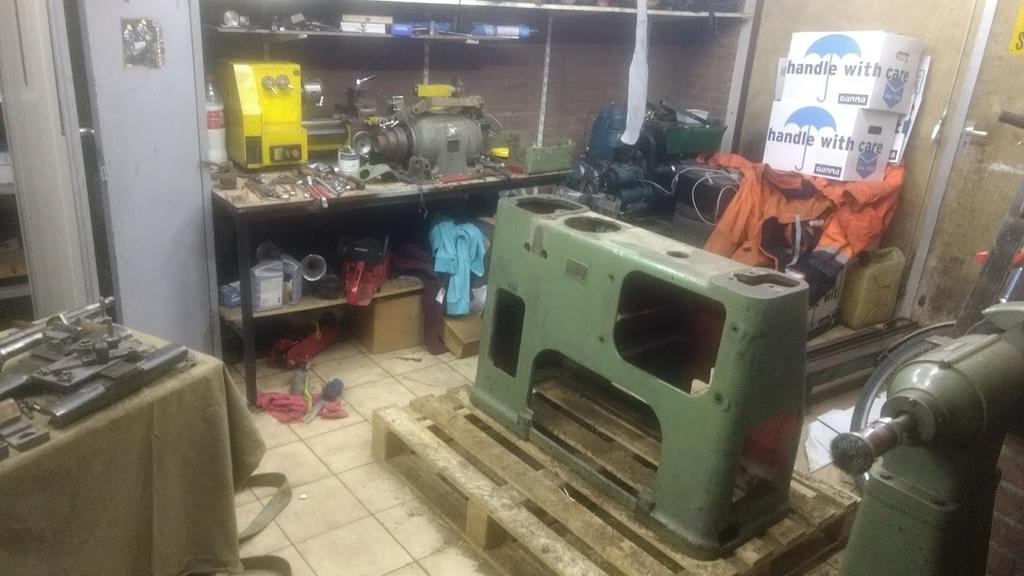
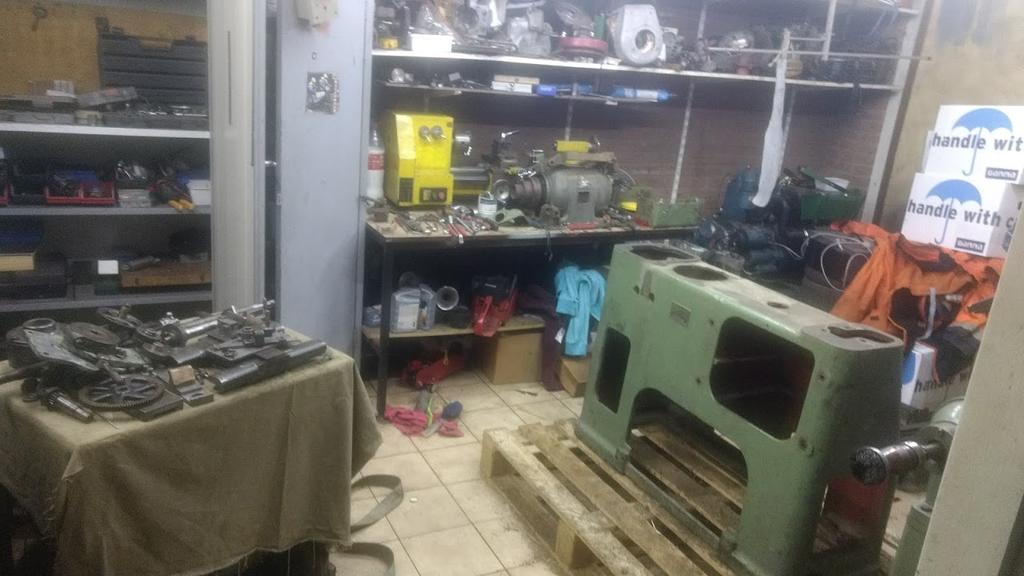
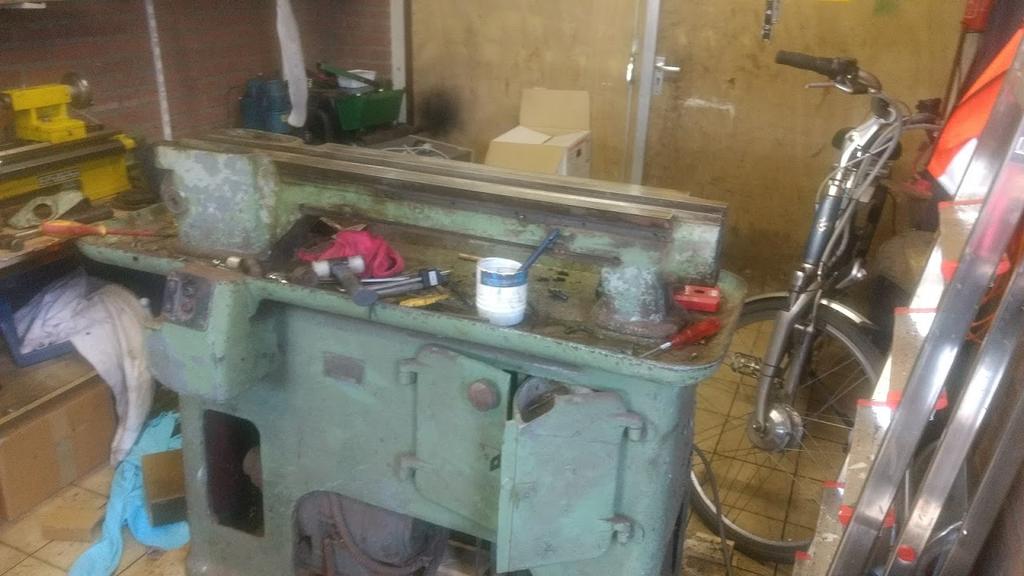
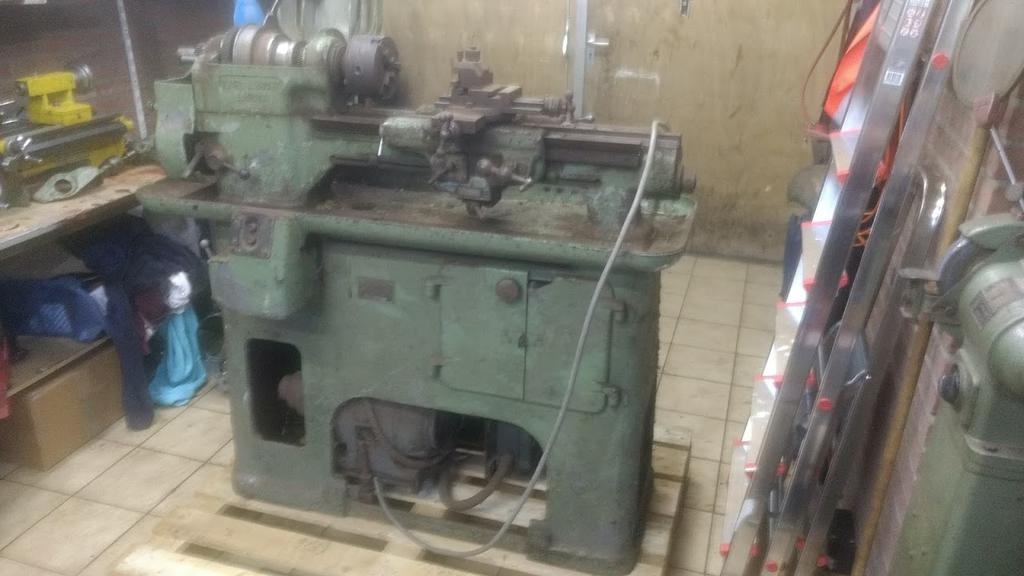
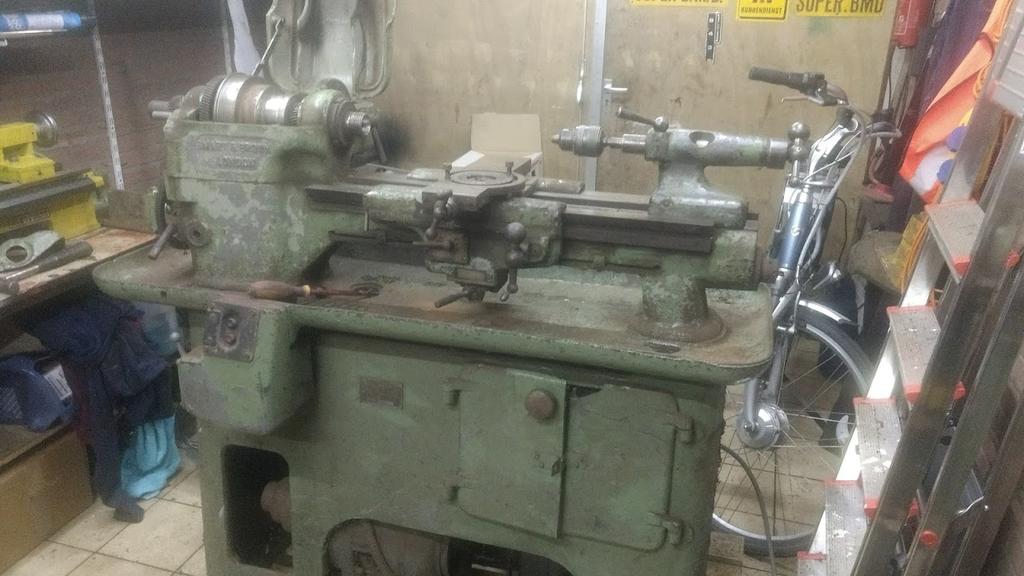
also a little update, this is what the lathe looks like now and has looked like for about a month or so, getting my car ready for MOT and not passing it after a bunch of work has meant not a lot has been done on the lathe
What do you think about the disc culture. It has had a second position drilled further forward as pictured. I think original is the rear mounting position?
should be as close to the plow as possible, to far forward as it sits now
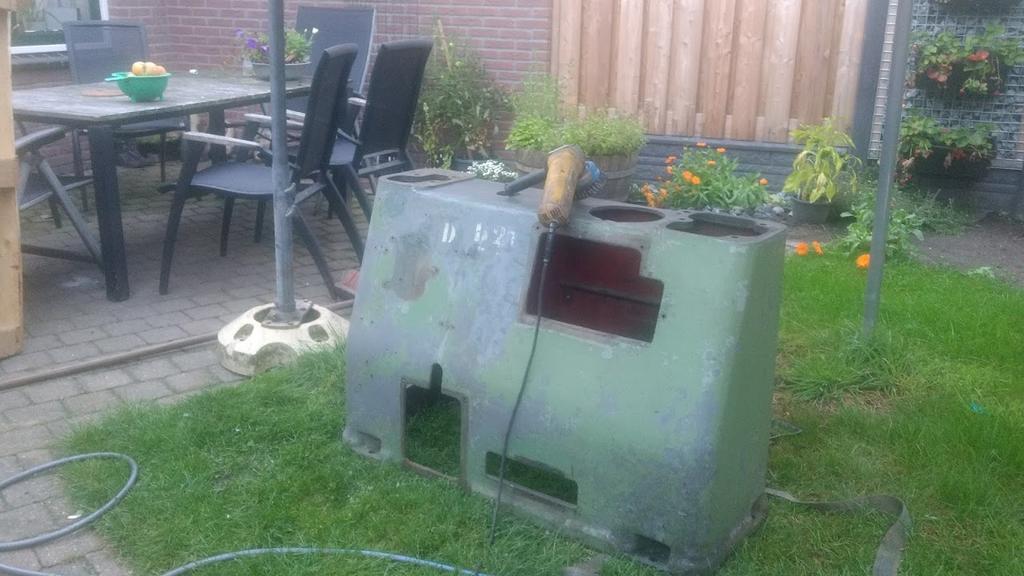
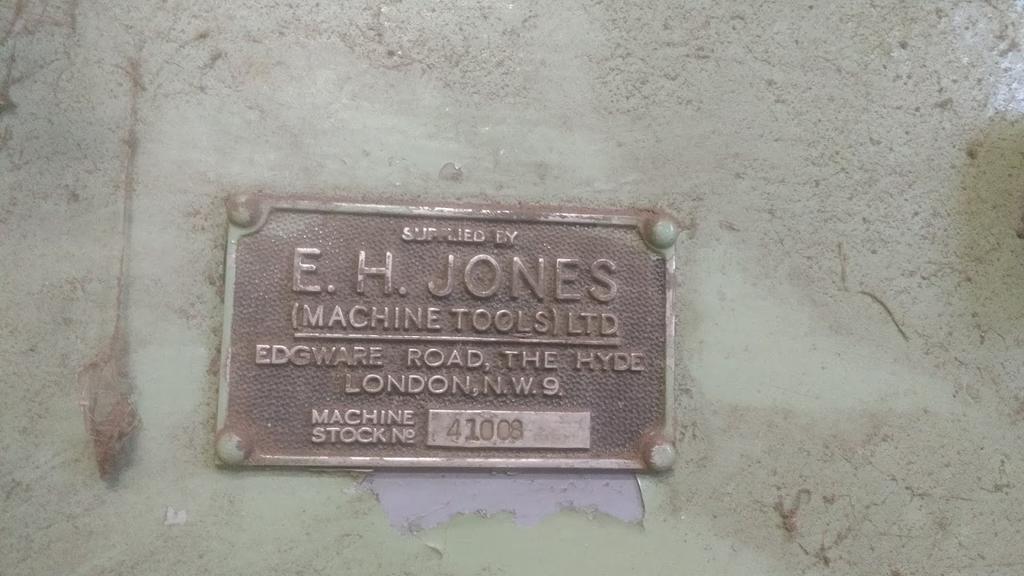
Suspect the D21 was a Workshop/Tool Room machine reference number applied by the Factory/Shop it was used in originally. They were used as a reference when setting up for a
designated 'Job Run' and for the Machine's maintenance. As it was applied to the Back of the Machine, I presume the machines were arranged within the Shop so it could be easily seen.
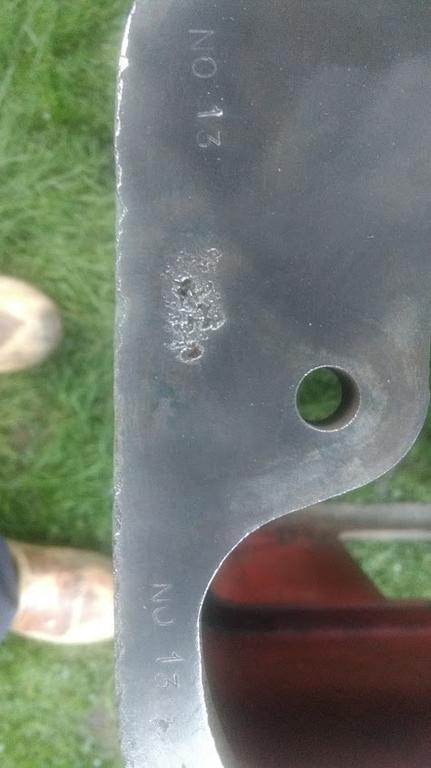
As for the number '13' stamp, not sure, but if the same number occurs on the Lathe/Tray as well, it would be a 'Match' number to keep/identify them together, as they were often shipped in a dismantled condition. If not on both parts, then it may well be it''s number out of a number units 'Cast' from that Pattern , or 'Production Run'.
As your's is a Mk1 Model M, is the Base Casting Aluminium or Cast Iron?.
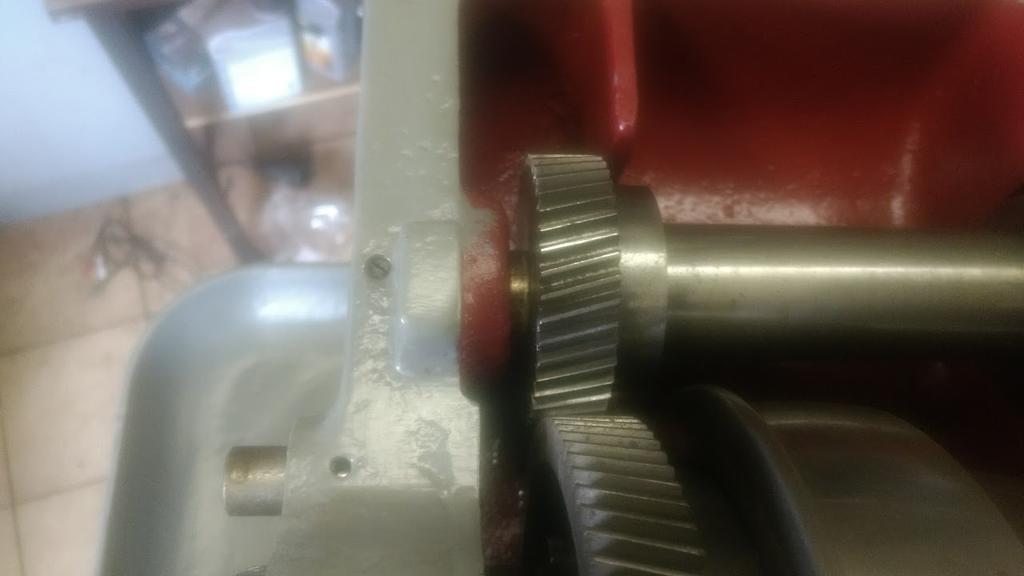
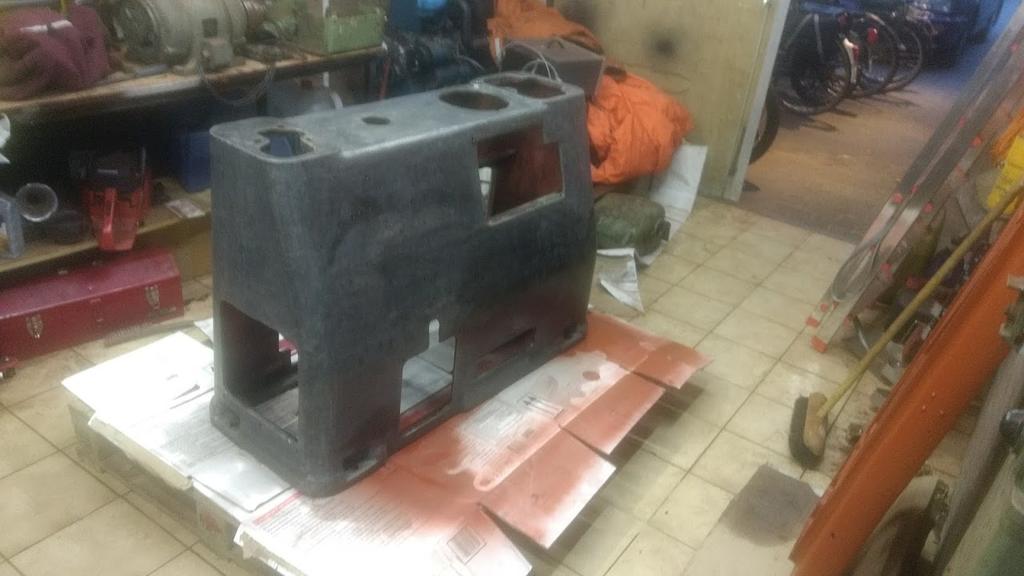
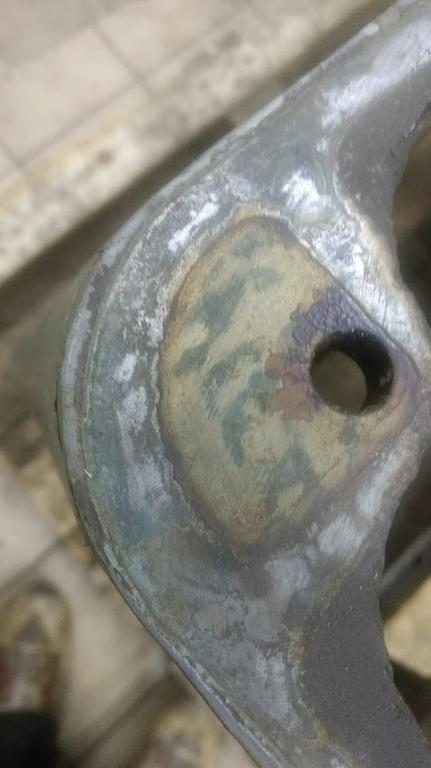
found some numbers on the back of the base, d 21. no idea what these numbers mean but they've been painted over once before and put back on in a slightly different location
also found some stamped numbers in one of the scraped surfaces. could this mean this is the thirteenth lathe build?
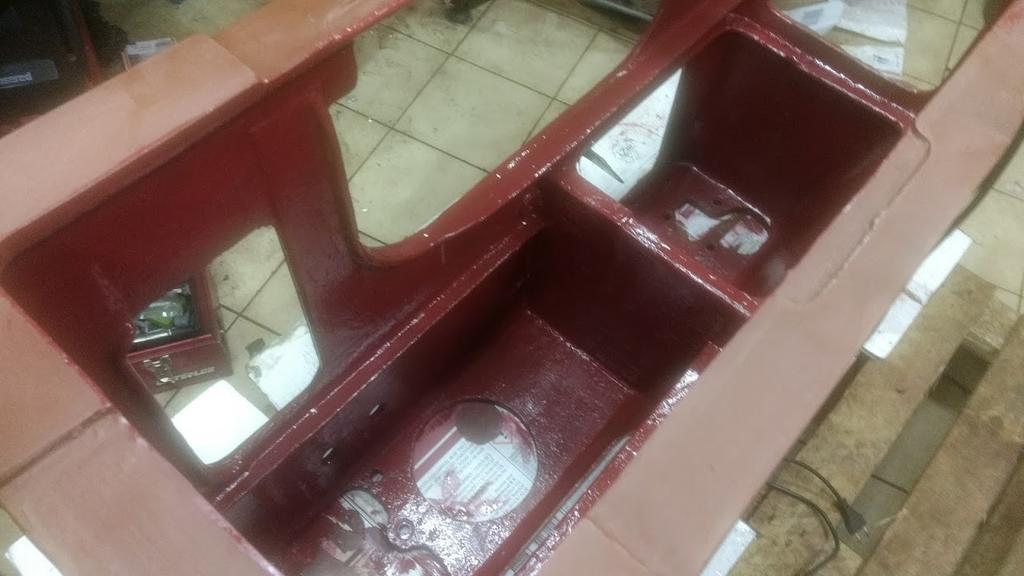
mostly bare metal now, time for some red oxide
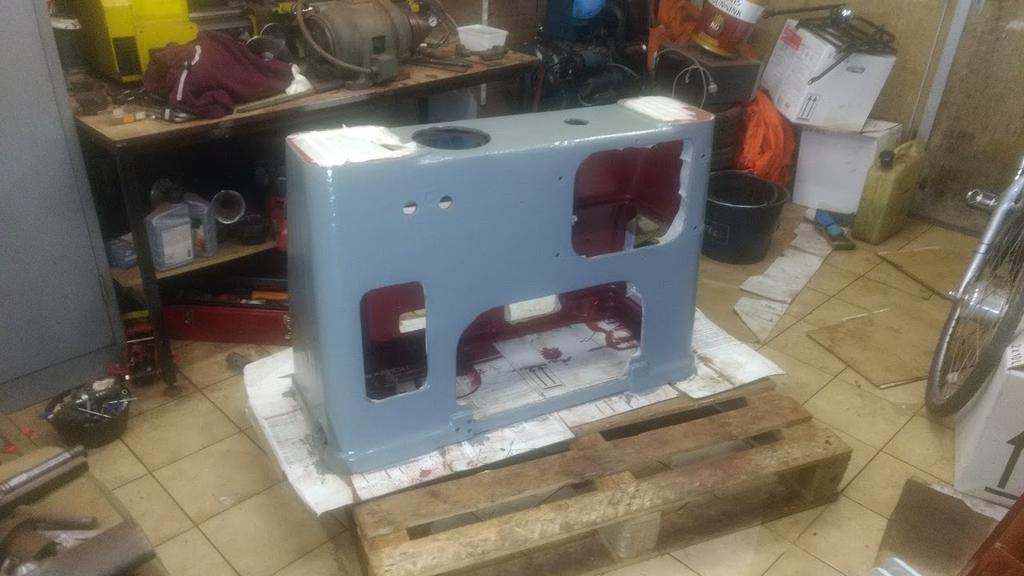
now sporting a nice coat of RAL 3011
tadaaa! first coat of paint on the outside. collour/collor code is RAL 7005
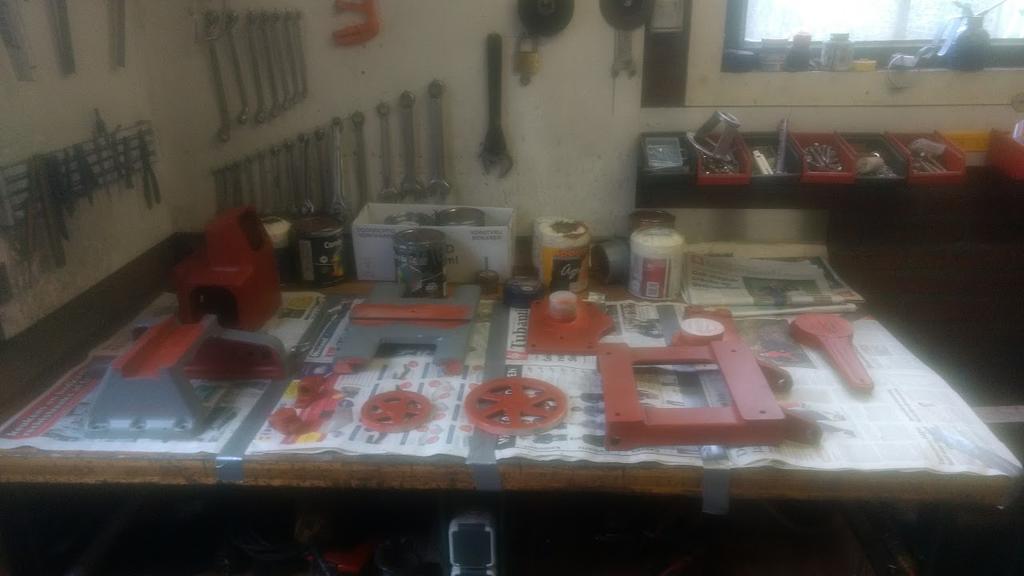
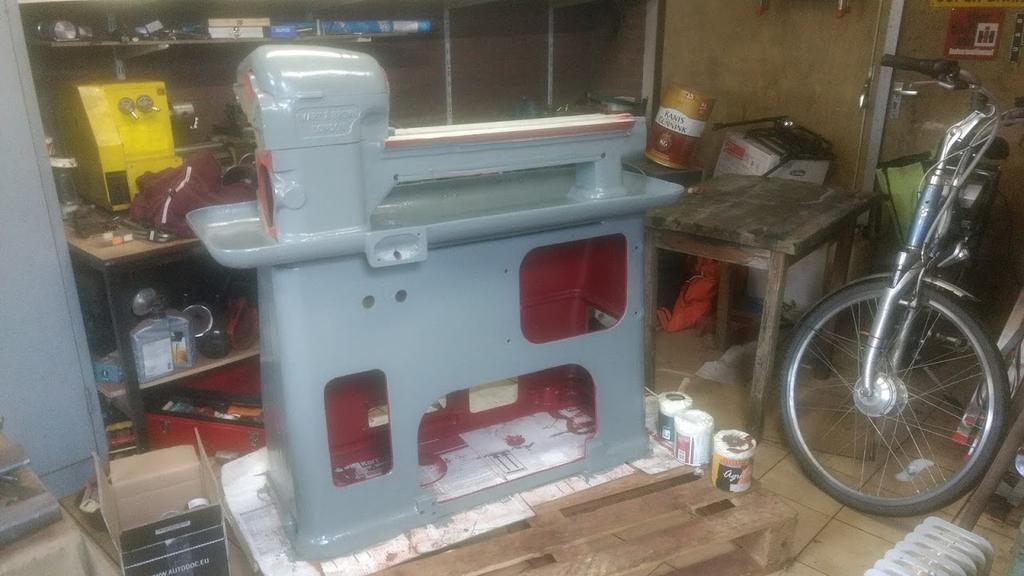
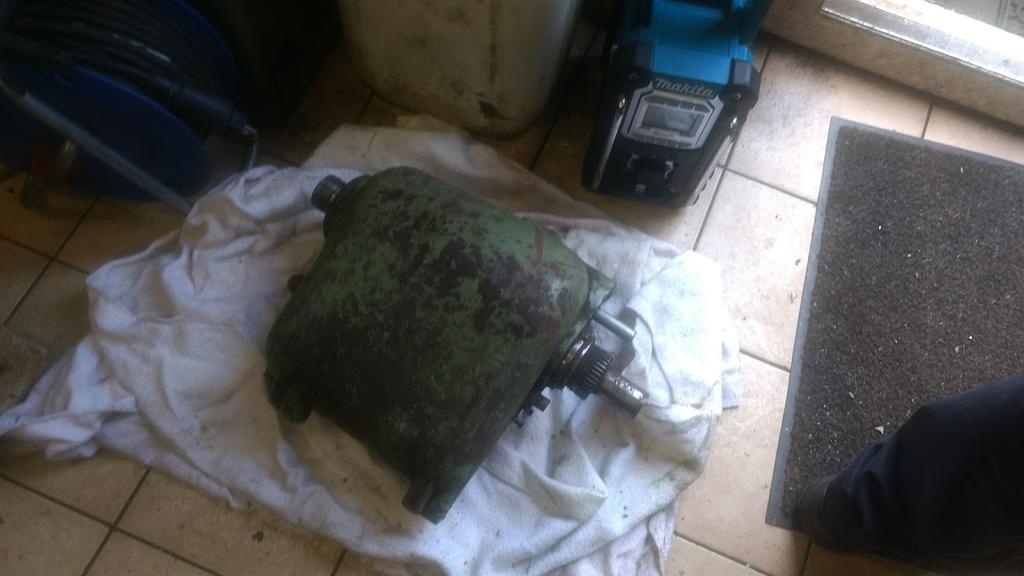
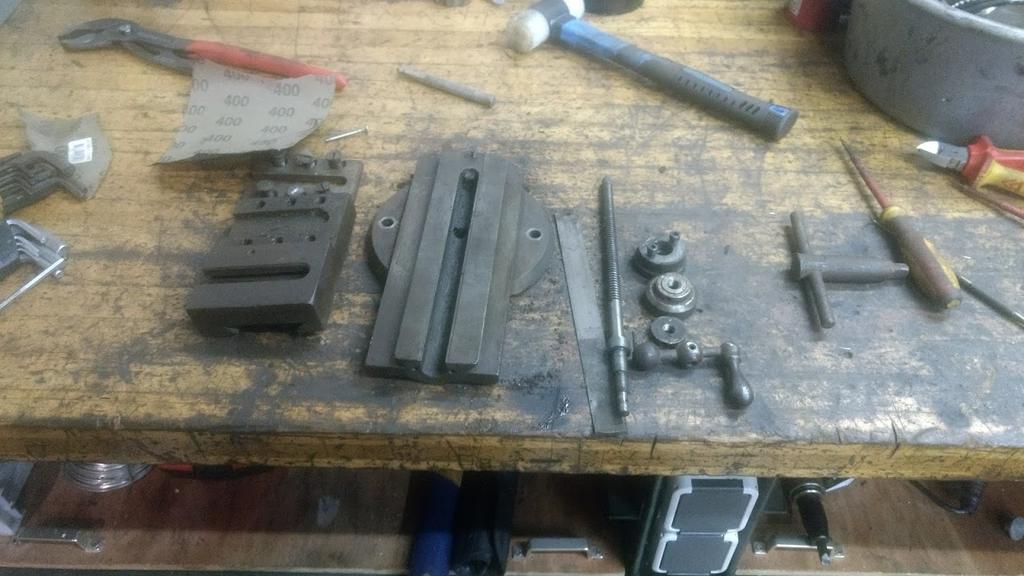
thats all the pics for now. i did hot pressure wash the ways and some of the other big bits as they were pretty greasy and it also took most of the non original paint off.
and before you ask yes i did dry and oil all the machined surfaces after washing it
are there different versions for hydro's and manual transmissions? i thought they were all the same? anyway have a look on craigslist or on redsquare classifieds.
i've come across these people in oncoming lanes when driving big tractors, mostly the bmw's that steer towards the tractor to make you move over. they most often quickly rethink their actions when i do the same after they did it
My personal view of sealed for life bearings is not the best. When I rebuilt my rear discharge deck, I removed one seal and fitted the bearings seal side out. I like to use a grease gun now and then.
As to paint for underneath, a good agricultural enamel.
one of the arguments of not doing that is eventually pushing the outer seals out with grease.


")


Big Bit of winter fun
in Ride On's
Posted
isn't it fun playing in the snow? i spent my afternoon the same way, clearing all the sidewalks in the village atleast an hour of play time