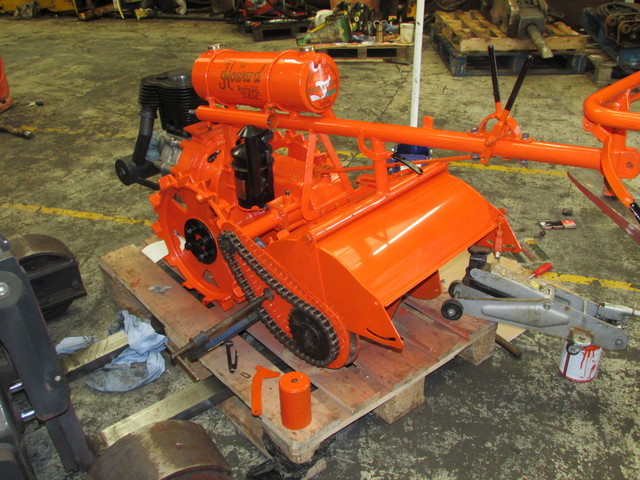
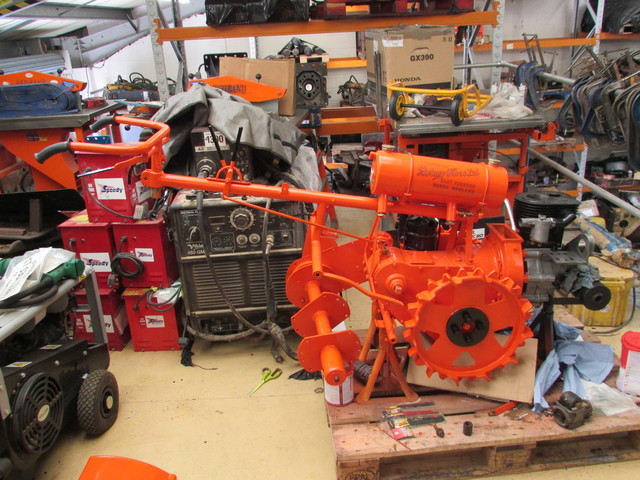
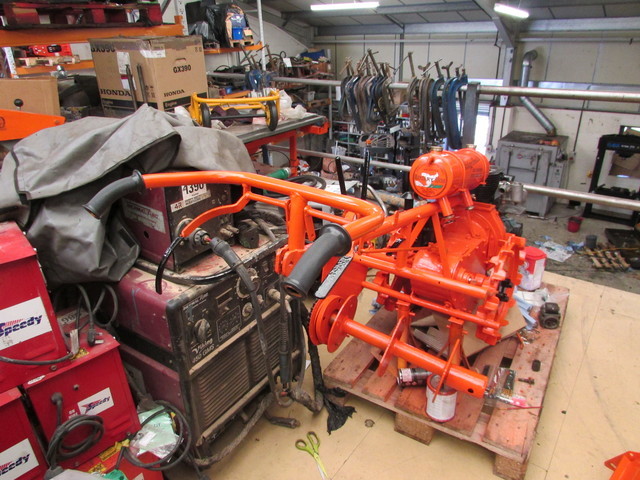
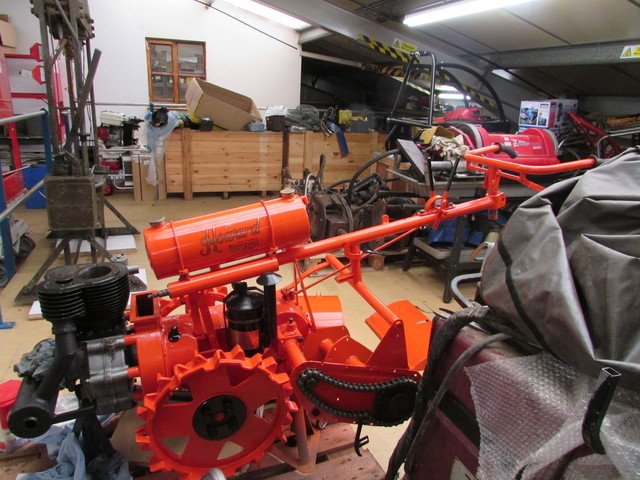
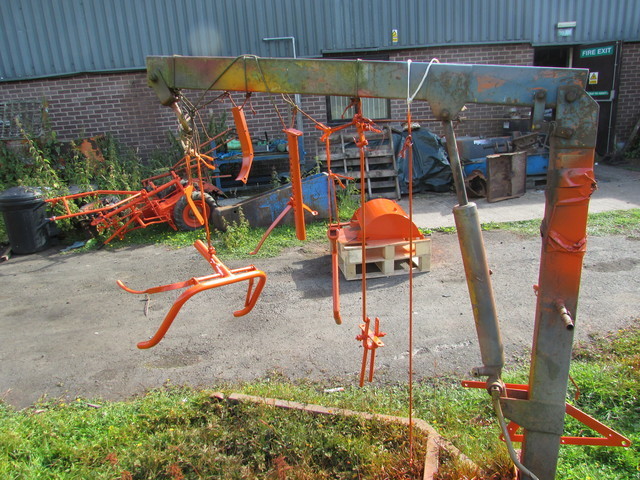
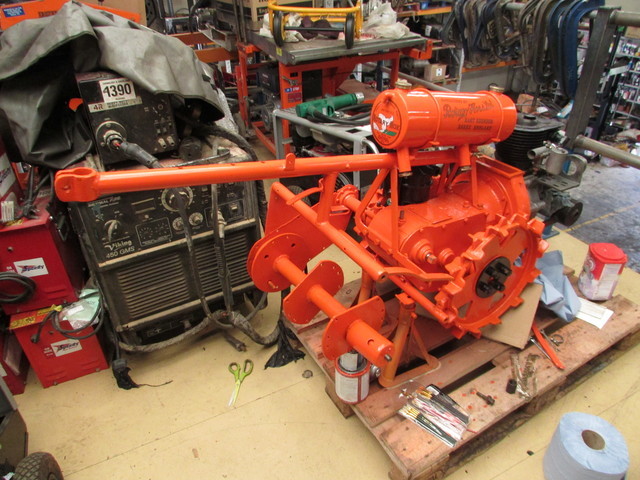
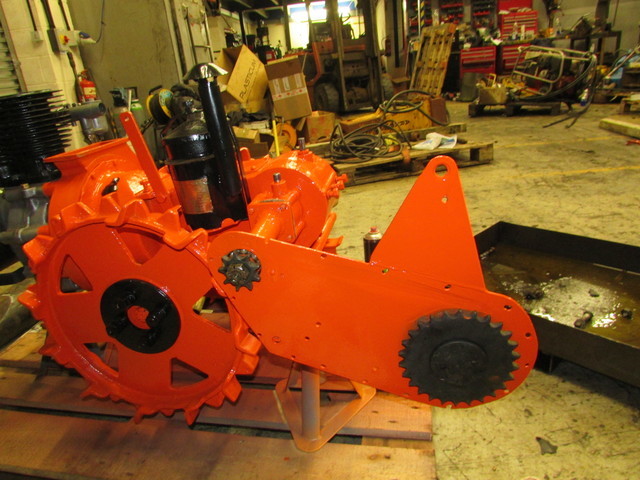
Believe me it's a beast, especially when you engage the auger! It drives and steers really well though. Very impressive bit of engineering.
I haven't even got the rear conveyor on yet it's 8ft.
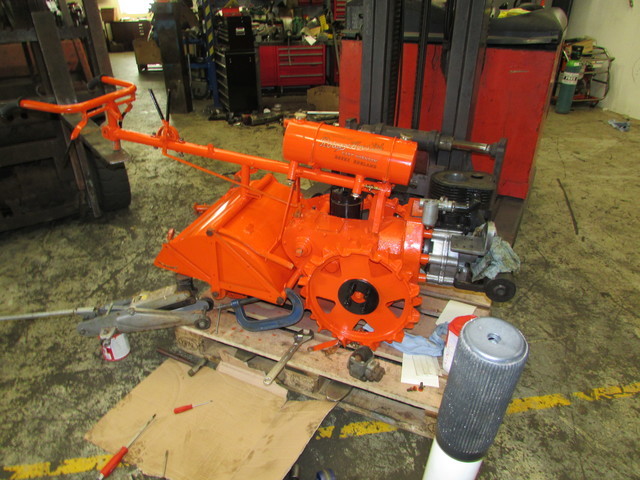
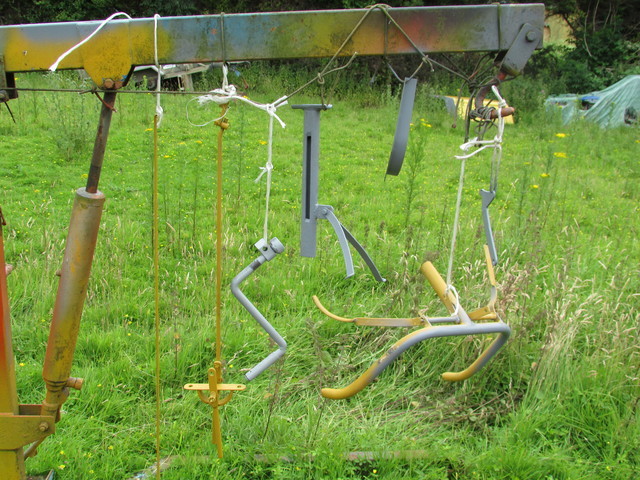
The trouble is the front auger only has about 1 1/2" ground clearance, it would be impossible to drive onto a trailer, I am coming to the realisation that I will have to move it on to someone more equipped, the trouble is putting a price on it, it's the only complete one known to exist.
I am looking into raising the front auger without cutting anything, maybe using plates.
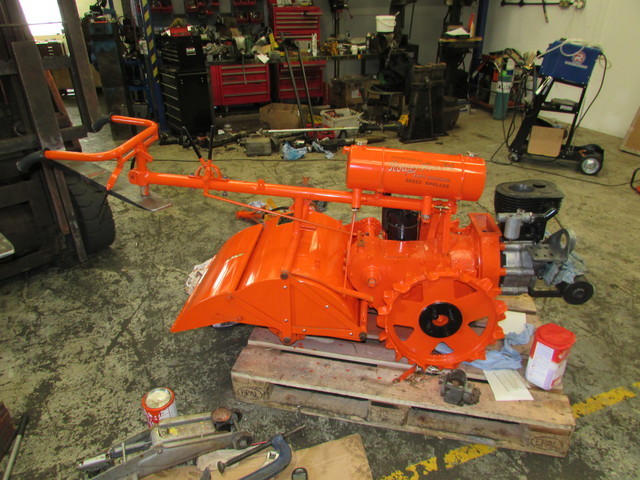
Some times though the price is irrelevant, it's more important that something like this is preserved and shown to the public .You've done a fantastic job getting back up and running, is there no way you could move it about? Would it be within the lifting capability of a high ab on a trailer? ( I've no idea what these would weigh).
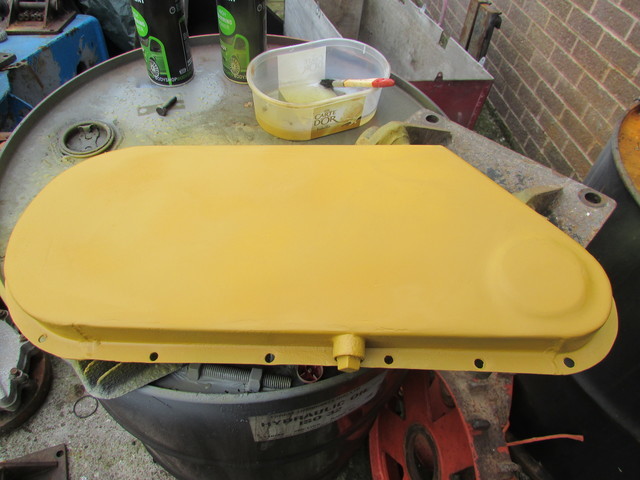
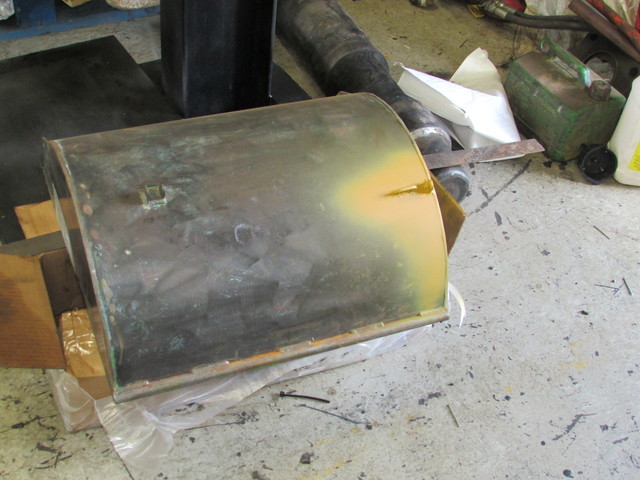
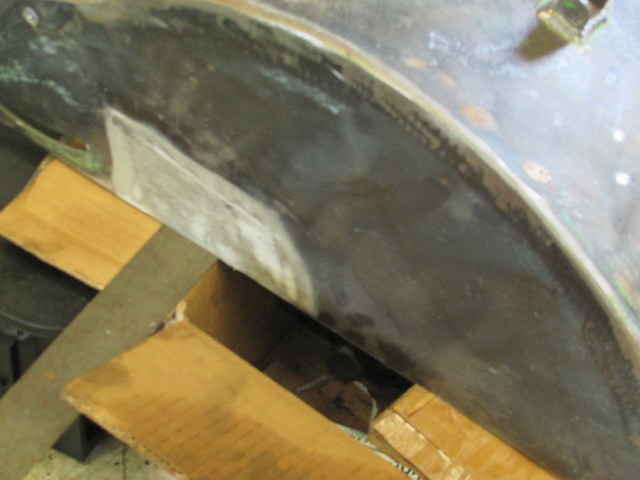
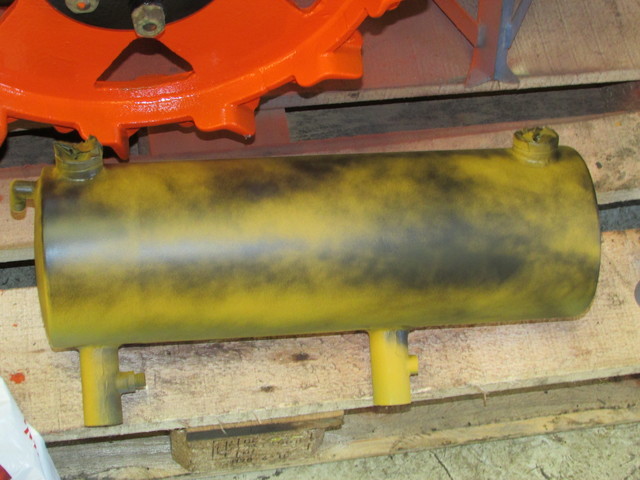
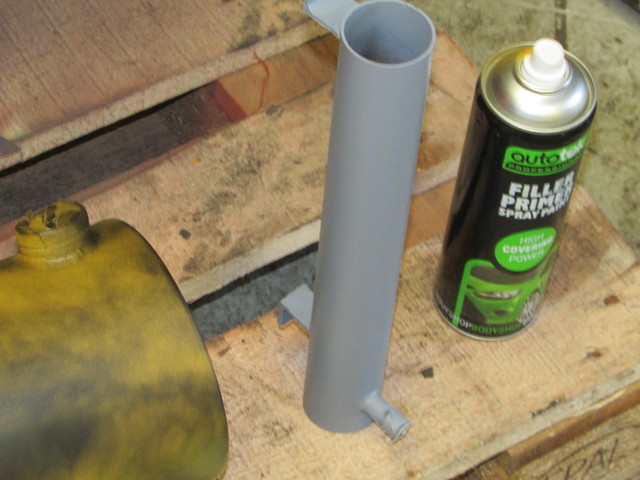
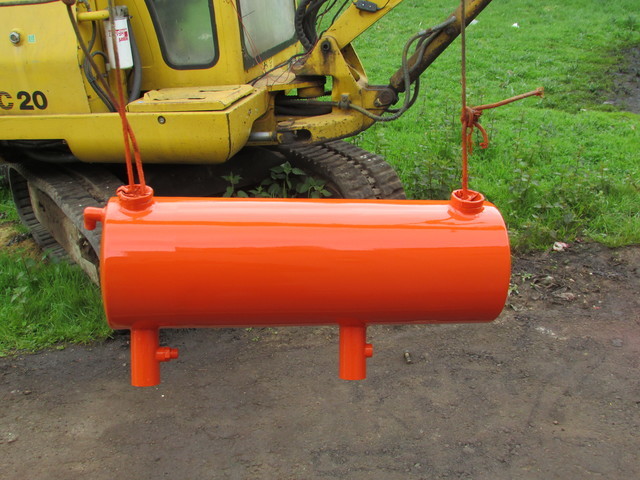
On my Howard gem I've just got the tank back from the blasters and there a couple of small holes in the bottom. I've got some por15 sealant, however when I came to clean the tank ready I noticed that somebody has already been in there before with sealant and unfortunately it's started to crack and lift in some places. Does anybody have any thoughts as where to go from here? Do I just poor the por15 over the top? Or how can I go about removing it?
On my Howard gem I've just got the tank back from the blasters and there a couple of small holes in the bottom. I've got some por15 sealant, however when I came to clean the tank ready I noticed that somebody has already been in there before with sealant and unfortunately it's started to crack and lift in some places. Does anybody have any thoughts as where to go from here? Do I just poor the por15 over the top? Or how can I go about removing it?
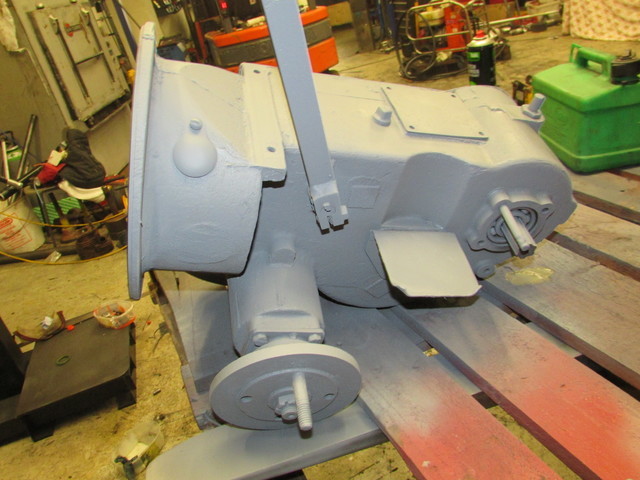
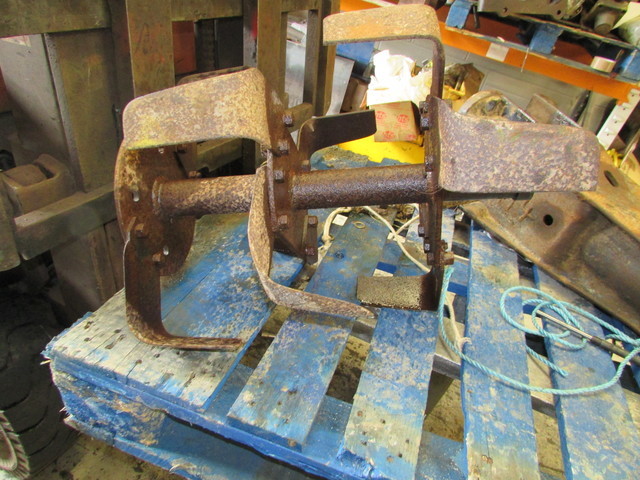
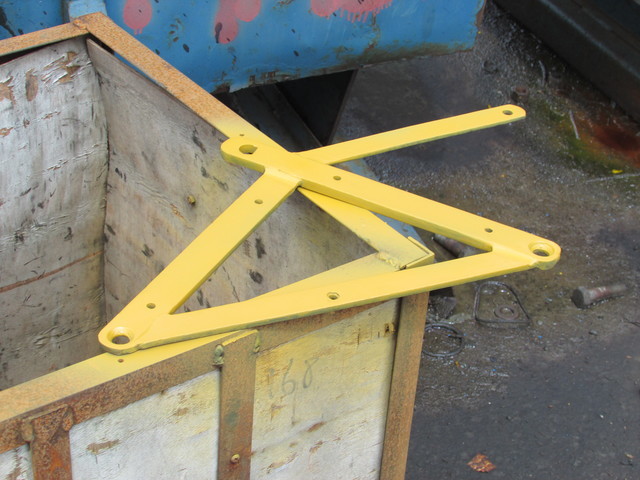
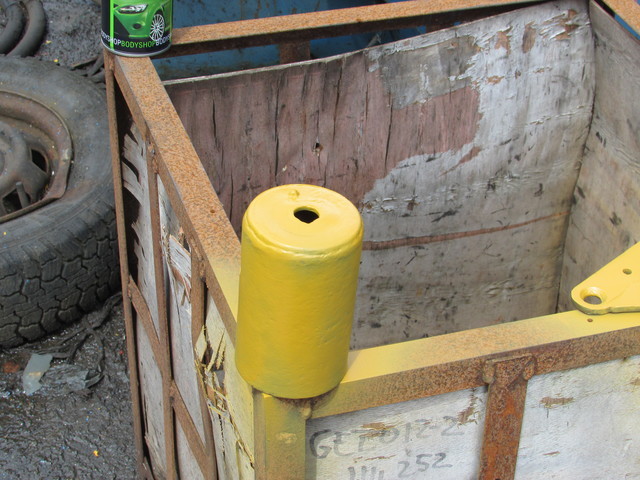
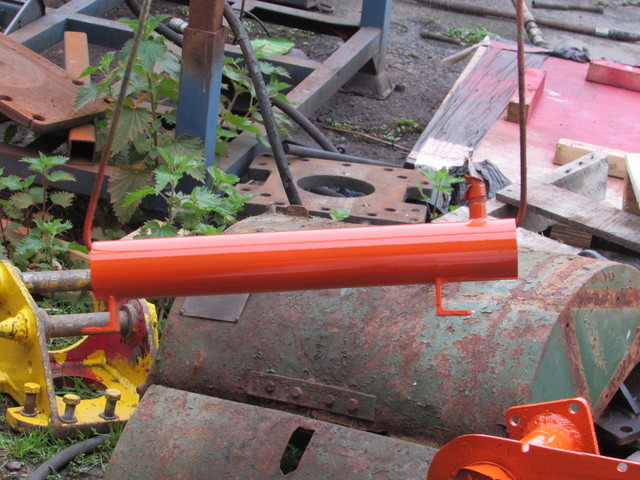
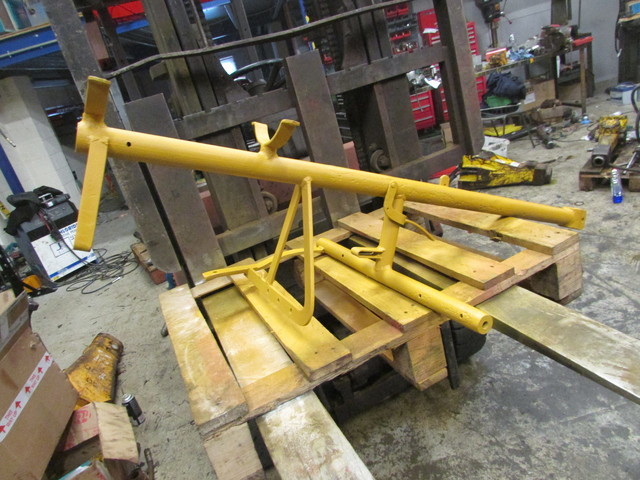
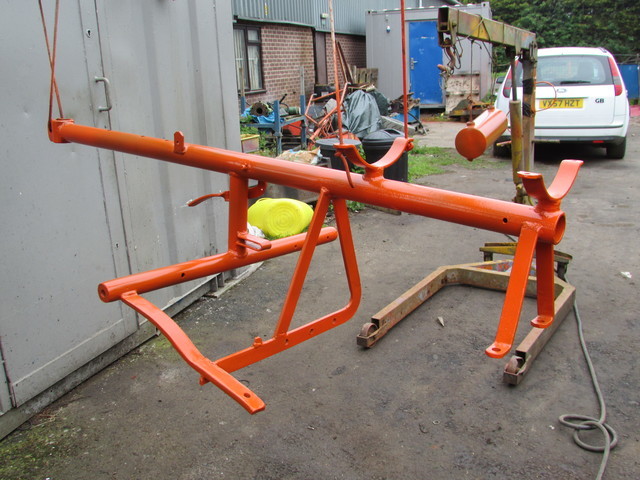
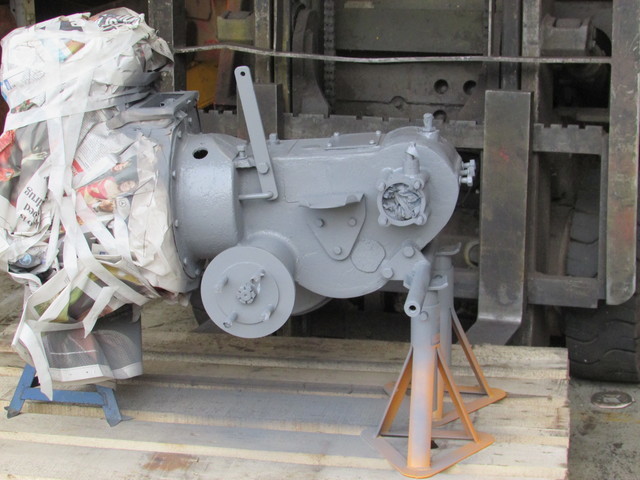
Just received a call today off the blaster, my frame and a few odds are ready, he must be going out for a drink tonight as he's panicking for me to go and collect them today and pay him!
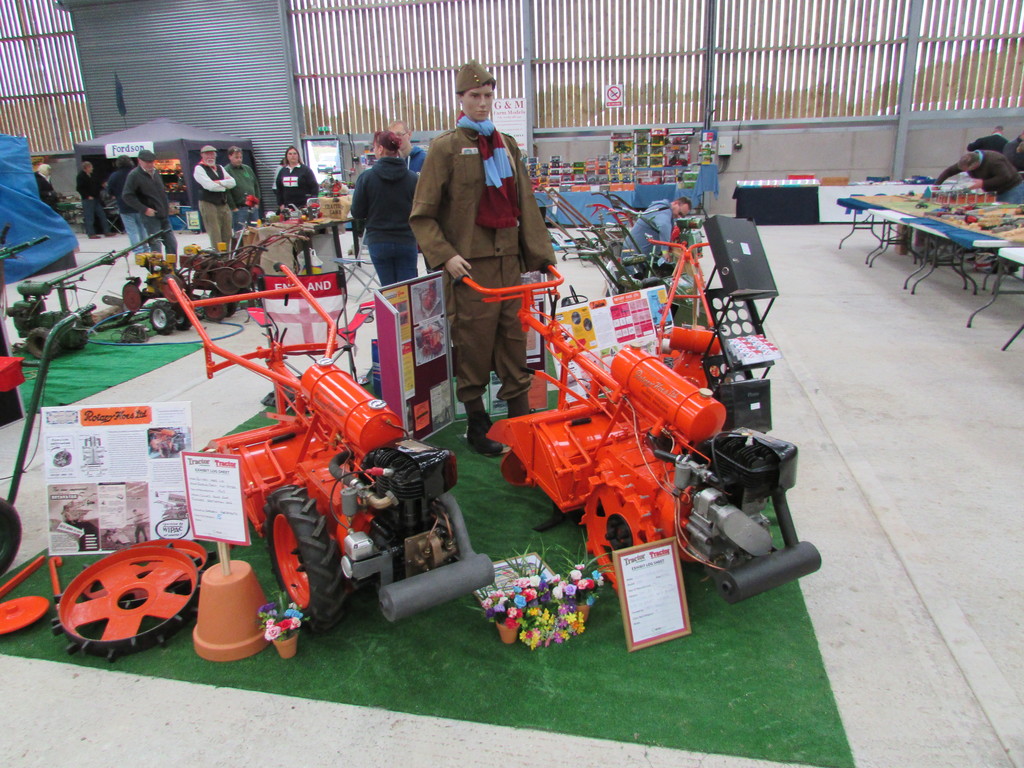
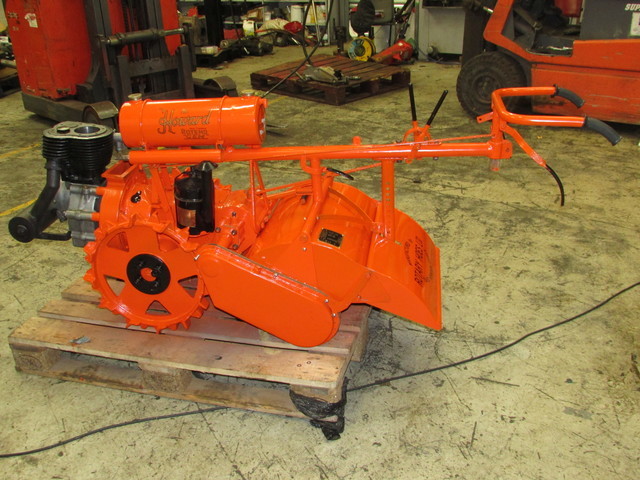
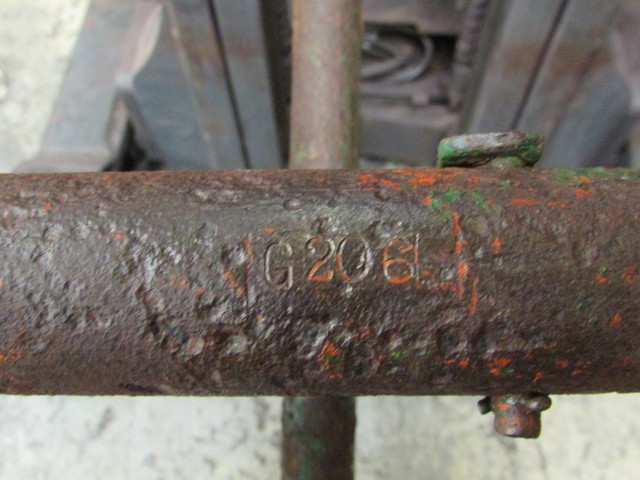
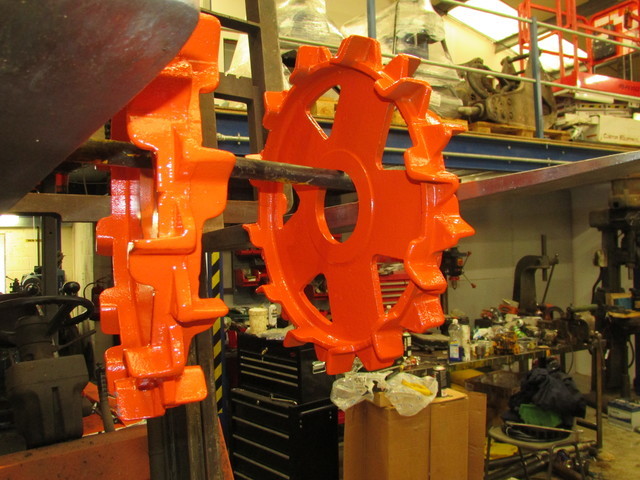
Hi pat, nice to see you back. Re the wheels, after putting up the photos of the wheels I've had quite lengthy discussions with people who were around when these machines were newish. There seems to be no definitive answer as to what wheels were used and when. The early type here I've used for the time being on g206, unless I can turn up another early set I may have to use the later type on this gem, it may not be incorrect anyway as by 1944 the later type were definatley in use on allmost all gems accept the very rare few that came with pneumatics in those days.
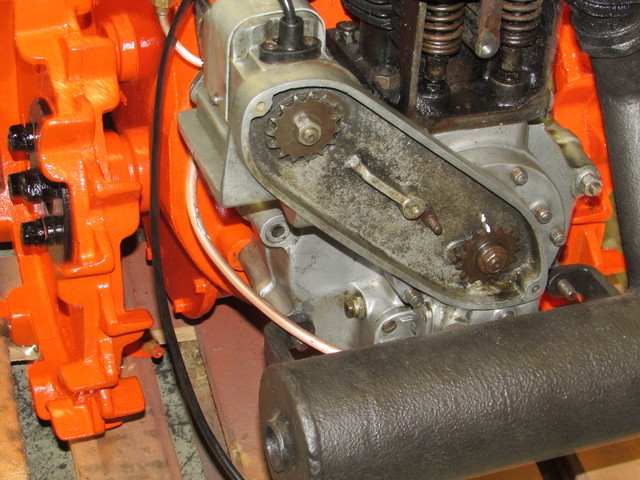
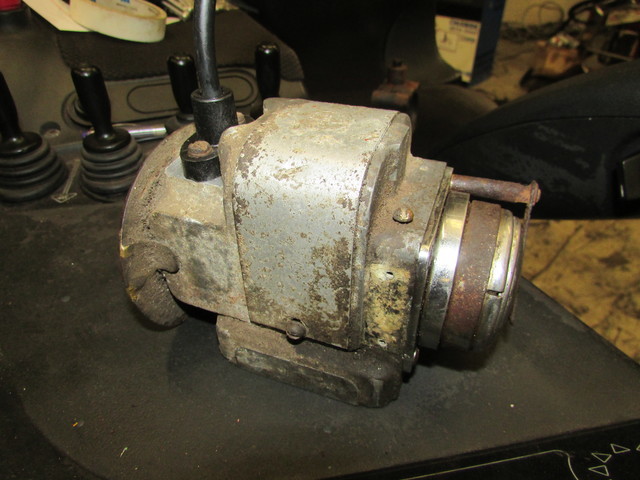
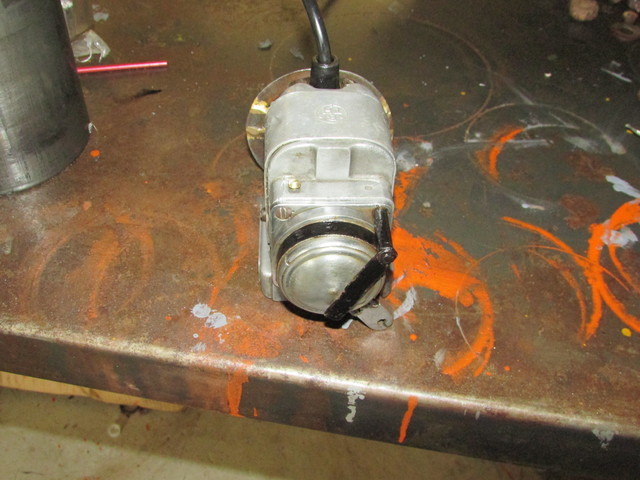
Cigarette papers are just the job for point setting. One thousandth of an inch thick.
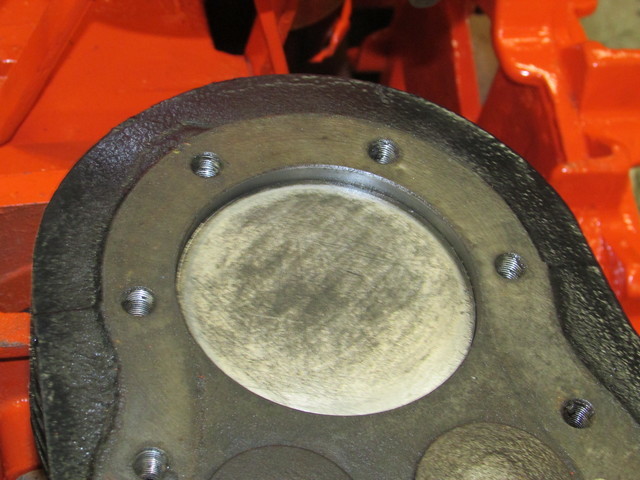
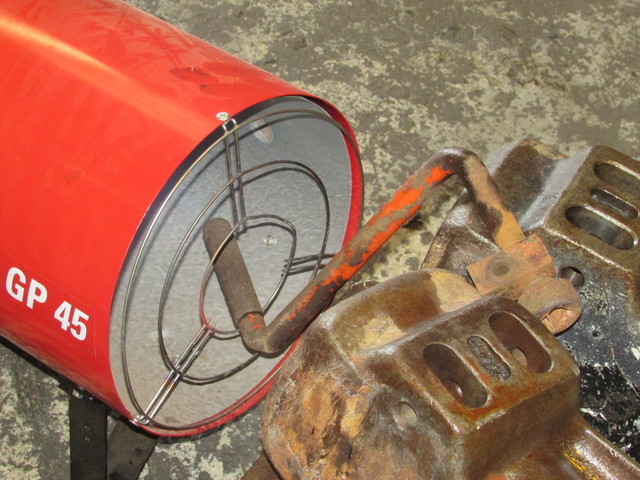
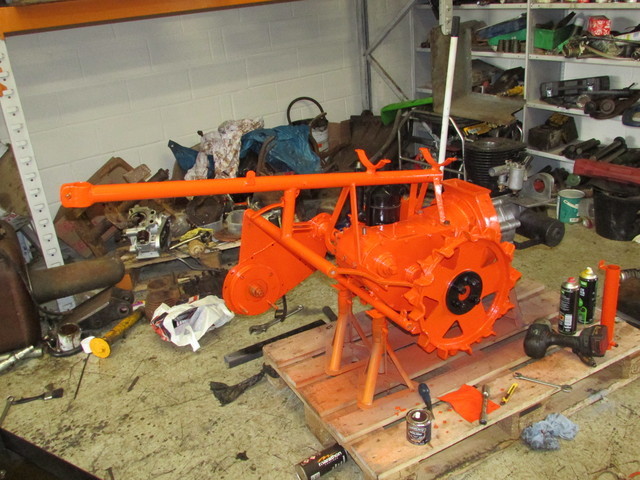
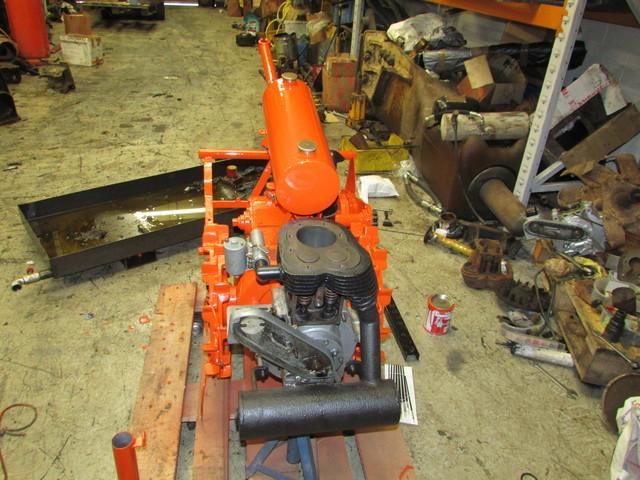
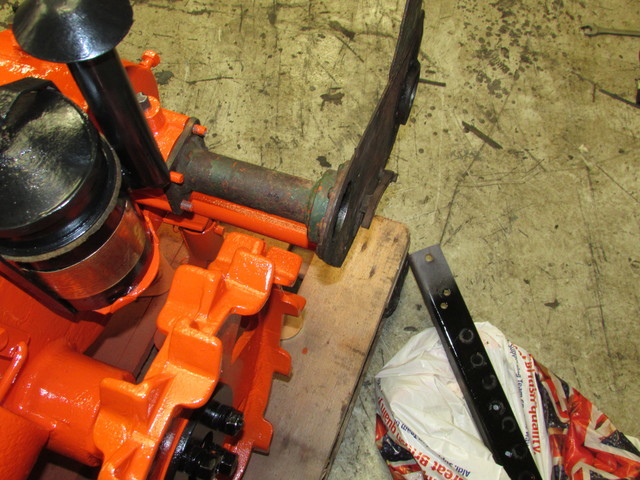
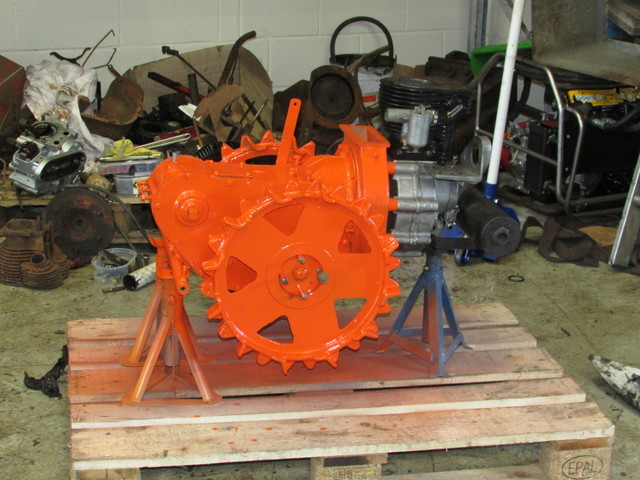
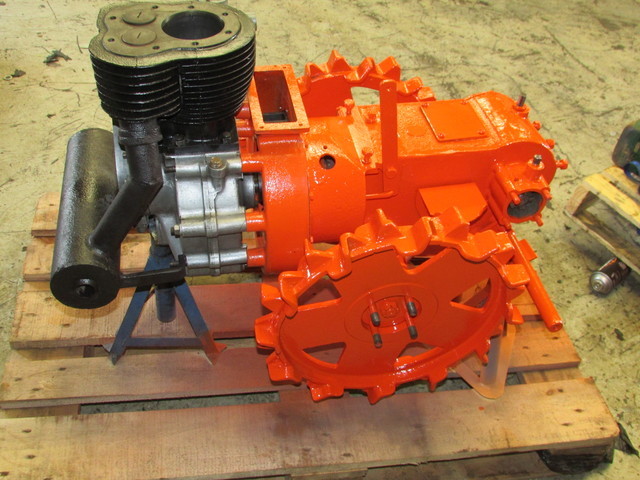
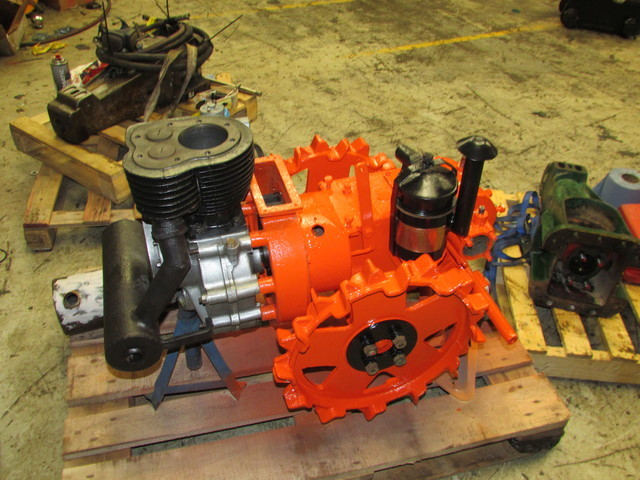
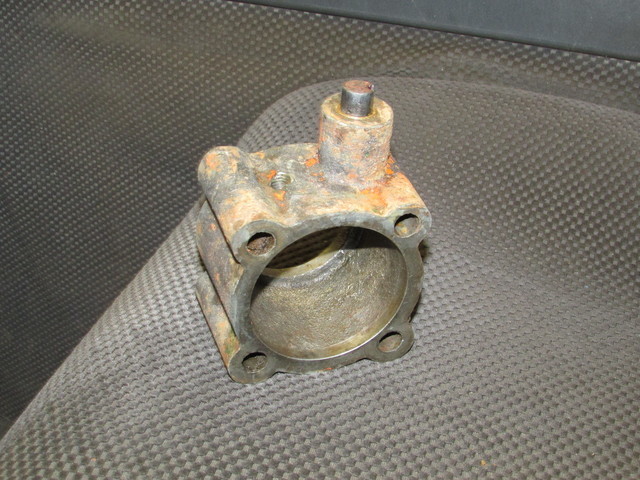
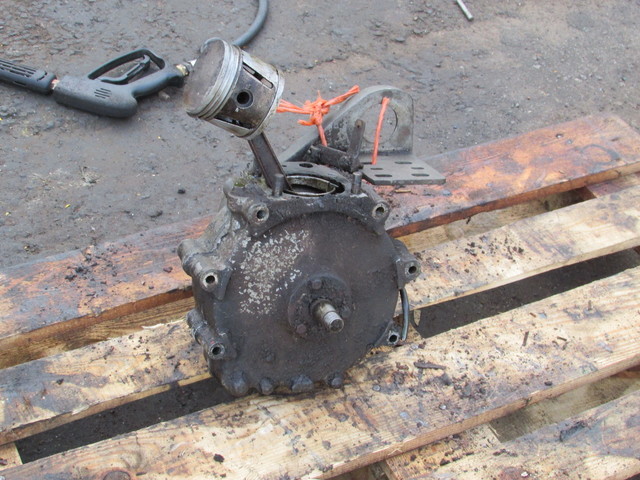
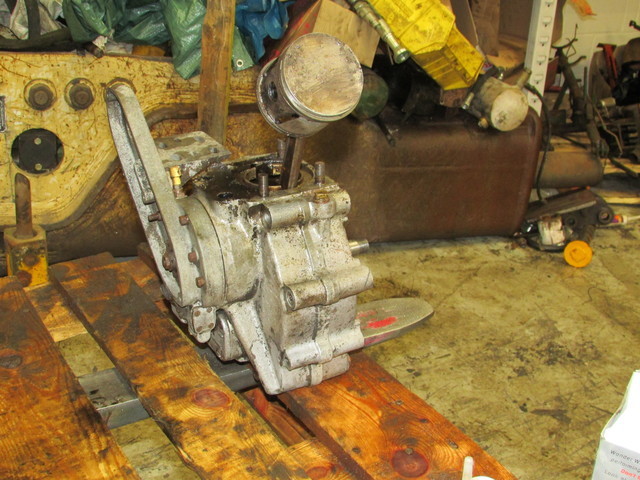
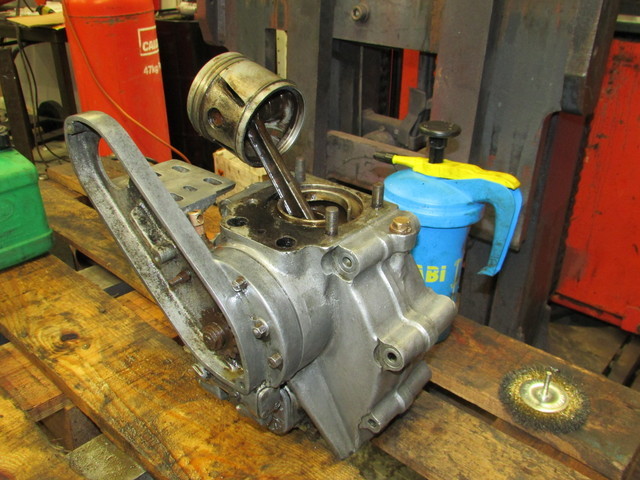
After the day I've had with this trying to get the timing right I can see why people smoke! No matter what I tried I couldn't get the timing spot on. After speaking to a friend he said I've got to remove the cog off the taper to get it right.Heres where I hit a problem, said cog will not shift! No matter what I do, it may as well be welded in place. Not a happy bunny as its been hours wasted. Also just found out I've got to be in Bristol for 7am to tighten up 2 hoses for a customer because he reckons he can't!!! Time to go to the pub.
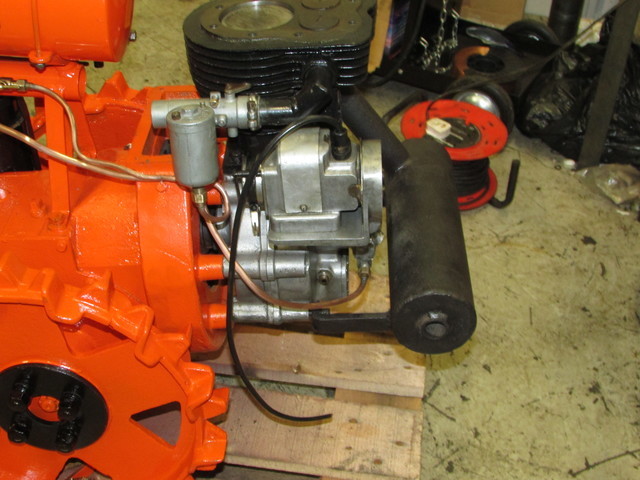
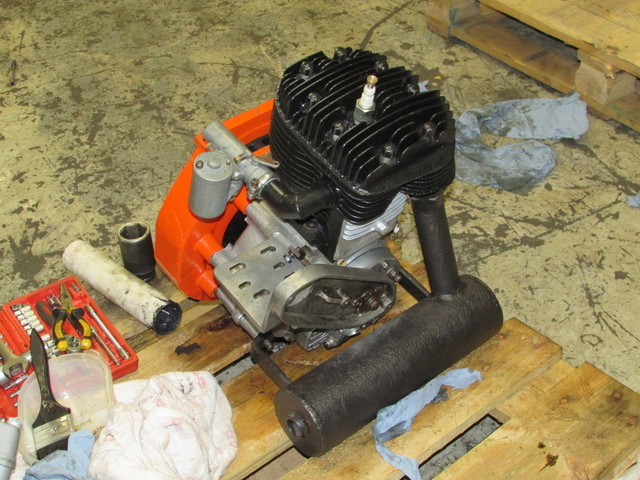
Hi Richard the engine is approx 1946, I believe this was before villiers involvement, I'll double check the threads when I back at the unit but I'm sure it was 19, couldn't get any other of the thread gauges to match.


![IMG_1258[1].JPG](https://myoldmachine.com/uploads/monthly_2016_08/57a0f378e5880_IMG_12581.JPG.5459e4a2abd9449560db2732c15dcf0c.JPG)


![IMG_1141[1].JPG](https://myoldmachine.com/uploads/monthly_2016_07/5794fc745dd35_IMG_11411.JPG.414d6330fa594766a5bc20f70a437ee3.JPG)
![IMG_1144[1].JPG](https://myoldmachine.com/uploads/monthly_2016_07/5794fca6c3223_IMG_11441.JPG.bc527eb31445a890e68ee936dfb33fff.JPG)
![IMG_1145[1].JPG](https://myoldmachine.com/uploads/monthly_2016_07/5794fce38a067_IMG_11451.JPG.87d2d53b721aca4dbc66207fe38fc79e.JPG)


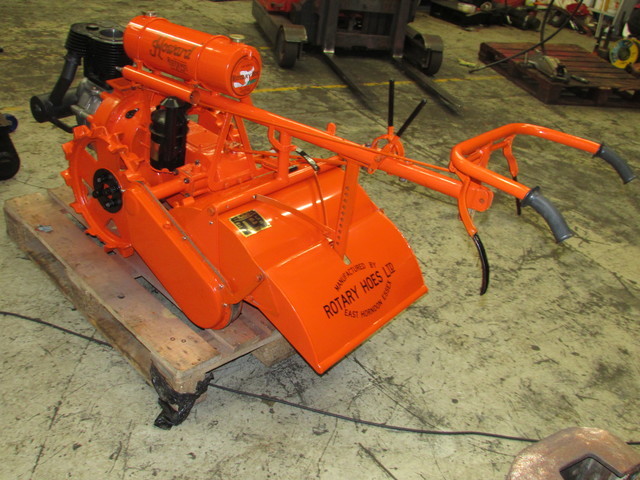
Ransomes Sand Skimming Tractor
in Ride On's
Posted
Some times though the price is irrelevant, it's more important that something like this is preserved and shown to the public .You've done a fantastic job getting back up and running, is there no way you could move it about? Would it be within the lifting capability of a high ab on a trailer? ( I've no idea what these would weigh).