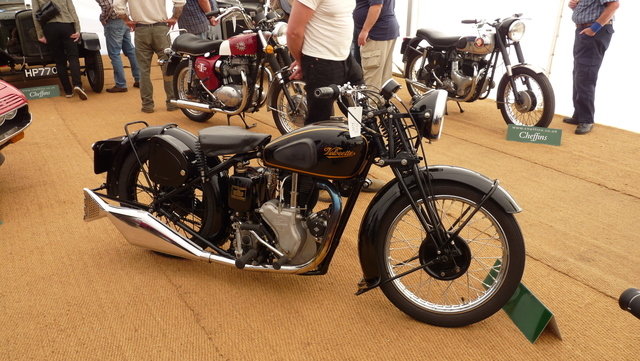
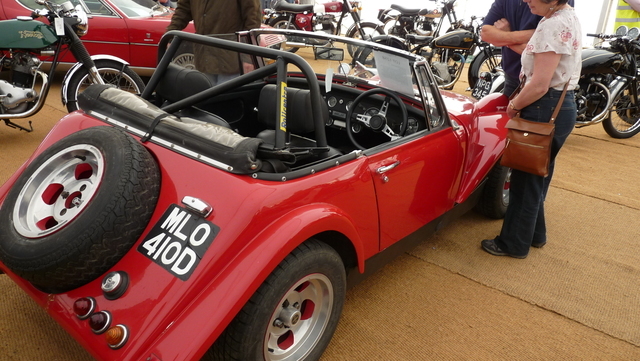
Looks like what could be a BSA Rocket Gold Star behind the Velocette. Head light shroud is not right though. Should be chrome head light and two clocks.
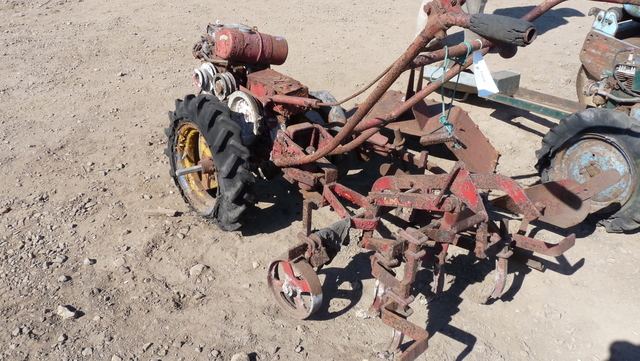
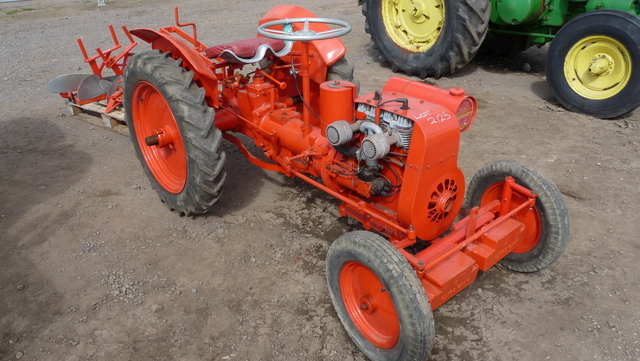
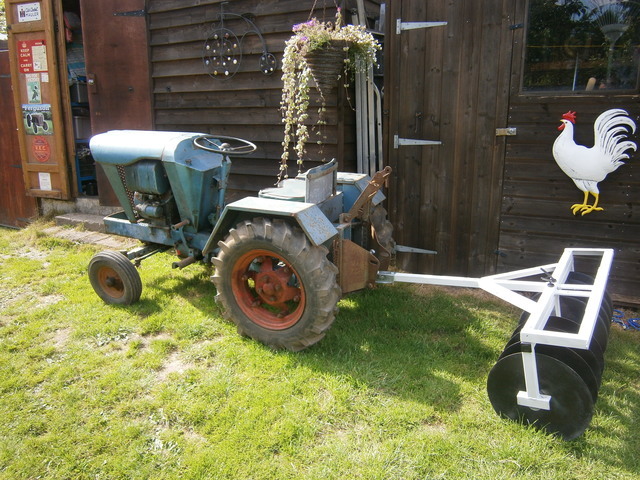
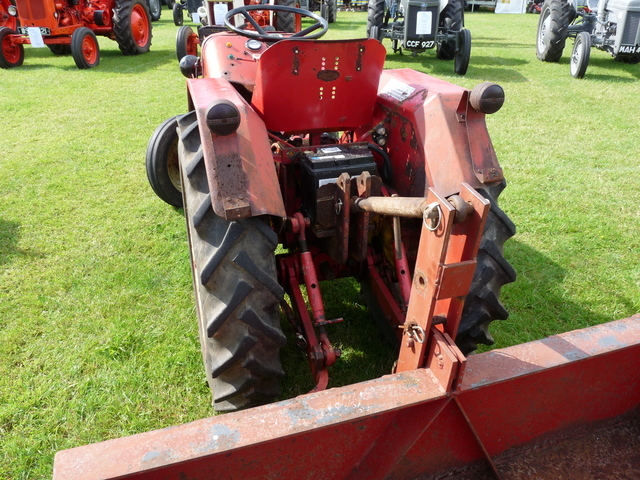
Today all the electrics wired up and working well. The only problem with this set up is you've no control over plough depth. With the tractor with plough attached on the bench. Plough going down over the end, I worked out it was going in about 7 - 8 inches. So a think was in order.
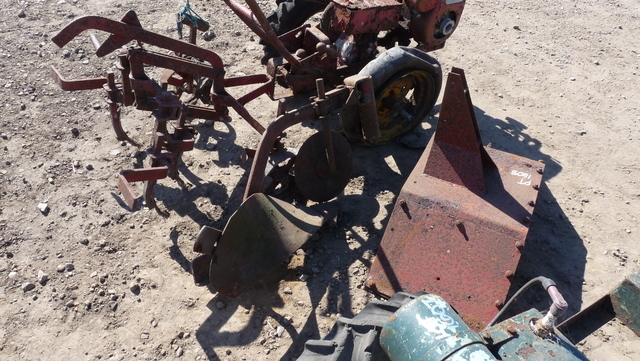
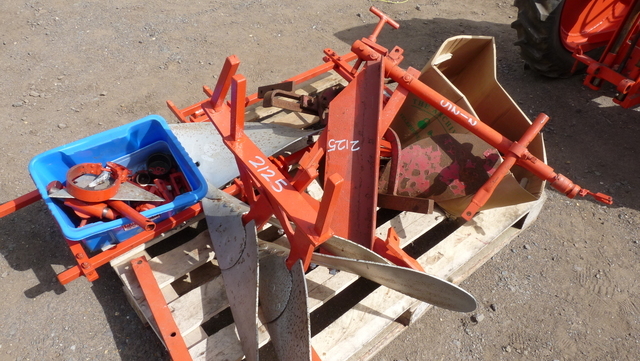
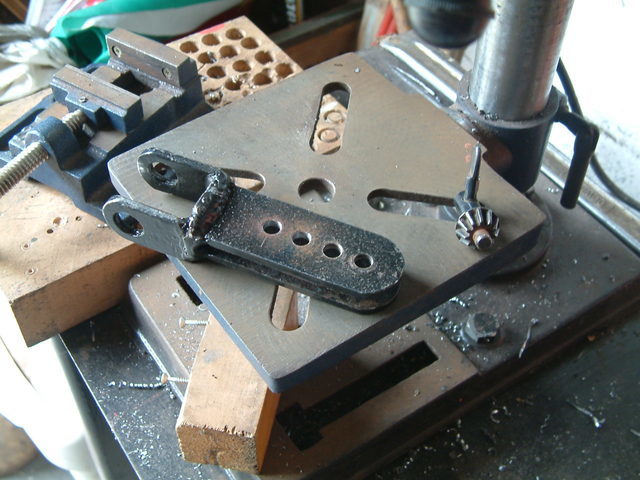
The clevis that attaches actuator ram to hitch is about 3 - 4 inch long. So I thought i'd drill some more holes to give a selection of positions on the hitch.
The end hole, from the right side of photo', is the original, giving 7 - 8 inch depth. I don't think I'll ever be ploughing that deep.
2nd from end gives about 6" depth. That's about right.
3rd hole gives 5" and I don't think the last hole will ever be used. Not for ploughing anyway.
All that's left now is to try things out.
Are you on 12v or 24v Norm ? I found the speed and power much higher on 24v. How about a depth control wheel on the plough, then you can use a slotted,or swinging link to allow 'float,. Without float I kept losing traction. I've found some micro switches, I'll pop them in the post with a 'spare' motor unit in case you strip the gears, or ? The ram part just unscrews from the casing, I find it better to grip the ram at the outer end rather than close to the casing. You may be able to swap the motor for a 12v one if you open up the casing, there are screws under the indentations if I remember correctly. These units have a feedback pot fitted, so you could in theory use something like a 'servo' tester (radio control enthusiasts will know about these ) to set your position and hold it, next step, electronic draft control.
Coming along nicely Norm, if you slot the opening the slot hitch pin locks in towards the outer end, an upside down 'L', then when it's locked at the end of the slot it can't disengage, but if you lift the hitch slightly, the latch will lift with no 'load' on the cable etc.
A simple link, hinged at one end, which can act like a safety stop on a vehicle lift. If it's not locked out by the cable, it is pushed open as the hitch passes, then locks the hitch when it drops back. To release, you raise the hitch, to clear the latch, then pull the cable. An advantage is, if the lift fails, You grab the plough, lift it till it engages the latch, then trundle back to the beer tent.
Spent the day trying to work out a way of using the lift lever, to lock the plough in the raised position. Oh joy and delight. All I've done is give myself a headache. No way can I see a way to use a solid linkage, which I would prefer to a cable. I'll wait and see what happens when the electrics are wired up using the relays. I think it'll be
Think of the headaches the poor land rover design engineers suffer trying to place engine core plugs in the optimum location in the pursuit of, minimum outlay and maximum future income
looking at the problem from another angle, mount a 'slam' type latch, along the lines of a gate catch, to lock the hitch. Then use a 'pull and twist' 'choke' cable to release the latch or hold it in the open position.
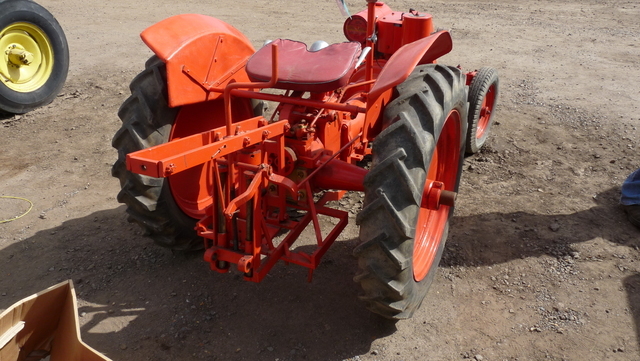
Put things together over the weekend. I made a clevis to attach ram to slot hitch. Then to see what depth I'd get with the plough down, I put the tractor on 6" blocks and attached the plough. This showed I'd get about 7" of depth. More than enough.
To test the lift, I used the simple method of using two of the wires from actuator and touching them on the battery terminals. Pleased to say it lifted the plough with ease and gave enough ground clearance. Though a problem has shown up.
The actuator works on a screw system. Motor turns and the ram screws out. When the plough is raised, its weight causes the ram to slowly turn the motor and the plough slowly lowers.
So I am now looking at a method of locking the plough in the raised position. This I think can be done using the lift lever with a cable attached to the hitch. It could also be a method of controlling plough depth.
I may get time tomorrow afternoon to see what I can do and my next update will contain photo's.
Glad to see it's working, Norm, if you can feed it with 24v it will be much faster, and have more power,
If you use the relays instead of a D.T.D.P. Switch, the two motor wires will be linked when off, this will provide braking, like a cordless drill stops dead when you release the trigger, it will also provide an amount of 'locking', if you have a small DC motor, join the terminals and try to turn the shaft, You'll see the effect. Using a cable attached tothe manual lift would be a good idea, especially when driving over rough ground.
Be carefull at the ram end Norm, it will twist, or try to as it extends or retracts. You'll find your bolt/pin will catch the tank. This why I fitted an extension with the bolt vertical, I should have slotted the hitch end to allow 'float' but I used a couple of shackles instead to see how it works. A chain may allow too much 'twist'.
I hope the diagrams are ok, and you can understand them, the more I looked at them, the more aspirins I had to take.
Glad to hear he's turned the corner Ian, in a similar vein, apparently, one of the main sources of Legionnaries disease is the humble windscreen washer bottle, with plain water, conditions they say are ideal, add screen wash and the bugs can't survive.


")


 No way can I see a way to use a solid linkage, which I would prefer to a cable. I'll wait and see what happens when the electrics are wired up using the relays. I think it'll be


 m
m

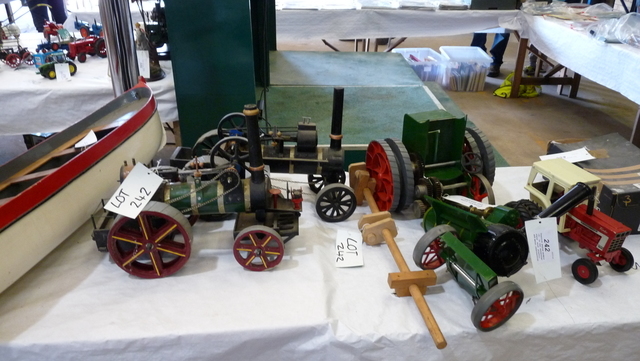
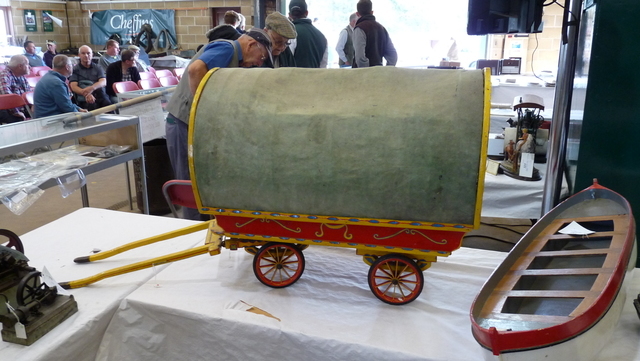
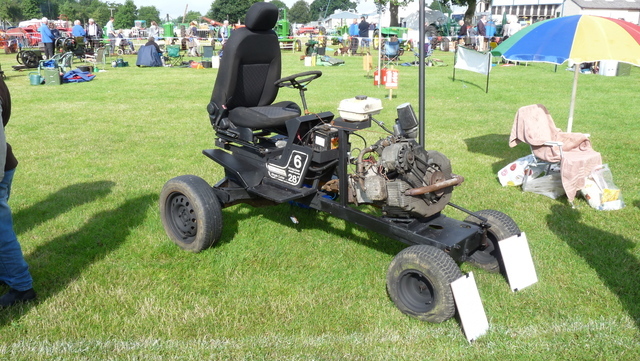
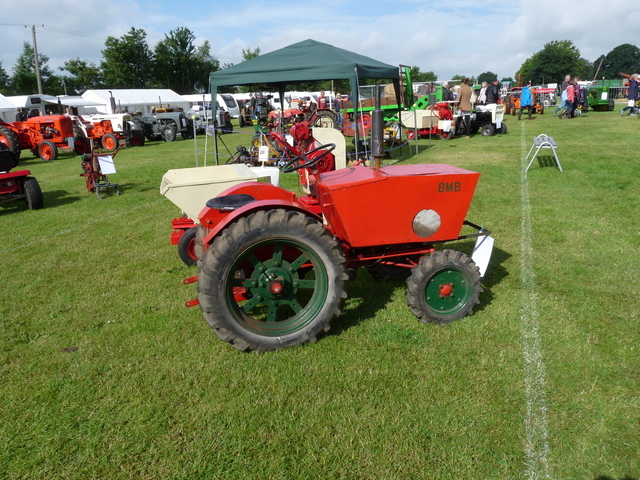
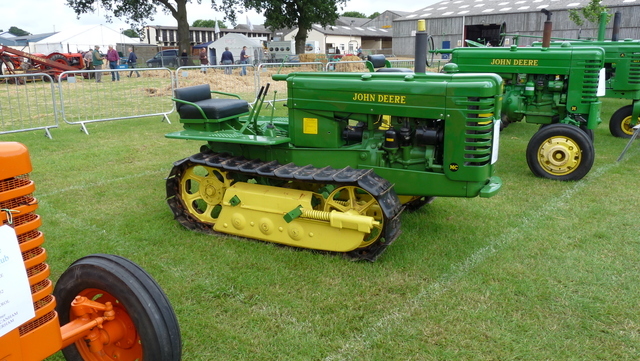
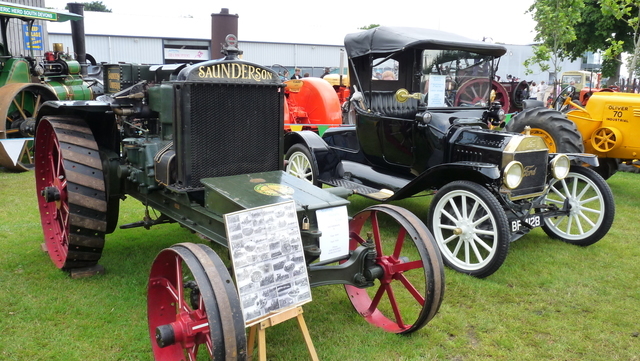
Not a show, but............
in Show Pic's and Reports
Posted
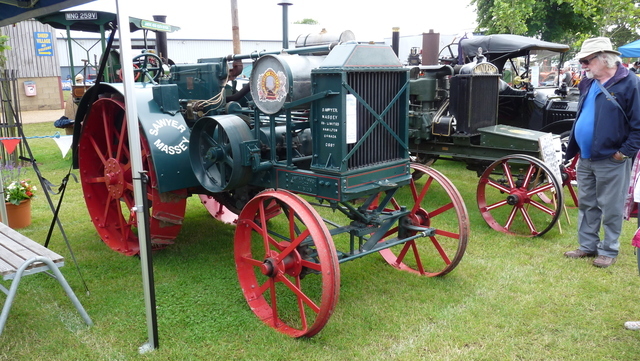
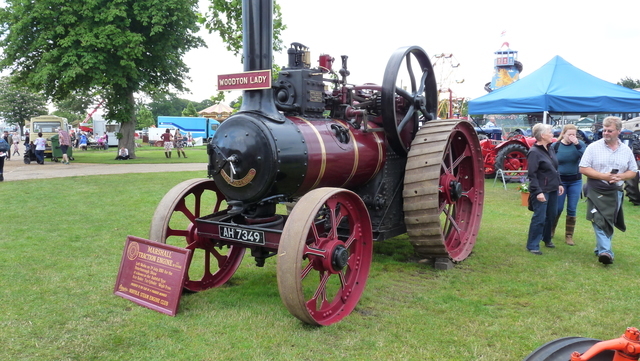
£42,000 it made Ian.