A big thank you to Rex at this point for turning up at the workshop one day sporting a couple of massive MAN truck steering columns. Thanks mate
I can't use two of the UJ's as they have a plastic center bit.
"I have since found out that the plastic bit is only a cover so I can use them"
But I can use the shafts and other UJ's (one of which is a double) to get the power from the GB (gearbox) to the TB input shaft... But more on that when I get to sort it.
With my Murex TradeMig finally fixed I decided to celebrate and make some mounts for the TB.
Two of the mounts were cut off the remains of the Quadzilla frame which gave me a good start.
Space is so tight getting the TB in and out of the frame I have to make all the mounts removable from the frame so they don't get in the way!
I welded on a couple of captive nut before welding this bit to the frame.
Once the TB has been taken out again I can fully weld it up.
MMmmm, some nice strong welds
This bracket bolts the TB to the frame, but I didn't like the look of it.
So the corners were sliced off.
And some new metal was added to put the strenth back in the bracket.
Will you look at those pretty colours, yep I'd say my Mig is now working better than ever and producing the heat it needs to do a very strong weld
That looks better..
The TB mount the other side. Nice and strong (well it will be when I can fully weld it up when the TB comes out), but I'm not sure I like the shape of it so a few mods will need to be done.
That will do for now, it's given you all plenty to read
More to come later..
17 minutes ago, Stormin said:
Sounds to me you could be right about things being welded up. Maybe a half shaft broke at sometime. I think you'll need to split the box.
The trouble is I can't split the box with it in the frame, and I can't get it out!
Still no luck getting the rear diff out, but I did take the input shaft out to try and see what's going on inside..
No diff inside but both cogs look in great shape.
Getting drive from the Honda bike gearbox was always going to be fun as there isn't much space!
The only thing I could do was move the transfer box as far back as possible.
So out came the Quadzilla battery tray, followed by a slice taken out of a rear strut tower.
The transfer box/rear diff coupler limits how far box the TB (transfer box) can be moved back.
But notch cut out of the strut tower allowed me to move the TB back a good 1/2 inch.. Not much but it all helps.
At this point I still didn't have a working Mig welder and couldn't really do any more on the project, so I tidied the bench and had a think.
A change of plan getting the drive to the front er... I keep going to call them "diff's" but they dont have a diff in them!
Anyway, you know what I mean.
Rather than go the chain and sprockets way I meantioned in my last update, I will be using the Quadzilla drive shafts, all I need is one more UJ tyo get the shafts around the engine.
Of course the front part of the exhaust won't fit because of a drive shaft in the way, but hey, it's only metal
While on the subject of shafts, this is part of the drive shaft that fit's on the bike gearbox, the problem is the splines inside don't go all the way to the UJ, so I can't just cut it to length!
The only way to do it is to slice a bit out the middle and weld the splined section back on much closer to the UJ.
I need to shorten this so it will fit onto the gearbox splines and leave enough room for the UJ on the shaft that runs from the TB to the front axle.
To make it easier to line the two bits back up for welding I needed to machine the slined end to an even size outside.
As the UJ isn't designed to be taken apart (thanks for that Honda!) I had to be inventive and find a way to hold it all steady in the lathe.
It's been a long time since I've used a steady rest, but it did the job well and the machining went smoothly.
I could see there's one under the diff, Nigel. I was meaning where the frame comes down. The diff plate could be extended to curve up in front of it.
I see what you mean Norm, I'm sure something "in keeping" can be made
Quite a bit of updateing to do, not sure I will make it all in one sitting as I've a lot to get done today!
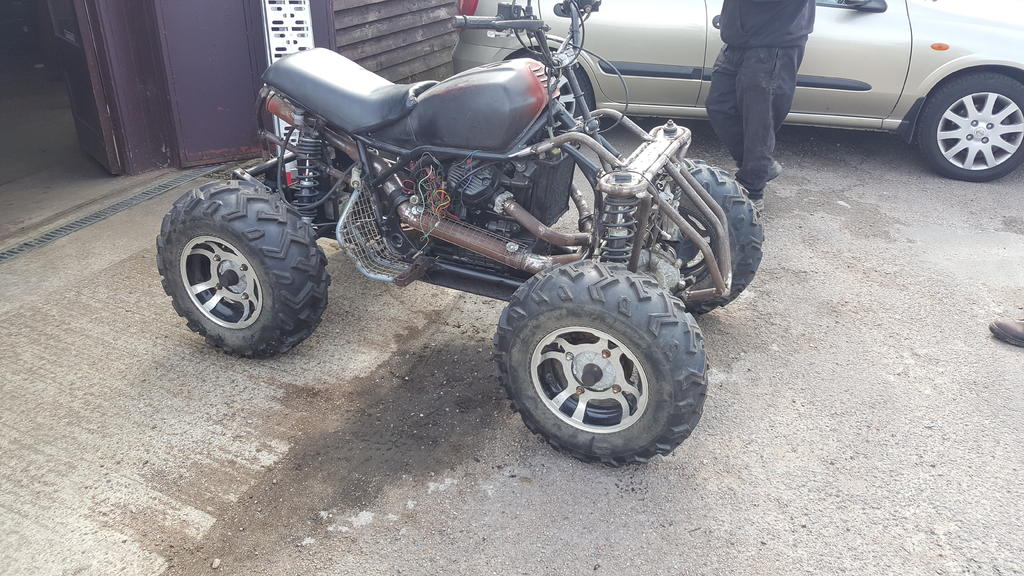
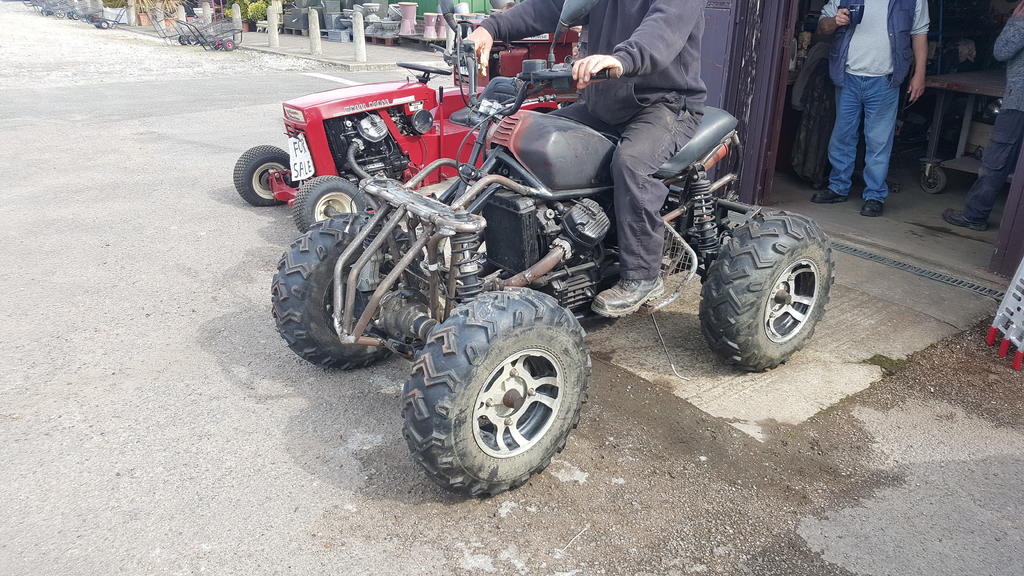
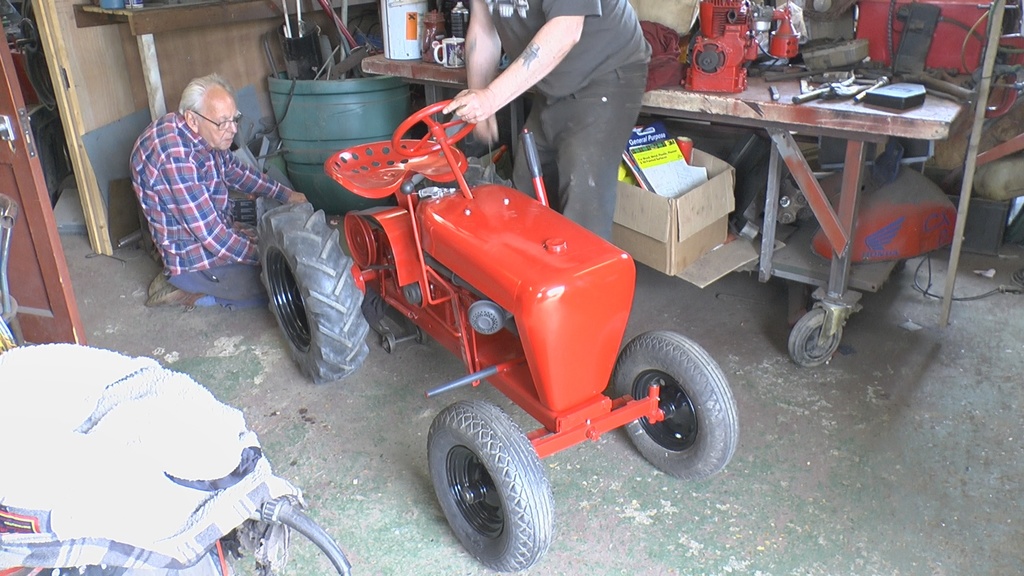
Before I started to slice MadTrax open for a transfer box implant, he was taken off the bench and wheeled outside so we could have a good look.
Back on the bench the rear end was stripped off, a bit of grinder work later and the transfer box was almost in.
By almost, I mean the box fitted in but splines wouldn't quite line up..
By connecting the diff and tranfer box shafts I get drive to the rear diff but it also dictates exactly where the TF box has to go.
And this is the point where I need some help guys..
The front and rear came from a 2012 Quadzilla 325E 4x4.
The problem is I can't get the rear half shafts out of the diff!
All the research I've done says inside the rear end is a crown wheel that has a shaft with splines on each end running through it.
The end of the half shaft should have internal splines that push over the "crown wheel shaft" and is held in place by and expanding spring/washer thingy. I can pull the end of the half shaft out of the er.. diff/and or crown wheel case only a certain amount and then it feels like there is an internal "cir clip" holding the shaft in..
Also as you will see from the photo the end of the half shaft has external splines not internal ones like the internet whould have me believe!
My thoughts are it does have a diff in the back, but someone has cracked the case open and welded it up to make a "locked" rear end.. There is plenty of signs that someone has been in the rear end before, lot's of mastic type sealer on the case joins!
Oh, the diff won't come out of the frame without taking the end of the half shafts out first!
To join the transfer box to the rear diff I needed the longest length of slined section from one of the Quadzilla prop shafts..
You might say the UJ was a bit worn!
The "coupler" needs a bit of work but transfer box and rear diff joined
A shaft with 2 UJ's comes out of the front of the transfer box.
Which will fit onto a nice sturdy shaft running forward with bearings to hold it in place.
The thin walled white tube is for illustration purposes only
The front of the shaft will connect to the front diff via some very strong chain and sprockets.
Disclaimer... " The above chain idea has now been changed but I've put it in as it's part of the MadTrax story"
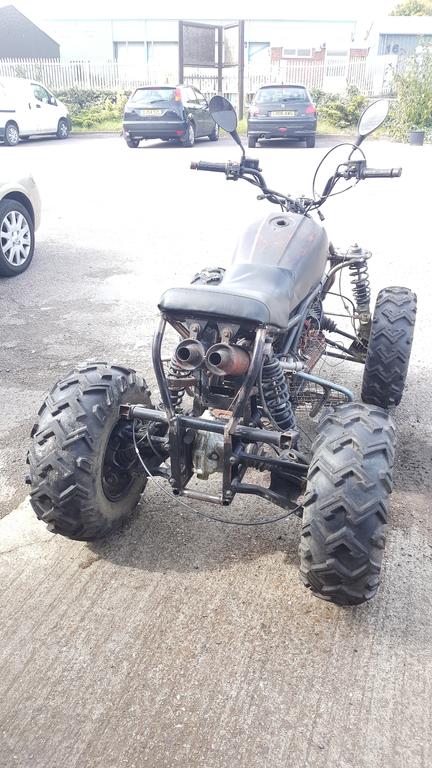
Owdo all, MadTrax is coming along nicely, along with a lot of new tube the looks have changed as well
By only doing one corner at a time the Quadzilla strut towers have gone, I think the tube looks much better.
A new nose taking shape.
You can also see some new tube connecting the top of the struts to MadTrax's frame just in front of the gas tank.. The photo's don't show it too well but the curves match and line up with other tube..
Nose job finished, not as pointy as the first one and it looks all the better for it... No chance of it digging in and throwing me over the bars now
A single tube connects the nose to the frame, hopefully there is still enough space left to get the diff out when I need to
When I cut the front off it left four open tubes on the frame, so they needed to be tied into the new front end...
The two tower tubes will be joined together, something like this only cut to fit and without the hand to hold it up
Not the best of photo's as someone had put an exhaust in the way, but the front is now welded to the rest of it.. I will put a load more strength in this area but it's one of those jobs best done later when the frame is stipped down (again) and I can turn it upside down.
So I could do some structural slicing the front diff needed to be moved forward and out the way a bit..
Of course two of the Allen Key bolts came undone with only a small fight, the front two refused to budge and eventually got chewed up..
The only way to undo them without grinding the heads off was to weld a bit of bar to the bolt head and hope the heat would free the thread up....
Which it did.
There's no two ways about it, the Quadzilla front strut towers looked ugly, really ugly.. So why not turn it around and make them a feature
With yet more tempoary bracing in place and the top of the towers already mostly wrapped in tube, half the O/S strut tower was cut out!
Cleaning up the welds was not fun as they were very hard!
Fresh tube welded back in to replace the metal I had cut out, and a Nigel holding the rear tube in place..
A close up for you.
And a view from the front and top.... By the time we are finished it will look way better and be much stronger than the original Quadzilla strut towers
Oh..... Much to my and Nigel's suprise I found the Quadzilla gear/transfer box the other day.. Both Nigel and I thought it had long gone!
If I can make it fit in this space, MadTrax will have HI/Low ratios and a reverse.. Well 5 of em
Morning all, bit more of a MadTrax update for you.. Yep, yet more slicing and welding, even more of the same to come
The box section under/around the rear diff needed to come out as it just looked rubbish!!
Slicing it off in one bit was interesting !
In went some new tube..
A lot of extra tempoary bracing went in to stop things moving..
The big blue tubes hold the rear end off the bench as I had to remove both rear wheels and move the shocks so I could get a cutting disc in..
Not fully welding in yet, but I have added a cross tube between the end of the new rails since this pic was taken..
It was at this point my Murex 165 TradeMig shat it's self and decided it didn't want to produce good welds any more!
When using it you can feel it's "pulcing" and just has lost it's amps and doesn't want to penetrate!!
So a BIG THANK YOU to Nigel for offing me the use of his welder until I can get mine fixed which will hopefully be some time next week..
Nigel's Mig on the right, naughty Mig on the left!
Much welding and the wheels put back on later the rear end looks like this.. Some extra strengthening and tidying up needed but it's looking good.
Another big to Nigel for helping me get the new front end lined up and squared up with the rest of the frame.. This took a suprisingly long amount of time...
Bracing was added after this photo was taken to keep it in the right place.
Sorry for the slight delay in finishing this post, spare time is hard to find!
Anyway...
Quite a few months ago when MadTrax was being stripped down for paint I found that I couldn't get the exhaust off the engine!
Something had closed up during welding and made the very small clearance there was too small to clear anything..
So, the only option was to put an extra flange in the system.. Almost finished here, just need the welding finished when it's unbolted.
And on to todays main attraction
Never being one to take the easy option and also having a history of making drastic changes when I'm most of the way through a build, I thought the best way to bolt the new wheels on is if
I use the matching hubs..... And suspension.... And brakes....... And steering
With a couple of bars cut out under the seat the Quadziller rear end could be rolled in place.
The heavy duty sump guard came in handy, nice and flat for balancing on a widened wheel rim that was just the right height.
With the front end stripped off, there was only one thing to do..
Slice off her nose
To fit this, Quadzillers front end
A little trimming later and both ends are near enough in the right places.
Lot's of measuring later the front and middle sections lined up and were held together with some tempoary bracing.
The first two new tube to on were the rear end, I just had to give her a slightly cheeky curvy rear
No problems getting the exhaust back on, the battery box will be cut out as MadTrax has one already.
Working out how to make the top shock mounts was interesting, but worth it as they look good. It's a shame that I ran out of welding gas as I was tack welding them on!
I will put a bracing tube between the shock mounts.
And that's where the build is up to for now... More to happen when I get more gas..... (No fart jokes please)
Wow was it really January I last worked on MadTrax!!
I have been a bit distracted by an RJ, a Burban, a lathe bench etc but I am back on MadTrax's case now
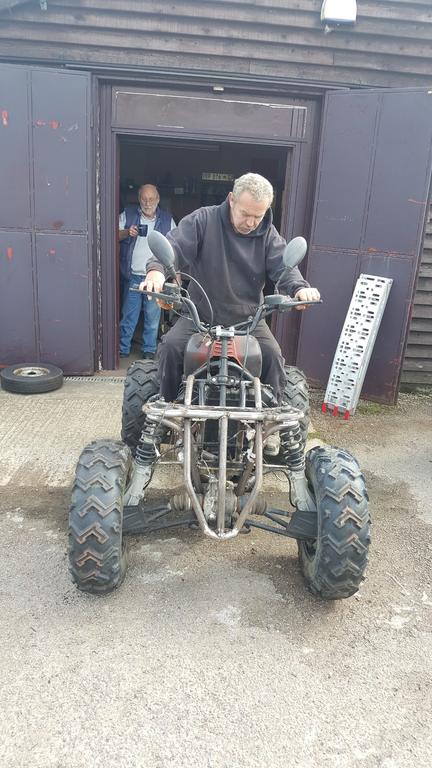
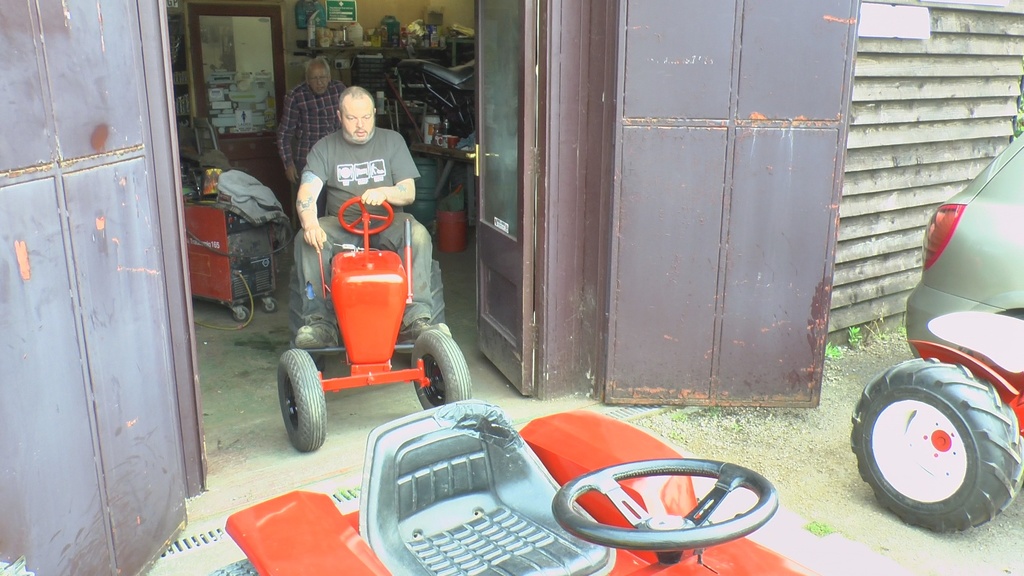
In order to keep this in some kind of order, we had best start with a video with a rather silly start
As hinted at the end of the video some "slight" changes were about to happen..
It was this photo that started the ball (or should it be quad) rolling
The wheels came from the remain of a Quadziller quad that Nigel had stored away in a vast amount of brambles
There was no way the bigger wheels would bolt onto the original front hubs and rear axle as the PCD's are nowhere near the same..
Making adaptors for the front wheels wouldn't be too bad of a job, but the rears would need at least an 8 inch wide adaptor plate each side which would do the axles bearings any good!
Also the original rear axles internal brake wasn't working at all!!
Sooooooooo... My brain started chewing an idea over.... Then out came the tape measure to check on the idea...
But your going to have to wait a little while to see the idea though I bet a few of you know already
Lucky man. Road registered as well. That's a bonus.
Thanks Norm, yep road registered and still on the DVLA computer..
On 26/07/2017 at 10:27 AM, harryt said:
Great video Ian
what are you plans with the D?
Thanks Harry.. Plans are not much.. Fit a 3 point on the back, maybe make pallet fork, then just a wipe over with an oily rag once in a while.. I like how she looks
On 26/07/2017 at 11:49 AM, the showman said:
Looks a nice bit of kit, new seat and a couple of rearlight lens and a wipe over with an oily rag
Thanks Chris, a new seat would be good, one that will now backwards by a few inches would be better
I have plenty of new lights for the back, not sure if I want to fit them though..
On 26/07/2017 at 0:39 PM, Anglo Traction said:
Certainly look's in better health than Andy's (Wheeledhorseman) D200 that he covered in a Thread a few years back on RS. I remember he was also mystified with those tiny WH Stickers. Nice big old lump of a Garden Tractor.
Hi Richard, yes the ol D is in quite good health, the trans whines a bit but so do I
I remember the tiny WH sticker thing on Andy's D, plenty of them on my D!
On 26/07/2017 at 9:06 PM, pmackellow said:
Nice addition to your collection Ian, bet the grin is a mile wide !
Sorry I missed you last Saturday when I popped in, had a chat with Nigel
Thanks Paul, good to catch up with you Friday, I seem to remember you having a big grin as you drove the D around the carpark
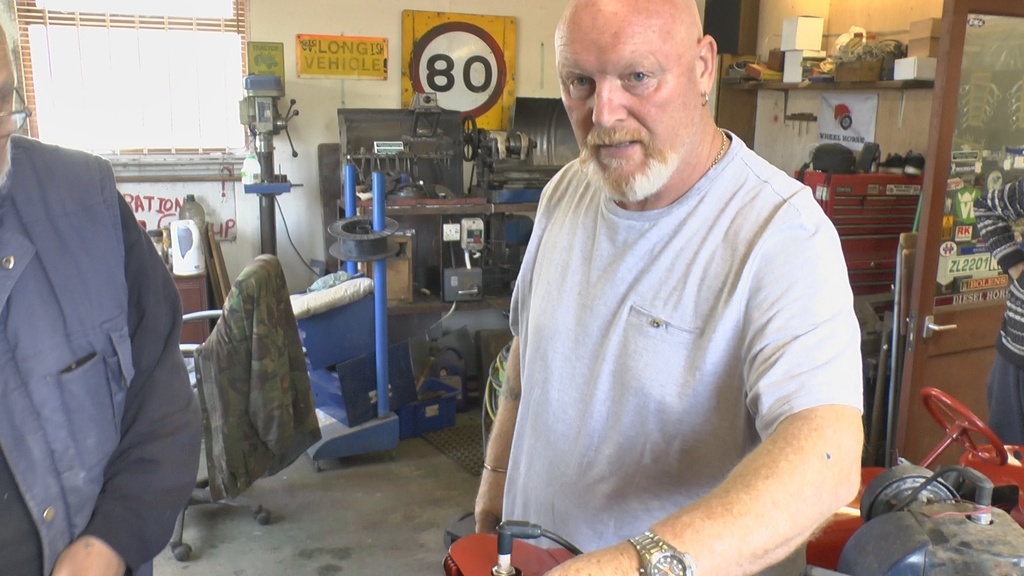
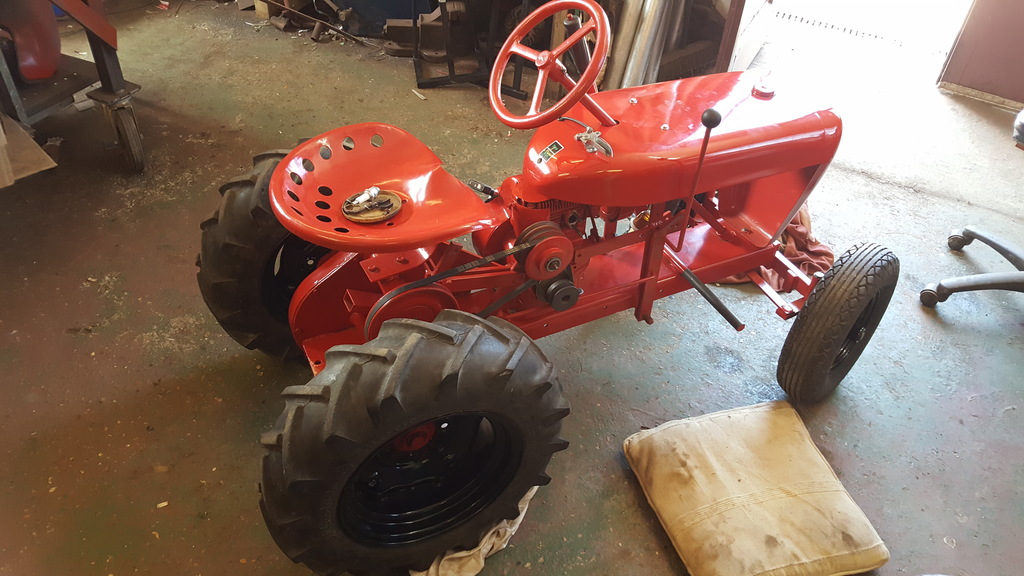
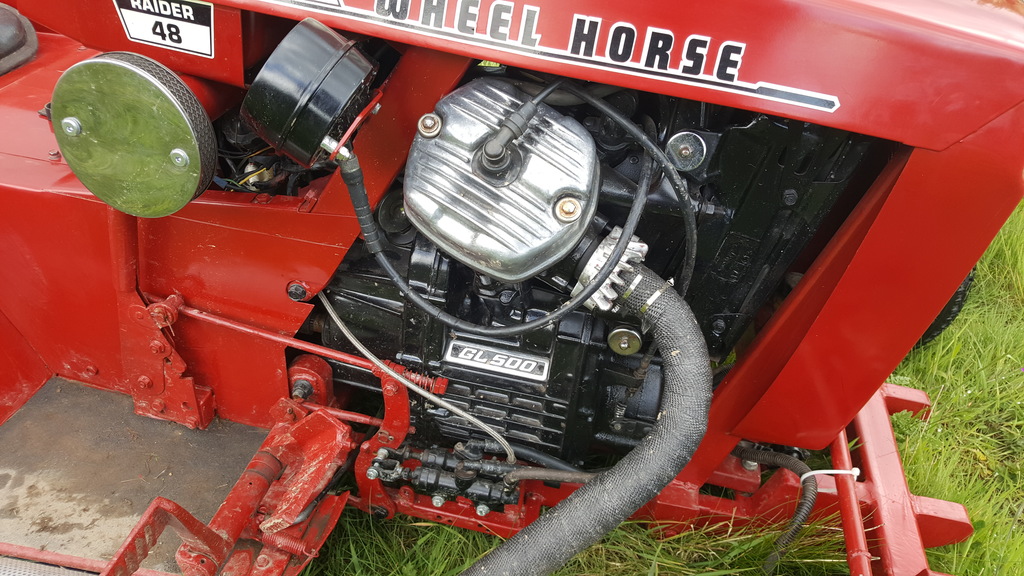
Not much to report, the D gets better each time she is driven. The engine always starts first time every time
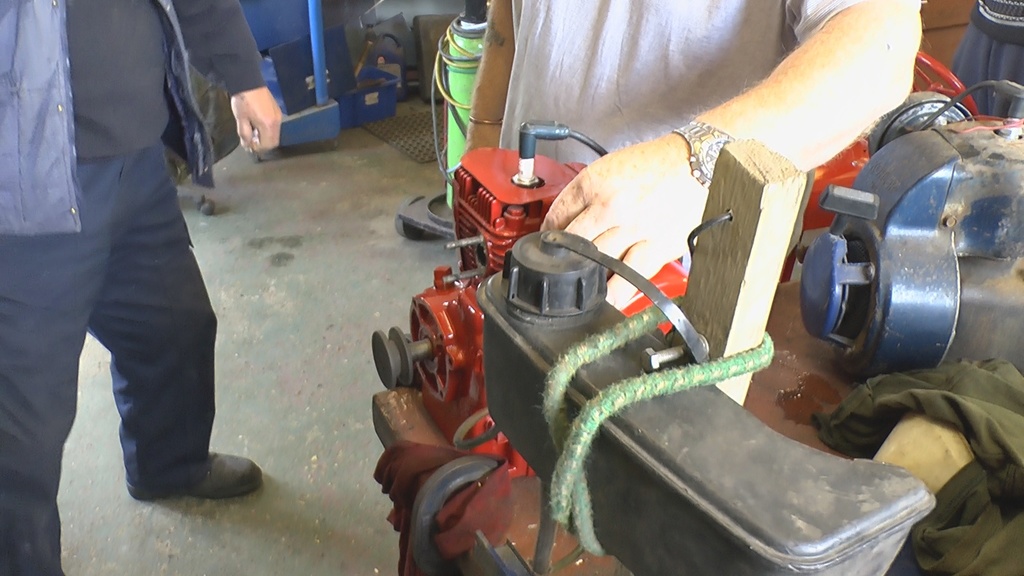
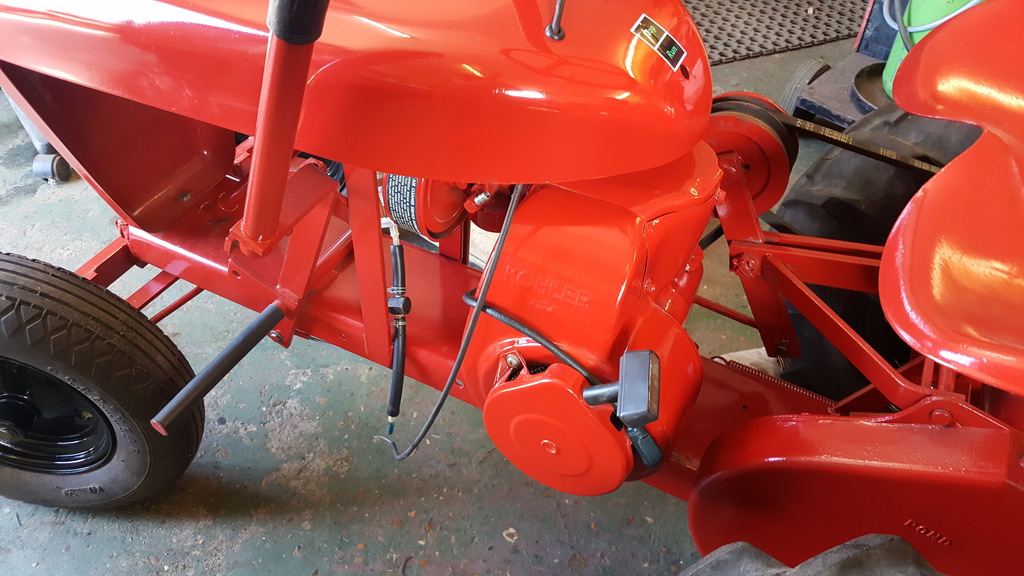
Speaking of the engine, a new vacum fuel pump was fitted so I could get rid of the "tank on a plank" that was clamped on the front and use the D's original tank..
The engine was also missing a cover, so I quickly folded one up from a bit of sheet steel.. Not pretty but does the job.
The D's first official duty, carting some steel panels up from the scrap pile
Morning all, sorry I've not posted or even been on MOM of late, life has been stupidly busy to say the least!!
Anyway, a long long time ago there was a thread on good old RedSquare about which wheel horse would be on your "wanted hit list".
One of them was a GT-14 which thanks to Neil, one came my way.. A great machine which has now moved to pastures new..
The other I'm sure you can guess from the title was a D-200
Nigel bought this machine from Harry with the thought of changing the engine (which had a knock according to the bloke Harry bought it from), to something a bit different..
Then Nigel made the mistake of saying something along the lines of "I expect you will end up owning the D eventually". Which got me thinking
A bit of a play with the wiring (The PTO switch had been badly by-passed) and the engine had a spark, and a temporary gravity fed fuel tank sorted out the fuel side of things..
Much to Nigel and my surprise the engine fired right up and sounded good with sign of any knocking sounds!
The trans is a bit noisy but that may sort it's self out with a bit of use as the Big D hadn't been used in a very long time..
A few photo's for you..
And of course a video.... I hope to get an engine running and driving vid edited today, but for now here's an intro vid..
Thanks for that Neil and Joe, it was only once he had been parked up that I remembered seeing turning the pulley thing on one of VinsRJ's videos to sort the problem out..
It will be sorted tomorrow in time for a drive with the Suburban
Morning all, time for a long over due RJ update, and unlike my last post this one has a happy ending
Monday morning Nigel and I had a visit from Neil, it was good to catch up again mate, it's been a while..
Not only has Neil got a huge amount of Wheel Horse history stashed away in he's head, but he also came with gifts... 2 engines
Here's the top half of Neil..
The bottom half of Neil was busy controling the rev's of a very nice looking engine that ran as good as it looks..
The blue engine has carb and spark issues as we found out, so that's a job for another day.
So with a quick pulley swap the new engine went in the RJ.
The shade of engine red is so close to the rest of the RJ we saw no point in repainting it match 100%.. It's looks good as it is.
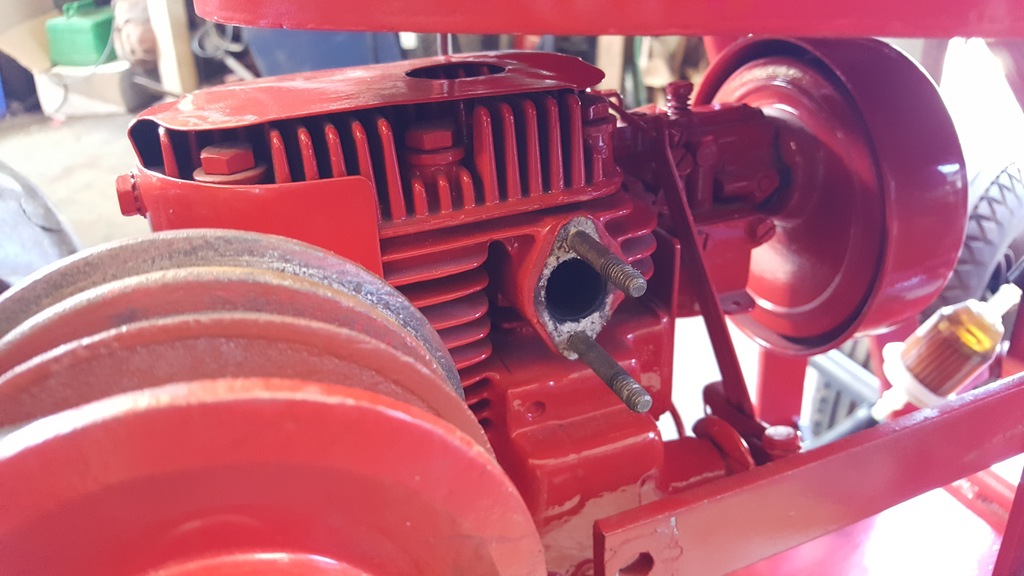
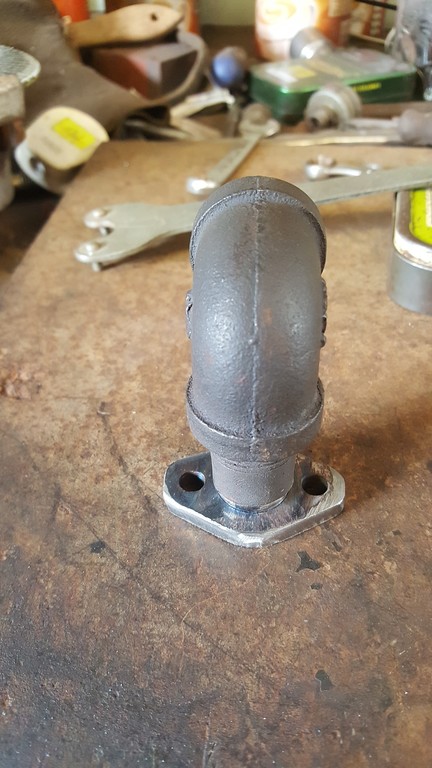
One slight problem with the new engine is the exhaust port had two studs rather than the port itself having internal threads so swapping the exaust over wouldn't be a bolt on swap.
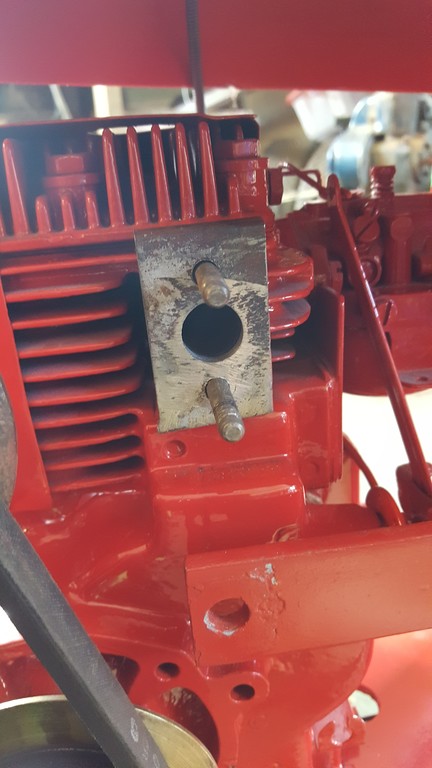
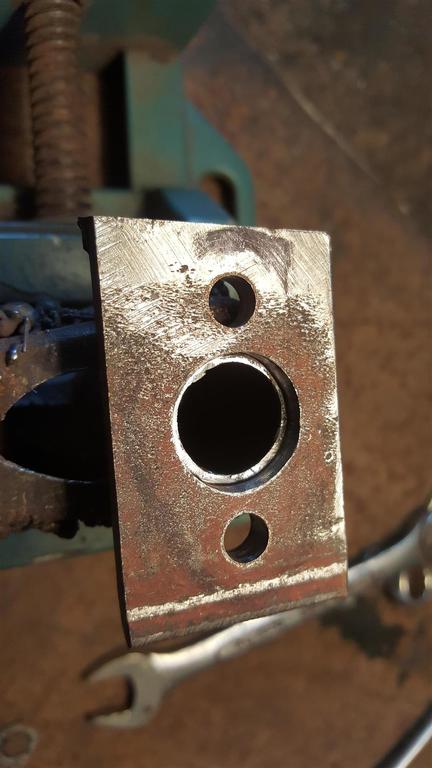
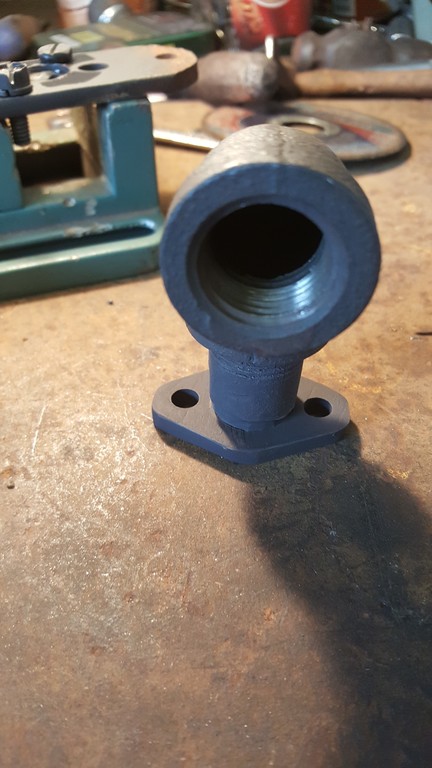
Not a problem, take a flat bit of thick-ish steel and drill three holes in the right places... A quick test fit.
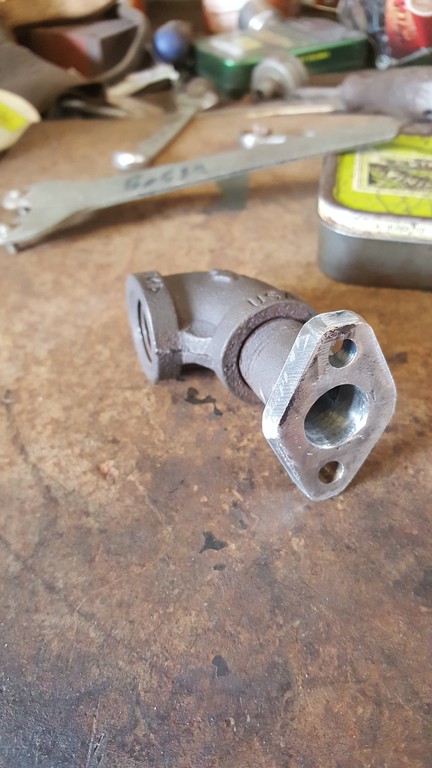
Trim a bit of the RJ's exhaust down to size them grind the thread of it so it fit's in the flange leaving plenty of space to weld it up from the inside. (No idea why this photo won't upload the right way up!)
Welded up, cleaned up and trimmed to shape.
And a coat of the black stuff to make it look good.
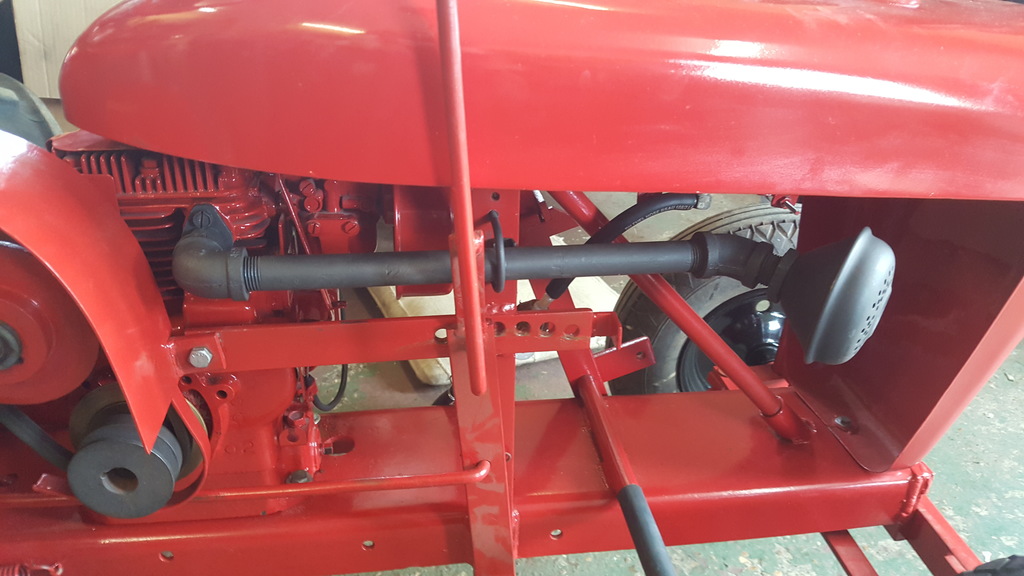
Exhaust on.
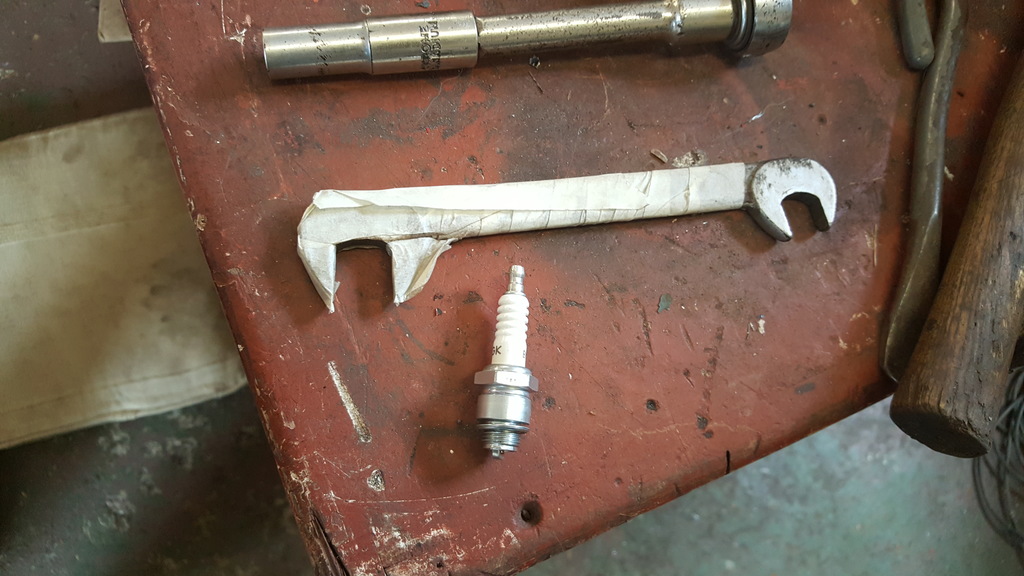
You can remove an RJ engine without taking the hood off, but you need to remove the spark plug.
Then once the engine is back in the spark plug has to go back in using a very special tool that won't scratch the paint on the hood
Knowing the engine is a good, the time had come to fire the little fella up and go for a drive..
Knowing the gear shift would need a bit of adjusting to get it to shift right and even though it should of been in netural but possibly wasn't the rear wheels where jacked up before starting..
A running issue was soon soted by putting some petrol in the tank, so I climbed aboard and Dennis lowered the jack, and off I trundled
After so long it was nice to finally drive the RJ, but as you will hear in the video (coming soon to a YouTube page near you) the gear selector needs some adjustment so it get's all gears and the selctor bar does not rub against the reverse disc.
Also the engine governor need a tweak to stop the engine from trying to over rev..
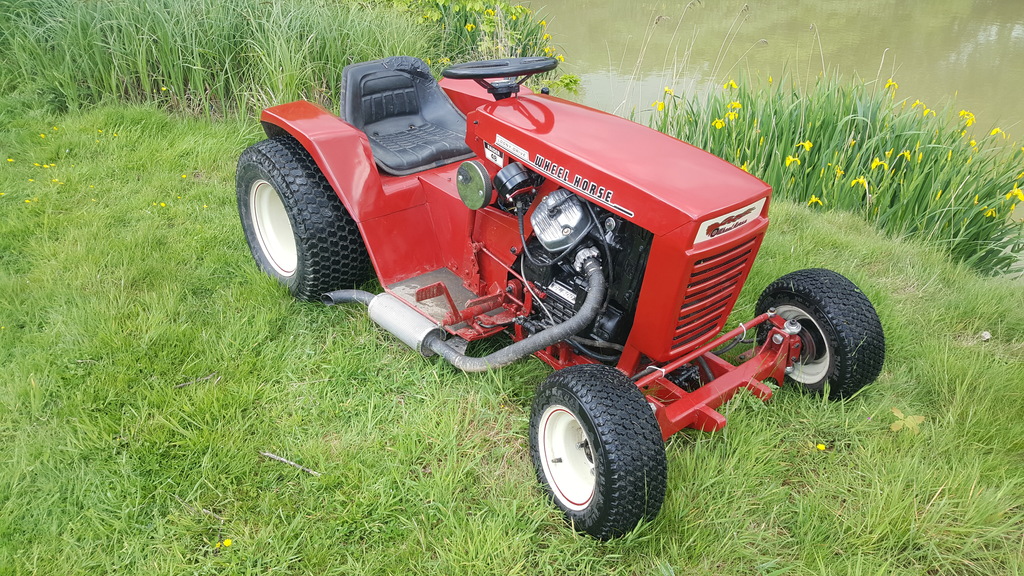
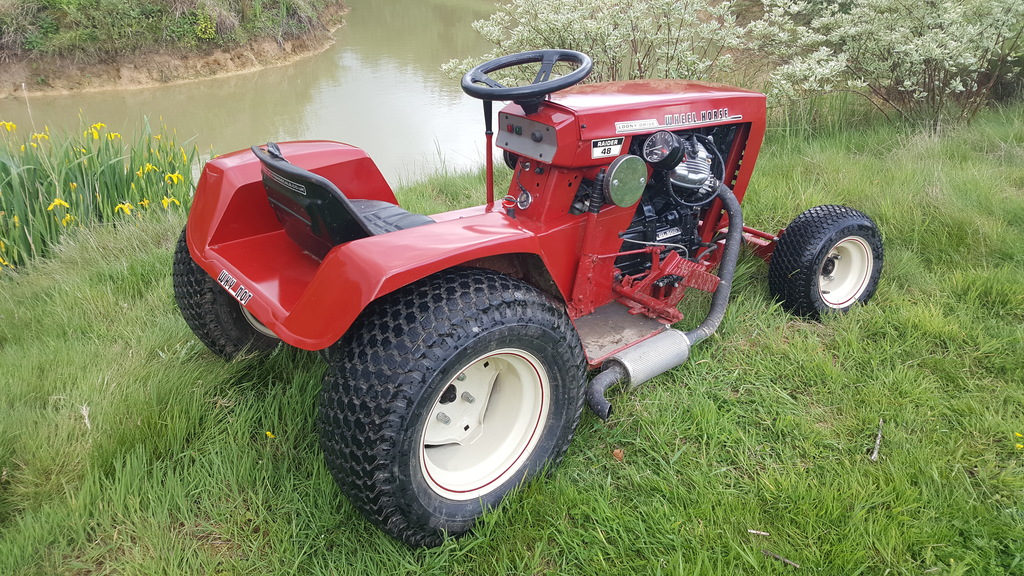
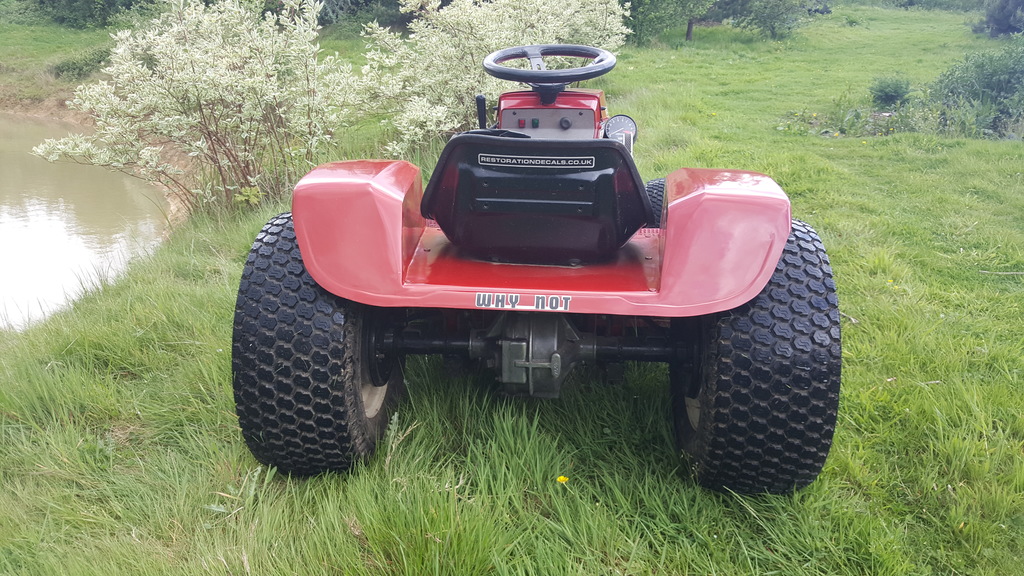
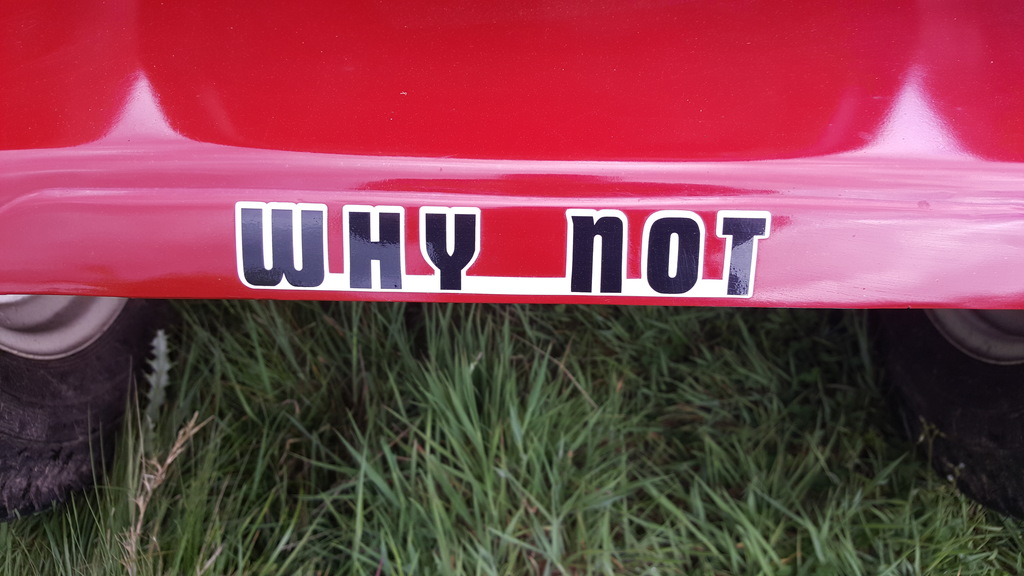
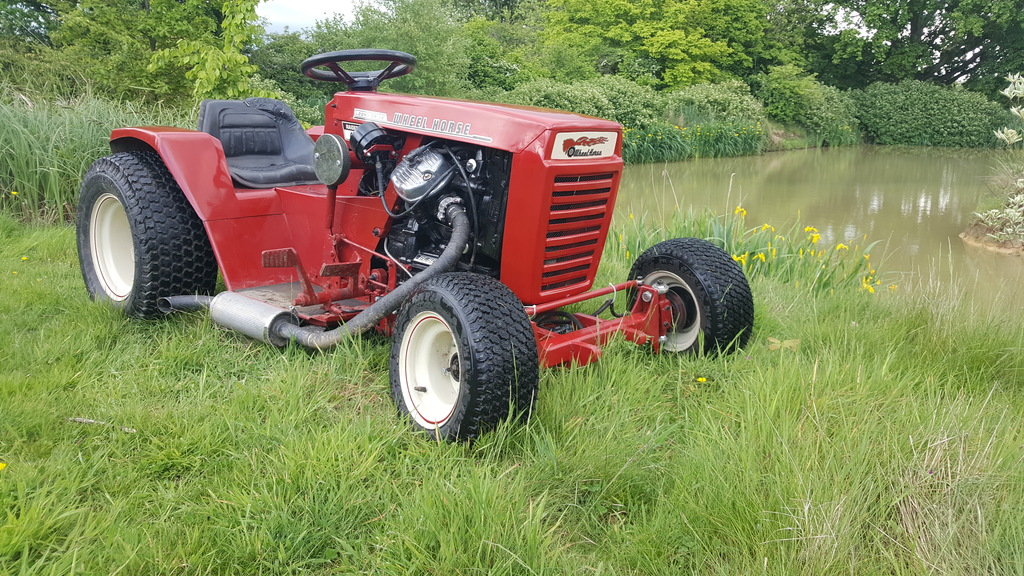
Yes you really did read the title right, I am selling Project Why Not..
Why am I selling?
Two reasons.. One being to fund my next WH project, the other reason is being riddled in arthritis driving her on anything other than somewhere nice flat and smooth just gives me too much pain.. And there's only so many times I can drive her around the carpark
For those who havn't seen this machine yet the full build can be found here..
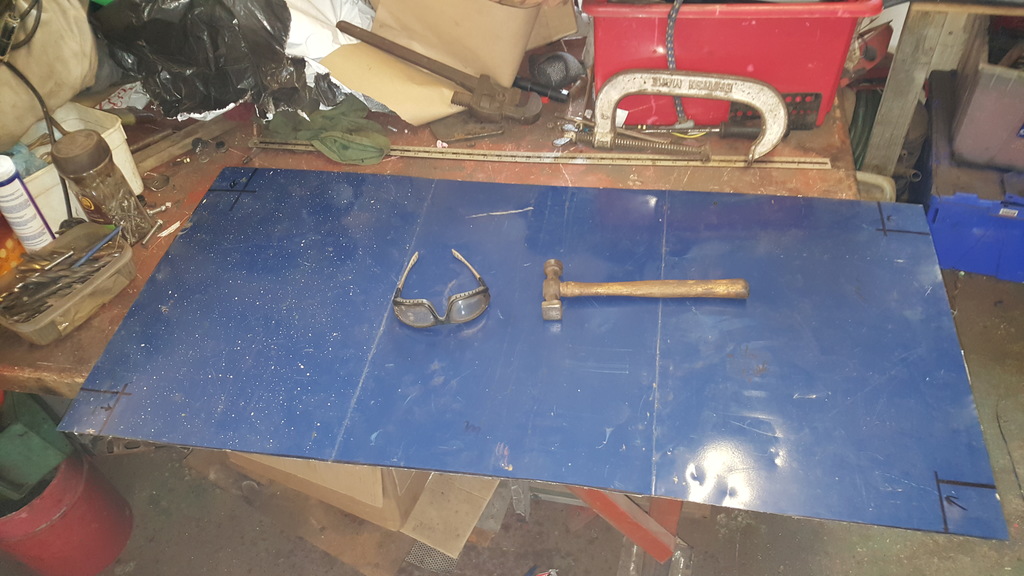
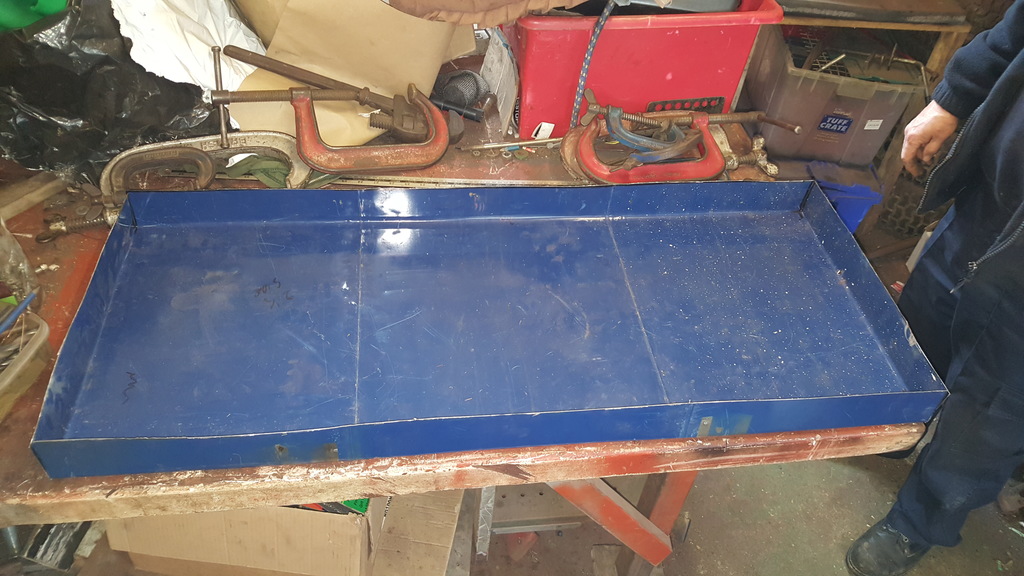
Flattened out with the corners marked to be chopped out.
Time to bend the edges up..
First bend, a little at a time.
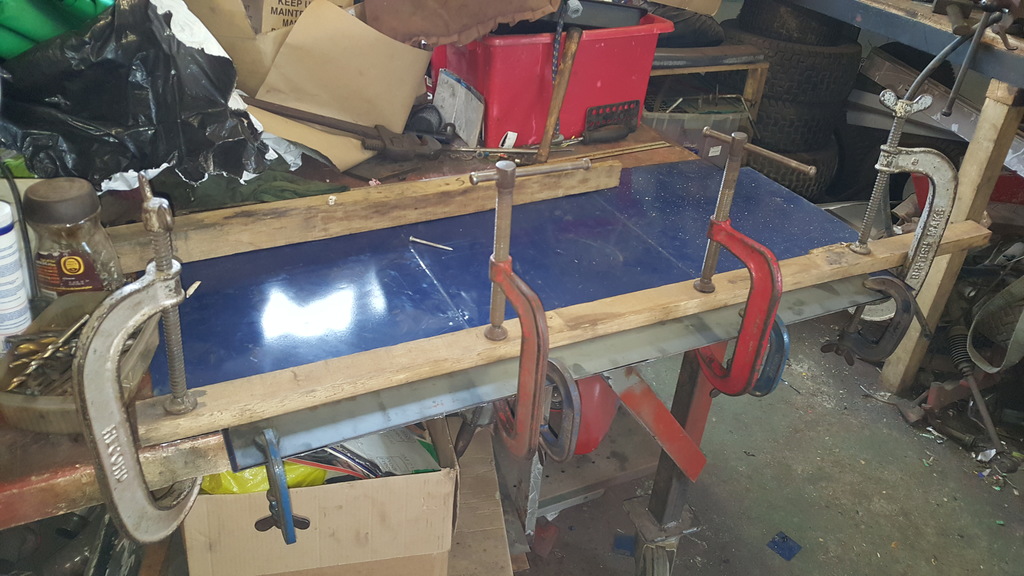
The last bend..
Until.....
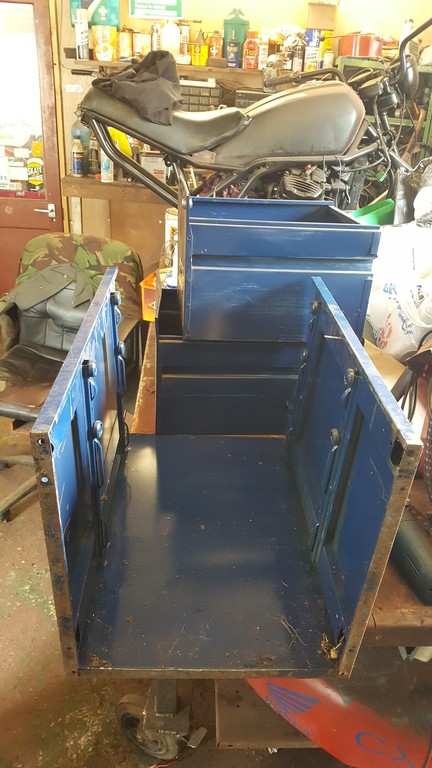
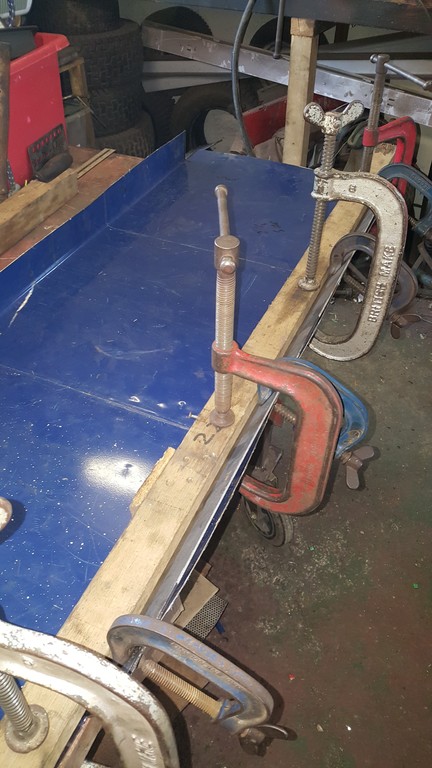
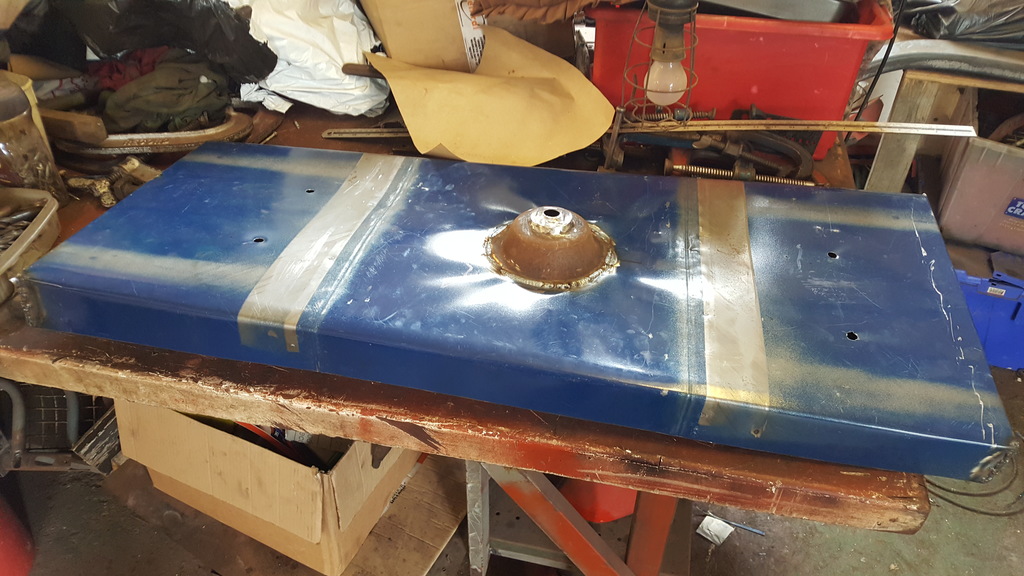
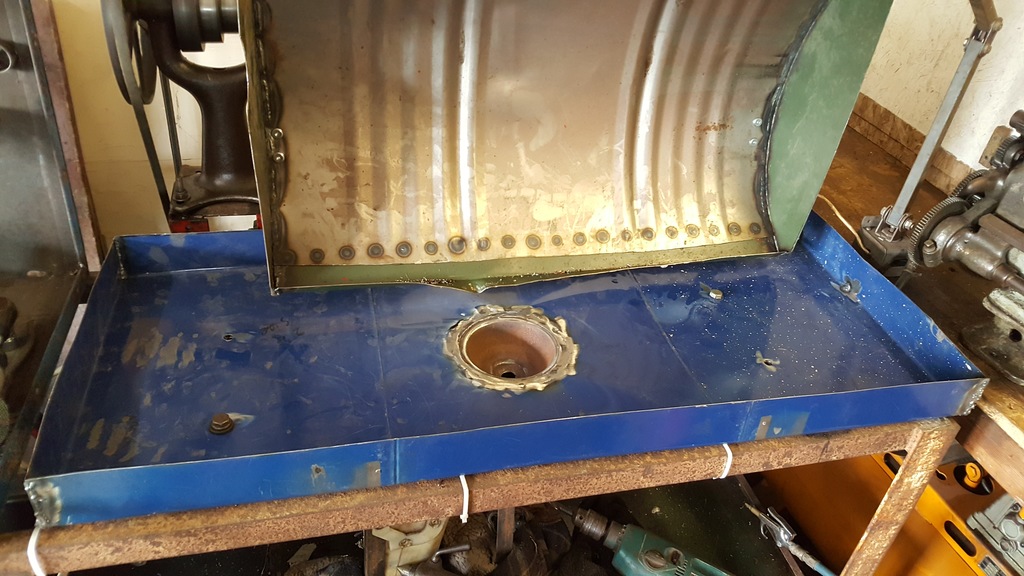
Mounting holes drilled and a "sump" welded in... Yes the tray has warped a bit, but that was to be expected and will pull down alright once the tray and lathe are bolted down.
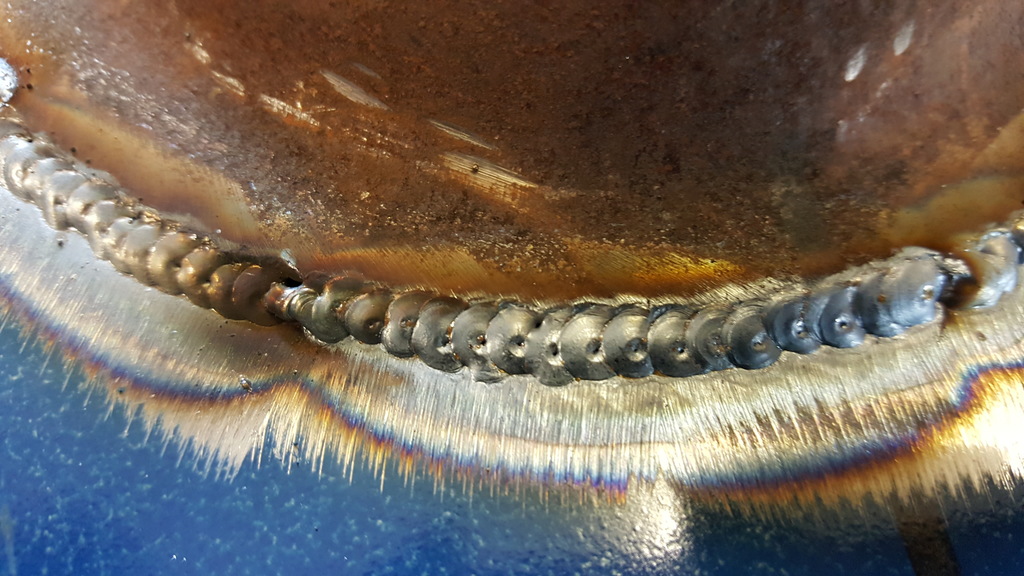
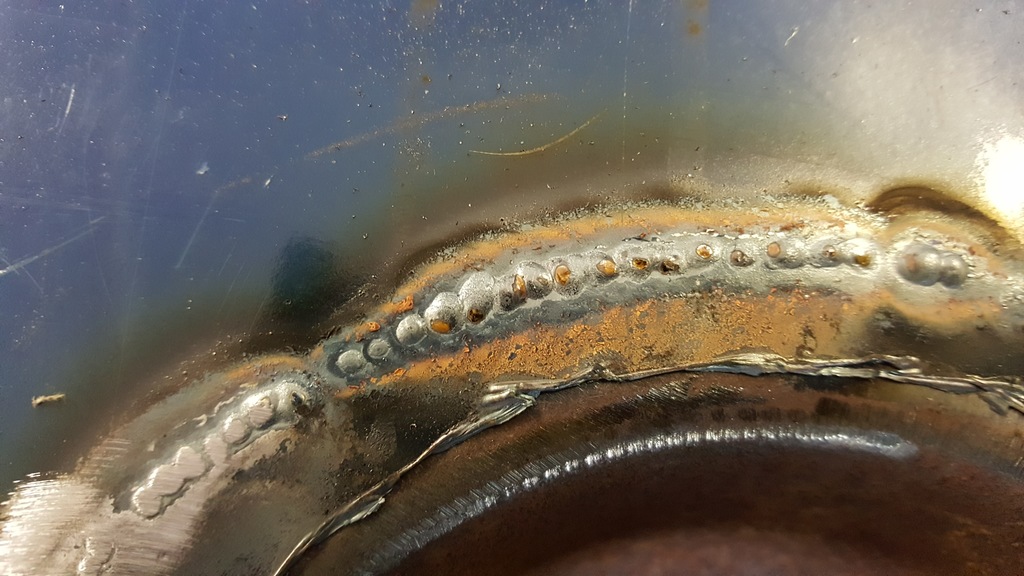
Some nicely spaced welding, yes I did weld up the hole I had missed
Good penetration as well
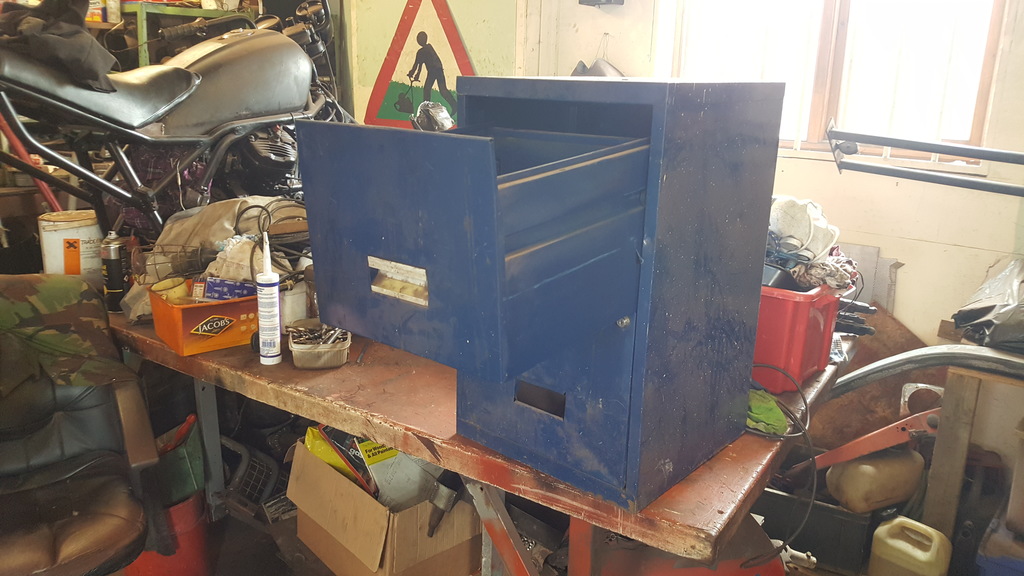
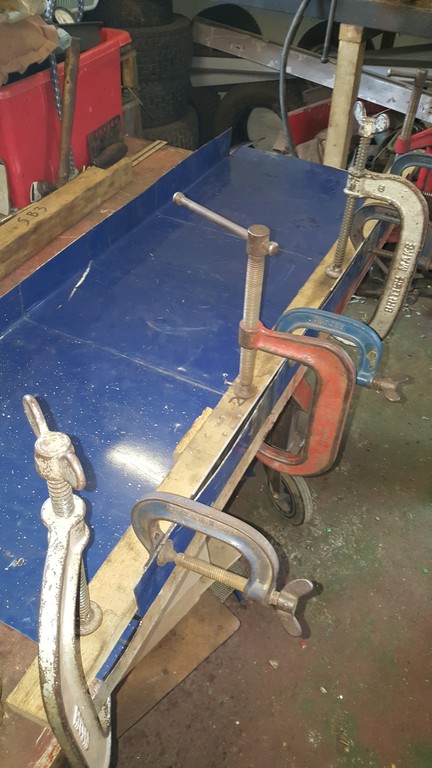
A test fit of the new (hopefully) leak and crack free tray..
I did bolt the lathe back on yesterday but forgot to take any photo's..


 I was meaning where the frame comes down. The diff plate could be extended to curve up in front of it.


")


 to Nigel for helping me get the new front end lined up and squared up with the rest of the frame.. This took a suprisingly long amount of time...


 .
.

")
Honda MadTrax V Twin Quad.. Nearly Finished.. Woo Hoo
in Home Built Items
Posted
A big thank you to Rex at this point for turning up at the workshop one day sporting a couple of massive MAN truck steering columns. Thanks mate
I can't use two of the UJ's as they have a plastic center bit.
"I have since found out that the plastic bit is only a cover so I can use them"
But I can use the shafts and other UJ's (one of which is a double) to get the power from the GB (gearbox) to the TB input shaft... But more on that when I get to sort it.
With my Murex TradeMig finally fixed I decided to celebrate and make some mounts for the TB.
Two of the mounts were cut off the remains of the Quadzilla frame which gave me a good start.
Space is so tight getting the TB in and out of the frame I have to make all the mounts removable from the frame so they don't get in the way!
I welded on a couple of captive nut before welding this bit to the frame.
Once the TB has been taken out again I can fully weld it up.
MMmmm, some nice strong welds
This bracket bolts the TB to the frame, but I didn't like the look of it.
So the corners were sliced off.
And some new metal was added to put the strenth back in the bracket.
Will you look at those pretty colours, yep I'd say my Mig is now working better than ever and producing the heat it needs to do a very strong weld
That looks better..
The TB mount the other side. Nice and strong (well it will be when I can fully weld it up when the TB comes out), but I'm not sure I like the shape of it so a few mods will need to be done.
That will do for now, it's given you all plenty to read
More to come later..
The trouble is I can't split the box with it in the frame, and I can't get it out!