She is looking awesome , I wished I gave you the dozer blade that I have for her to be painted the same colour , you both have done an amazing job and I can't wait to see her doing som MPH .
Thanks mate, were still waiting to drive the RJ as you will see..
So what can I say about the RJ... I think AARRGGHHH sums it up quite well!
I don't know what the RJ has against us but it's really fighting us at the very last stage!!
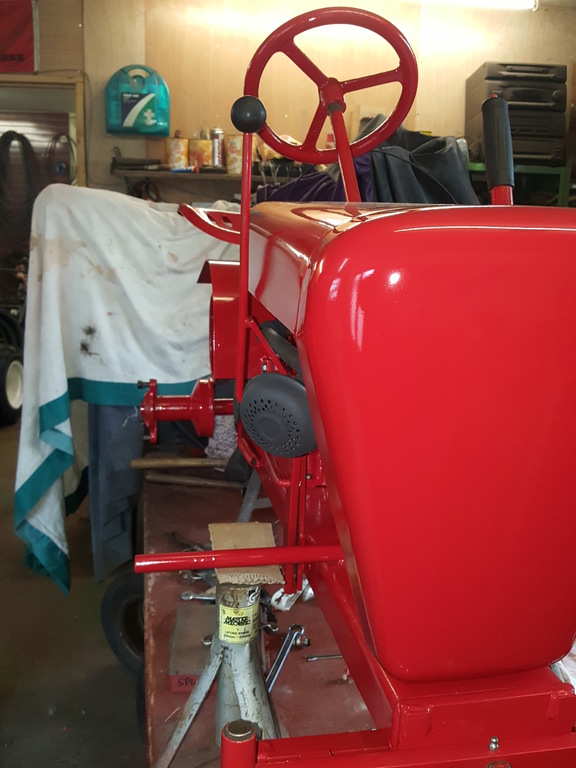
You would think something as simple as putting the steering wheel on would be easy, but no!
When the RJ arrived the steering wheel was held on with a bent nail.. Now most of the time it's because the original roll pin? has been lost at some point in time..
Not this time.. The holes in the wheel and column didn't actually line up very well so a nail was the only thing that would fit in!
I guess the steering wheel isn't the original!
Anyway, some very careful drilling and the wheel is now held on with a custom made quick release clip thingy
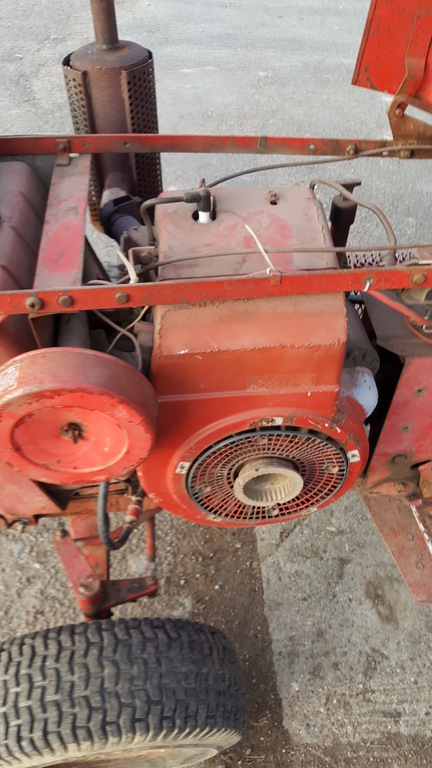
"Deep breath"... Now onto the engine..
The very nice looking Schmacke or is it Schmacko? (It's hard to read on the photo's) has been driving us nuts!
The recoil didn't want to which was eventually sorted, the the "gripping" bits that grip the hexagonal shaft on the engine decided it didn't want to to the gripping bit!
Quite why we just can't work out, nothing is broken and it works 90% of the time when not fitted to the engine..
Fit it to the engine however and it will work for a couple of pulls then stop again!
If I had to count the amount of time the recoil unit has been on and off the engine both Nigel and I would have to remove our boots and socks as we would run out of fingers to count on very quickly!!!!
In the end for the sake of our sanity we decided to swap the recoil until over for one that works the more normal way, which in it's self is almost a straight forward swap...
Woo-Hoo we can pull the engine over again.... But why is the engine cover moving around so much???
That would be because there should be a bolt where this hole is... The trouble is the backing plate is missing most of the threaded bolt hole as it had been broken off at some point in it's life!
We do have another good backing plate to swap over, but that involves a lot of stripping two engine down to swap parts..
Forward one step, back two or is it four?
It's not all bad news though, we have had the engine running.. For a short while anyway.. Once started it would run quite nice for a few mins, then start running rough, then eventually it would stop!
Best have a look at the carb again, pulling the pin out that holds the float in place was nerve wracking as the casting one side which holds the pin in place isn't as strong as it should be..
Can you spot a problem?
Yep the new O ring doesn't like petrol and has grown somewhat!
No chance what so ever of getting this jet thingy out!!!
It looks like someone has been at the float valve thingy already!
Getting it out was er... Shall we say interesting!
The carb has now been put back together and will be going back on the engine once the backing plate has been swapped over (tomorrow hopefully) and the "will it run ok?" sequence can start over again..
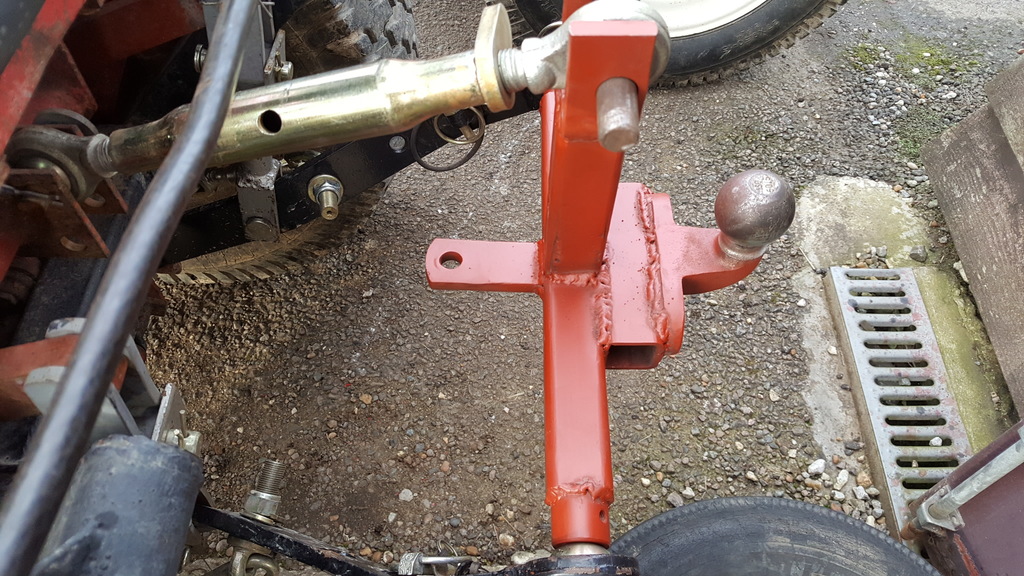
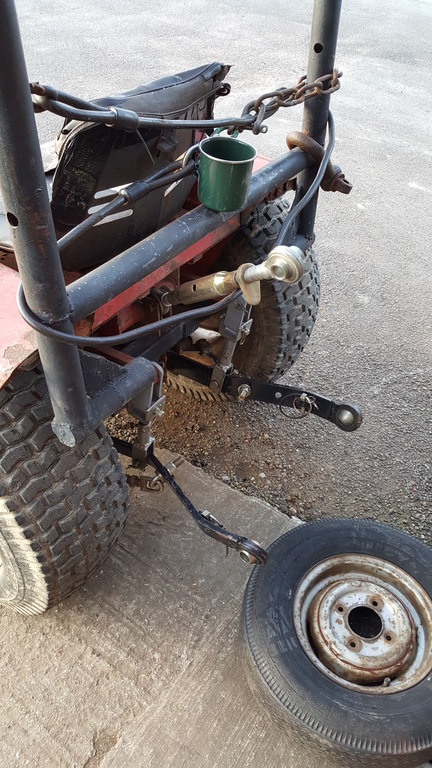
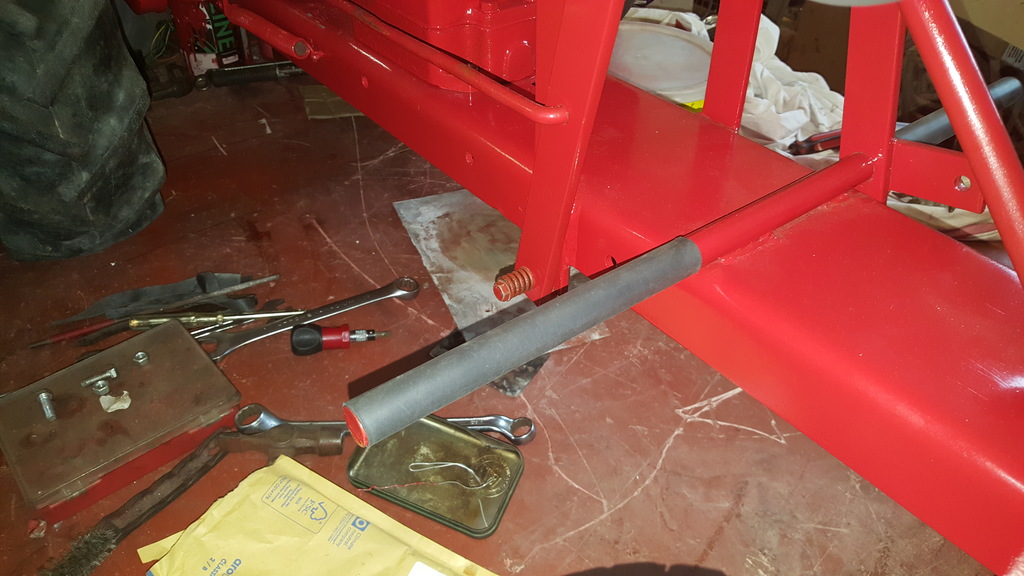
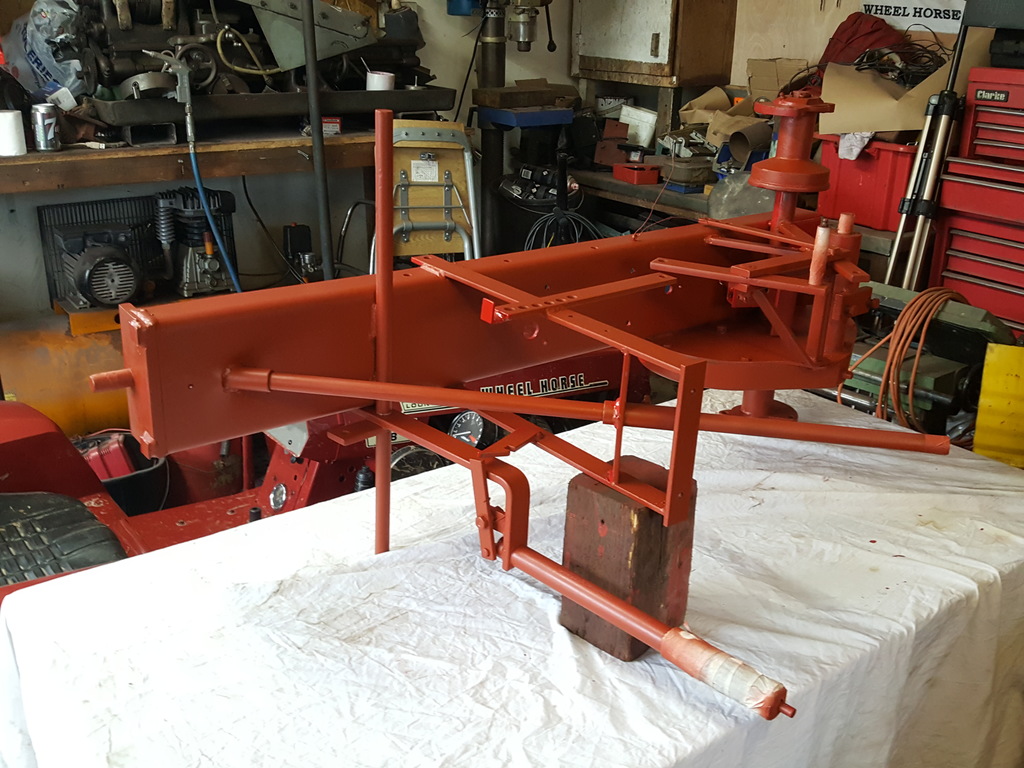
I realized yesterday the the GT didn't actually have a tow hitch fitted, so I made this hitch thingy for the 3 point that's reversible so you can tow something with a ball hitch or the more normal type of garden trailer.
As handy a thing as this is to have I really can't use it any more due to arthritis in my shoulder, it just hurts to darn much
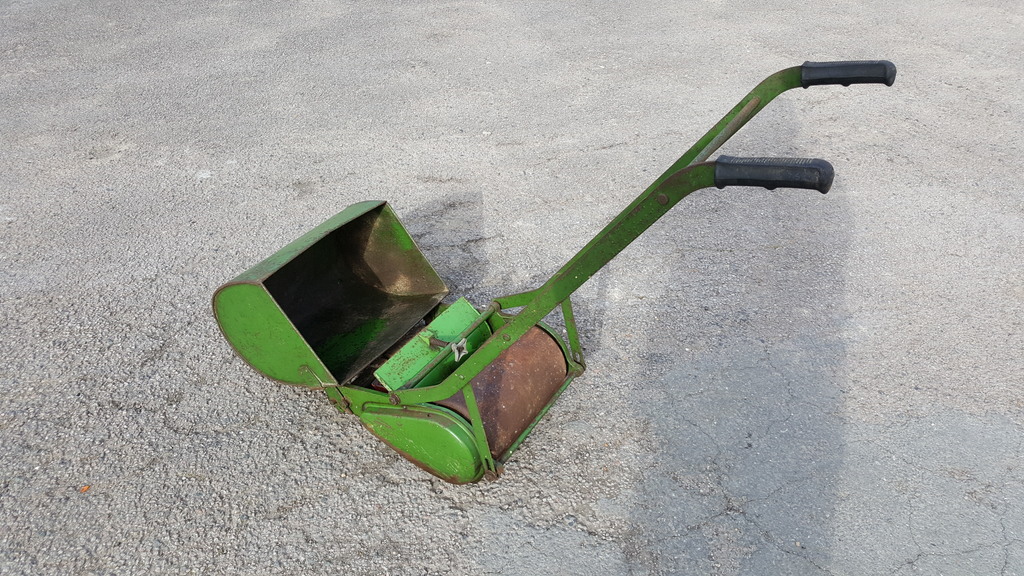
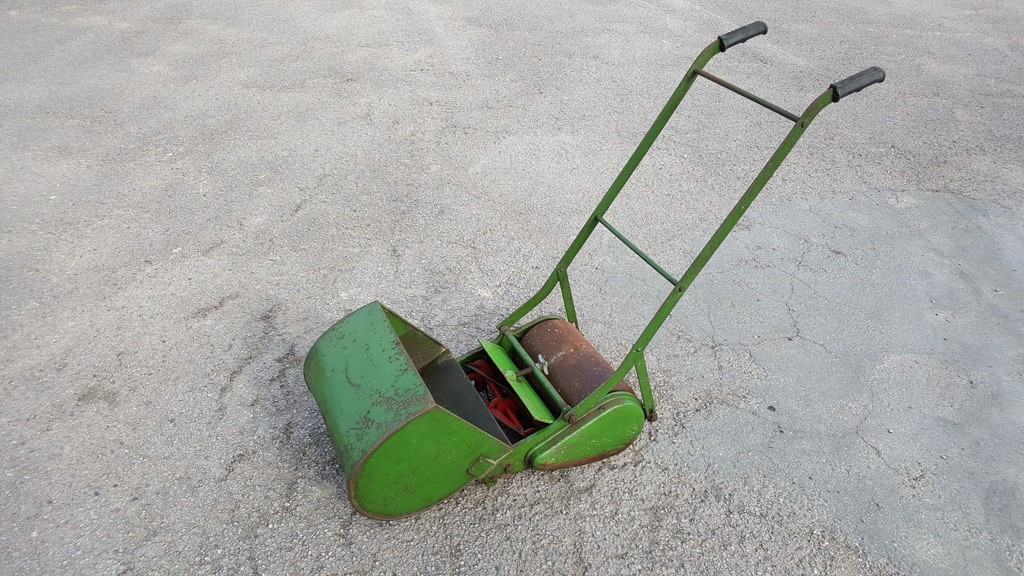
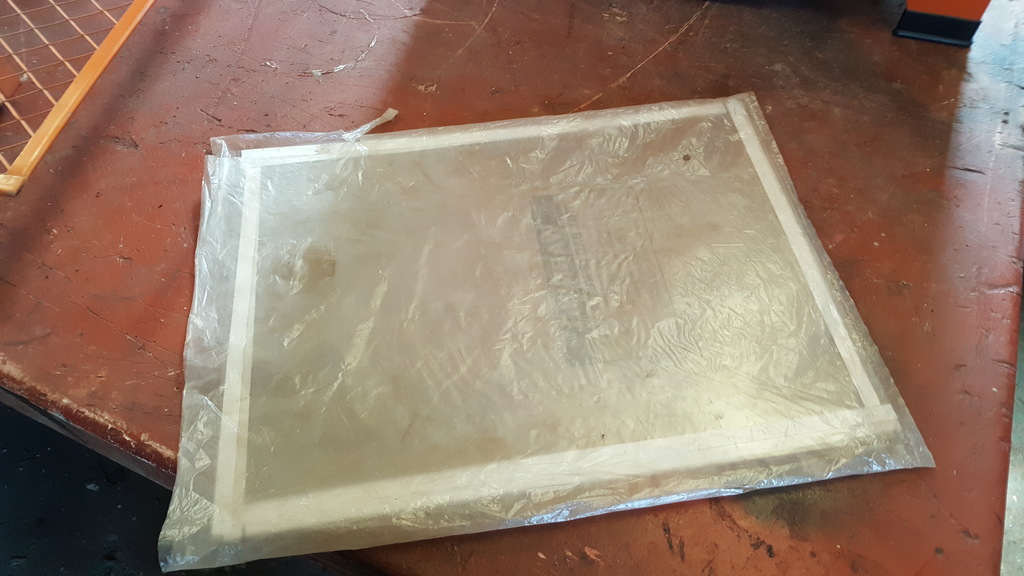
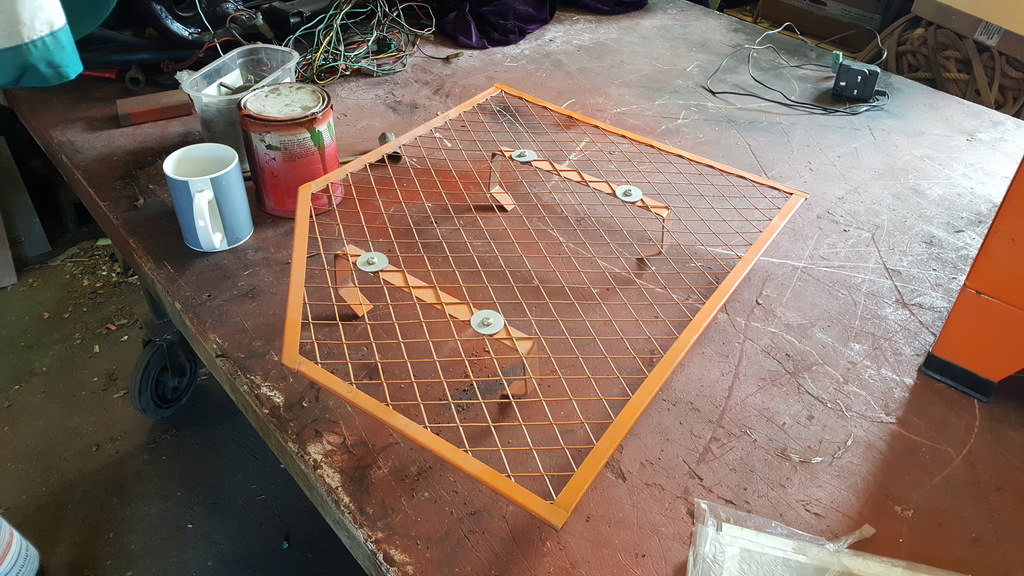
It's had a bit of use as you can see, it comes with a couple of those clear sheets you stick on the inside of the clear lid and change once in a while, the mesh stand thingy fits inside, I have taken it out to get larger things in.
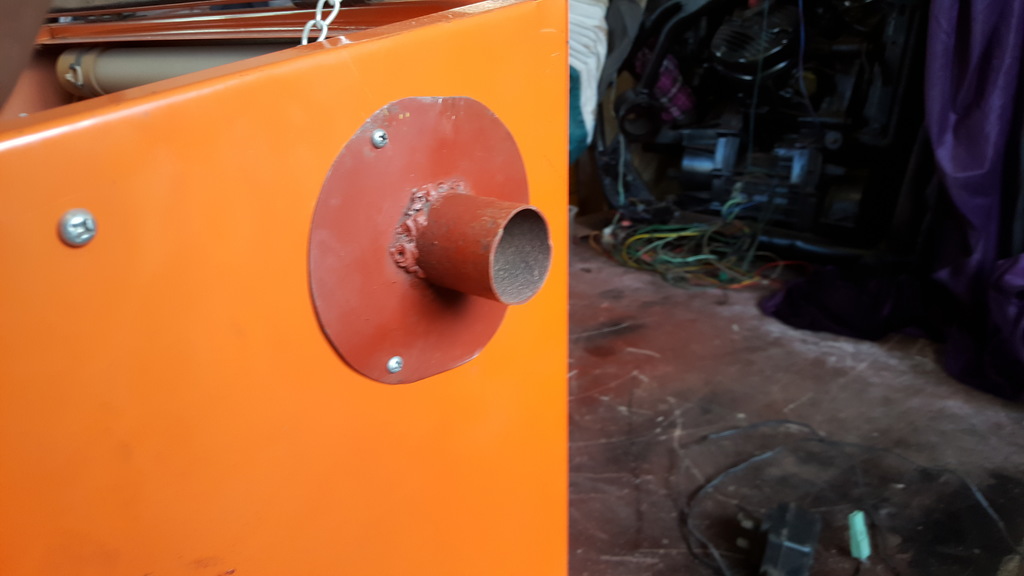
I have put an extra vent in the right side of the casing for dust extraction.
It also comes with what ever crushed glass media is inside.. I can empty it out if you want
I will even throw in my "12 volt, twin pc fan extractor, part bike exhaust" thingy if you want it
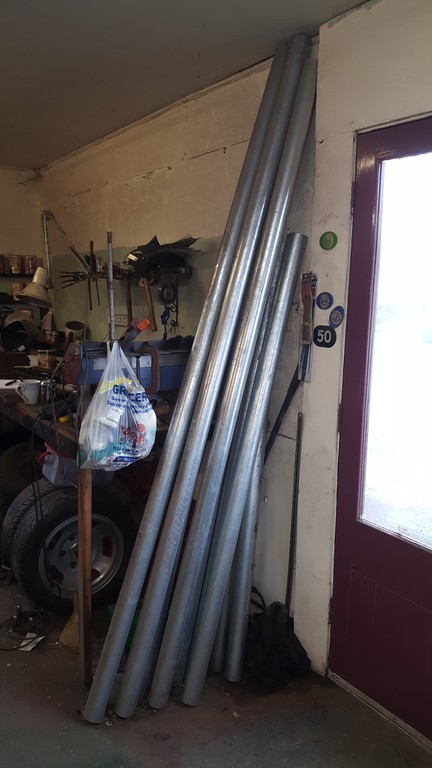
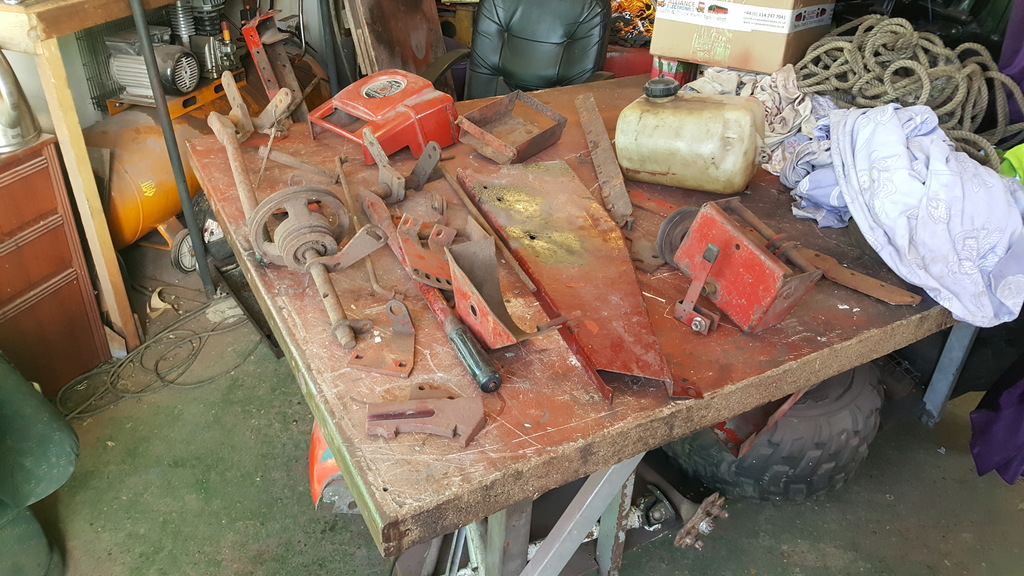
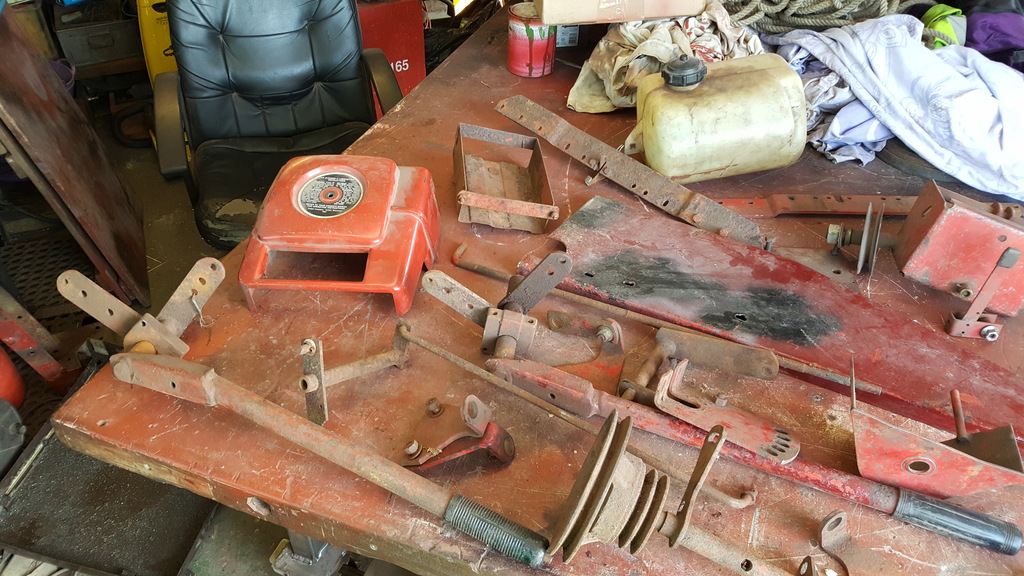
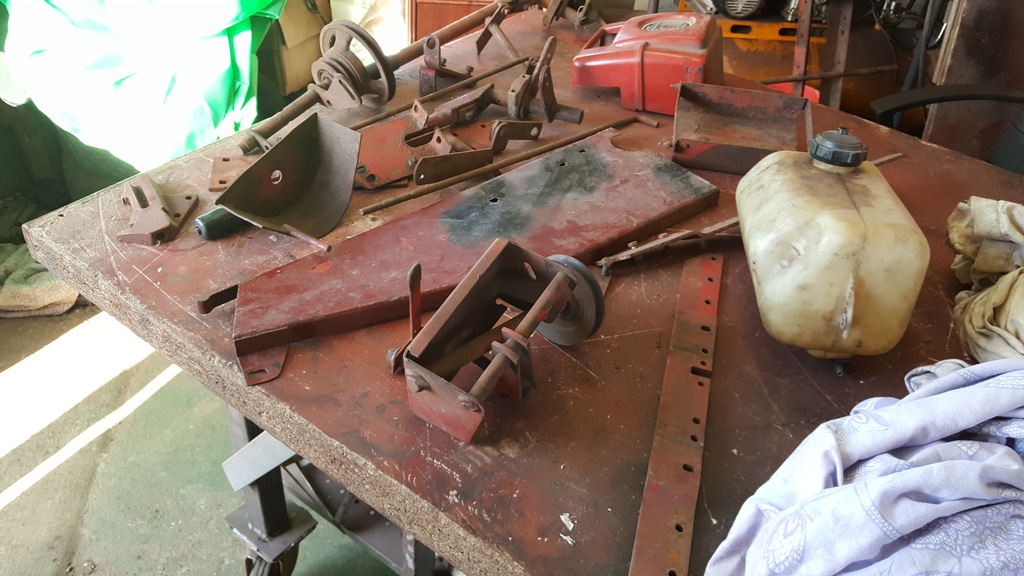
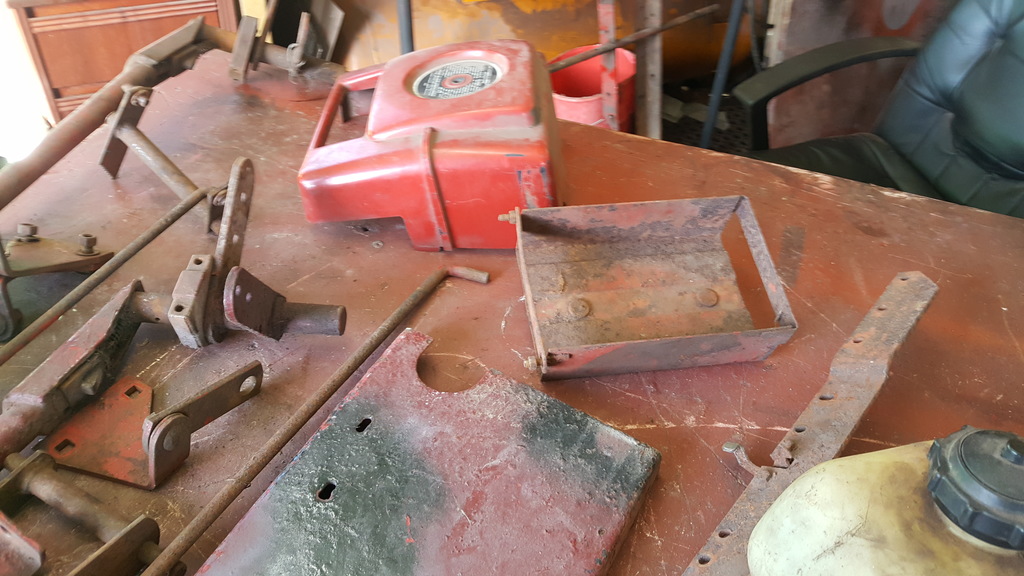
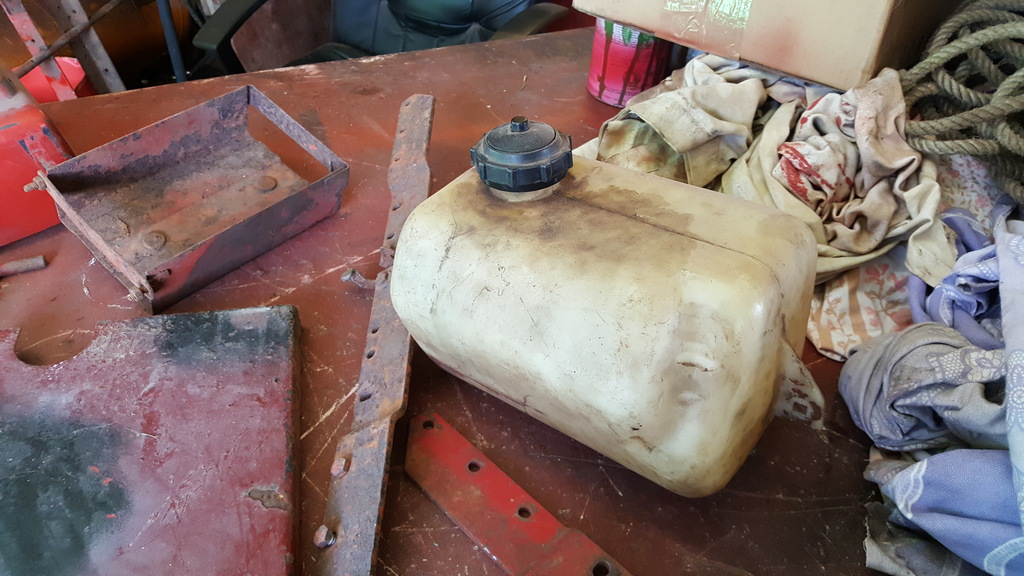
Having a bit of a spring clean and thought I'd sell a few WH parts I'm not likely to use..
A bit of a mixed bag from different models and years, things like a Raider/C series battery tray, fuel tank from an unknown model,a couple of lifting arms, belt guard from who know what
Oh, and a engine cover from a Kohler Magnum 16.
I will let the picture do the talking.
When I get the chance to sort them there will be a second job lot of WH parts, just don't ask me what's in it yet as I won't know until I have a look.
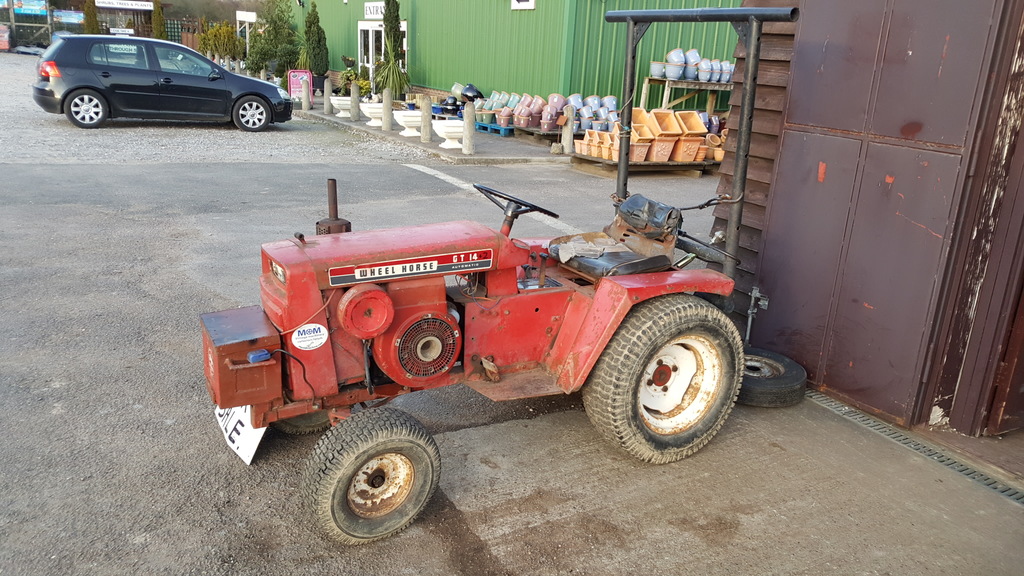
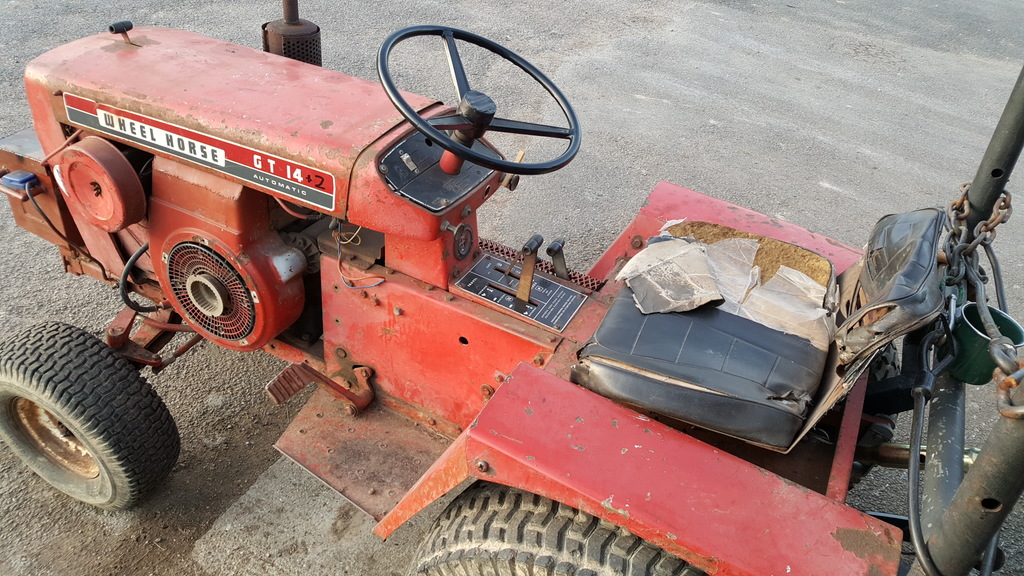
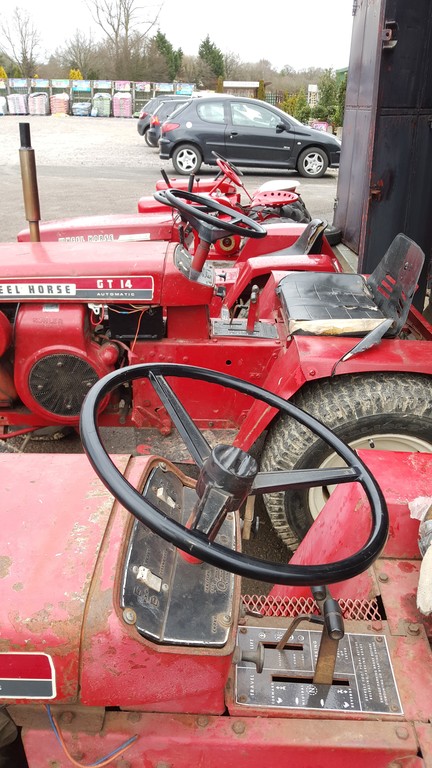
As some of you will know Nigel bought a Wheel Horse GT-14 the other week, quite why he is not sure, I just think Nigel wanted to copy me
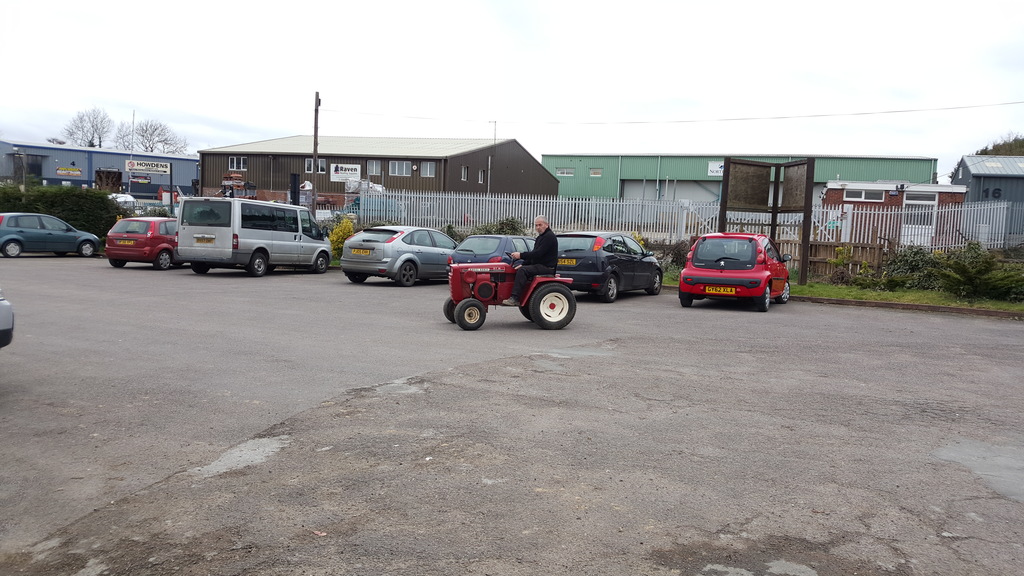
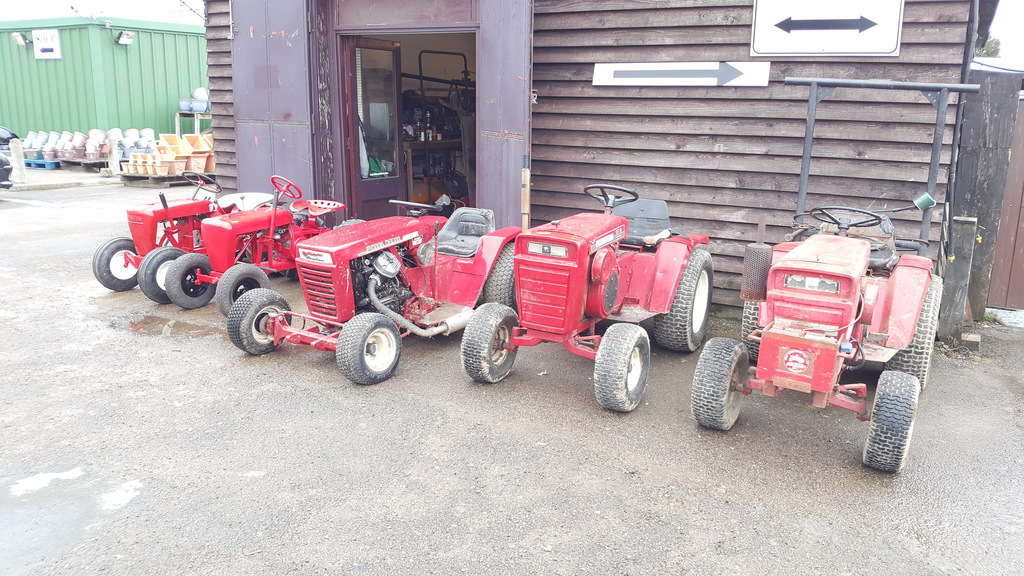
A few photo's from Nigel's first drive..
A good place to park
Nigel insisted that I had a drive to see what I thought, and of course Nigel blamed me for the "cough cough splutter" as the engine started to run badly and then cut out
Lot's of swearing followed by a carb clean out, a coil and fuel pump swap and eventually fitting a one way valve to the fuel line to help the pump prime (the replacement fuel pump is a bit lazy too) and the GT was back into life..
Oh, Nigel did make a new exhaust for the GT, but as the only way to fit it was to drop the front axle off we shall gloss over it
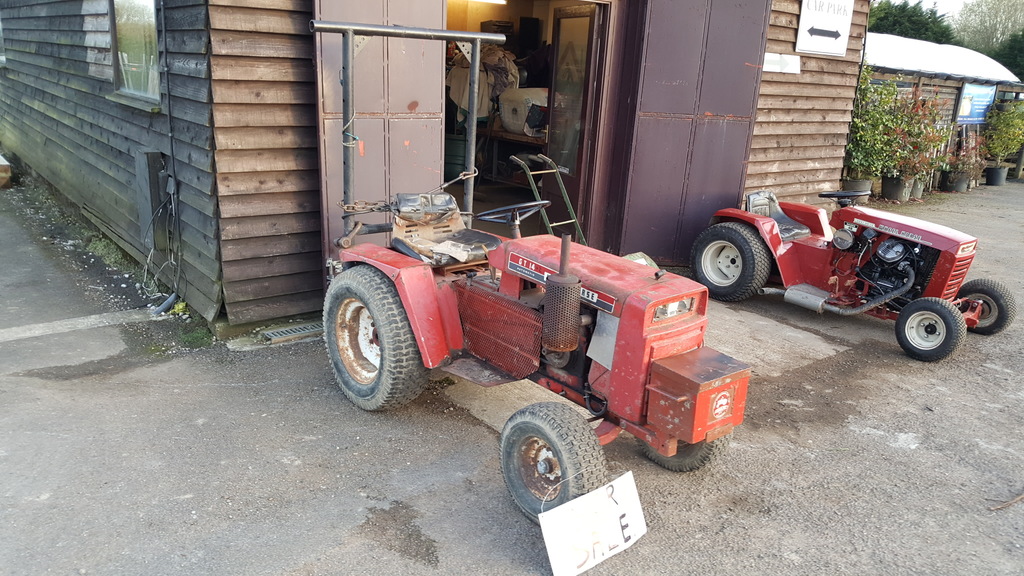
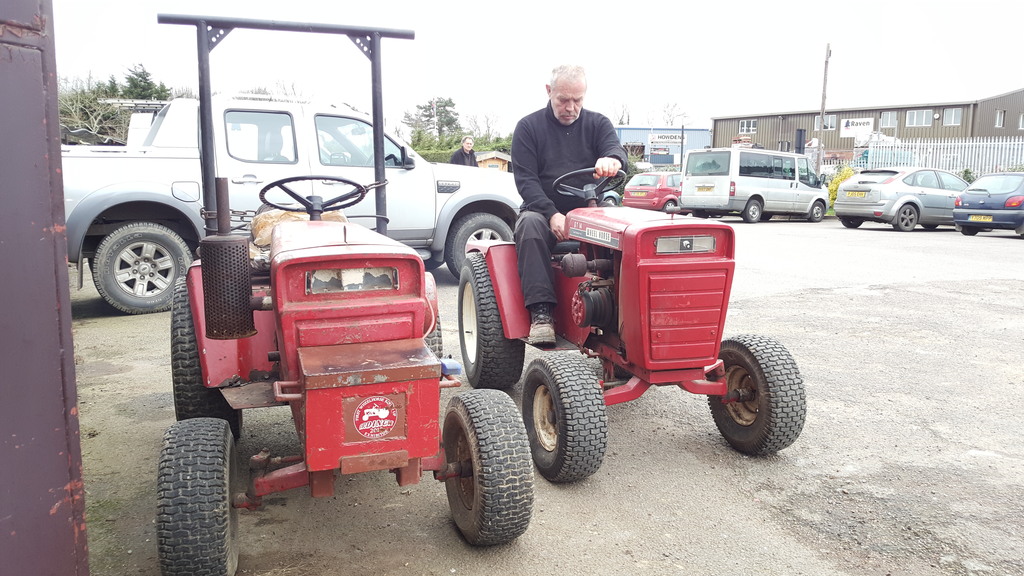
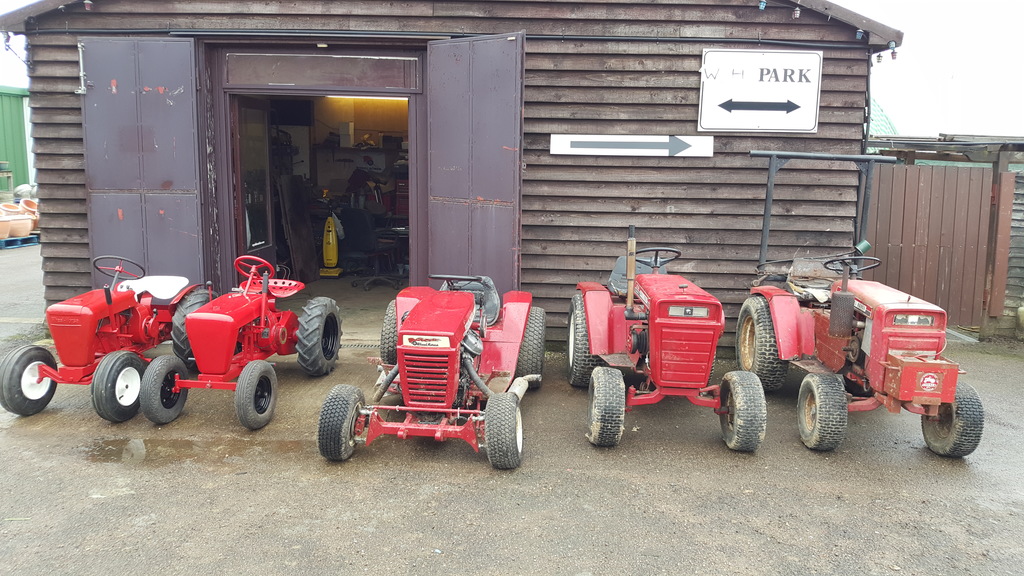
So... What do you do if you have two running and driving GT's??? You go for a drive of course
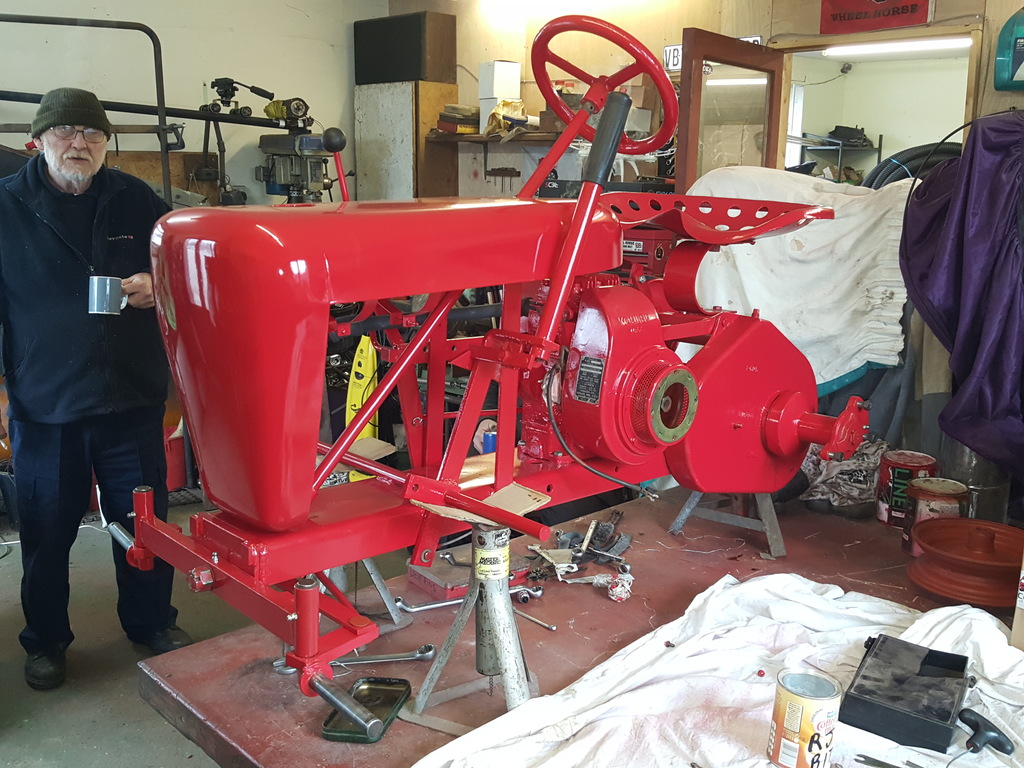
Some machines just like to fight you, and the RJ has picked the very last stage to er.. Pick a fight!
With the fuel tank sealed up inside and painted, and the carb passing the leak test before it was installed the time had come to fire the RJ up and have a drive/adjust the shifter linkage..
I'm not sure if he didn't like coming off the bench or is just scared of being at ground level but the fighting started!
Problems with the pull start not being able to keep hold of the end of the cable and the re-coil wasn't!
Cable and re-coil eventually sorted only now the jaws bit that grabs hold of a hexagonal shaft on the engine wasn't grabbing any longer!
When the pull start is off the engine it works fine, but once fitted!!
Sometimes walking away is the best option and go back to the problem with a fresh head.. Which will be happening tomorrow..
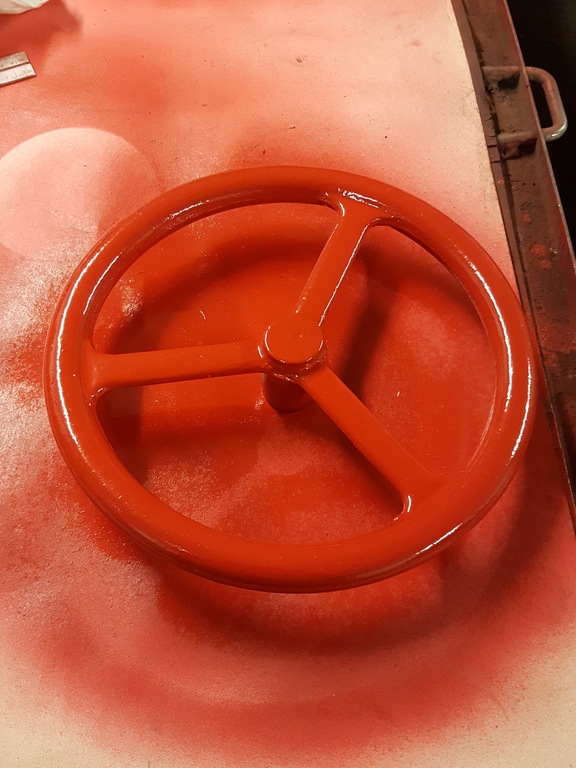
The dull weather makes the paint look darker than it actually is..
Nice work Norm, yeah cleaning wheels up has to rank as one of the worst WH jobs to do!!
I had clearance problems when I fitted the big AG's to my ole 312 years ago.. Had to raise the fender pan by an inch and cut n shut the foot plates to make the tyres fit..
It looks absolutely fabulous Ian, you are doing a great job. Are you using spraying with cellulose?
Iain
Thanks Iain, it was painted with enamel.
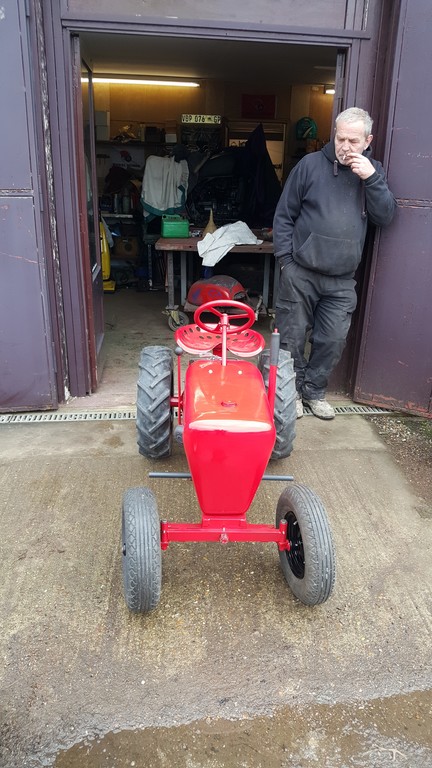
Neil's RJ is so close to being done I can almost taste the first test drive
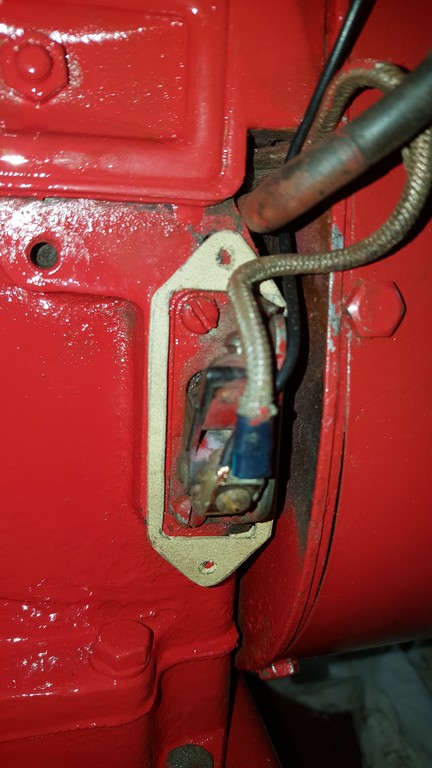
A few detail jobs, the points cover was missing a gasket so I had to make one...
The exhaust was missing a clamp and little doo dat that clamps between the exhaust and frame... Sorted
The foot pegs didn't have the optional? foot rest thingys (I don't even know if RJ's could be ordered with them?) so Nigel put some rubber shrink wrap stuff over the pegs to give a bit of grip and stop the paint wearing away.
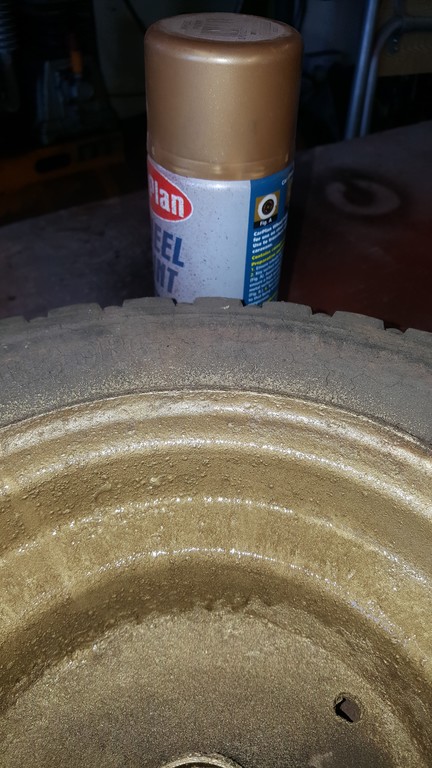
Sorry Neil, a change of plan for the wheels... We thought gold would look much better and Nigel had all these cans of wheel paint kicking around you see..........
Only kidding
A second coat is needed at this point.. As is first coating the other side
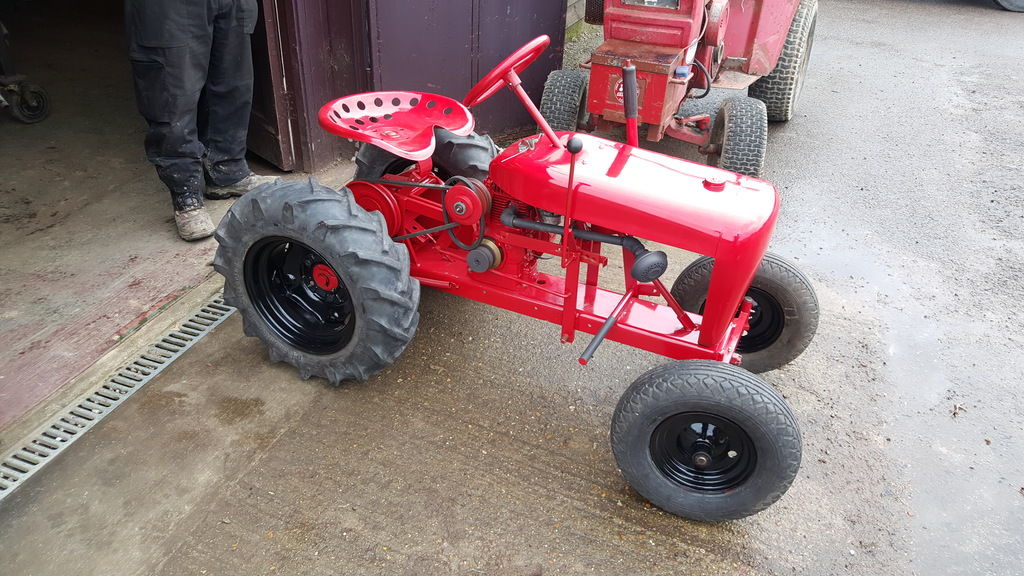
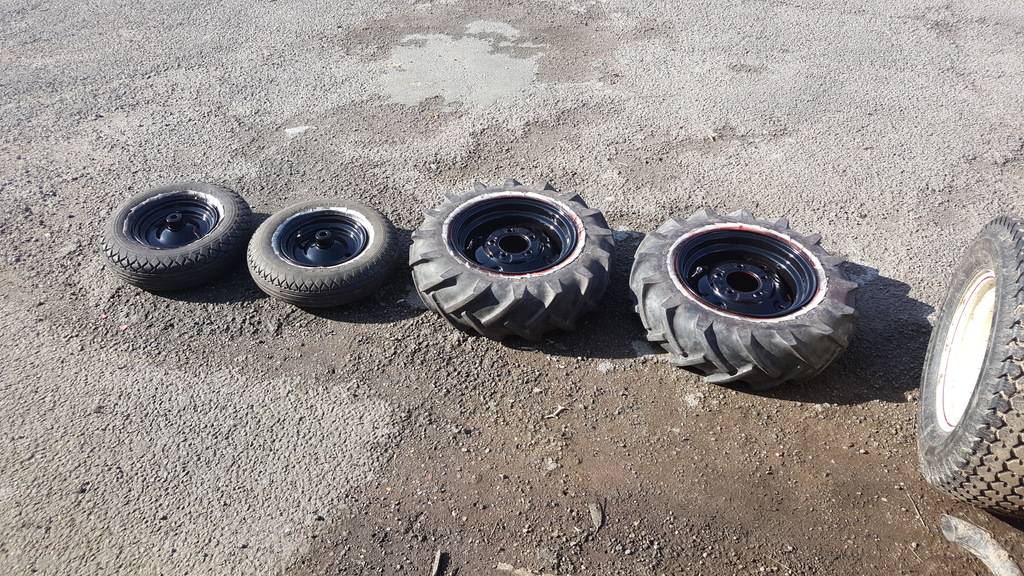
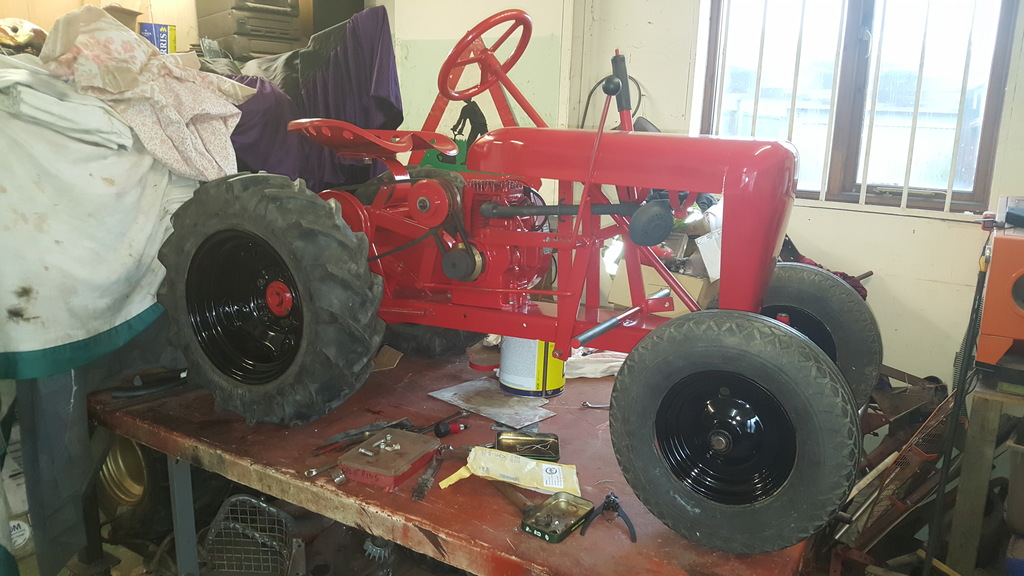
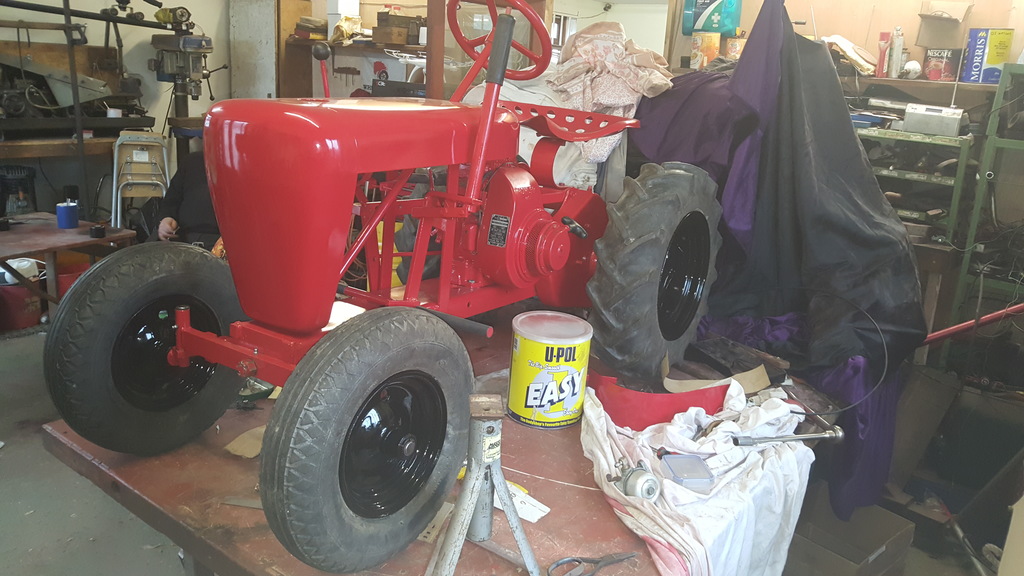
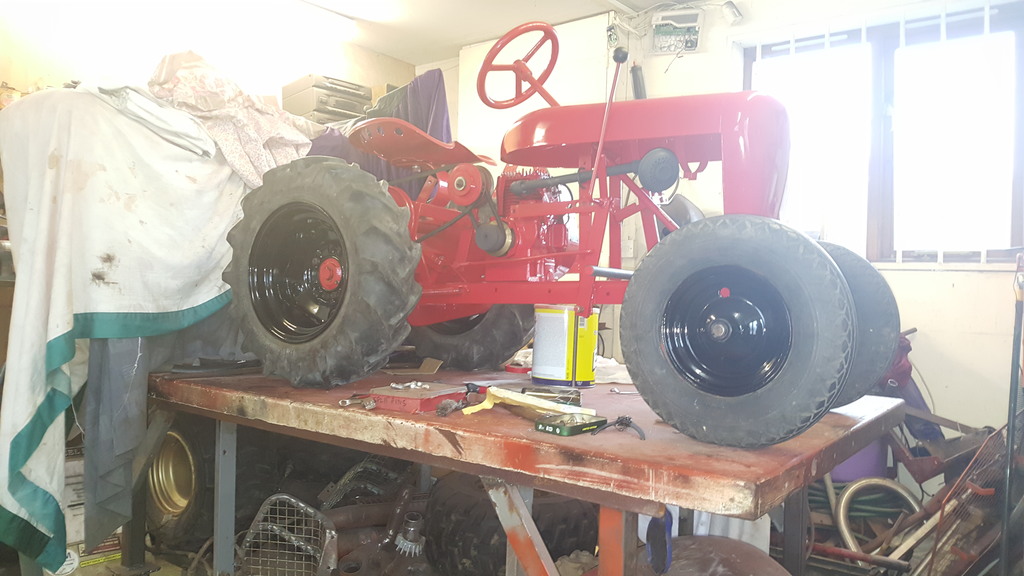
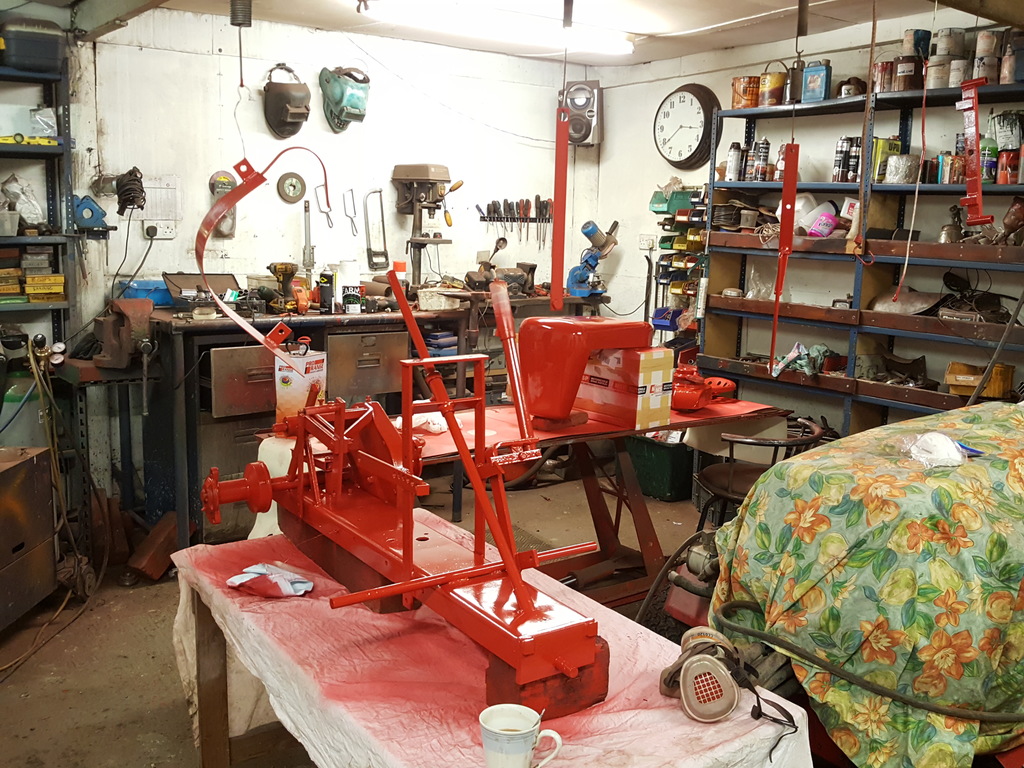
Wheels second coated and bolted back on...... I can't help but grin every time I look at the RJ
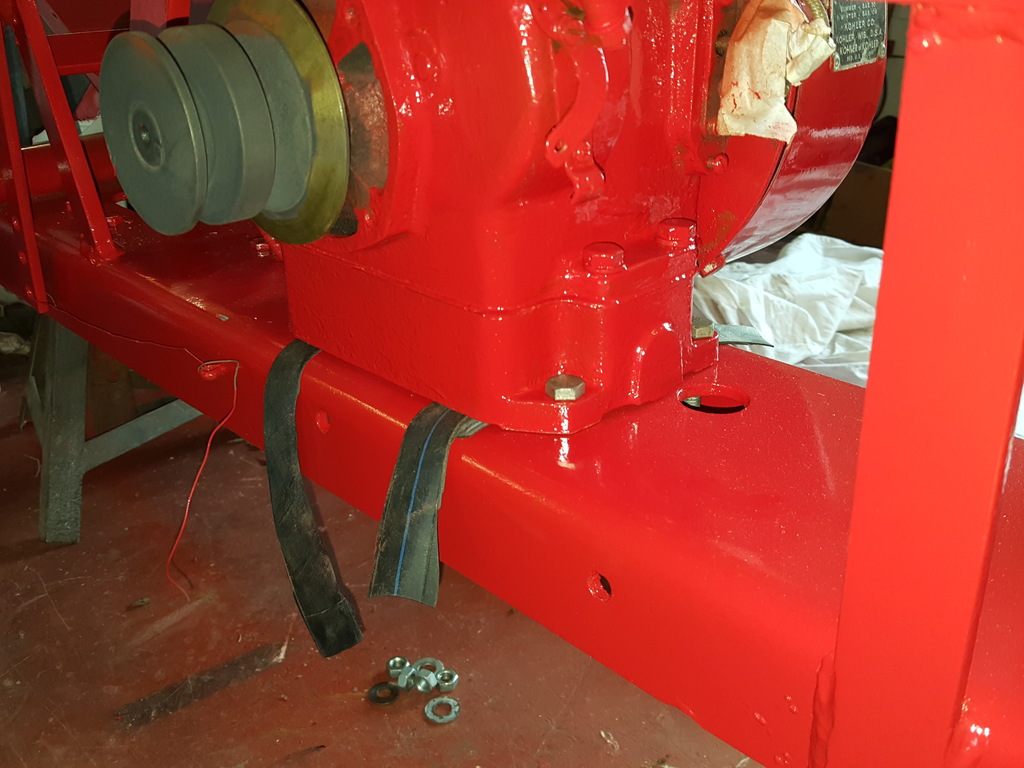
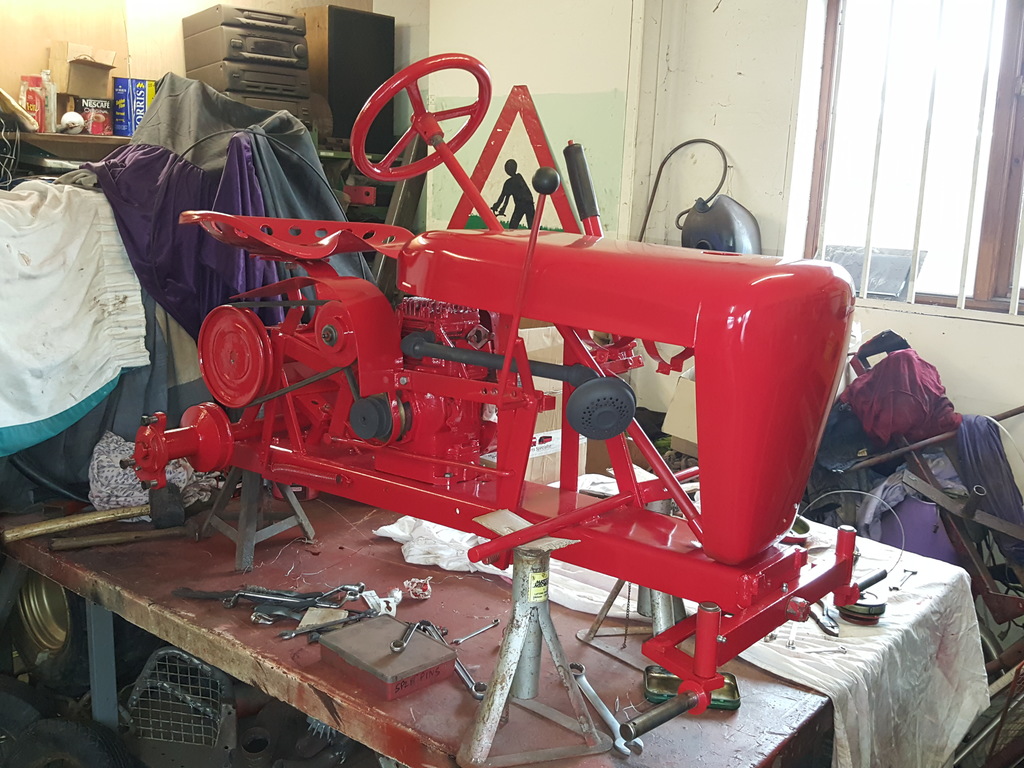
Yesterday the little RJ started going back together, lift cable first followed by the engine.
I put a couple of bit's of inner tube on the frame before dropping the engine on.. It makes it easy to line the bolt holes up and stops the frame getting scratched while moving the engine about.
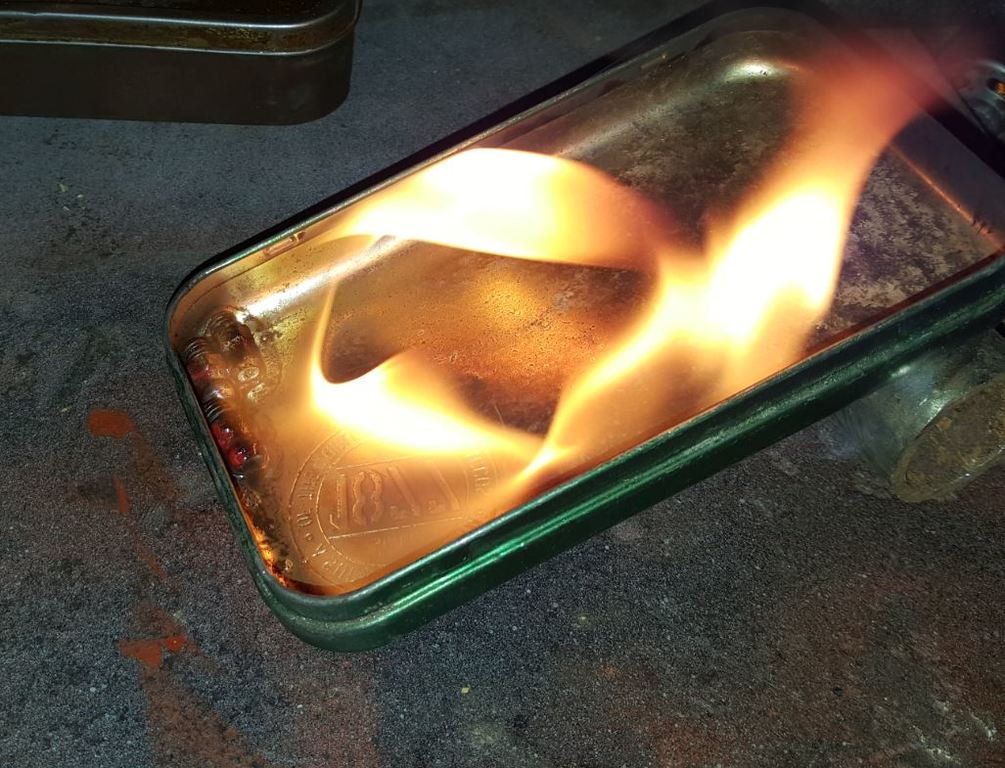
Cleaning out the grease nipples in a little petrol
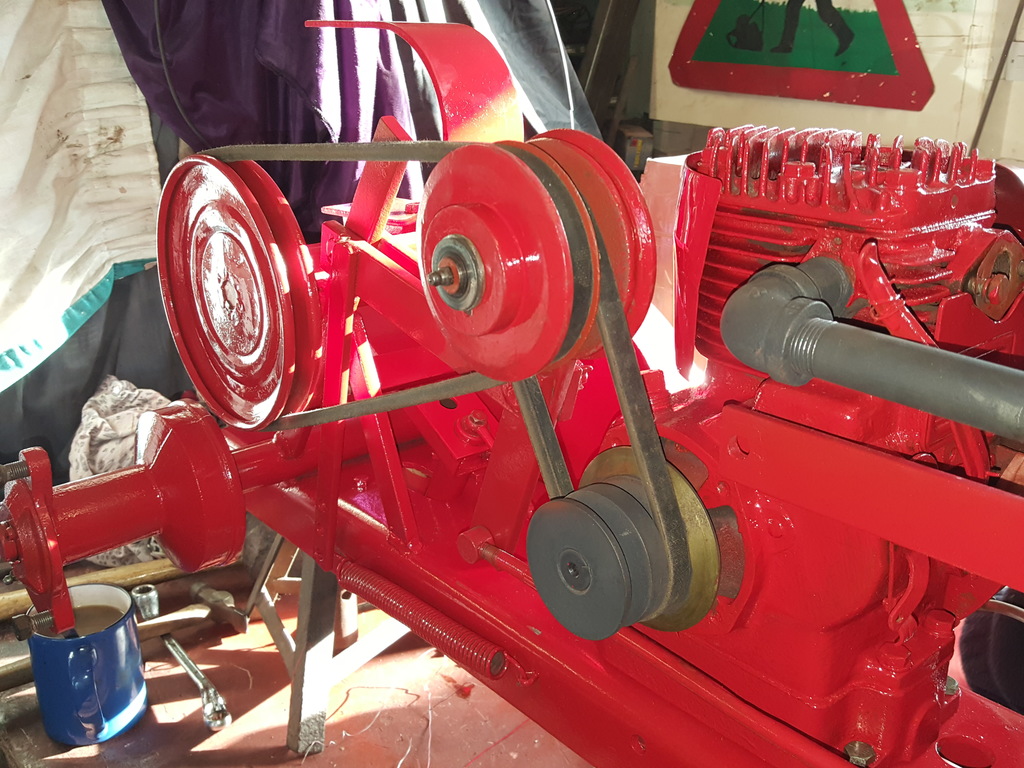
Pulleys and drive belts on.
Front axle and steering on.
The crowning moment..... The tank isn't fixed under the hood yet, but we just had to have a look
Not much left to do, the paint for the wheels and the fuel tank sealant should arrive tomorrow, and I need to sort the carb out now the rebuild kit has arrived..
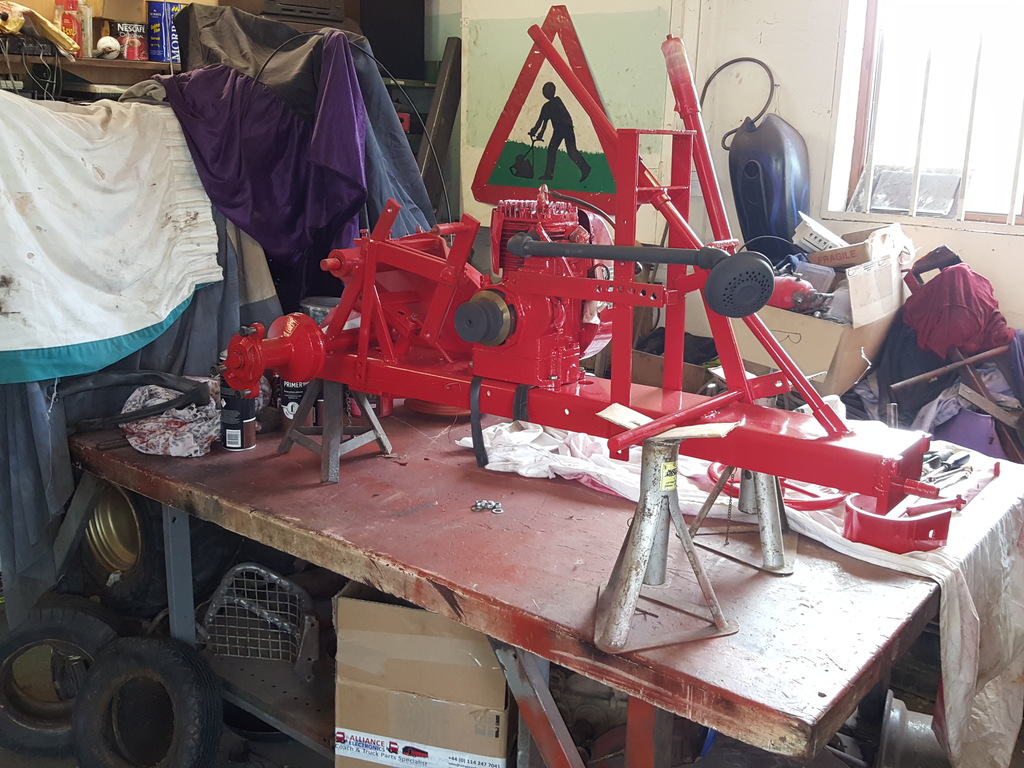
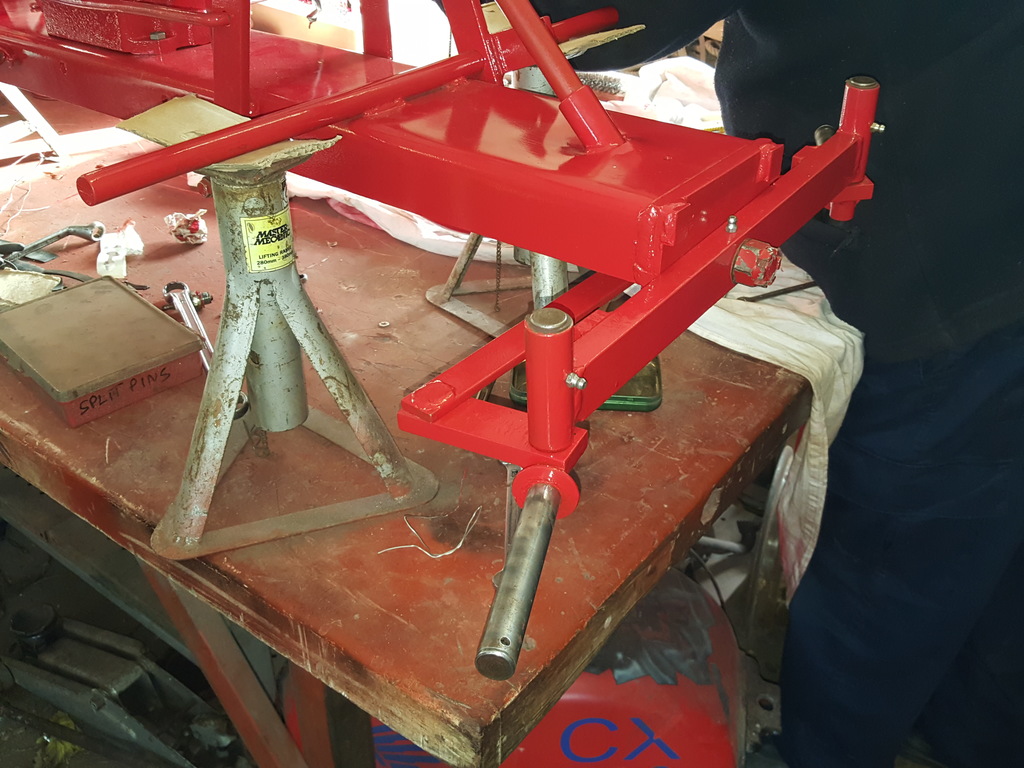
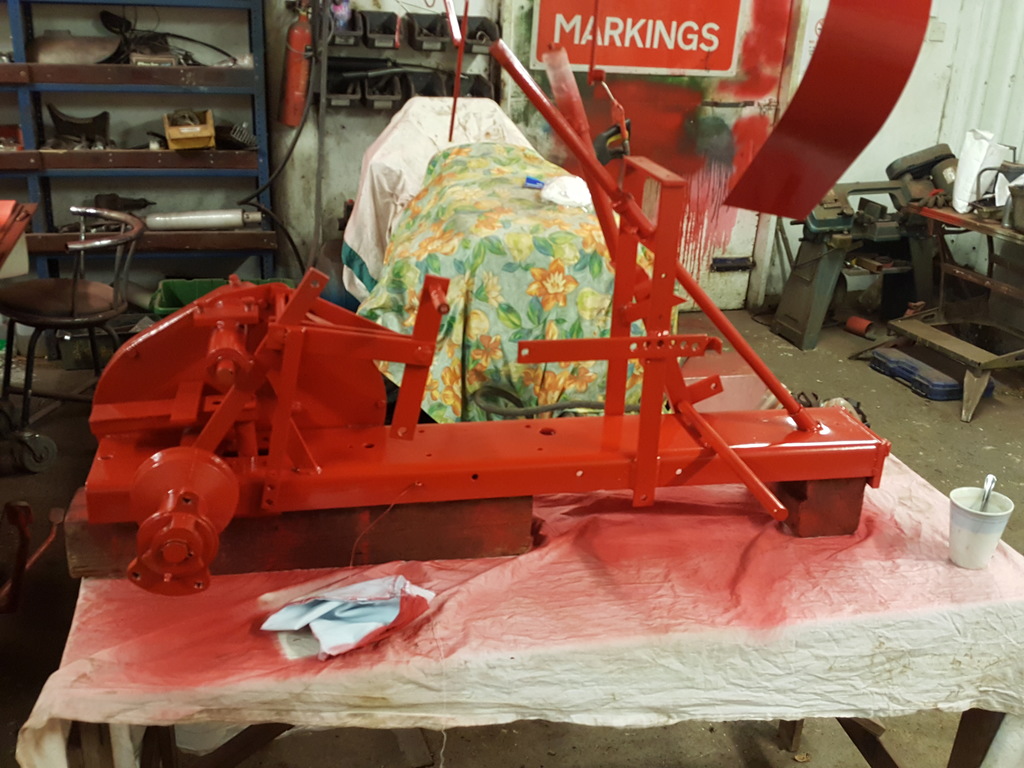
Really moving on with the RJ rebuild now, the frame has been cleaned up, primered and the underside has been top coated hence why the frame is on it's side
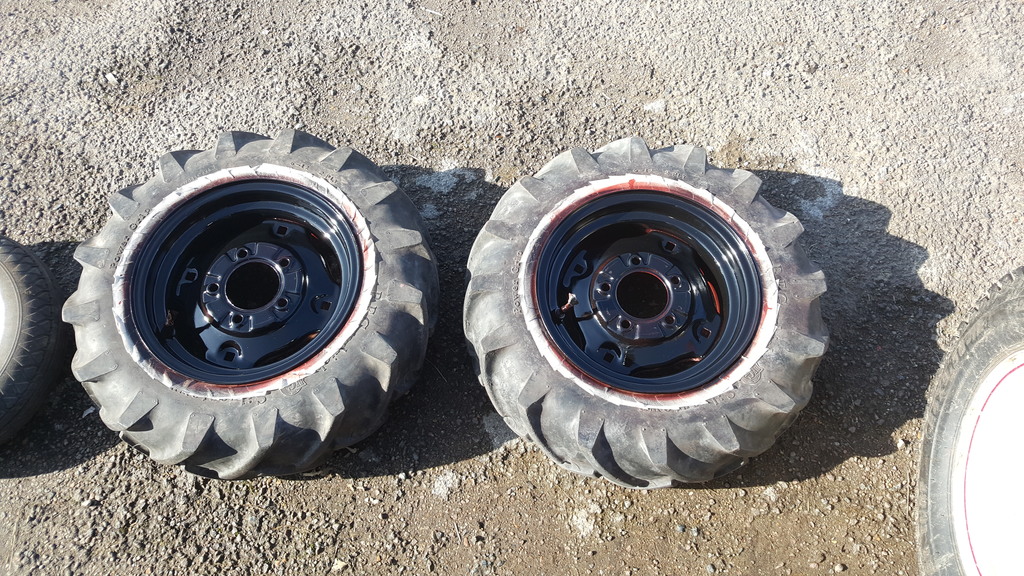
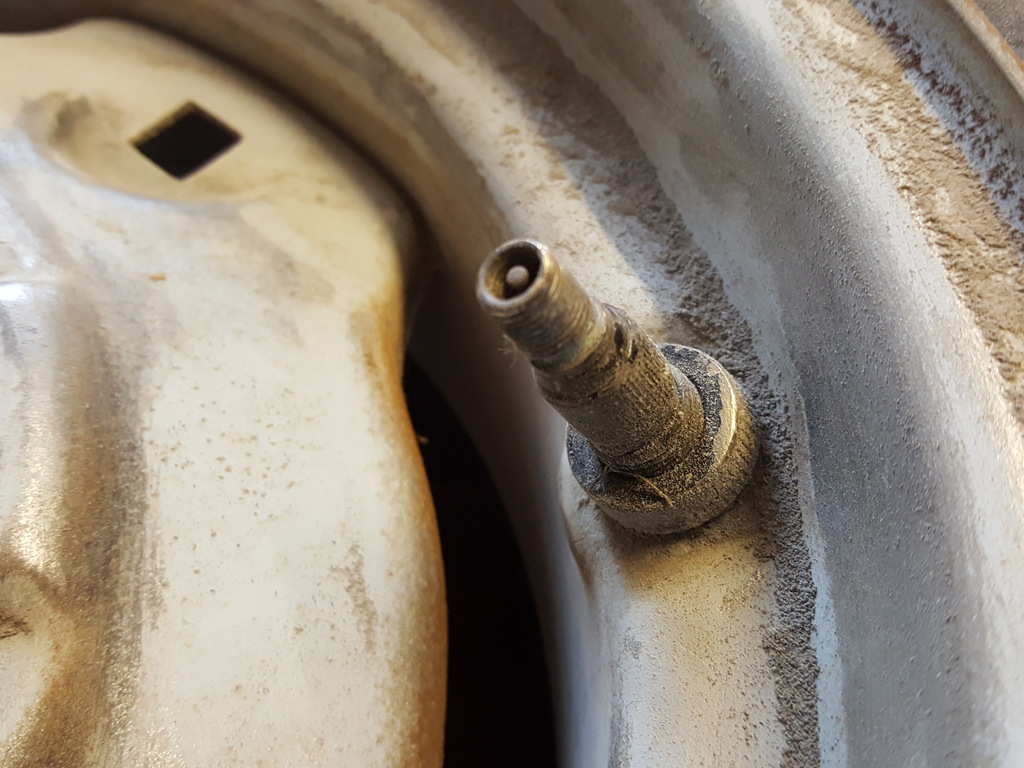
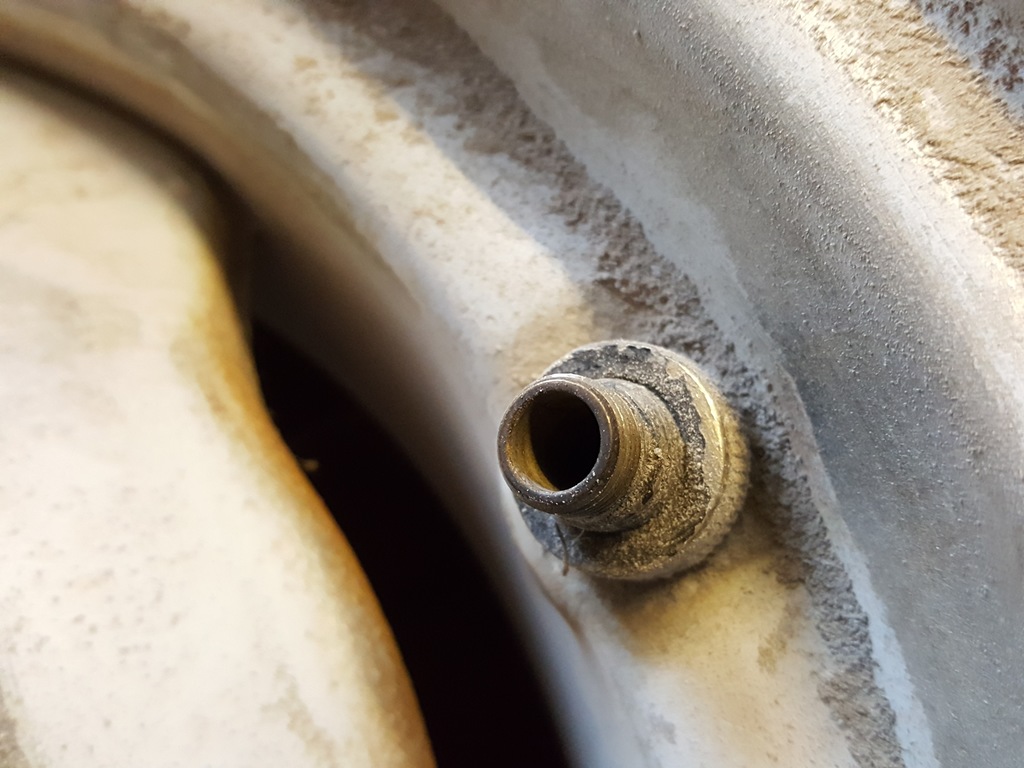
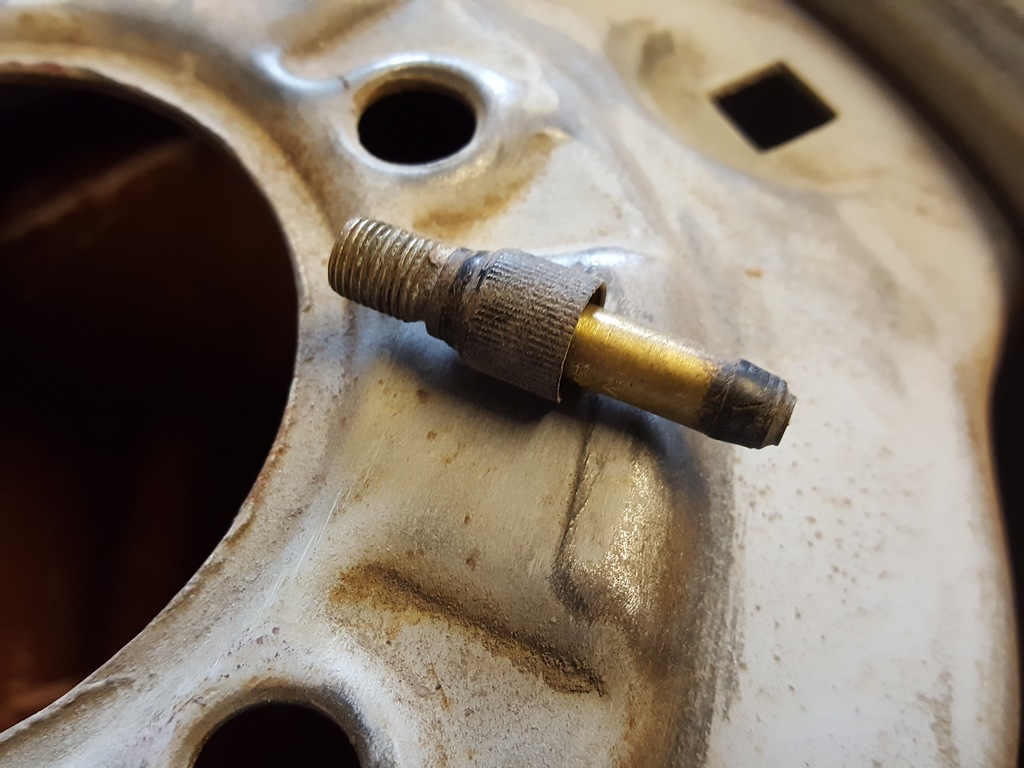
Is this strange two part valve arrangement a USA thing? We had never seen it before!
It turns out that the strange two part valve is to make it easier to ballast the tyres. Thank you Evanloock on RS for the answer
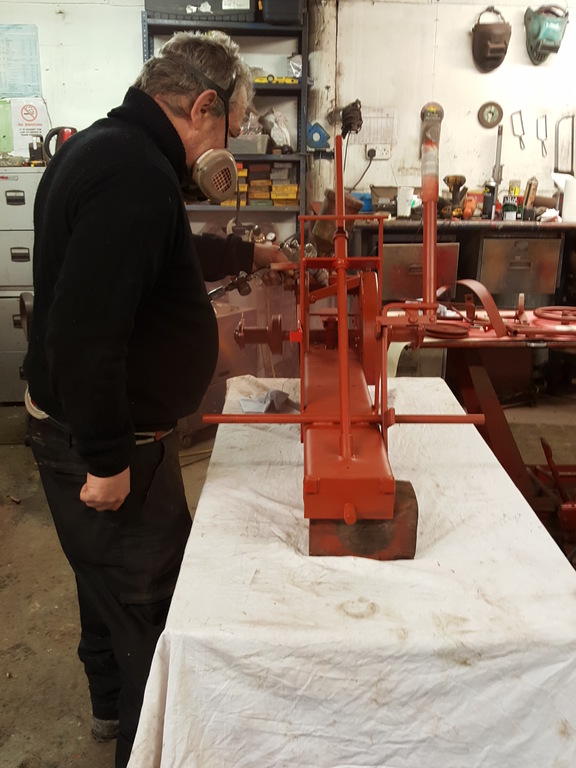
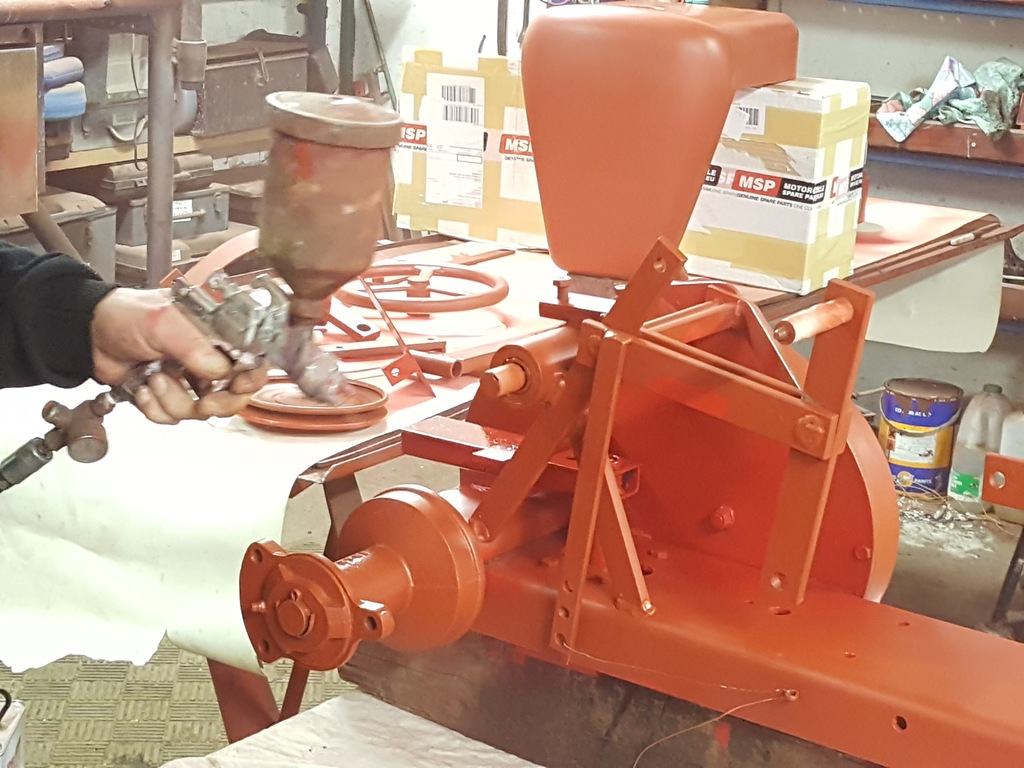
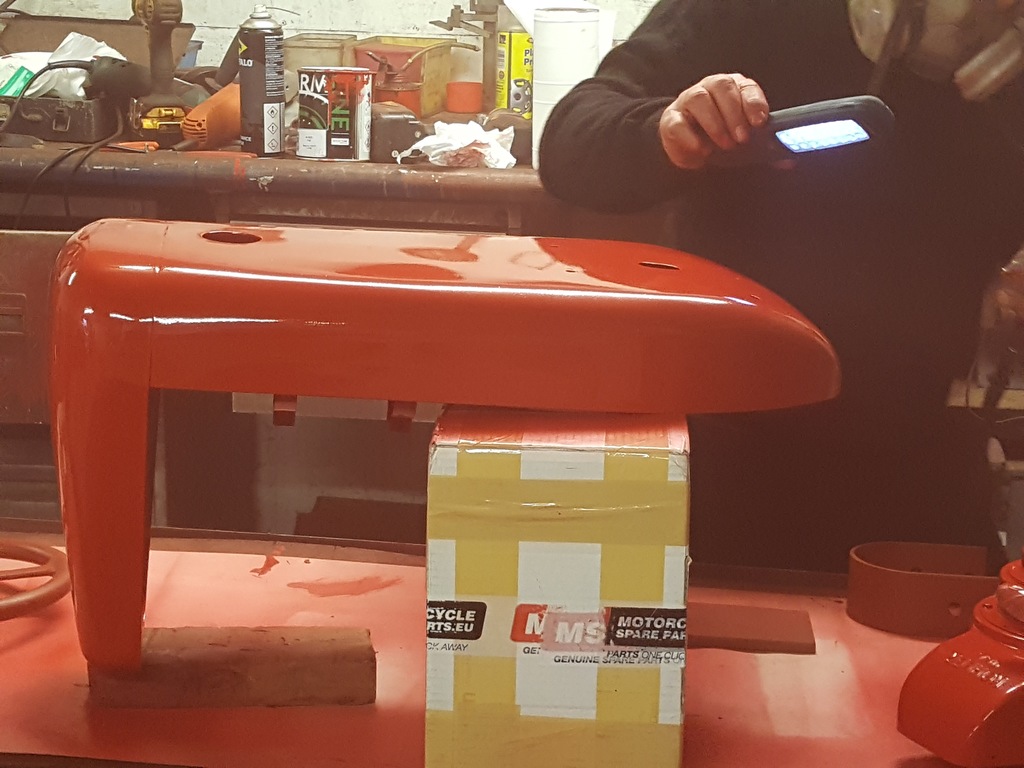
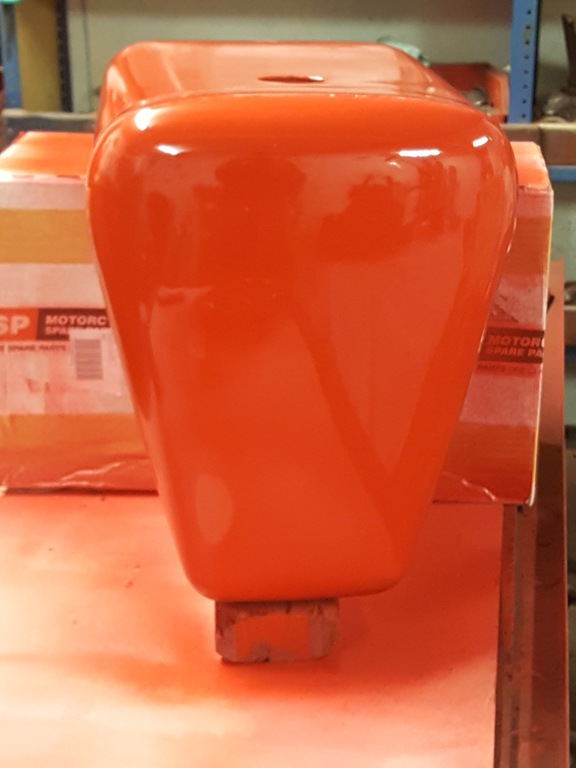
Top coat time,
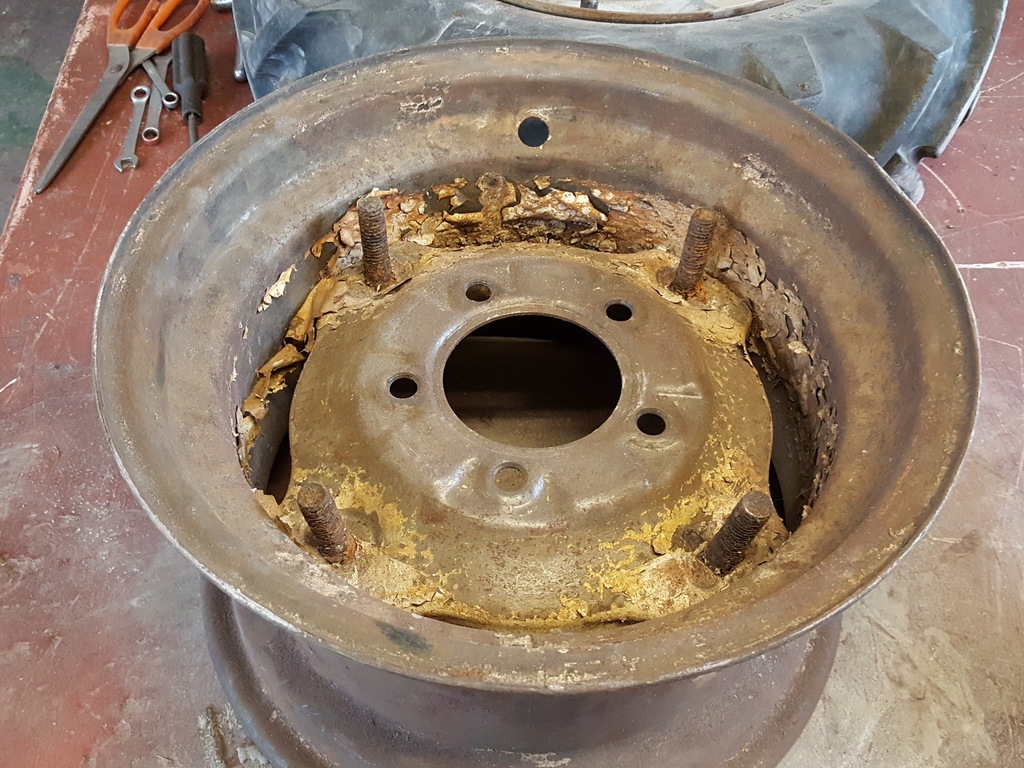
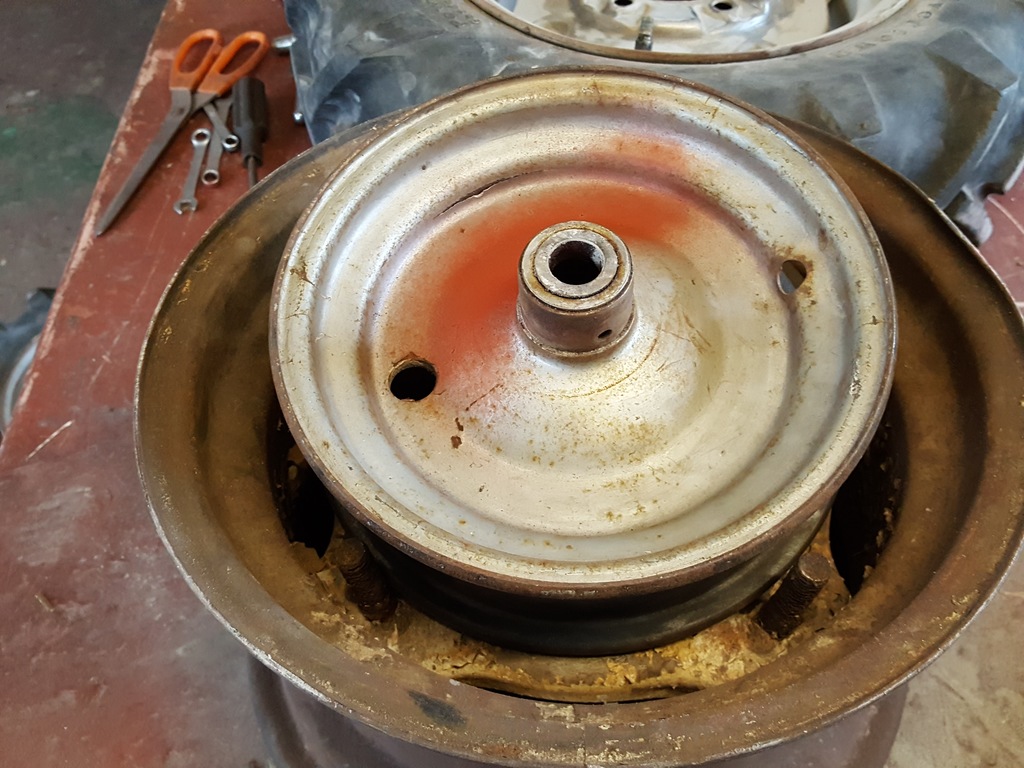
Meanwhile I find this old WH rear wheel with bolts welded through from the outside (not by me I should add)...
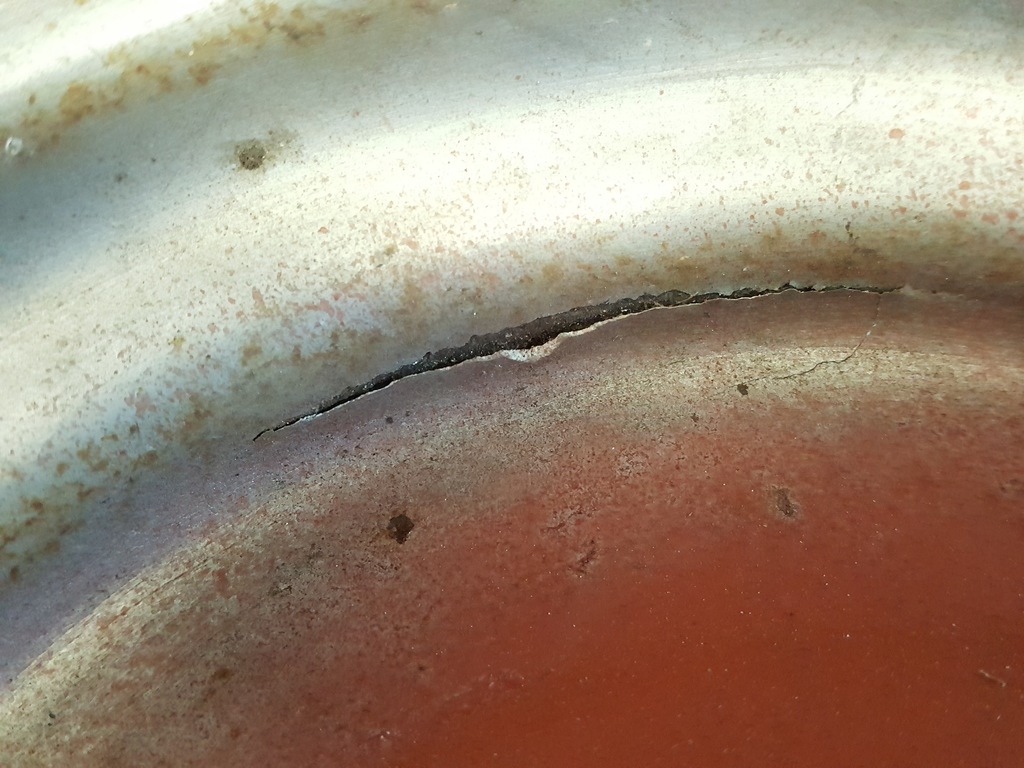
Makes a perfect tool to hole the RJ's front wheel for a clean up. Note the crack in the paint...
Well, the crack is actually in filler!! Someone did like the ol bondo in the past!
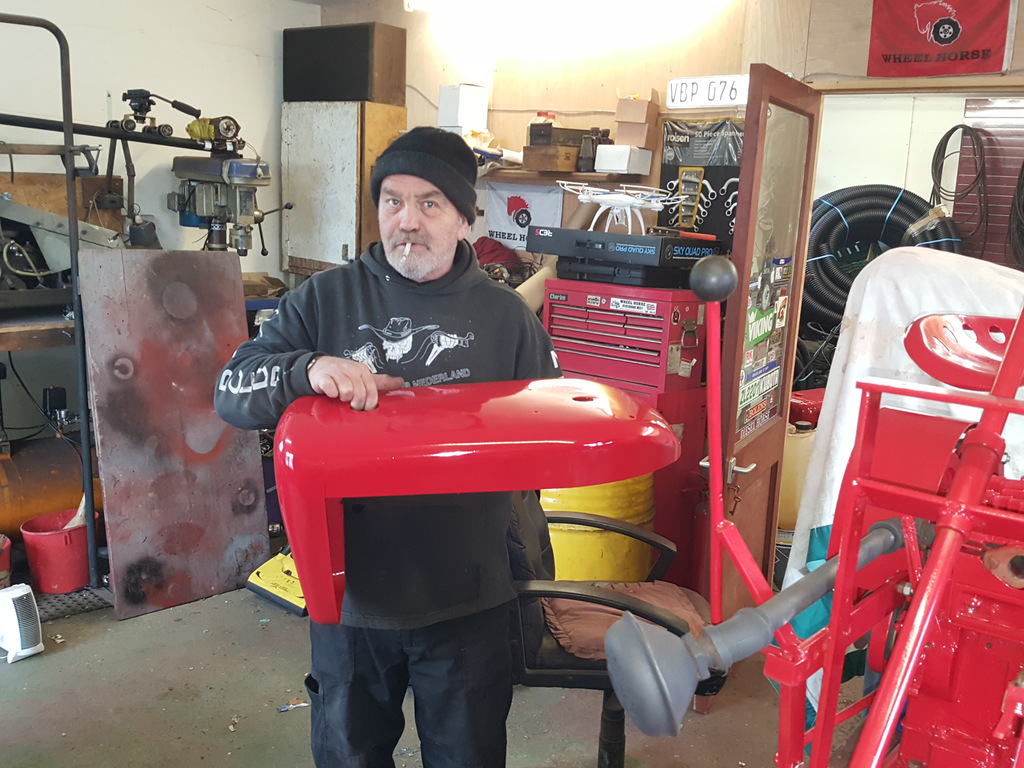
And to bring this build thread up to date, lot's of freshly painted panels and parts


")


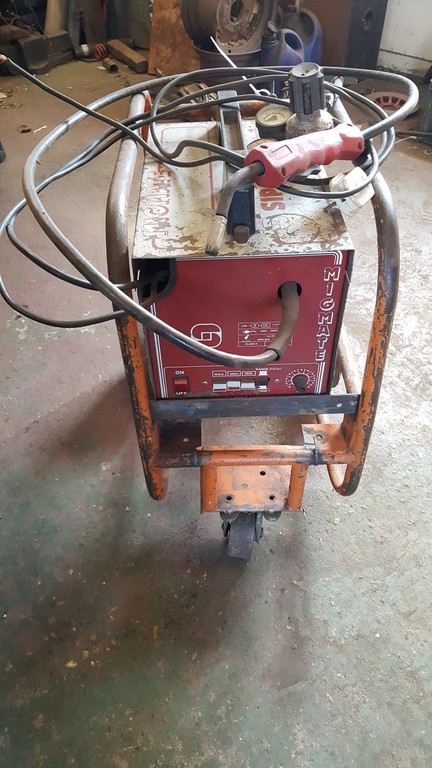
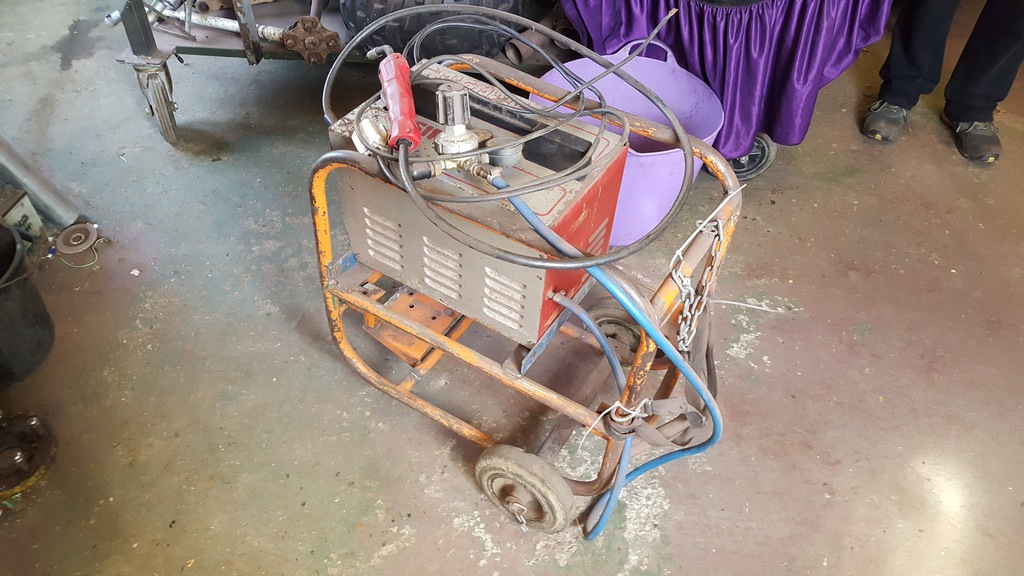
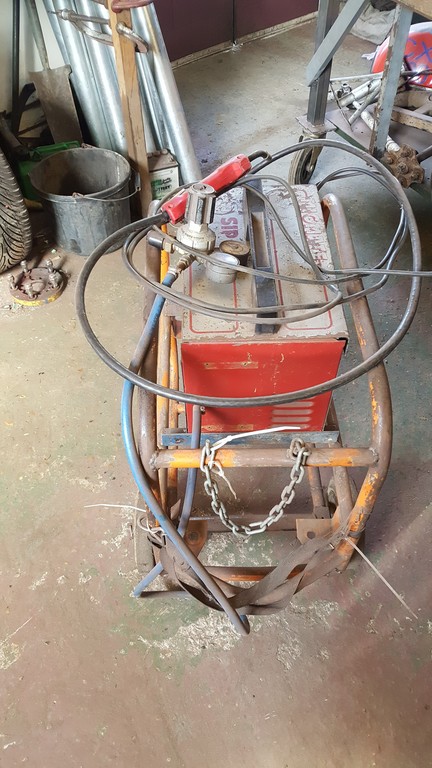
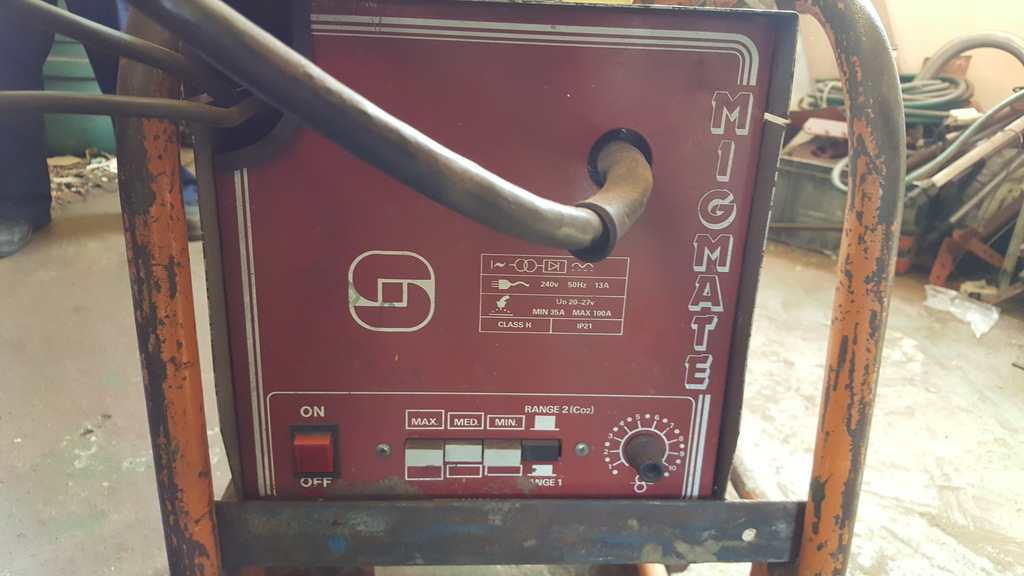
 ), my old Mig welder needs to go as I no longer use it.


")


This RJ turned up at the workshop today
in Ride On's
Posted
Thanks mate, were still waiting to drive the RJ as you will see..
So what can I say about the RJ... I think AARRGGHHH sums it up quite well!
I don't know what the RJ has against us but it's really fighting us at the very last stage!!
You would think something as simple as putting the steering wheel on would be easy, but no!
When the RJ arrived the steering wheel was held on with a bent nail.. Now most of the time it's because the original roll pin? has been lost at some point in time..
Not this time.. The holes in the wheel and column didn't actually line up very well so a nail was the only thing that would fit in!
I guess the steering wheel isn't the original!
Anyway, some very careful drilling and the wheel is now held on with a custom made quick release clip thingy")
"Deep breath"... Now onto the engine..
The very nice looking Schmacke or is it Schmacko? (It's hard to read on the photo's) has been driving us nuts!
The recoil didn't want to which was eventually sorted, the the "gripping" bits that grip the hexagonal shaft on the engine decided it didn't want to to the gripping bit!
Quite why we just can't work out, nothing is broken and it works 90% of the time when not fitted to the engine..
Fit it to the engine however and it will work for a couple of pulls then stop again!
If I had to count the amount of time the recoil unit has been on and off the engine both Nigel and I would have to remove our boots and socks as we would run out of fingers to count on very quickly!!!!
In the end for the sake of our sanity we decided to swap the recoil until over for one that works the more normal way, which in it's self is almost a straight forward swap...
Woo-Hoo we can pull the engine over again.... But why is the engine cover moving around so much???
That would be because there should be a bolt where this hole is... The trouble is the backing plate is missing most of the threaded bolt hole as it had been broken off at some point in it's life!
We do have another good backing plate to swap over, but that involves a lot of stripping two engine down to swap parts..
Forward one step, back two or is it four?
It's not all bad news though, we have had the engine running.. For a short while anyway.. Once started it would run quite nice for a few mins, then start running rough, then eventually it would stop!
Best have a look at the carb again, pulling the pin out that holds the float in place was nerve wracking as the casting one side which holds the pin in place isn't as strong as it should be..
Can you spot a problem?
Yep the new O ring doesn't like petrol and has grown somewhat!
No chance what so ever of getting this jet thingy out!!!
It looks like someone has been at the float valve thingy already!
Getting it out was er... Shall we say interesting!
The carb has now been put back together and will be going back on the engine once the backing plate has been swapped over (tomorrow hopefully) and the "will it run ok?" sequence can start over again..