Various ideas were tried out for the seat using bits and pieces lying around and then discarded. A visit to a local upholstery shop with measurements resulted in a lottery win quote. Back to head scratching mode. I had already spent hours looking for something suitable on the internet without luck, trying various search word combinations. Then I spotted some cheap-ish scooter ( Lambretta / Vespa ) back rests. Not exactly what I wanted but worth a try. A pair were bought and after initial, not sure thoughts, the end result was better than expected. The fill in piece behind the seat cushion, made from plastic, still needs finishing off with padding.
The first mock up from ply.
The alloy frame, ex green house, just cleared the top of the gearbox. Fixing brackets were bolted on. Sheet steel was bent up for the base and back rest.
There were two short threaded studs already fitted which made mounting easy. A length of U shaped trim finished off the steel plate and a similar section was fitted to the fuel tank.
I finally managed to get my Great grandson Henry to try the tractor for size. Even though he is only 7 : 1/2 months he loved it. Mummy said she had never seen him so excited, squealing and swinging the steering wheel. We had to hold him though as mummy refused to let me cable tie him on.
I decided to spend my birthday in the workshop, not had the chance for any workshop time for ages. Chris is nearly right, the chassis on my Land Rover 90 was painted but Joseph did most of the painting while I sat in the chair, very relaxing. I just had to tidy up a few bits.
Iain
What colour was Joseph when the painting was finished. ?
The fuel tank, non working, was bent up around a scrap wood former. The measurements were again supplied by my man with the tape, Iain, along with good side view photo's which showed the radius of each corner ! Although the base of the tank was wider than the top, all corners were the same radius. The original idea was to bend the alloy around the former then remove it which left the question, how to fix it all together. The obvious solution, apart from alloy welding, was to screw the panels to the wood which would be left in place hidden from sight.
Odd bits of wood were dug out, cut to size, and screwed together after first using the ends to mark out and cut the alloy outer plates. These were bolted to the wood with countersunk BA bolts, the heads blended in with filler. The main panel was cut to size and after carefully lining up, was screwed to the underside of the former. Then it was bent around one face at a time, securing with screws before moving on to the next, and finishing on the underside. Where else. All the screw holes were countersunk, the screws again being blended in with filler.
The filler neck was a short piece of alloy bar, screwed into place, and finished off with a cap from an oil can. Rubber edge trim was fitted after painting.
Not many photo's of work on the hood. A slightly larger than required alloy sheet was cut and a shallow fold made on the center line. A board with a curved edge was clamped over the sheet, after carefully guesstimating where the side fold should start. Hope that makes sense. The sheet was then bent around the board forming one side of the hood. This was repeated for the other side resulting in a shape which was not far off the required result. What luck. A little tweaking with a rubber mallet and a length of round bar persuaded the front and rear of the curved folds to line up with the headlamp surround and dash.
A lot of time was then spent trimming the oversize edges to get the best fit I could manage, followed by clamping to the headlamp surround and drilling for the pivot bolts.
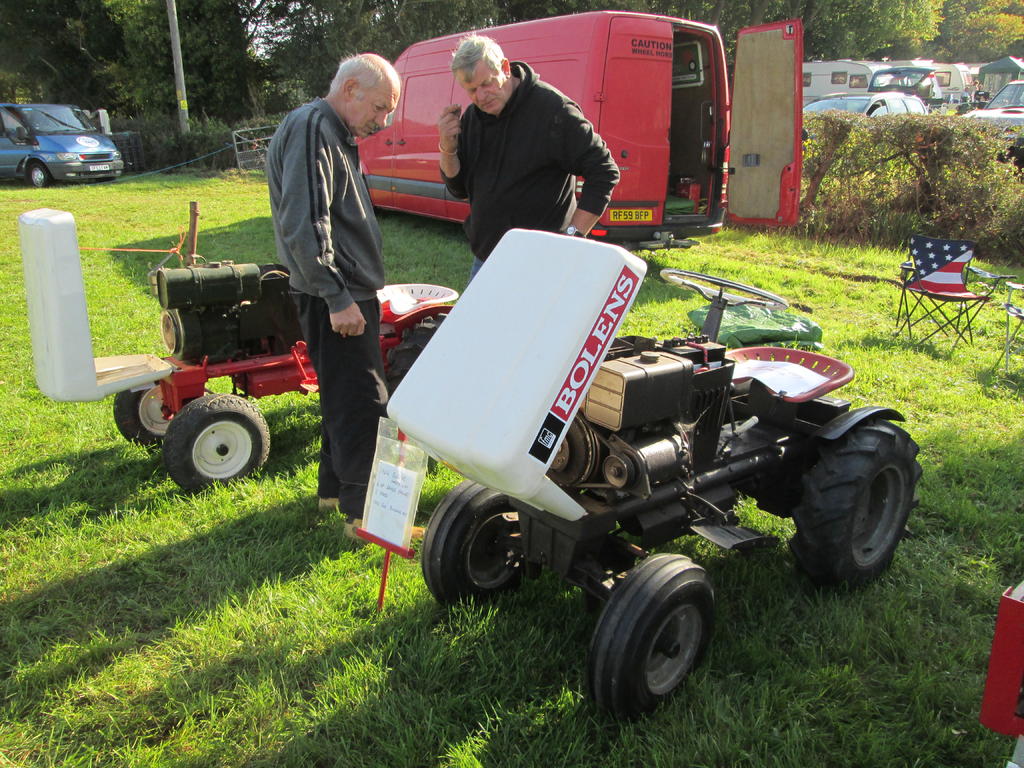
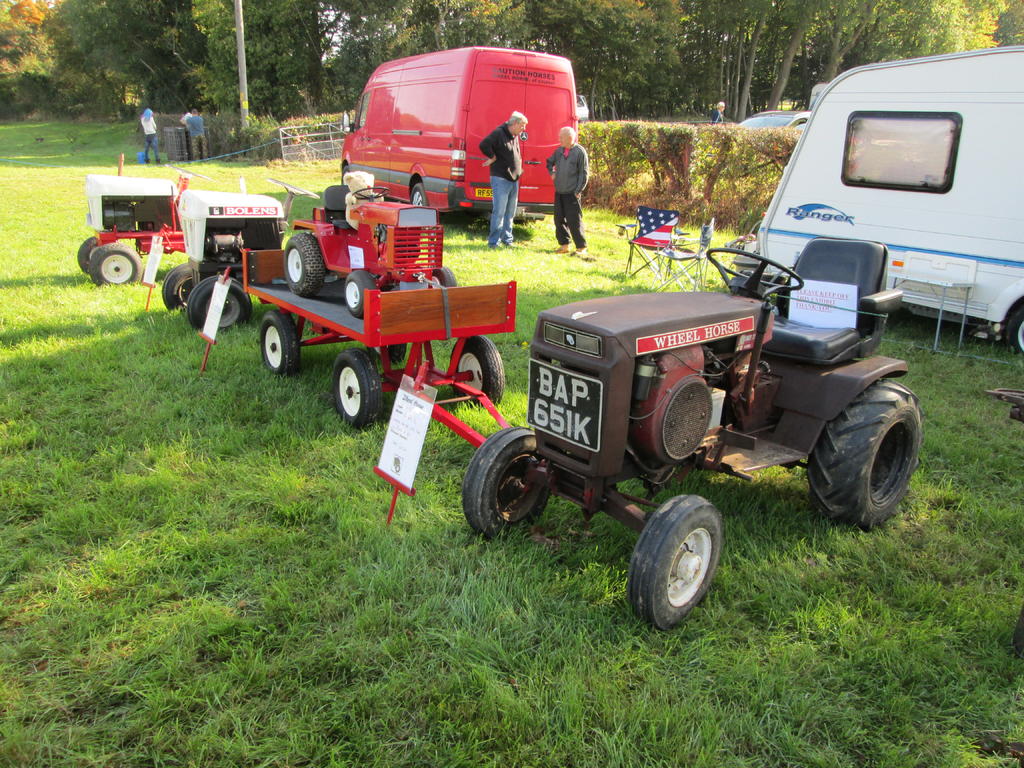
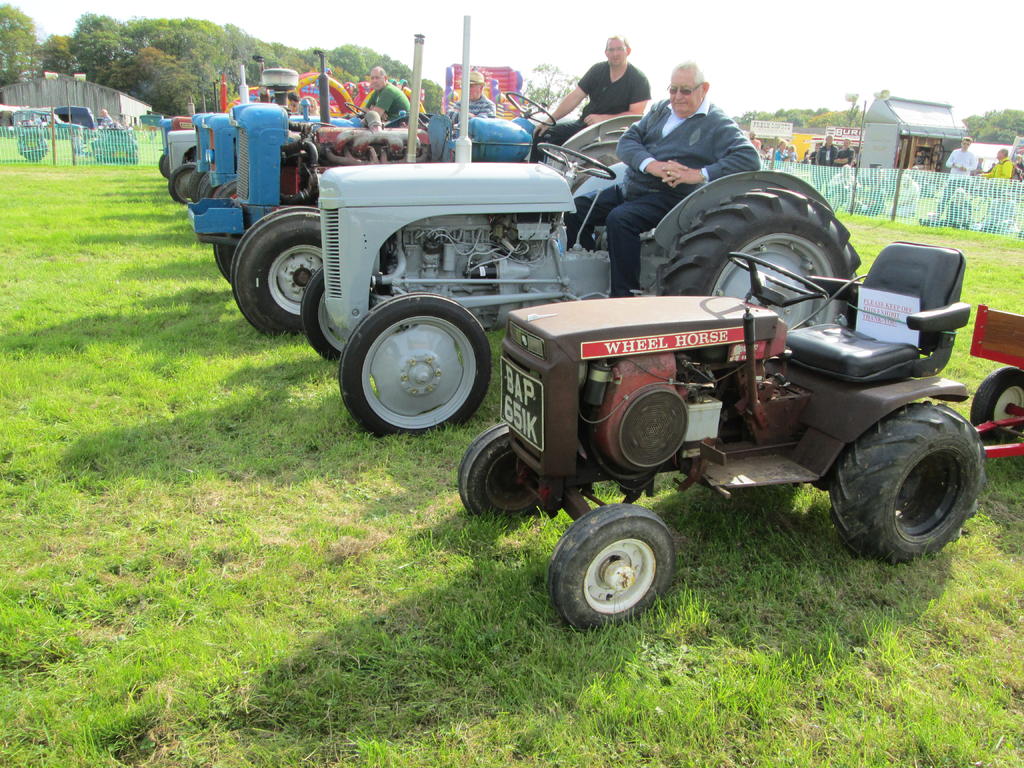
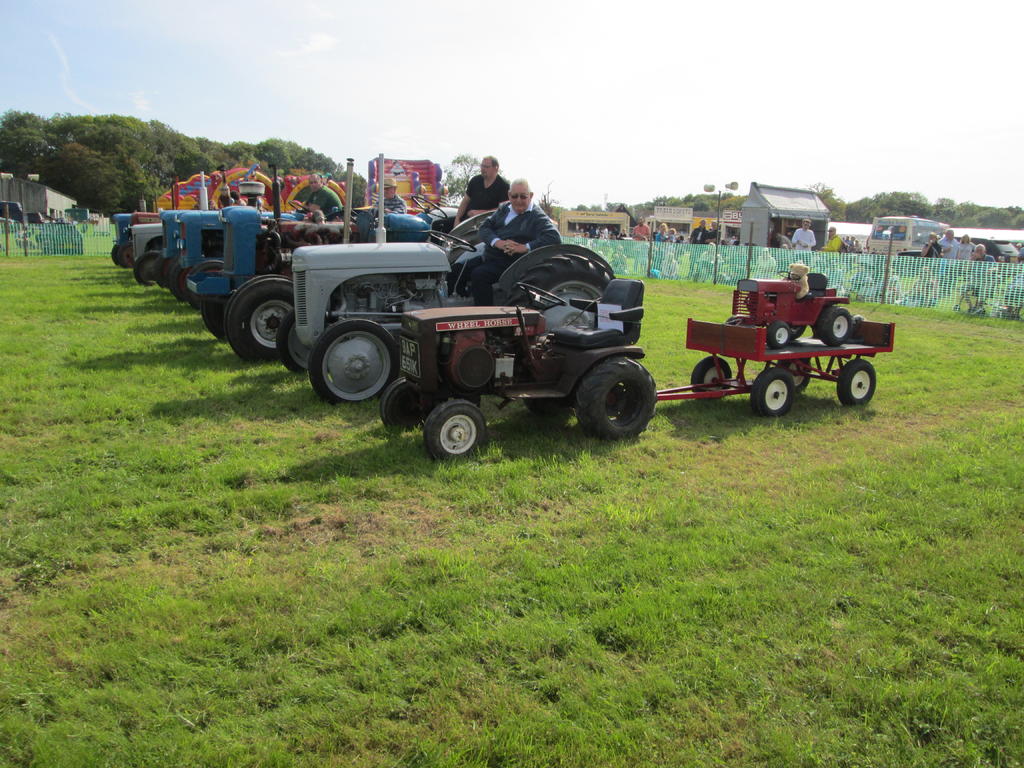
Day 2 photo's. An extra tractor turned up to join the horticultural line up. Another Bolens. Hoods up, have they broken down or are they just comparing old age problems.
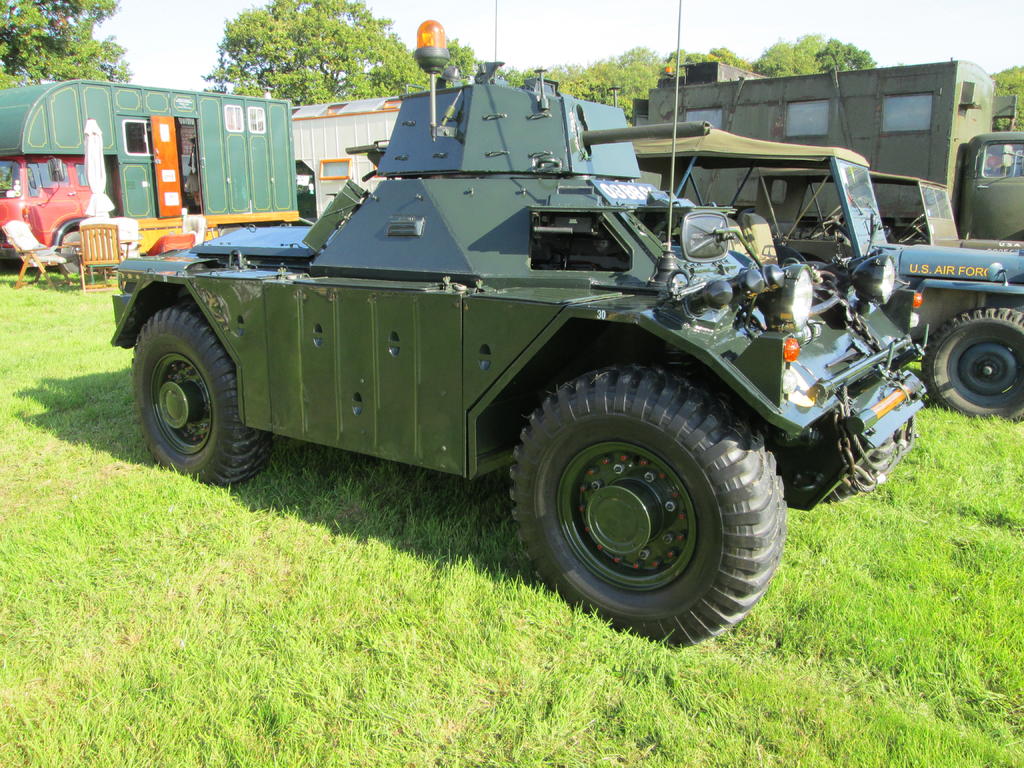
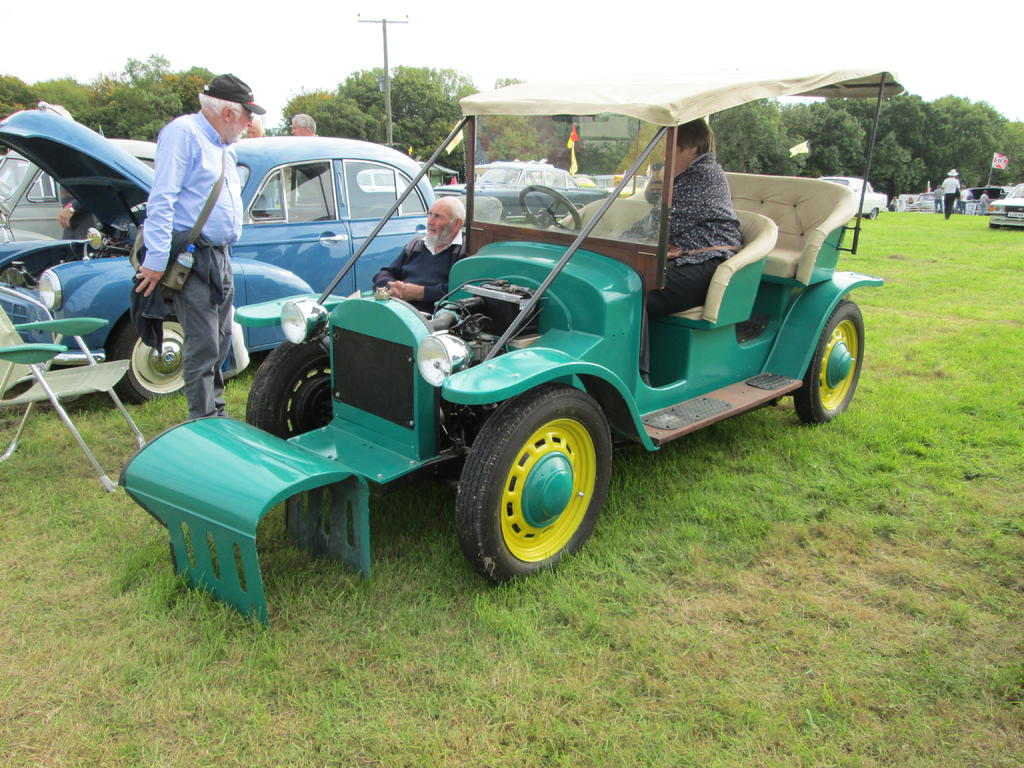
Only Chris and I in the horticultural section today. Will there be more tomorrow. ? A selection of photo's as we know you all like photo's, especially Norm.
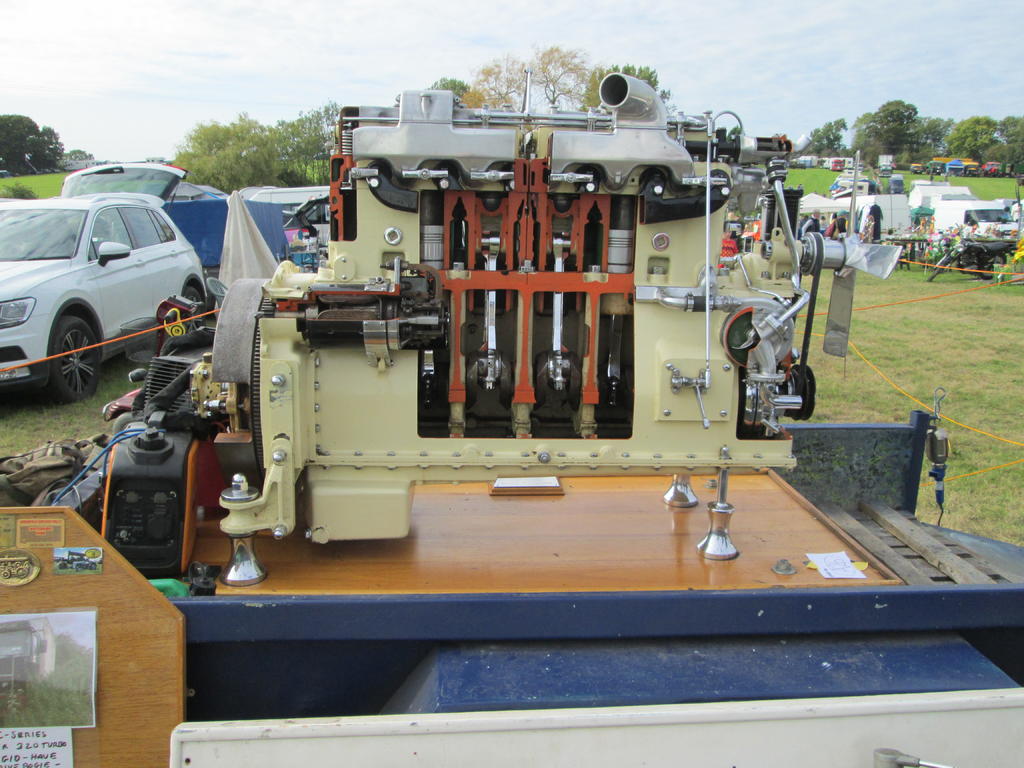
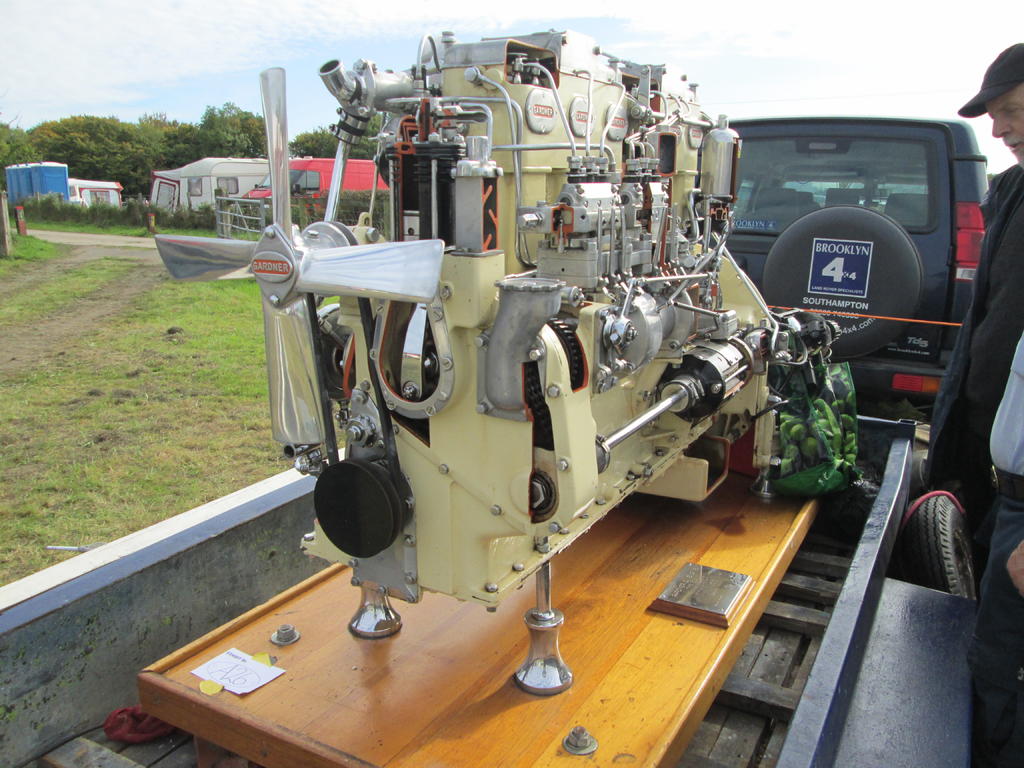
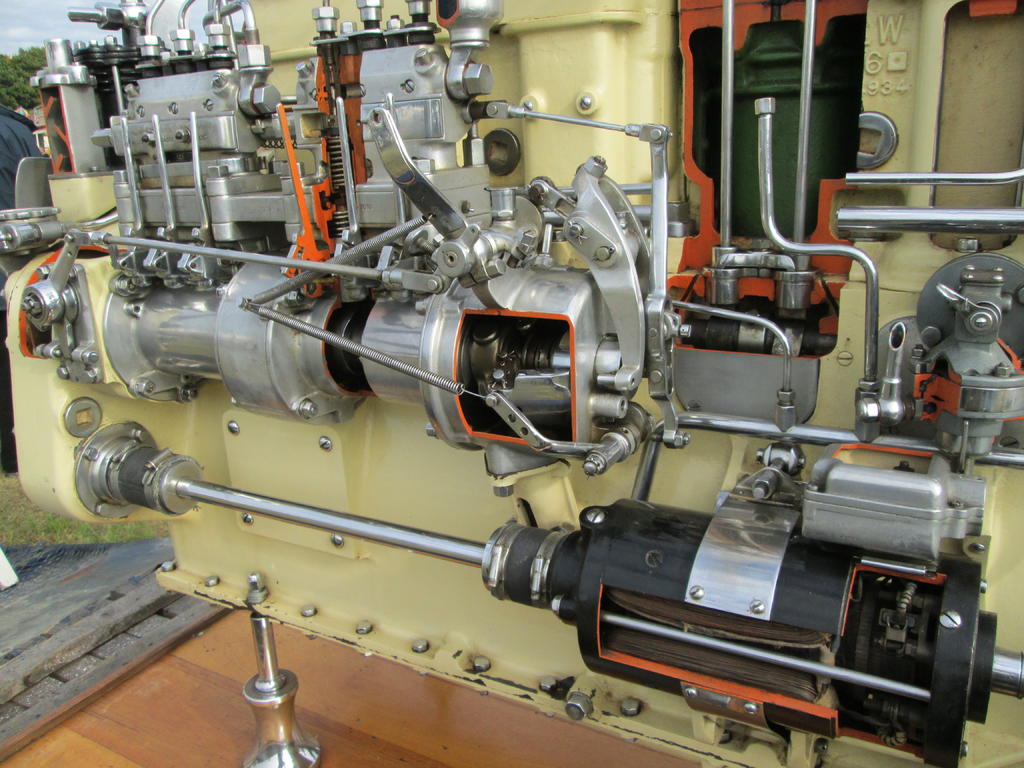
A cutaway Gardner engine.
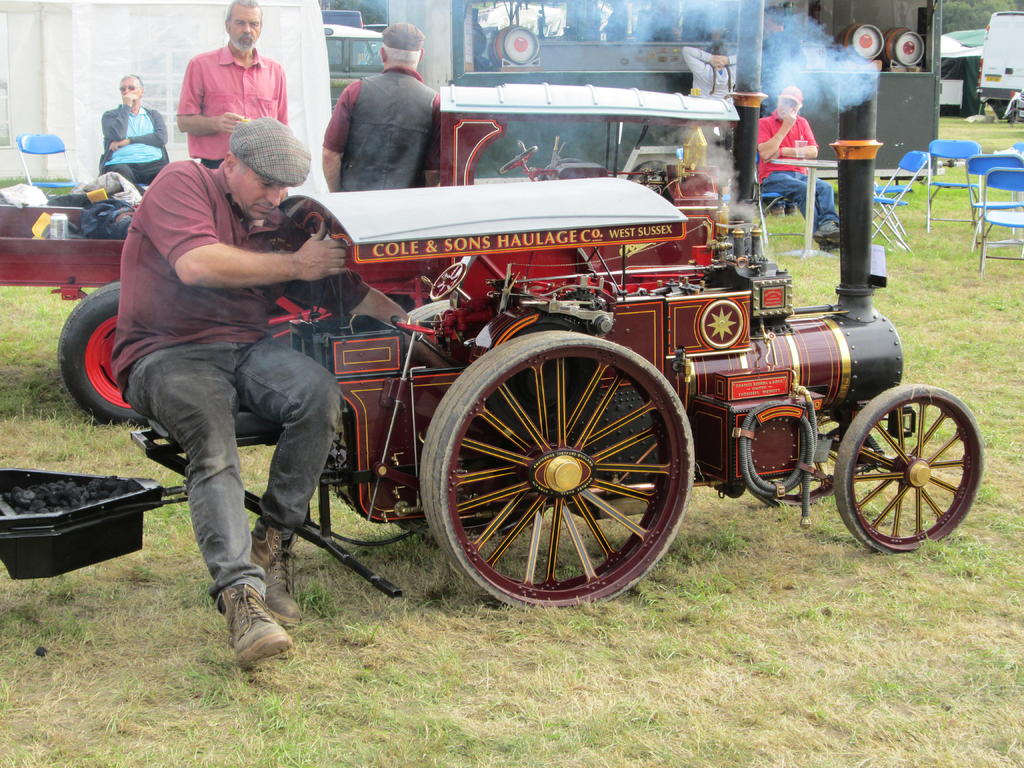
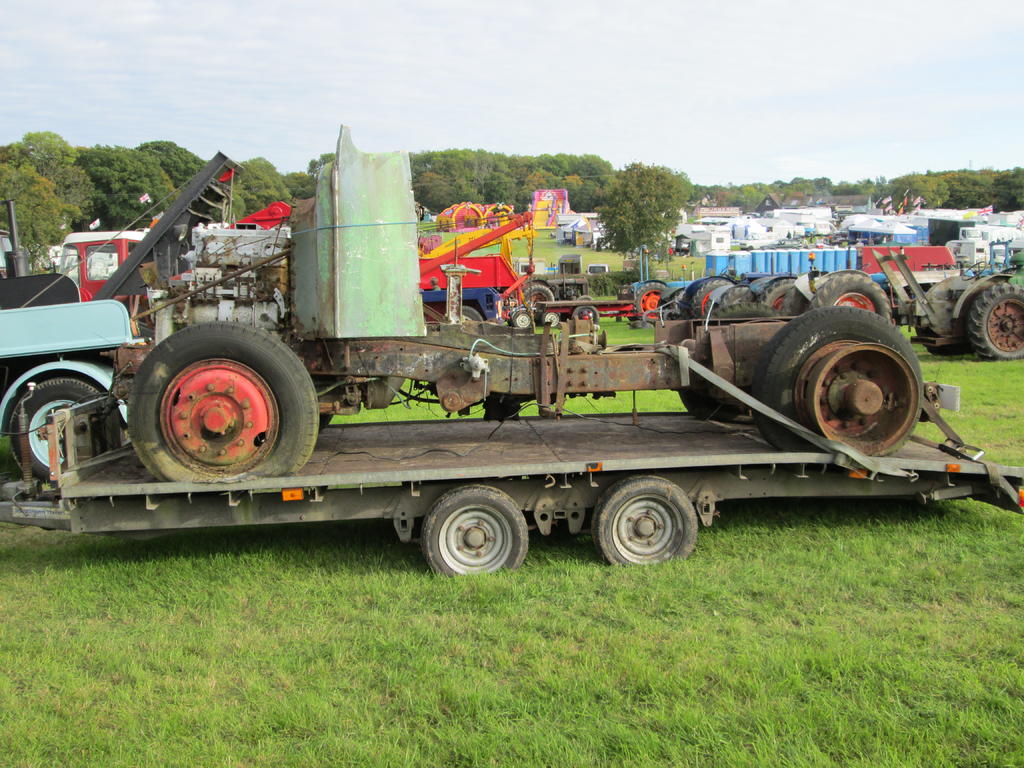
The remains of a Scammell open top Fire Engine. A good weekend project for someone. Mr Showman ? Fire Engine, RED paint. OK, maybe not.
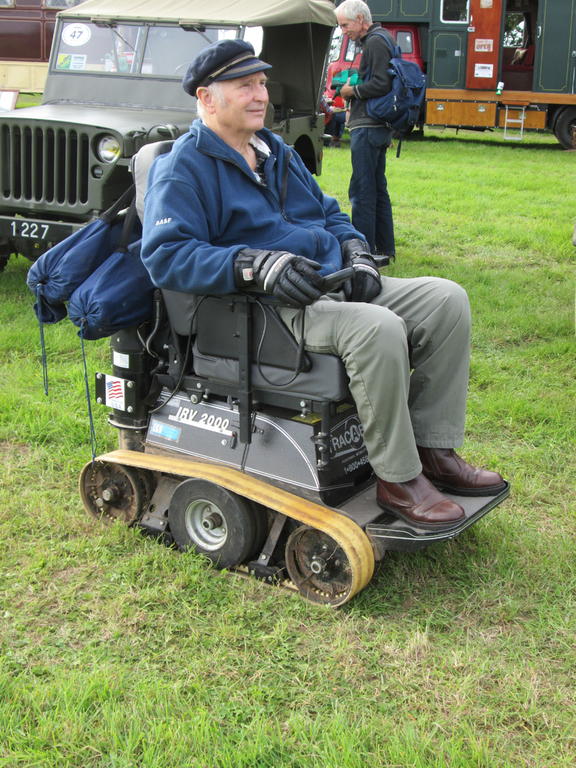
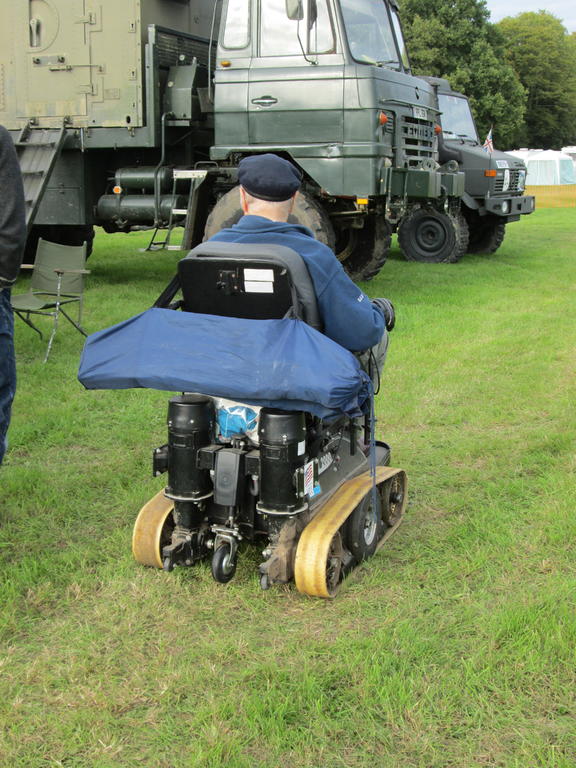
An unusual tracked Mobility Scooter.
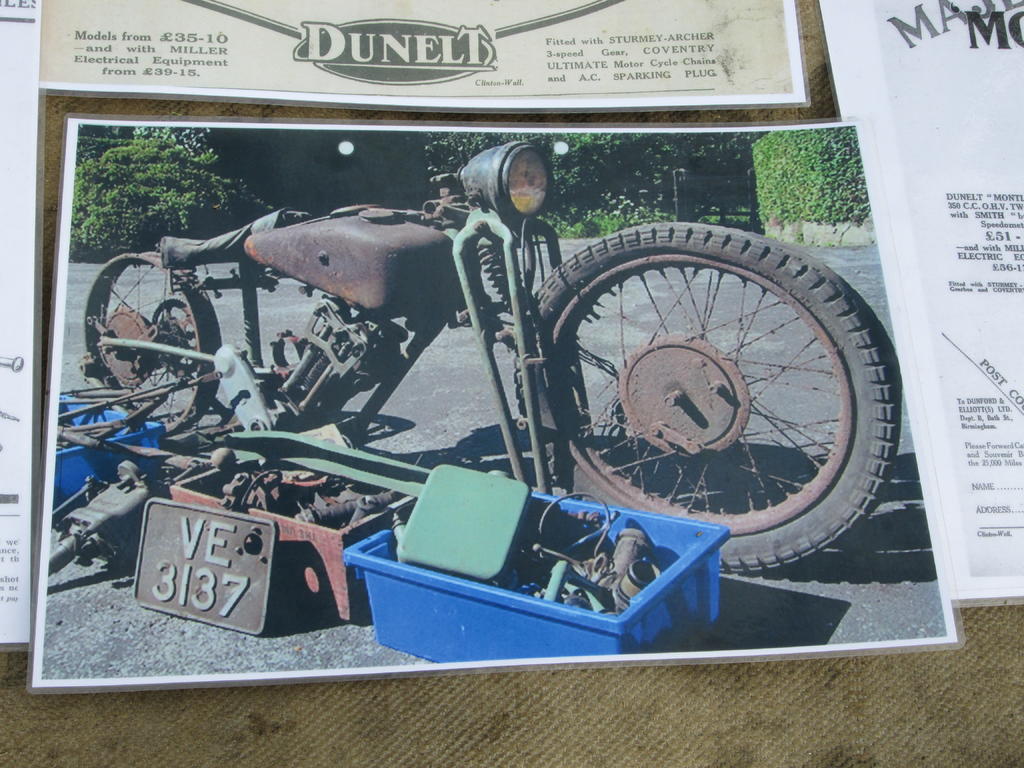
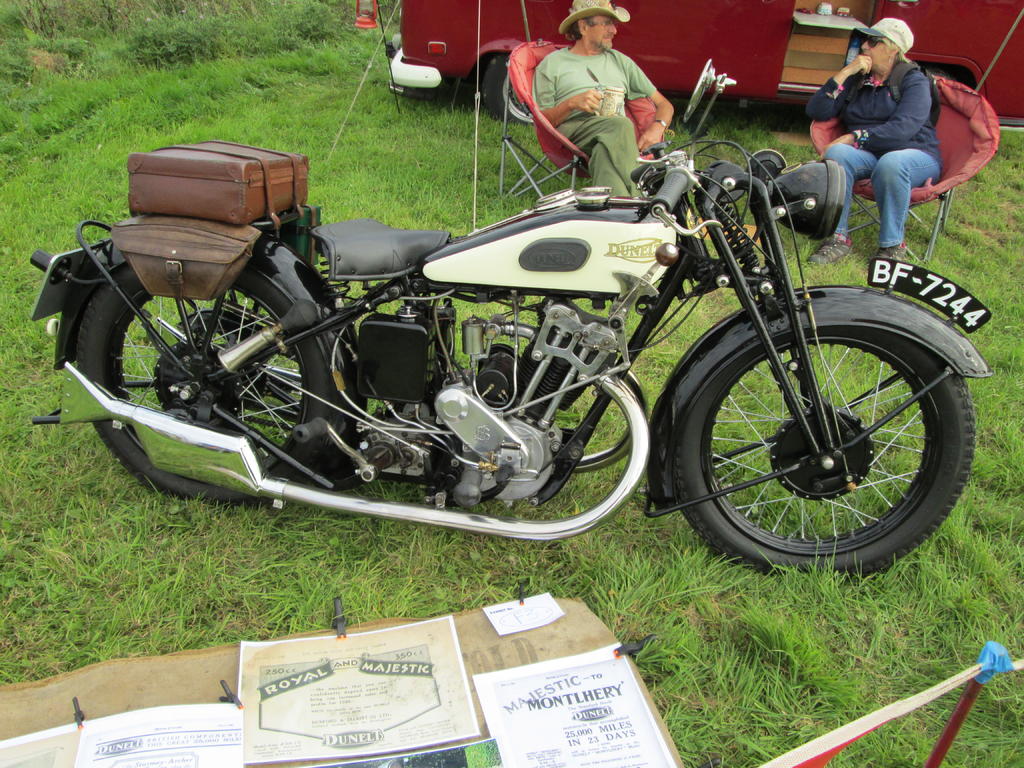
Something else which Norm likes. A kit of parts and the end result.
And the last for today. The first tractor which friend John bought years ago. Now in the hands of a MoM member.
The footrests were another item I had a few attempts at before finishing up with something that looked right in comparison with the rest of the build. One pair looked too long and narrow, another try ended up with the fold overs not being deep enough. Fairly quick to mark out and make so not too much hair pulled out. Again, made from the scrap 1mm alloy panels. The first attempts found a use elsewhere after being cut up.
How to make the fenders. ? Simply bending up on the brake press wasn't thought viable due to the curves at each end, although I now think it could have been done with a bit of NON press work included. Also the corners would need alloy welding etc. Another possibility was making a plug and moulding in fiber glass. I decided to make these using built up layers of plasticard sheet reinforced with alloy. I already had a good stock of this plasticard. This resulted in very strong fenders. The plastic, welded together with liquid polystyrene cement, was thick enough to sand the curves on ends and sides. The alloy inserts were a very tight fit after making a few short trial sections to get the bends in the correct place. Also bolted at the corners although they wouldn't come out easily. The top of each footrest slides into the slot at the front of the fenders and will be bolted in place when finished.


")
 Back to head scratching mode. I had already spent hours looking for something suitable on the internet without luck, trying various search word combinations. Then I spotted some cheap-ish scooter ( Lambretta / Vespa ) back rests. Not exactly what I wanted but worth a try. A pair were bought and after initial, not sure thoughts, the end result was better than expected. The fill in piece behind the seat cushion, made from plastic, still needs finishing off with padding.


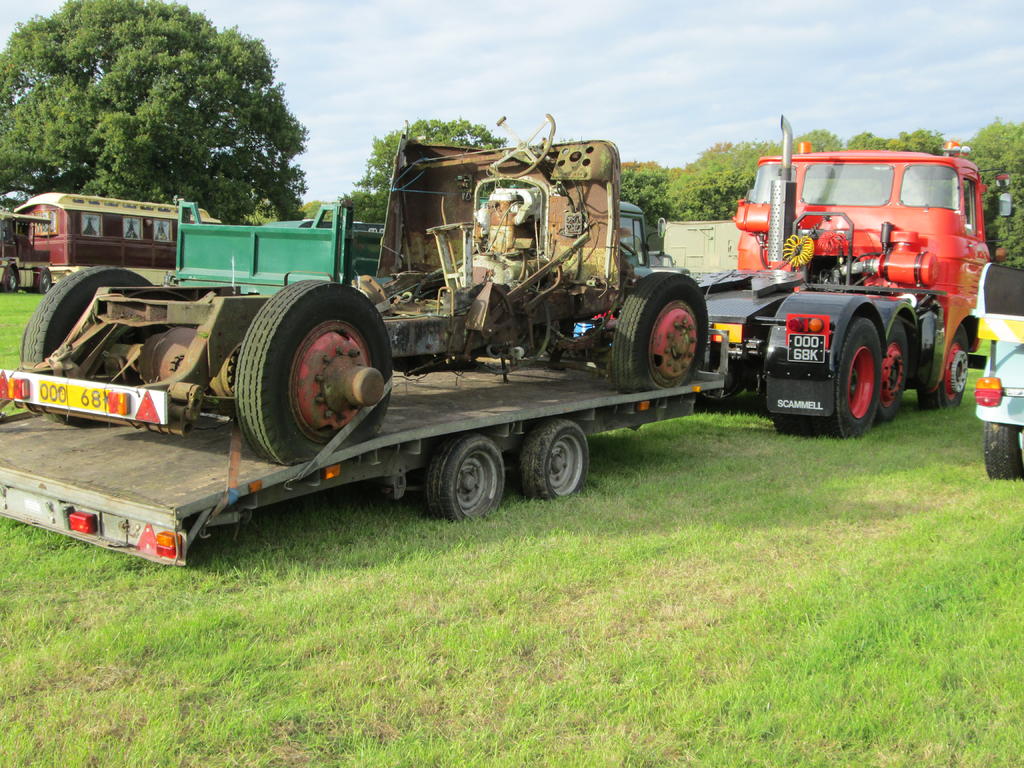
 How about converting John's digger into something RED. You know you like it.
  where the side fold should start. Hope that makes sense. The sheet was then bent around the board forming one side of the hood. This was repeated for the other side resulting in a shape which was not far off the required result. What luck.


 Does it run. ? Engine looks very similar to that in John's digger.
 or are they just comparing old age problems.


Wheel Horse RJ-58 Restoration
in Step by Step restoration
Posted
Looks good Ewan. Getting there.