i was looking at some you tube vids and a few of the lads on there bolted a piece of railway track to a heavy piece of wood till they could get an anvil
Yes, i've seen those, they go for quite a bit of money on ebay, fortunately last month I managed to purchase a fairly small one with a stand at a show for a reasonable price. Its a good size for me and fairly easy to move around which is good!
Are the rear wheels the same as the later C series, Ewan, or narrow ones? If they're the same I have two you can have. You could always narrow them like I did with he Black Horse.
They're the narrow 6x12 ones. Thanks for the offer, at the moment out of desperation I think we will have a go at welding them and see what happens.
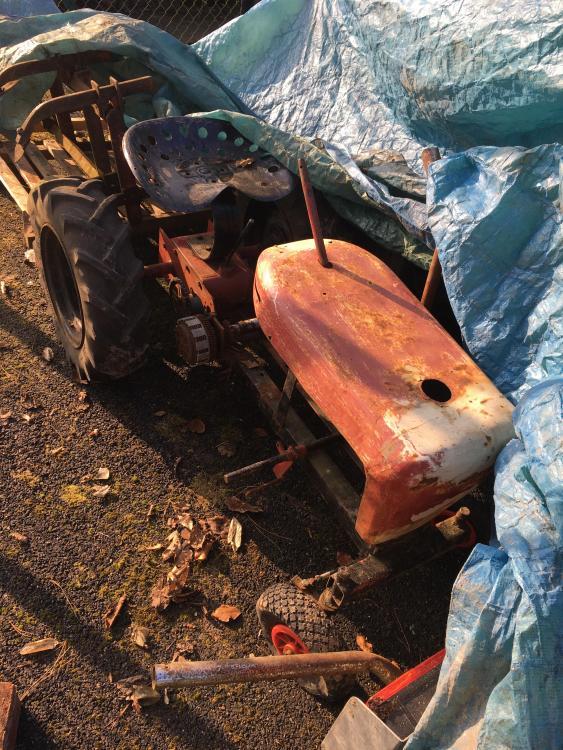
Another little update on whats been going on with the resto
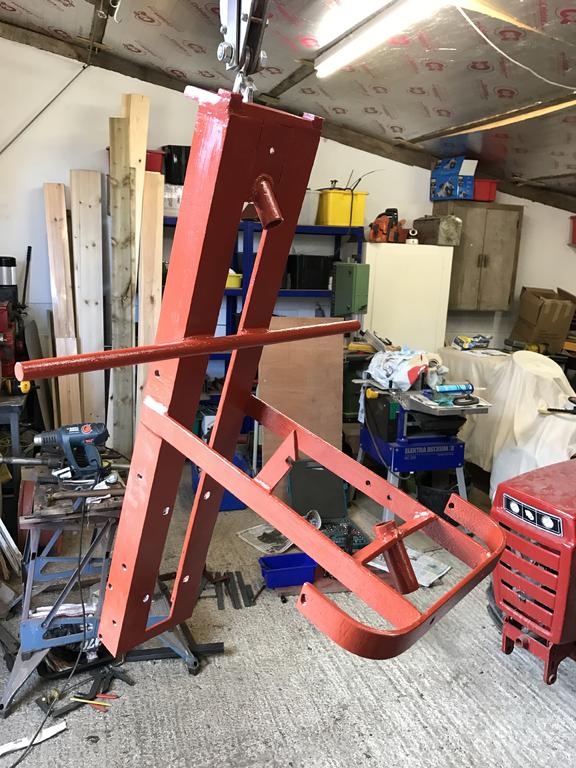
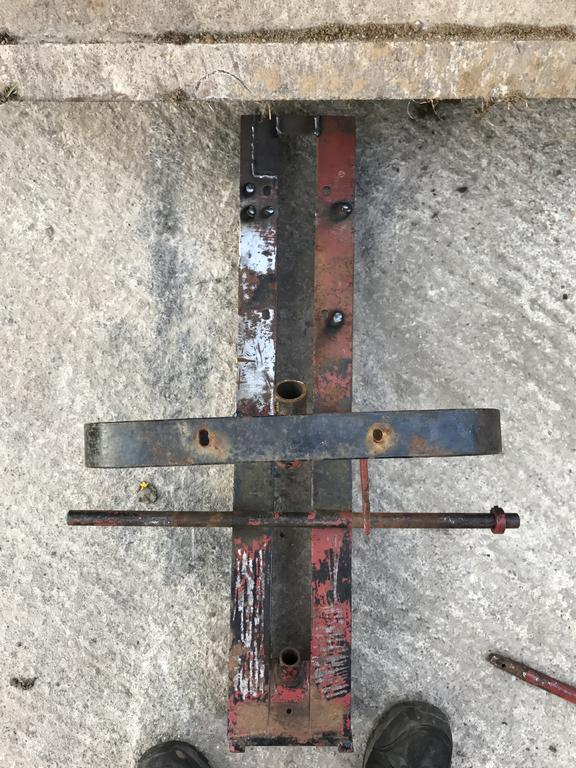
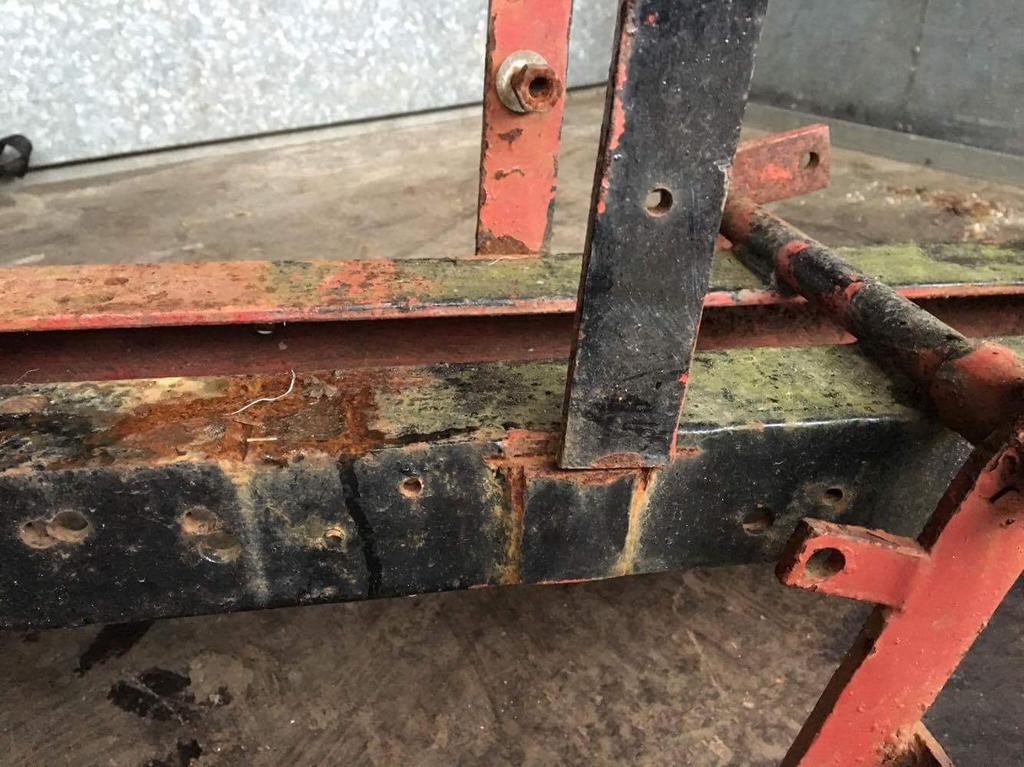
Chassis nice and rust free
Pits were filled and sanded down and then given a quick coat of red oxide primer to keep the rust away for a few weeks until I got back to it.
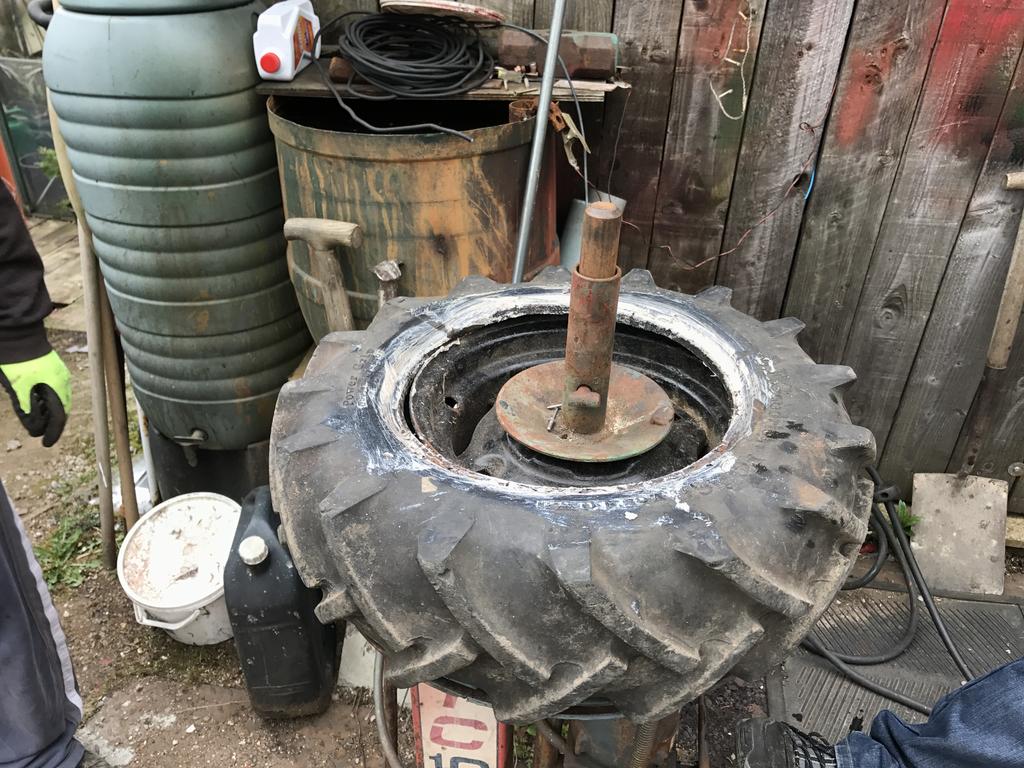
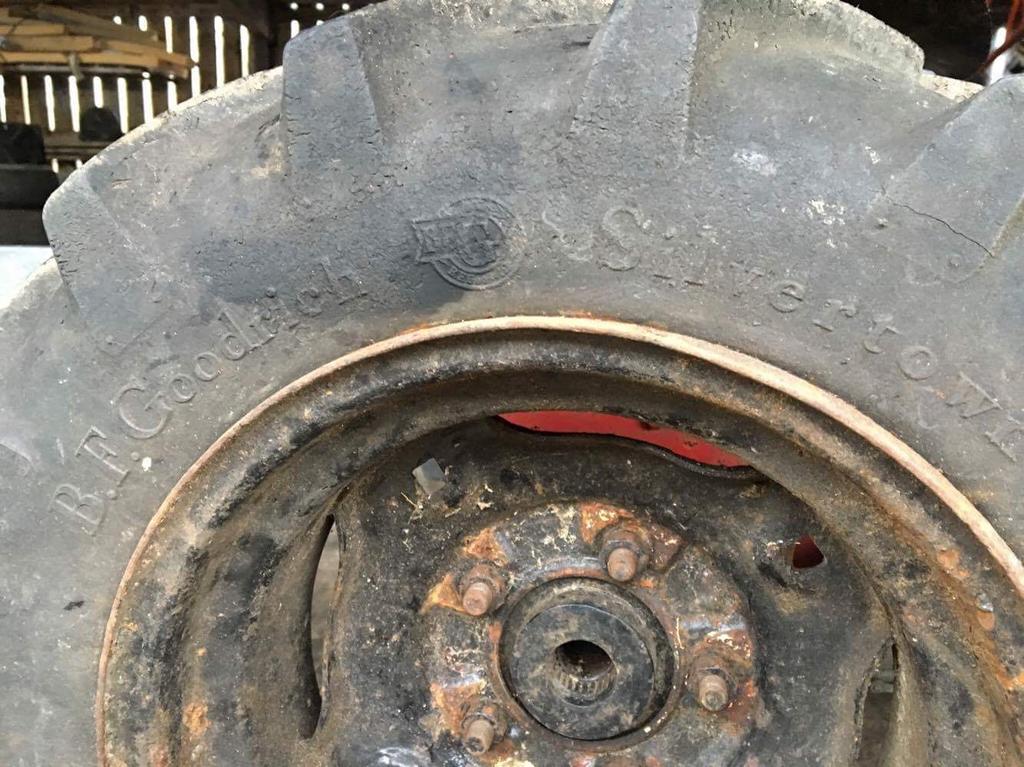
Next were the wheels, the front ones are missing and i'm struggling to source some.
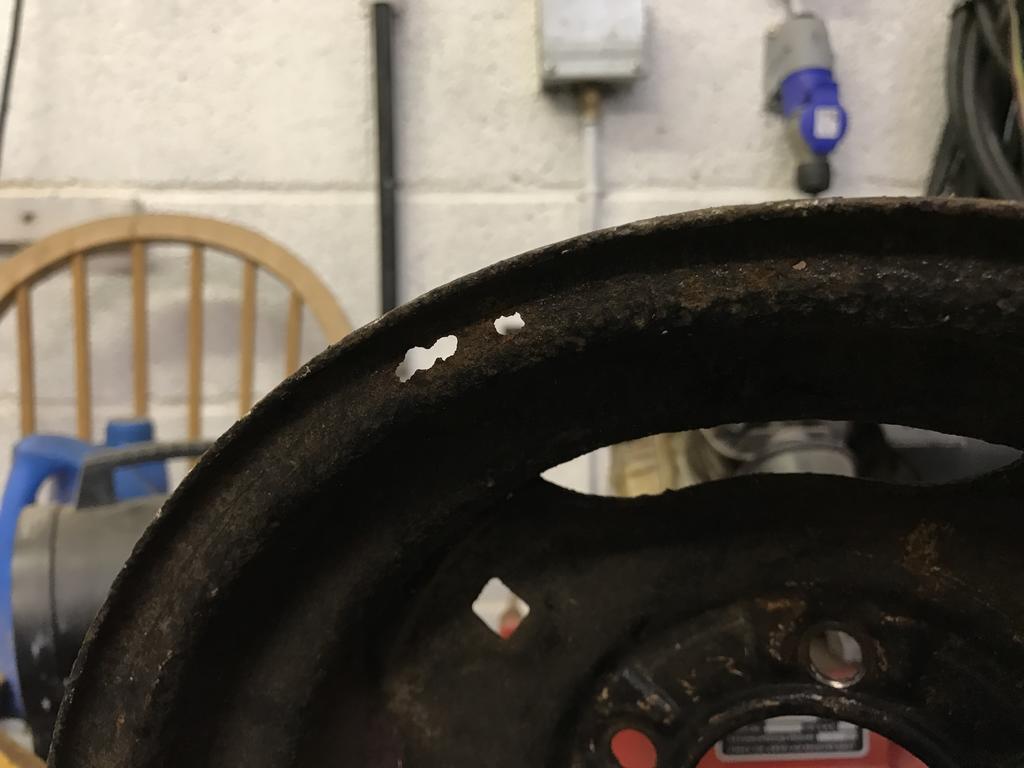
The rear rims are pretty much ready for the bin, the metal is extremely thin all the way around the edge, 30% has rusted all the way through.
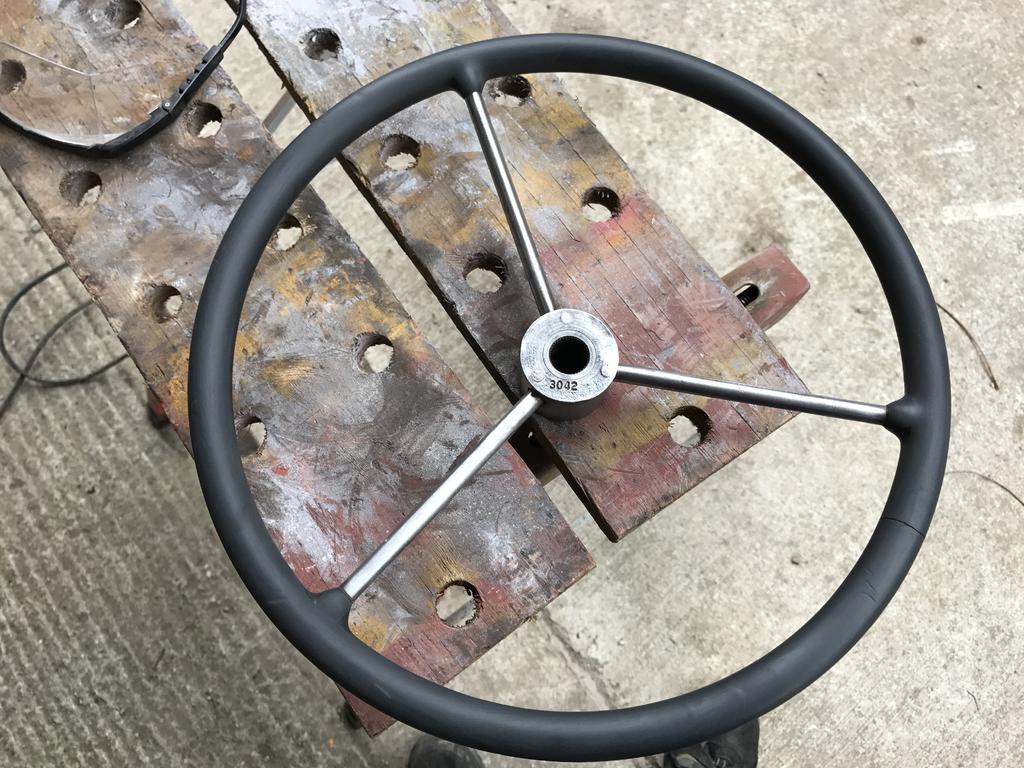
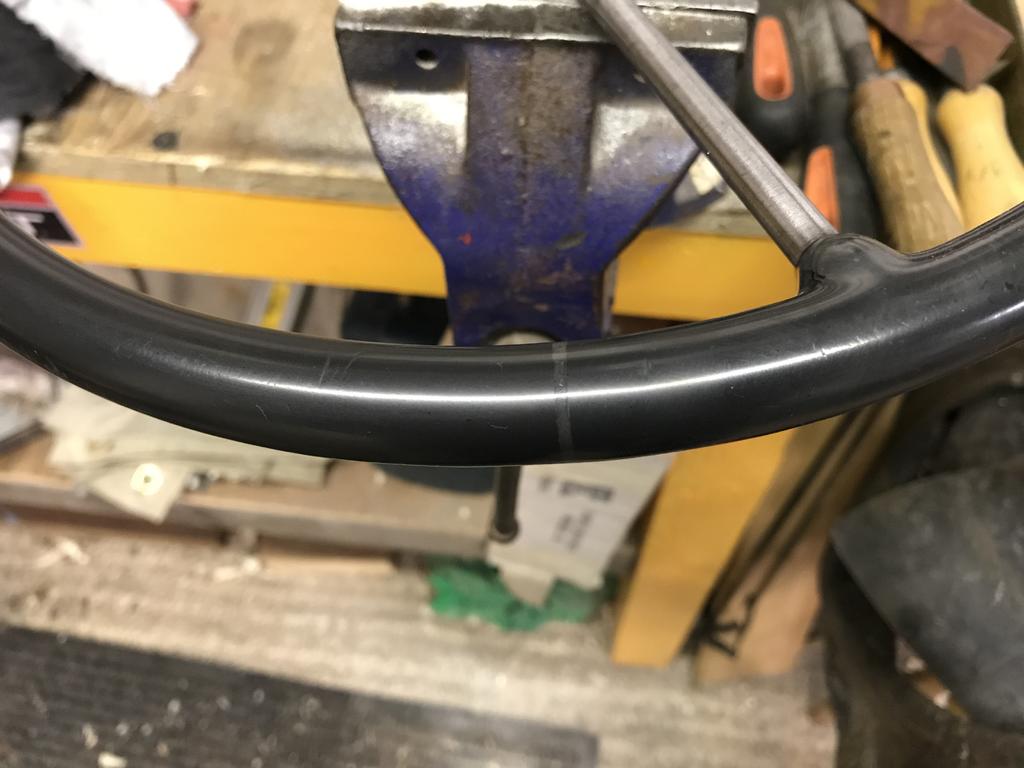
On the plus side I have managed to source a cub cadet steering wheel with just one small crack in it, its now been repaired. It just needs painting now and we need to figure a way of mounting it to the steering shaft, the original used a roll pin but we won't be able to drill a hole for one now.
You certainly do, Ewan. It'll be finished by the time you go back to uni.
Thats the plan Norm, another 12 weeks to work on it yet
14 hours ago, the showman said:
I think i might have been tempted to make a new chassis looking at all those holes and bits cut out
It wasn't too bad, its all fixed and primed now and looks good as new, plus its original
13 hours ago, Stormin said:
He/dad would have to buy steel , Chris. And you now what those Yorkshiremen are like. nearly as bad as us from over the border
Haha, you say that but we've got plenty of new steel here , I could've made one but i'd like to keep as much original as possible.
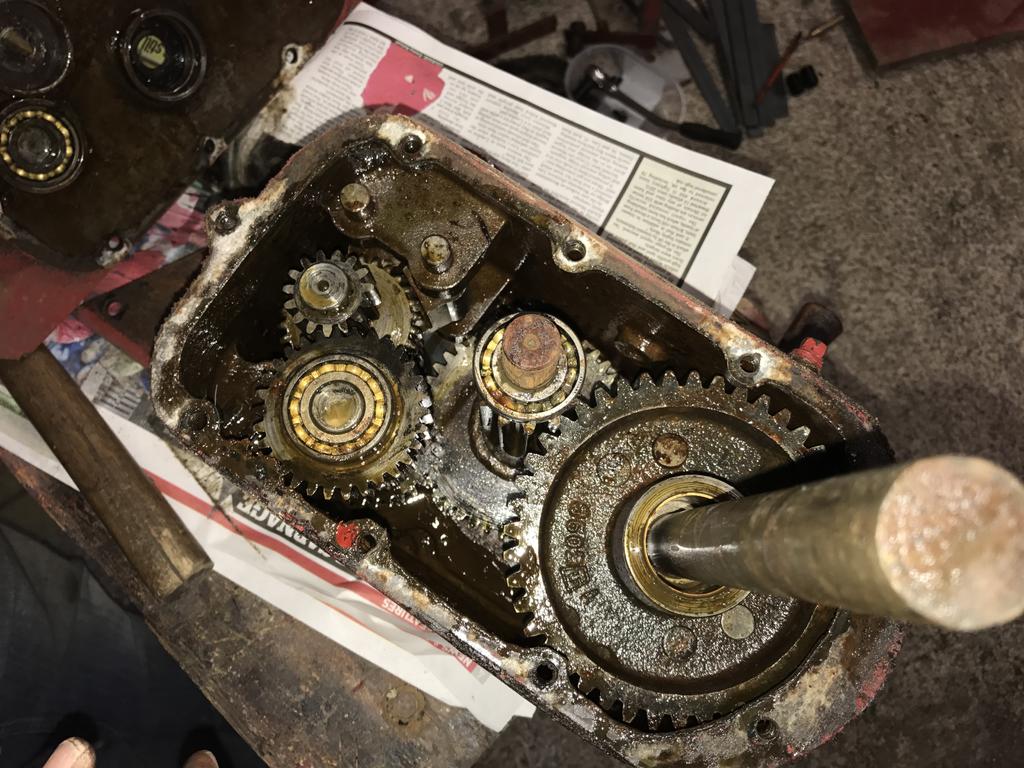
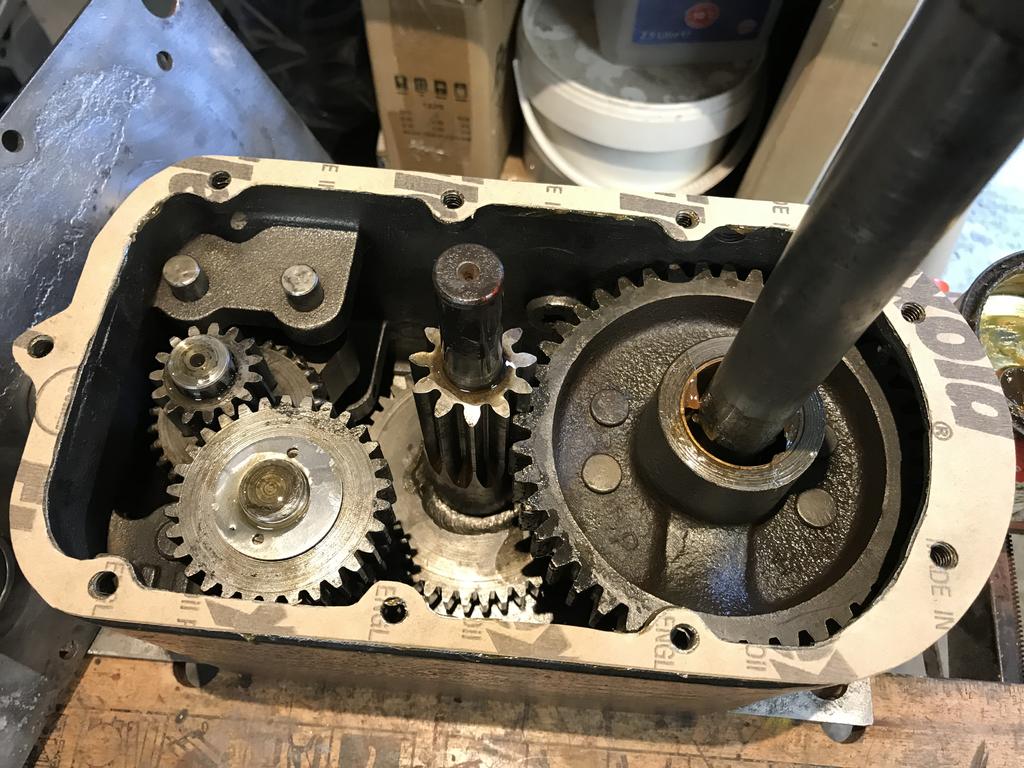
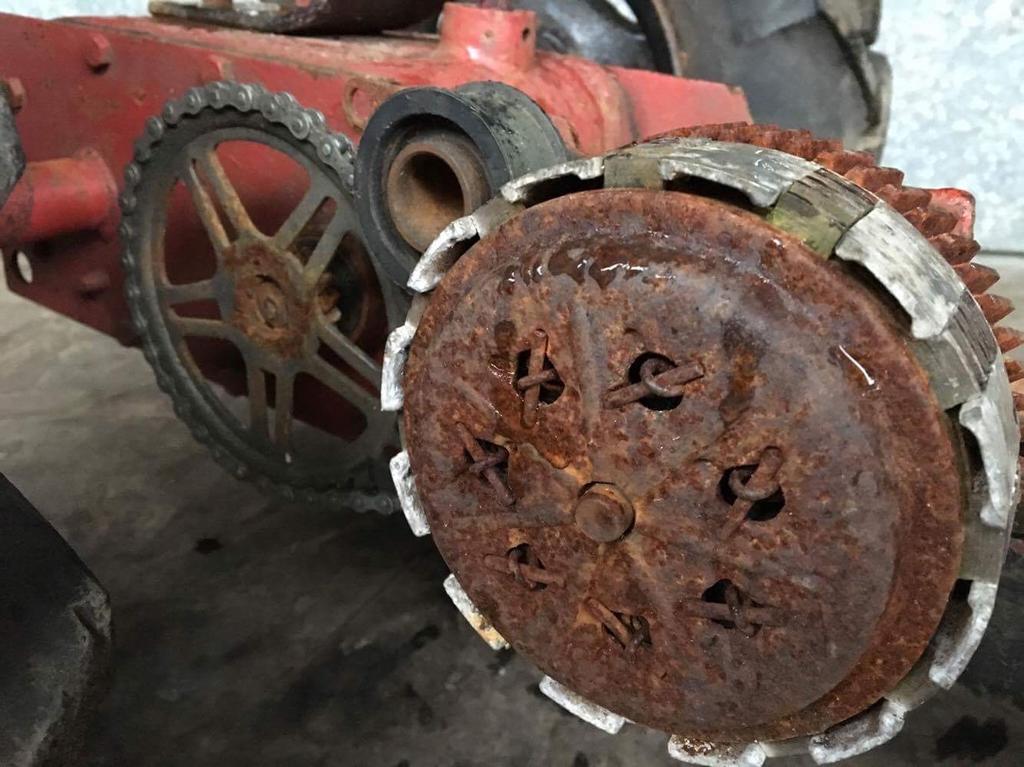
Next job on the resto was to tackle the gearbox which didn't work
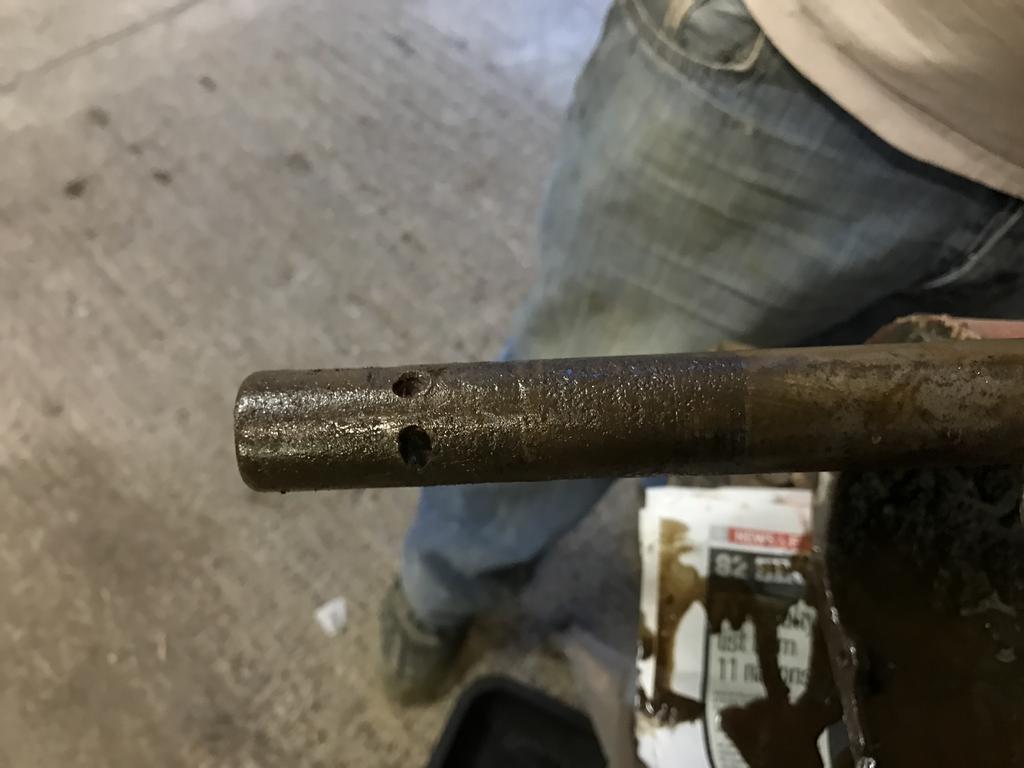
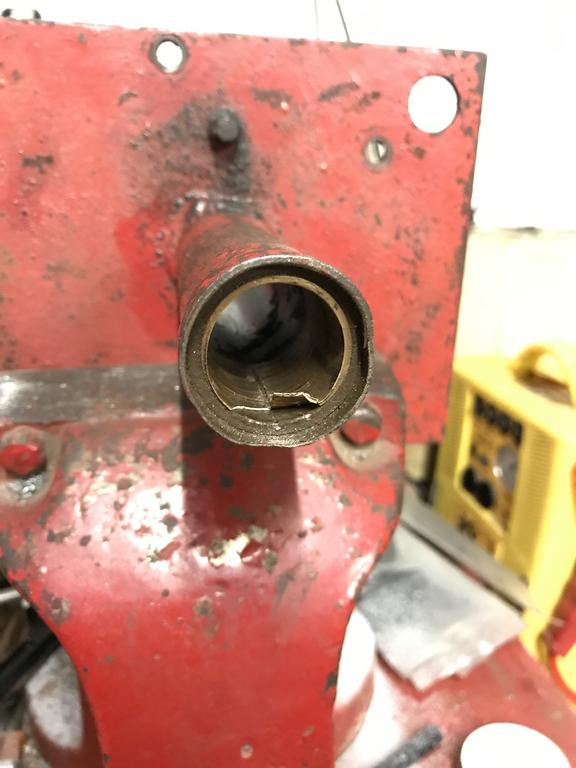
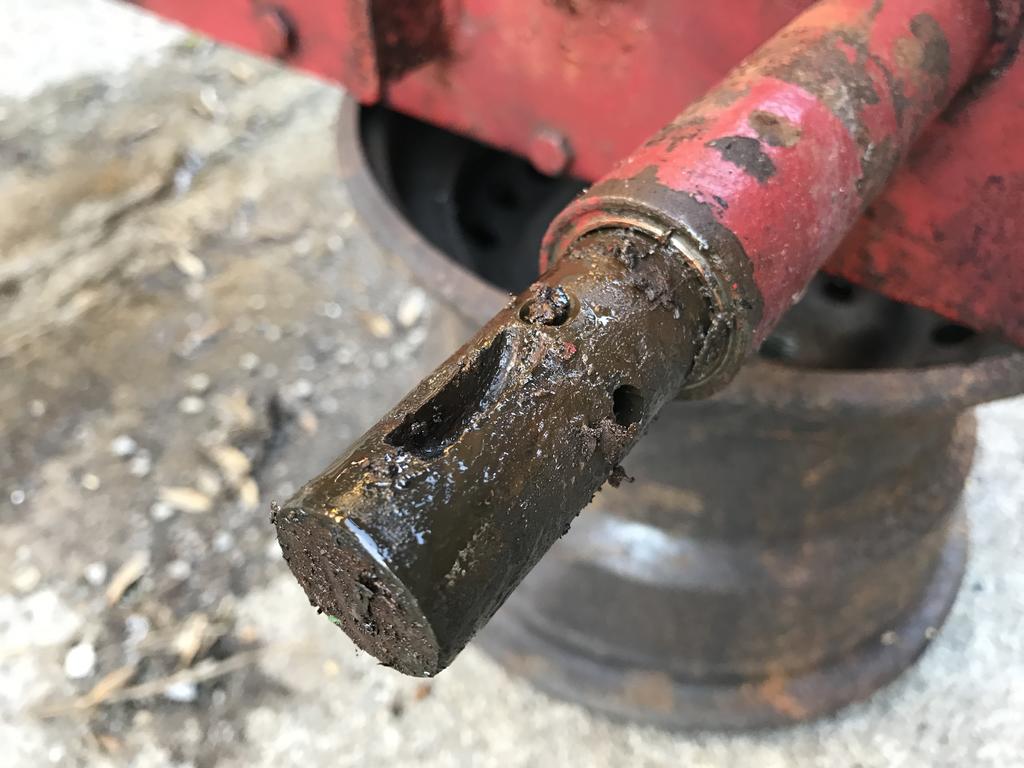
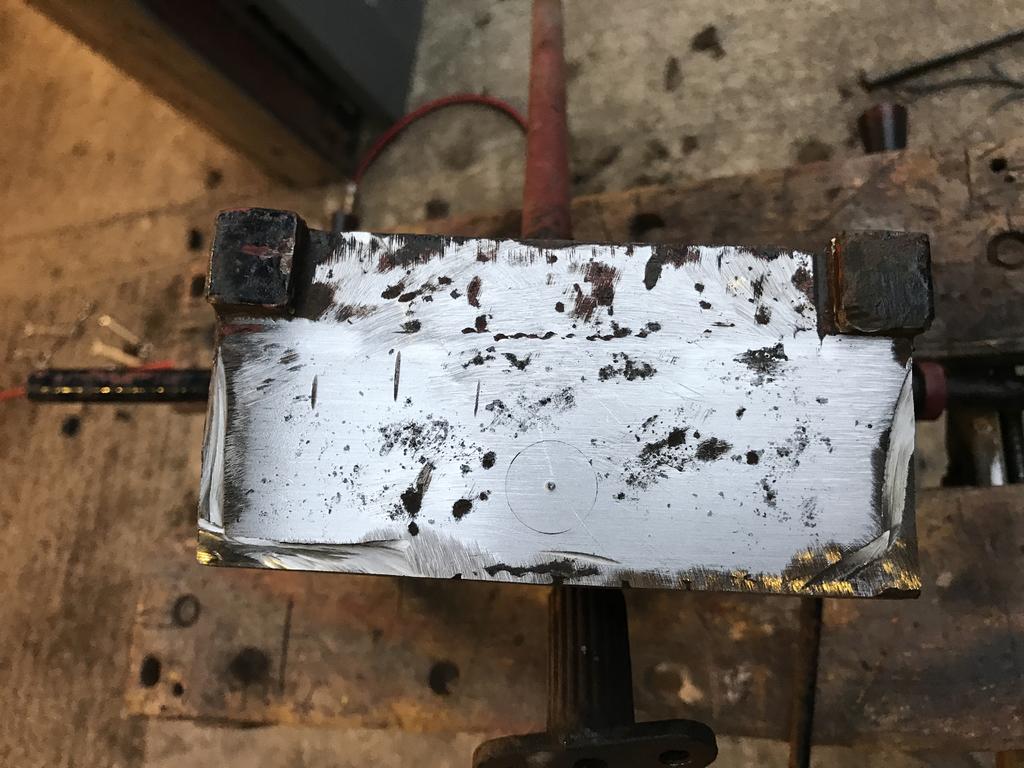
There was holes drilled in the axle ends.
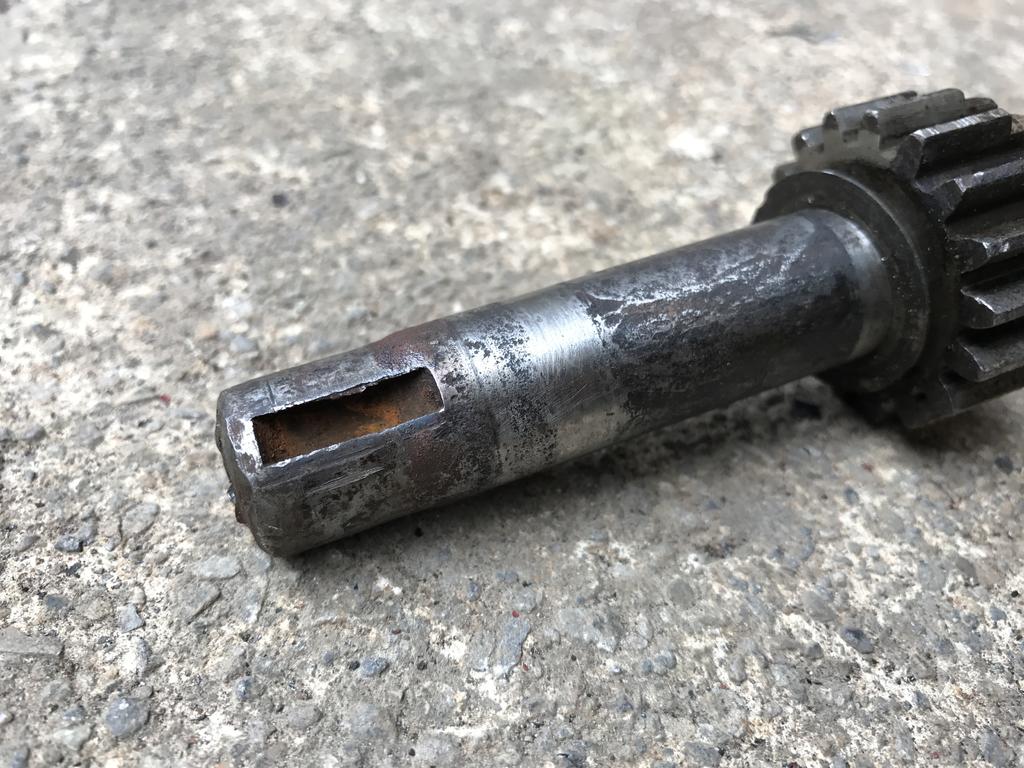
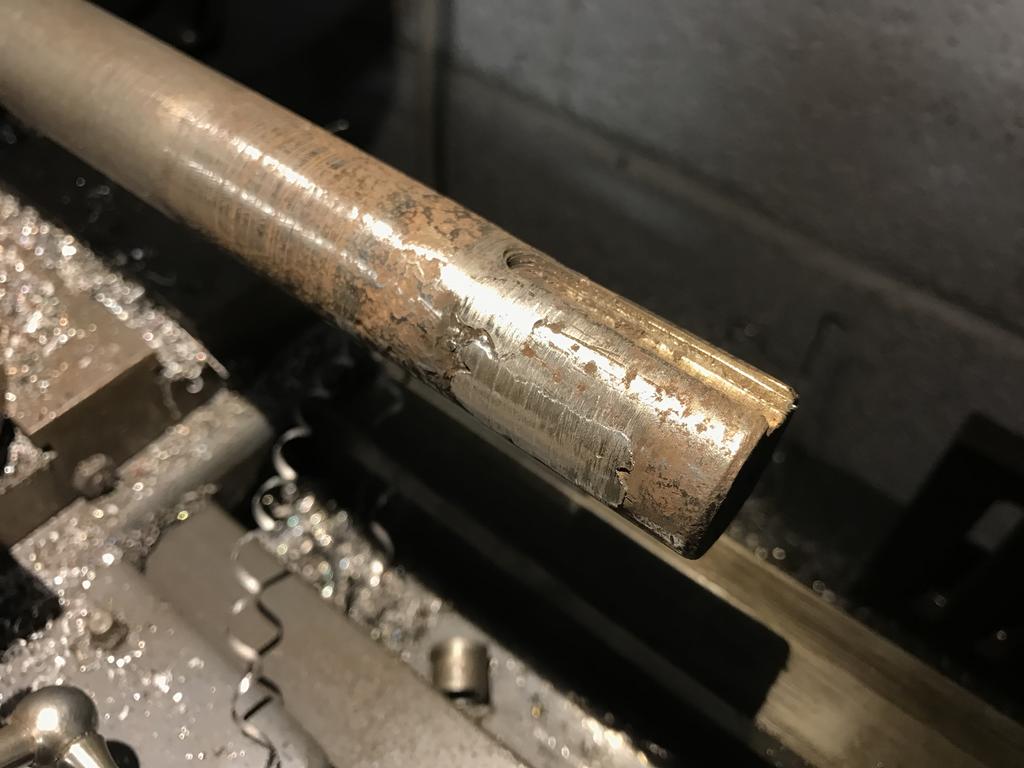
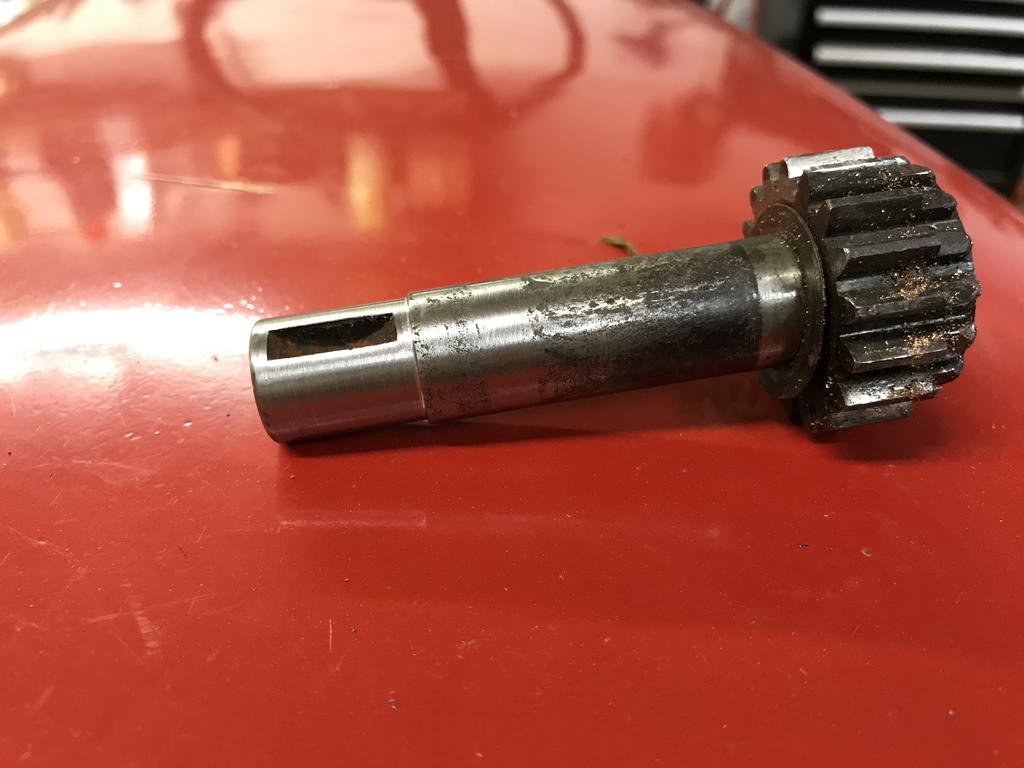
Mangled input shaft
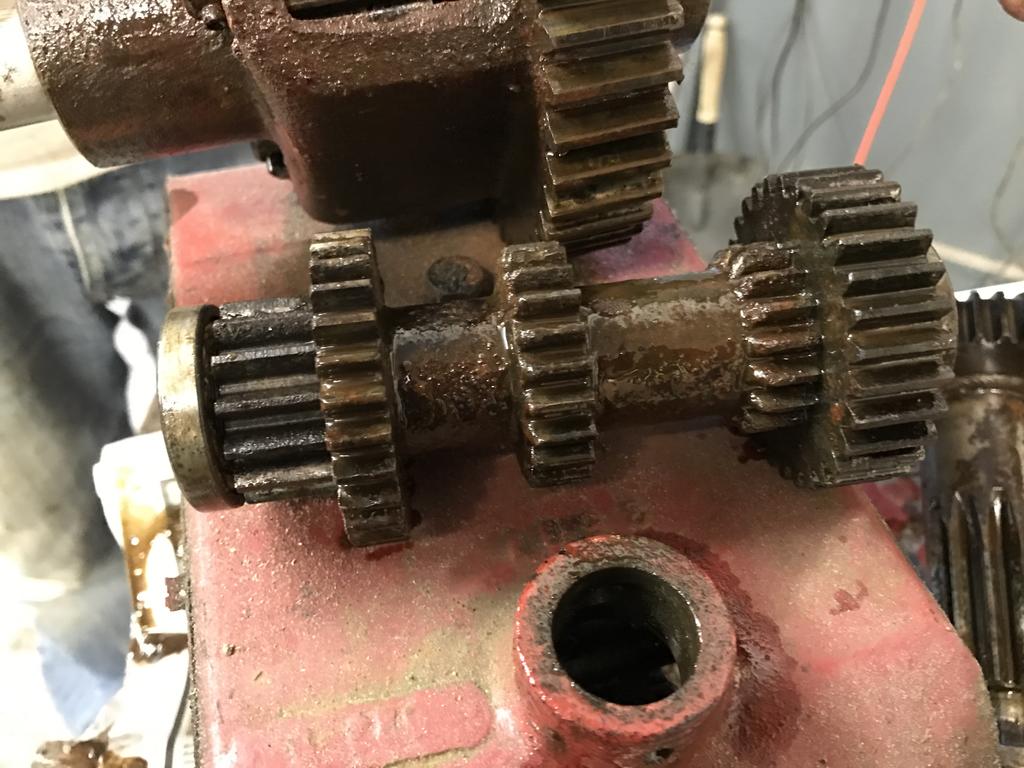
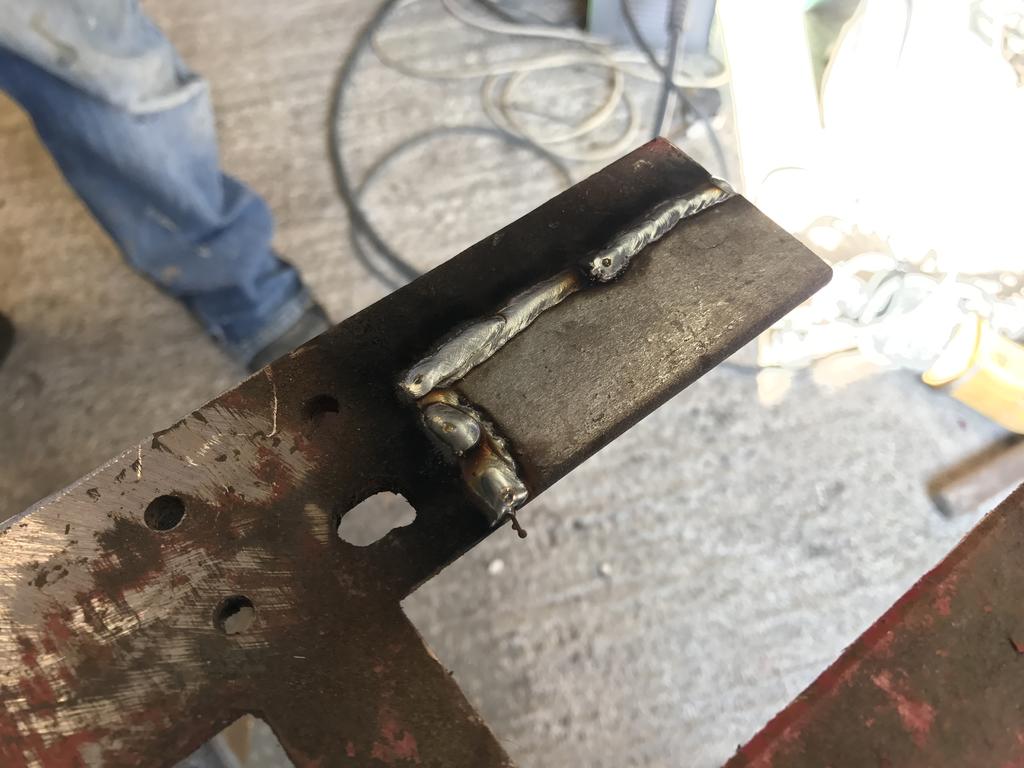
To make the axles on the diff useable we flipped them around, first we welded the holes, turned them down and cut new keyways.
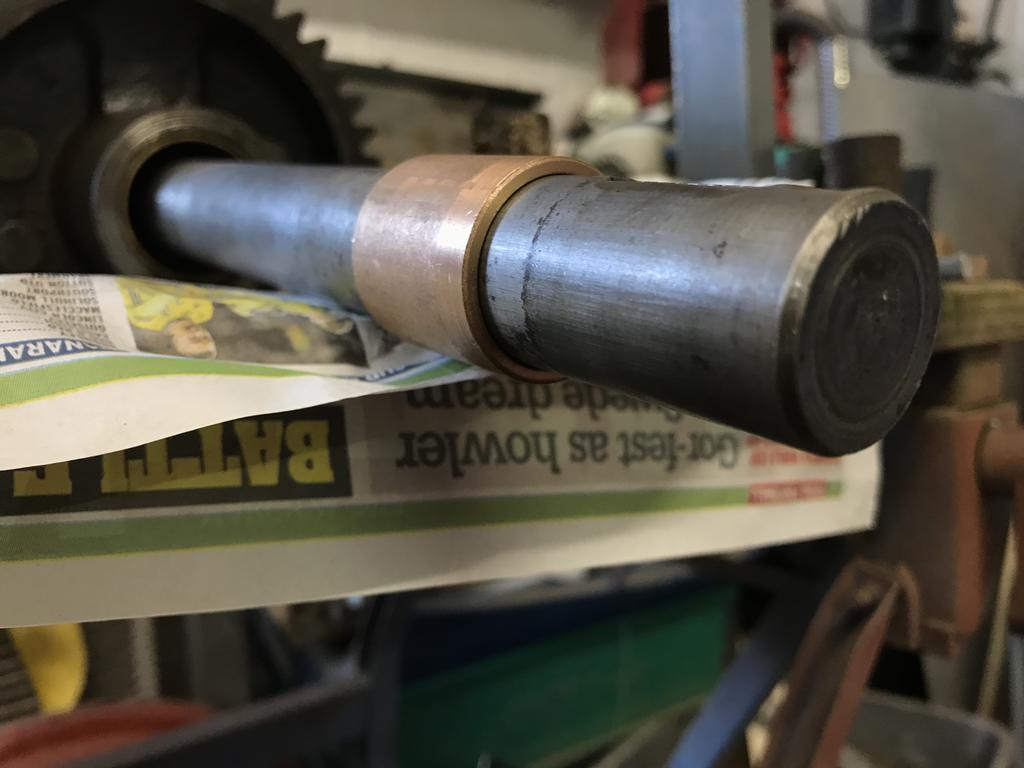
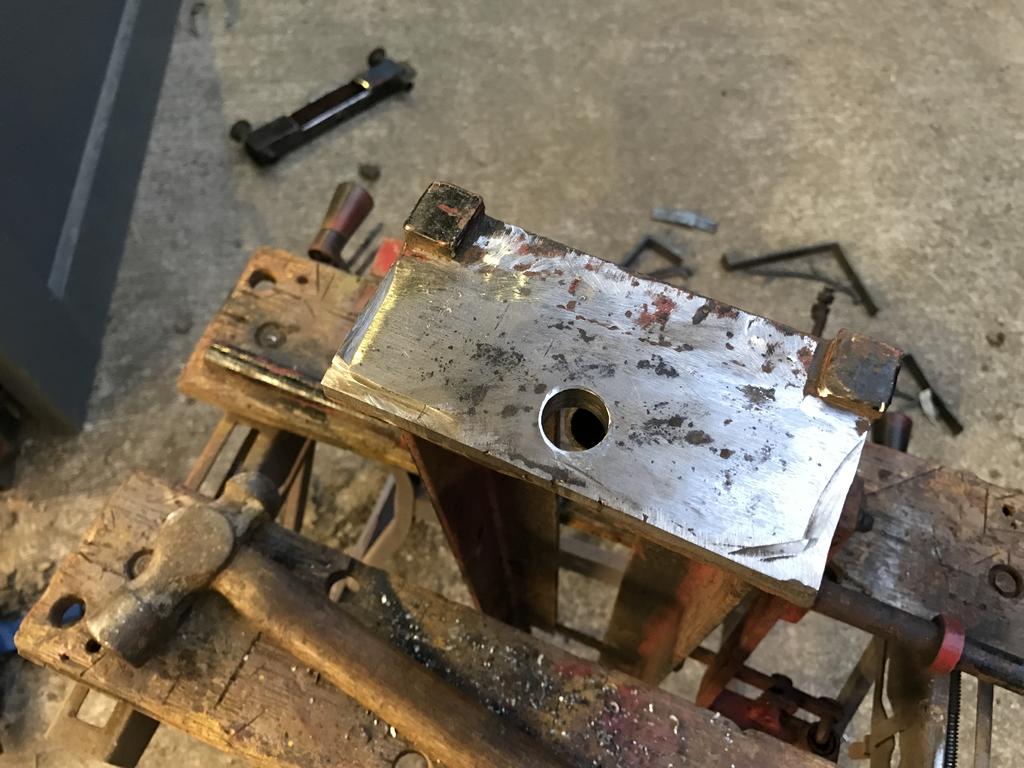
one of the bushes was worn so we machined a new one and fit it.
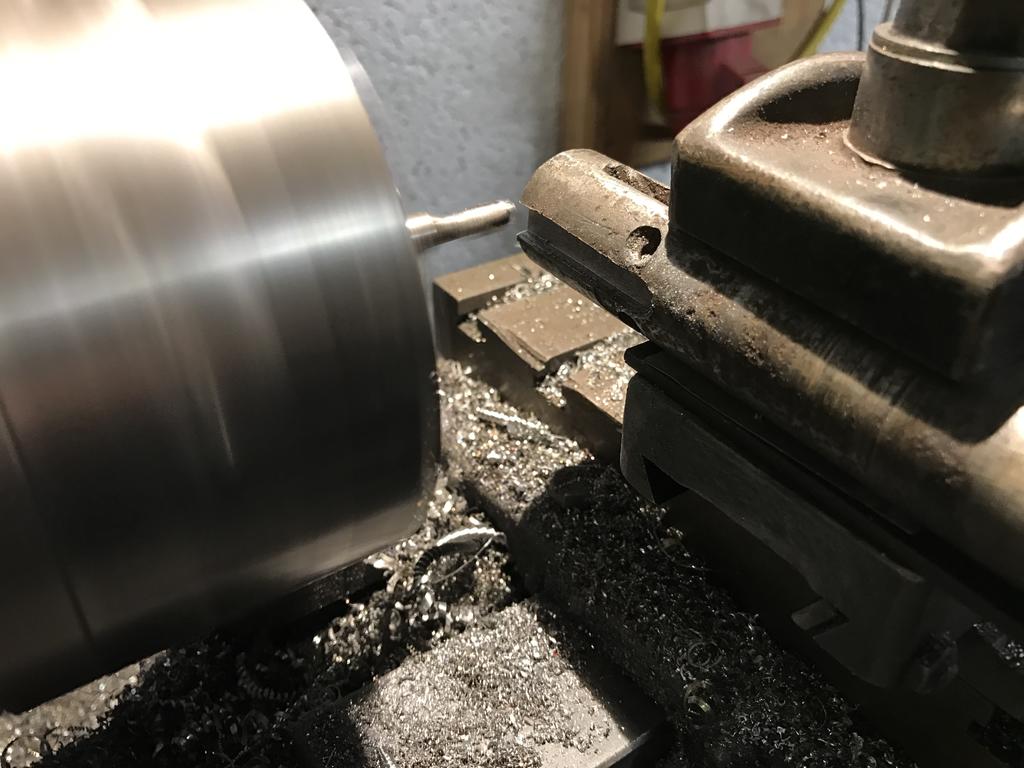
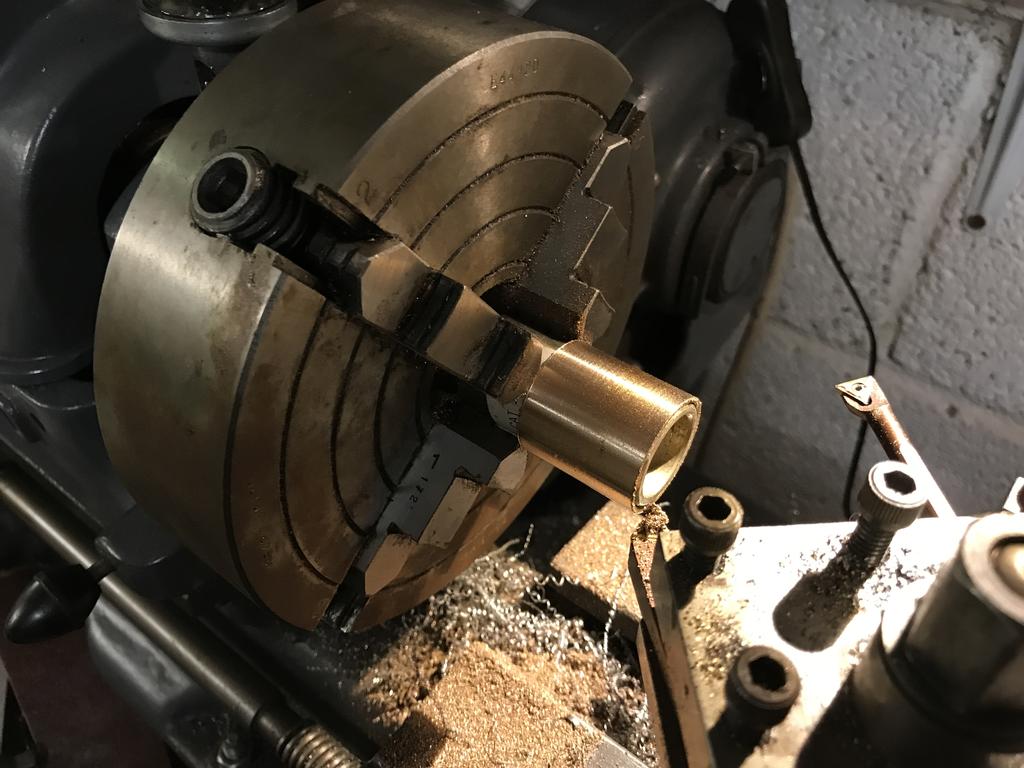
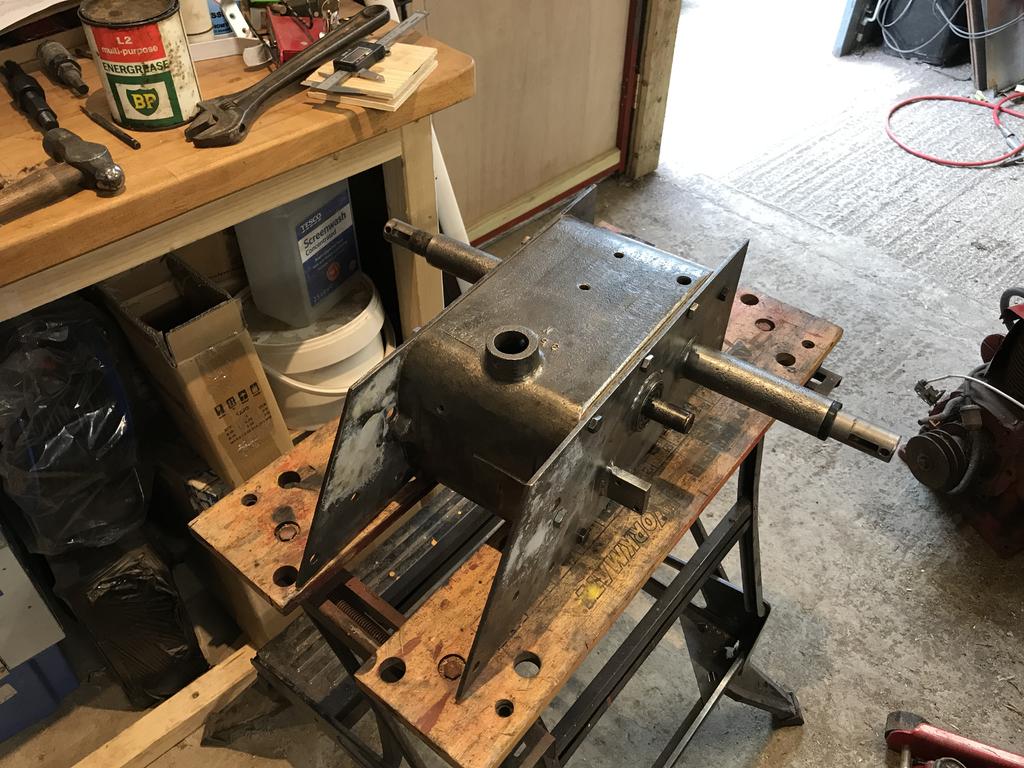
To turn the input shaft down we had to use a bit of ingenuity, we clamped it in a taper lock and turned it down so I can use a taper lock pulley on it. The jig worked a treat.
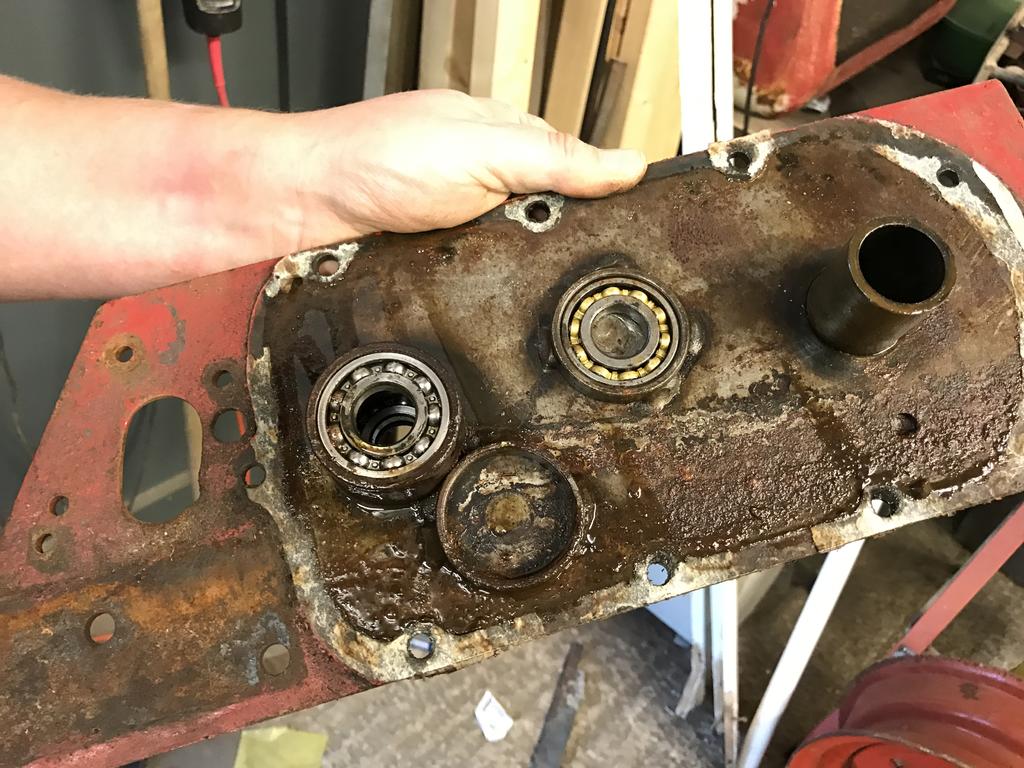
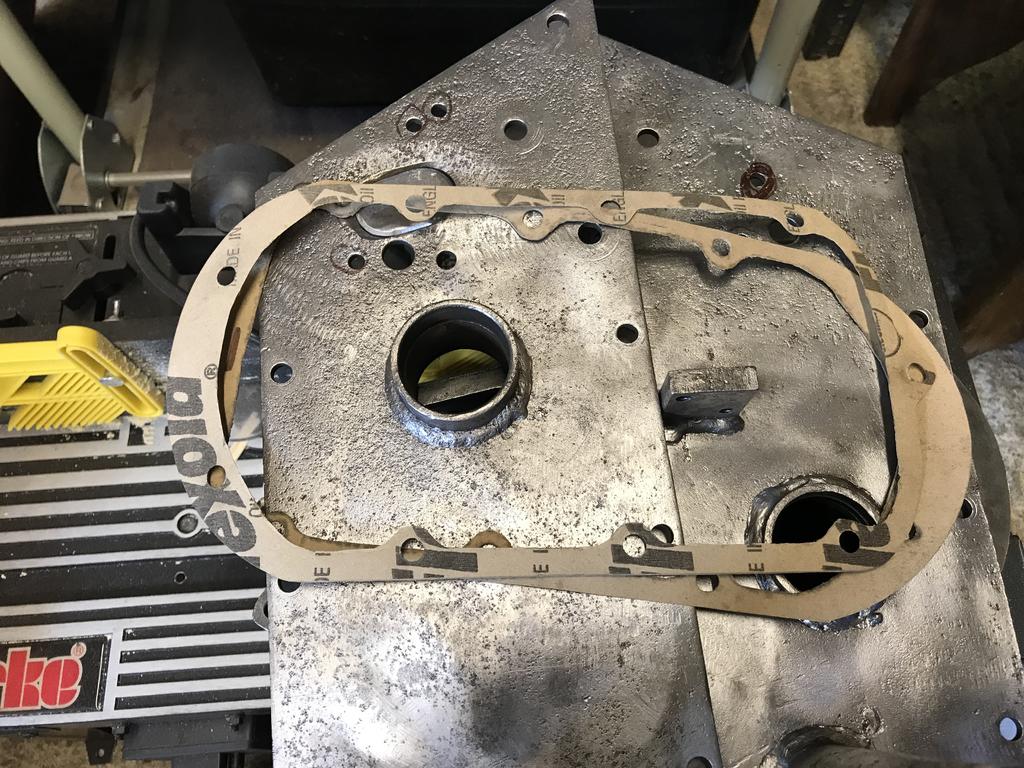
Next everything was cleaned of rust.
New gaskets were made.
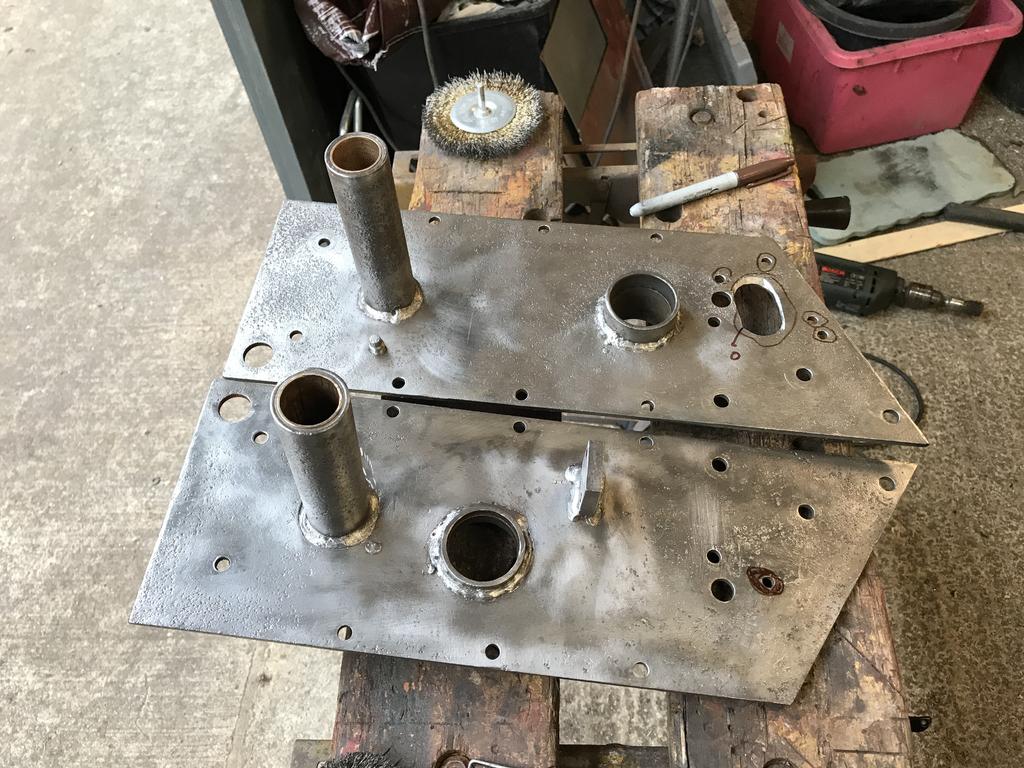
We welded up surplus holes. The gearbox is now back together, primed and works as good as new
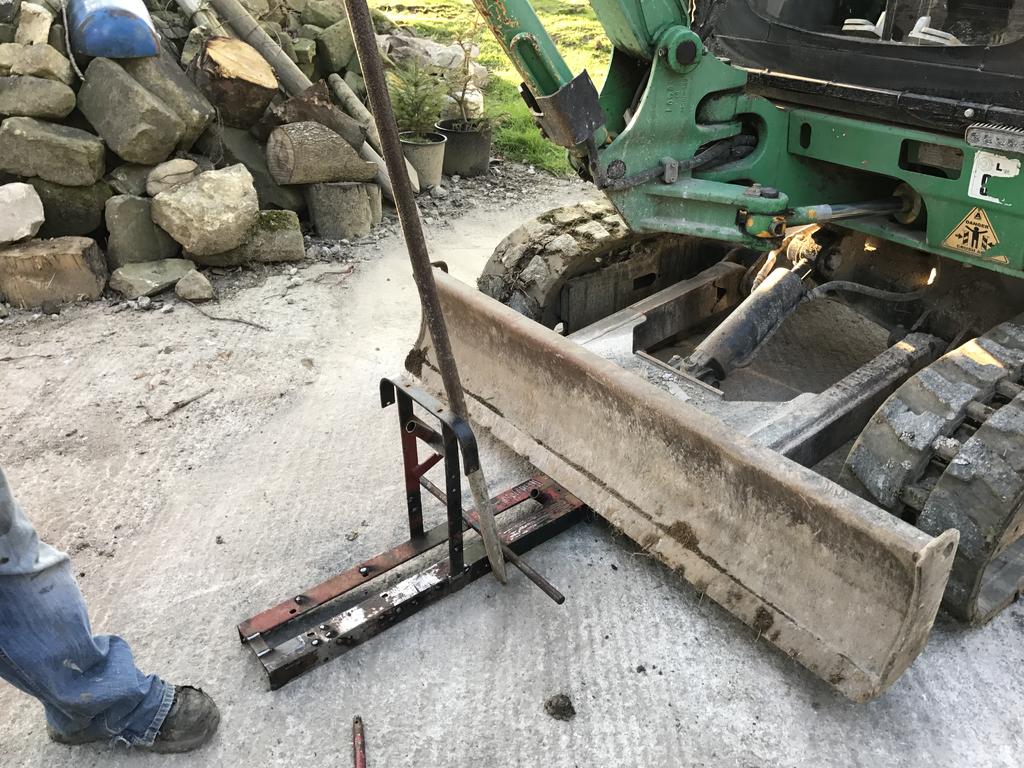
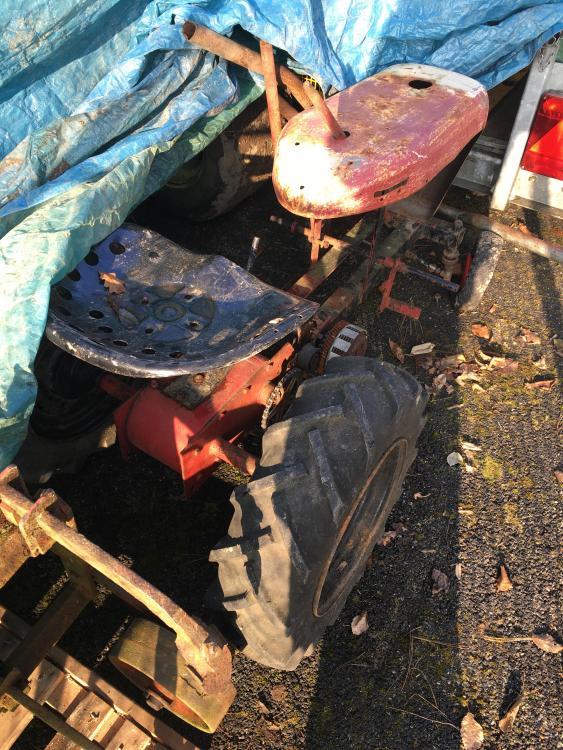
First i started to strip the tractor down, there were many modifications which needed to be rectified. There were some splined hubs which had been made to fit, they were first to go and they revealed the state of the axles, very rusty and holes drilled in them.
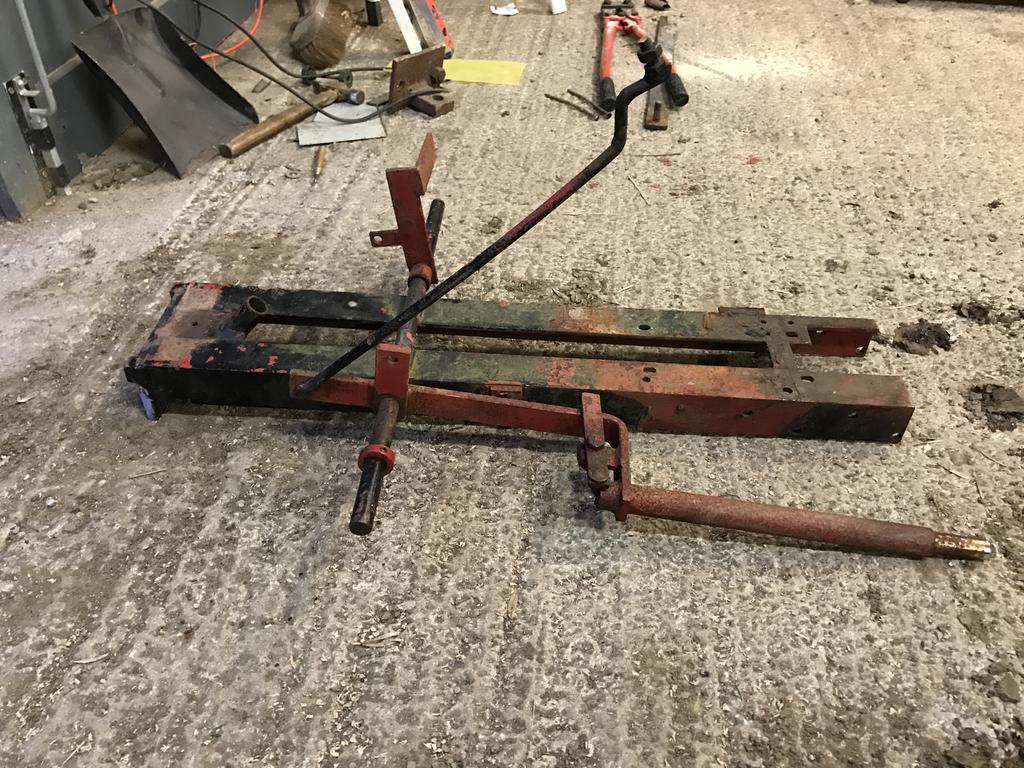
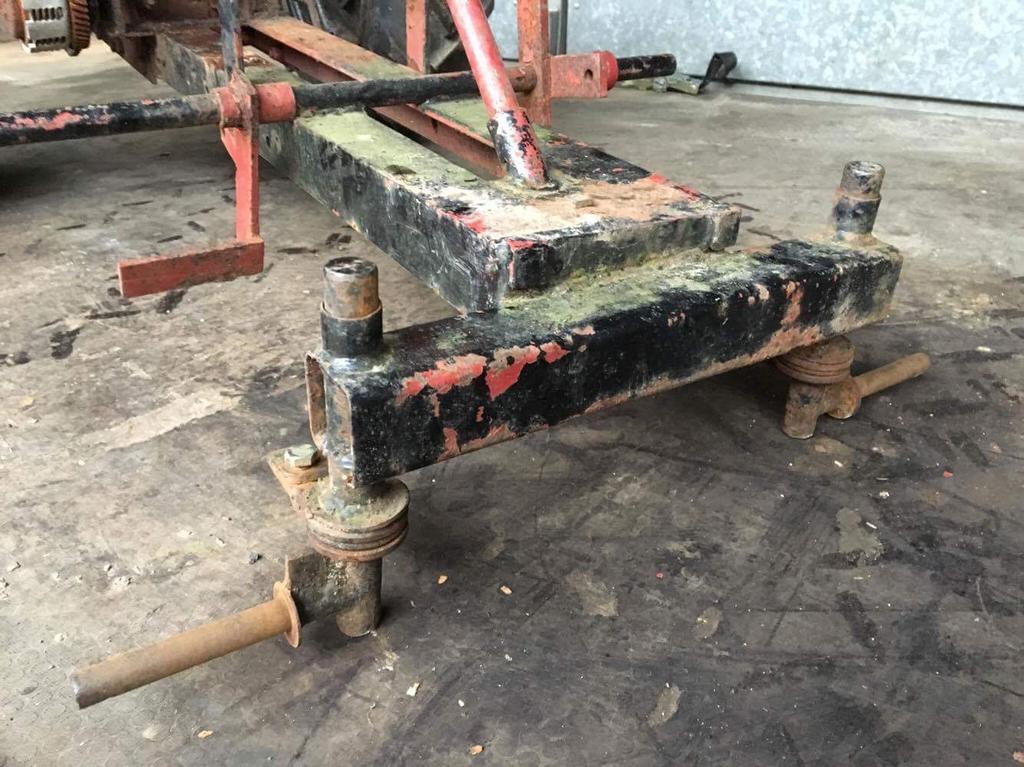
Next I cut off the front axle which has been welded on.
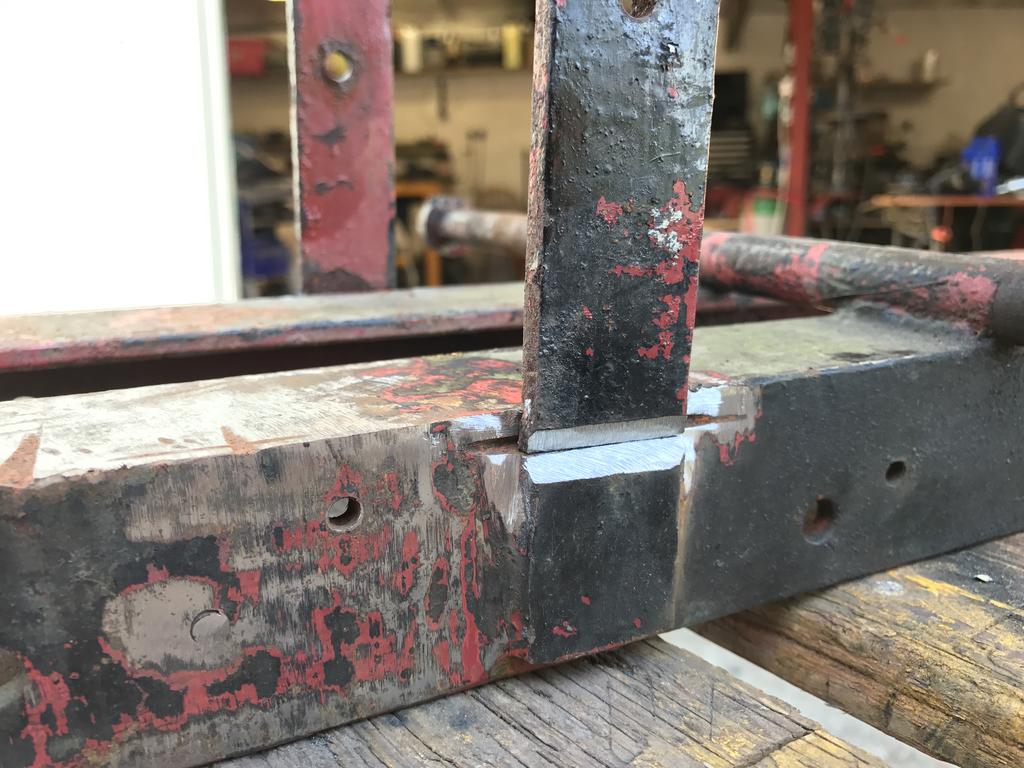
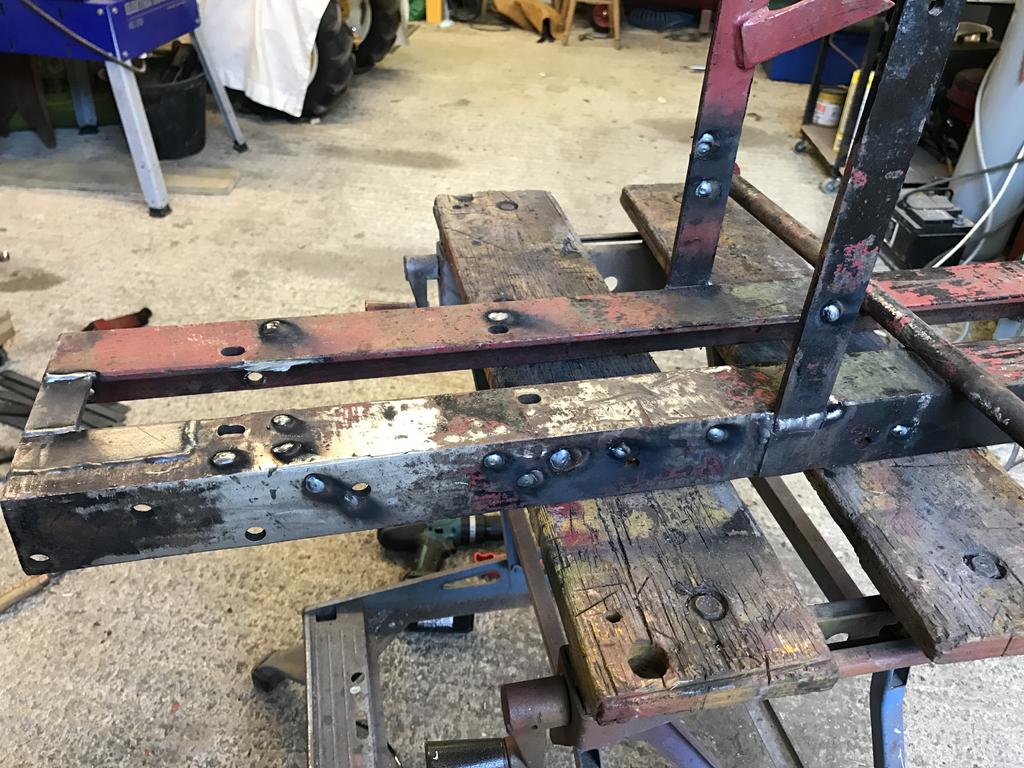
Next we welded the chassis back how its meant to be and welded up the extra holes.
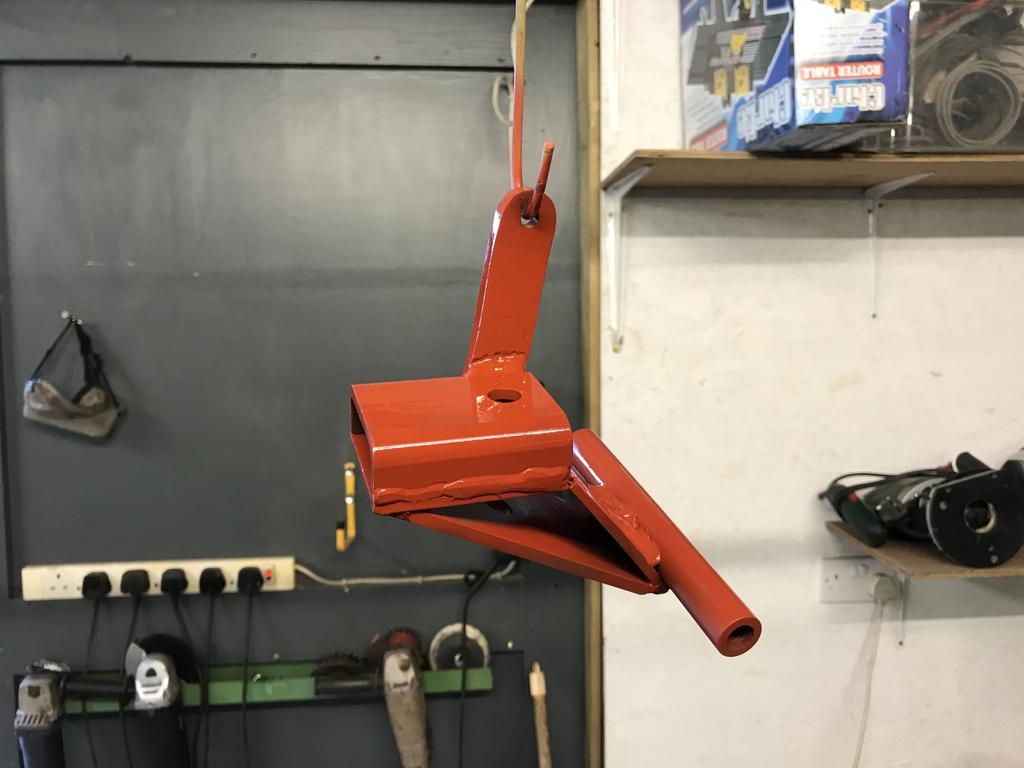
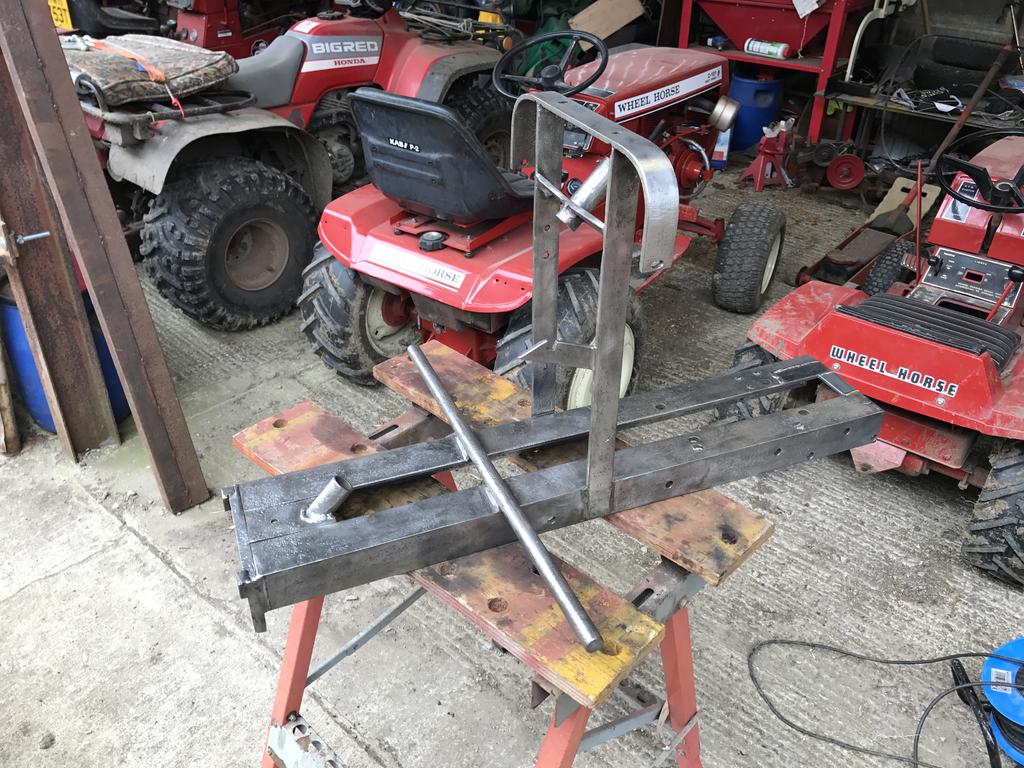
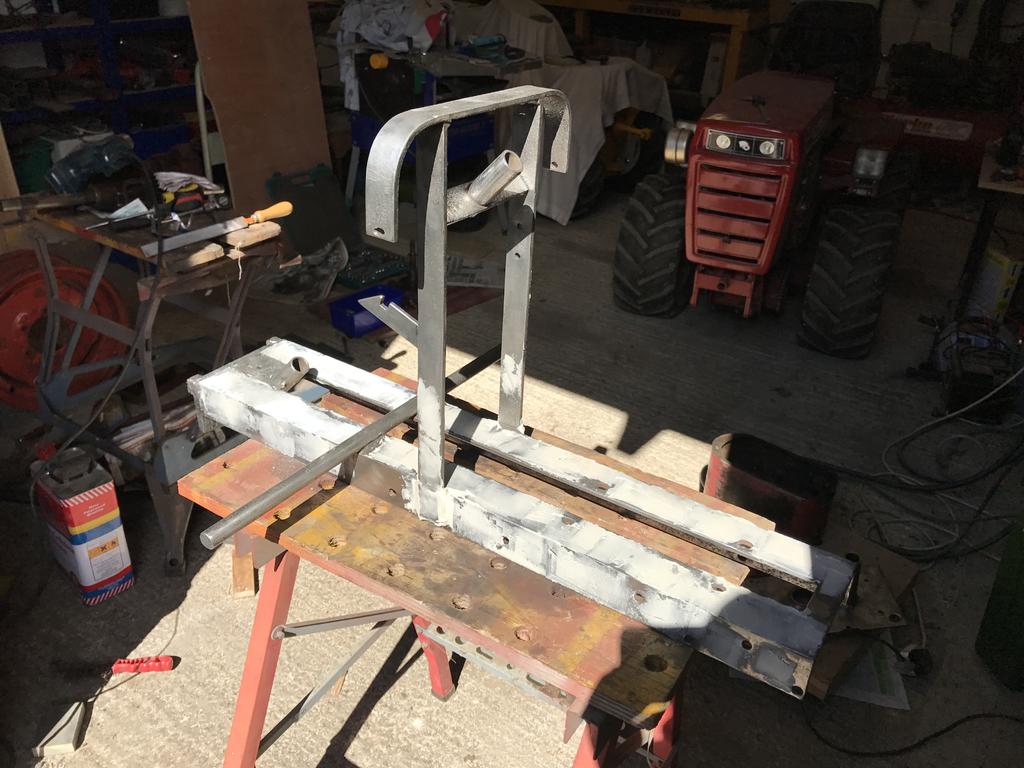
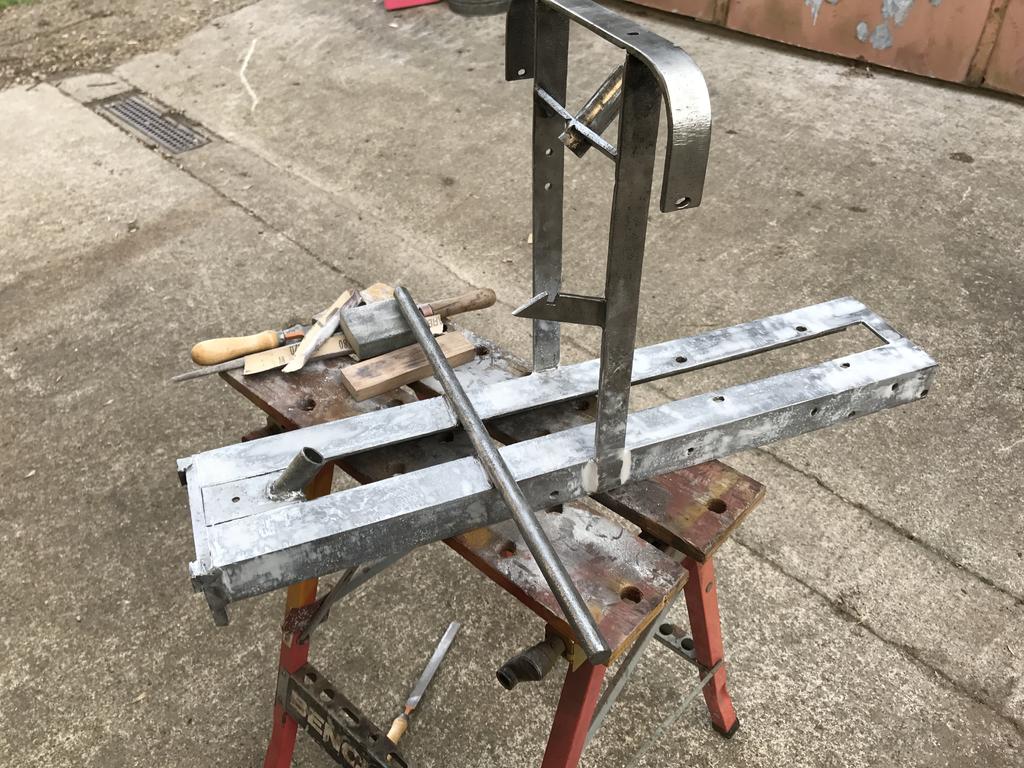
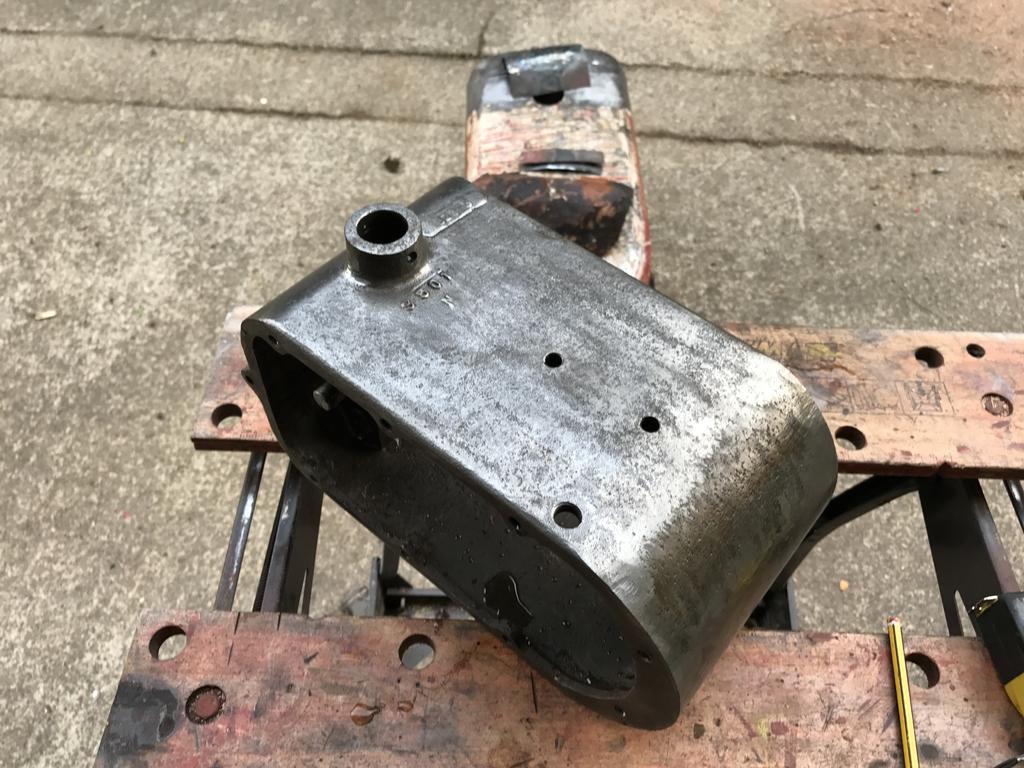
the hood stand required some straightening, some ingenuity was needed.
I've finally got around to creating a thread for the restoration of my RJ I have been working on.
Many thanks to Chris for sourcing the engine, we're working on getting it going, also thanks to Ian for helping me out with the measurements of the front axle and lastly thanks to Chris (showman) for letting me take measurements from his RJ at Newby hall!
I have just had a look at the manual, it is quite basic and there are no diagrams of the transmission, it only tells me a few details about the speeds and fluids.
Harry
Thanks for having a look, I don't know what he's going to do.
1 minute ago, pmackellow said:
Copies done Ewan, I'll give you them at Mr Websters show on Sunday
Unfortunately I won't be able to attend as I am still at university and have an exam on the Thursday but I will be at Newby hall on the Friday as will my friend so if you could give them to me then that would be awesome!
Yup I was just intrigued. He could really do with a manual but i'm not sure whether they made an in depth one.
20 minutes ago, harryt said:
Is it a colt or a colt deluxe as they would be slightly different. The colt deluxe is 10hp and has hi and low range, as compared to the colt which is only 7hp and no hi and low. I have an original manual for one with some details in, if you need pictures of that or the tractor let me know. However I have not taken one apart unlike Paul.
Harry
Harry, does the manual have any exploded views or images that may help him with the reassembly. Thanks


")


 and i'm struggling to source some.


 nearly as bad as us from over the border
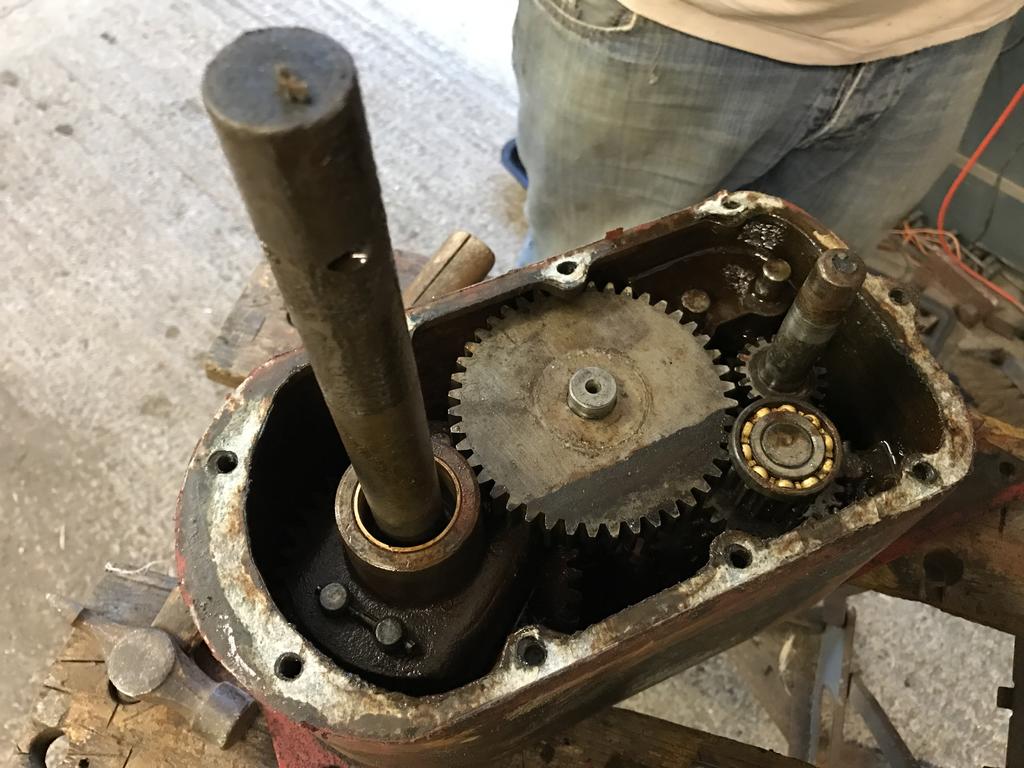


")


")

Ladybank rally 2017
in Show Pic's and Reports
Posted
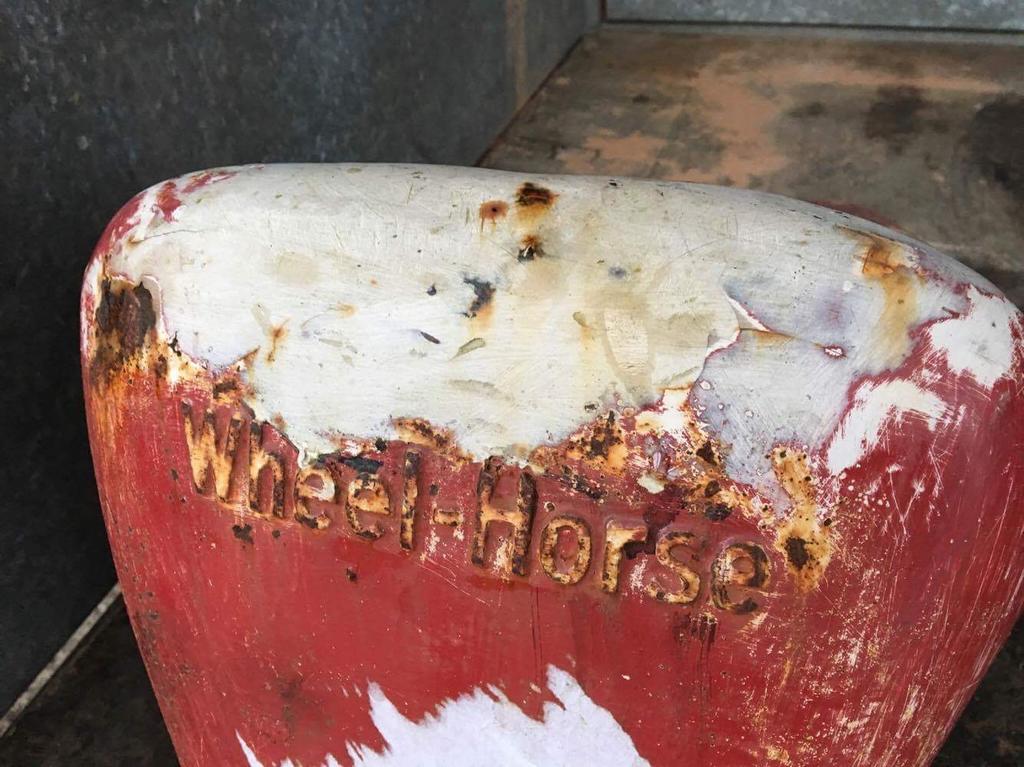
Nice wheel horse Suburban there! don't see too many of those.