Original tyres cleaned up and back on the salvaged rims and looking good.
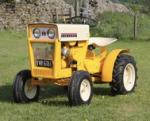
Rolling on four wheels for the first time in many years after previously being butchered by someone.
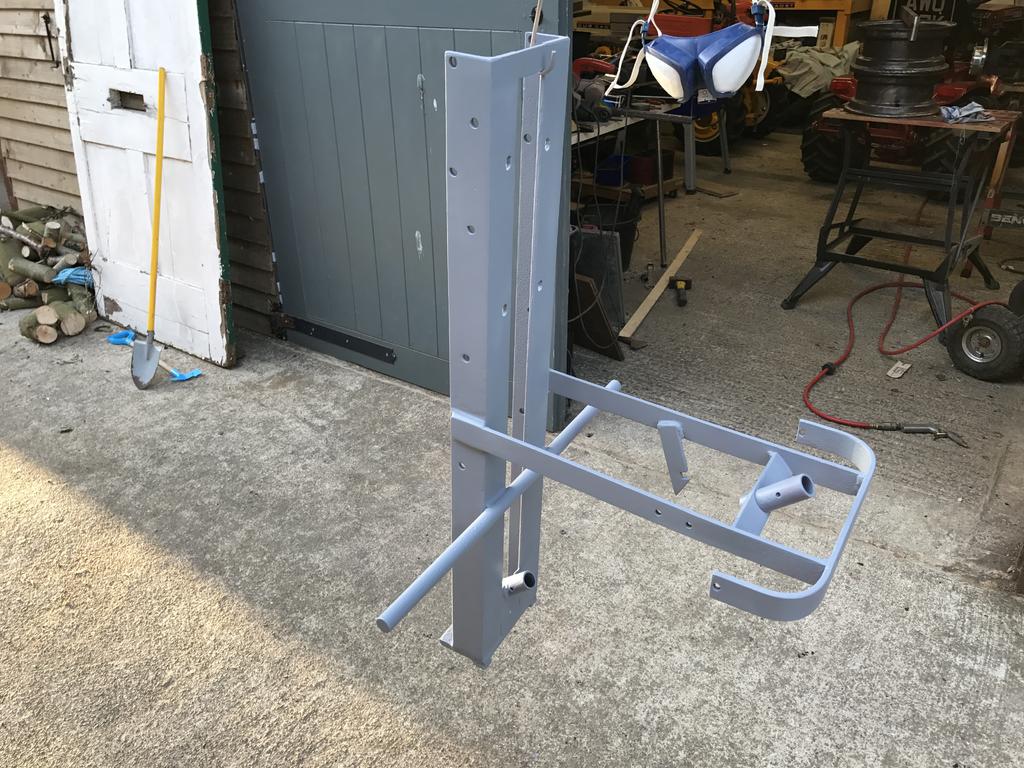
The tie rod for the steering
I purchased the steering wheel from America which came off a cub cadet, the difference between a CC one and a WH one is that the CC one is splined, I wasn't able to get a drill in to drill a hole for a roll pin so the alternative was to fashion a clamp. It works very well so i'm happy.
The end of the steering column was mangled so a new piece was welded on, this also helped to make sure the steering wheel fit on snugly.
The focus was on the engine now, I had already stripped the engine down of any unnecessary parts and we had tried to start it. then it dawned on us that the engine didn't actually have any compression. We didn't really want to have to remove the head as the only replacement parts are NOS ones. Anyway we removed the head and Found the exhaust valve stuck open. As you can see the valve and the valve seat is incredibly rusty and pitted, I left the block and valve with my uncle who managed to grind it down to a useable state and the engine runs quite nice now. As for the head gasket I managed to find someone in Greece who was able to make a replacement from a scan of my old one for the cost of £4
We also managed to remove the old exhaust which had rusted in
It's been a long time since i've updated this thread, lots has been happening on the restoration, here are some photos.
Next on the list was to try and get the tractor back on four wheels, the transmission had been fixed so next i needed to make a front axle as it was all missing.
All the bits for the steering were remade to original specifications thanks to measurements from Ian taken from Neils RJ
Since the chassis and gearbox are now operational i thought i would take a look at the bonnet which was in a very bodged state, fibreglass had been used to reinforce the metal and i thought it must've been in a bad condition underneath all the filler, I managed to file the filler off which revealed just what a state the bonnet was in and then the fibreglass which was on the underside just peeled off as it was stuck to paint and rust.
Before photos
After some filing
The only way to fix it was to cut the whole section out and weld in fresh metal, it took some bending to make a piece that would fit but its worked well and its now very strong.
Its been a long time since I did an update! The restoration is moving along nicely, heres a few pictures from what seems to be months ago now.
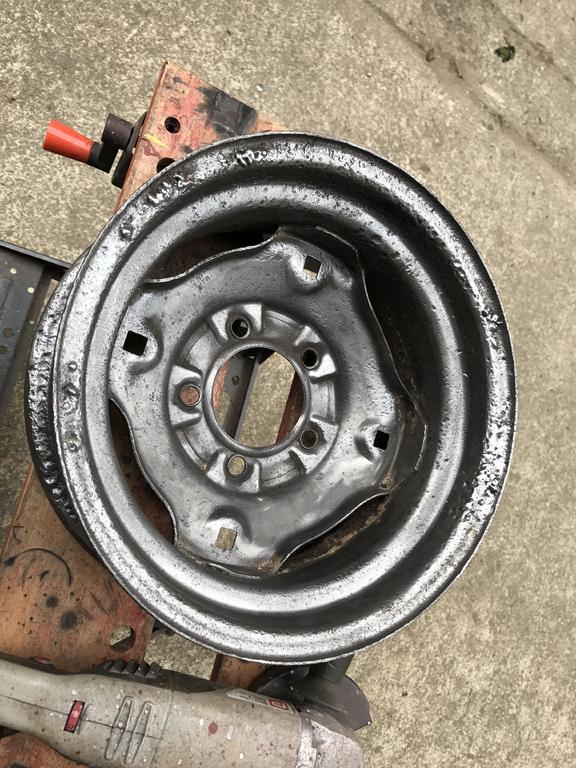
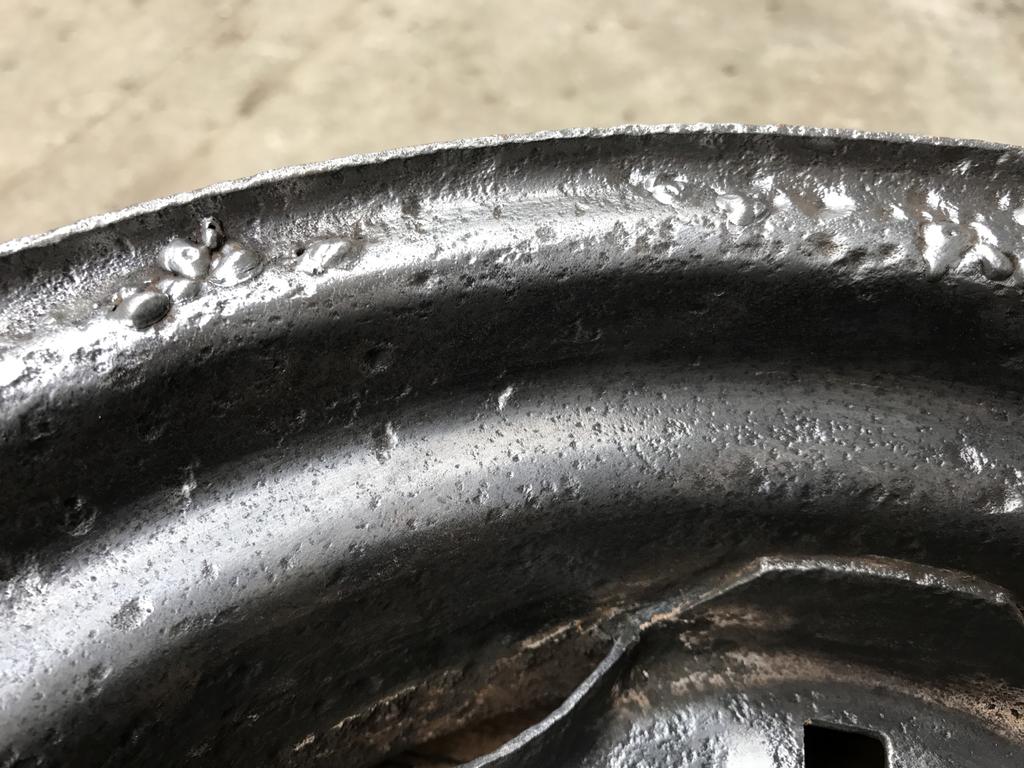
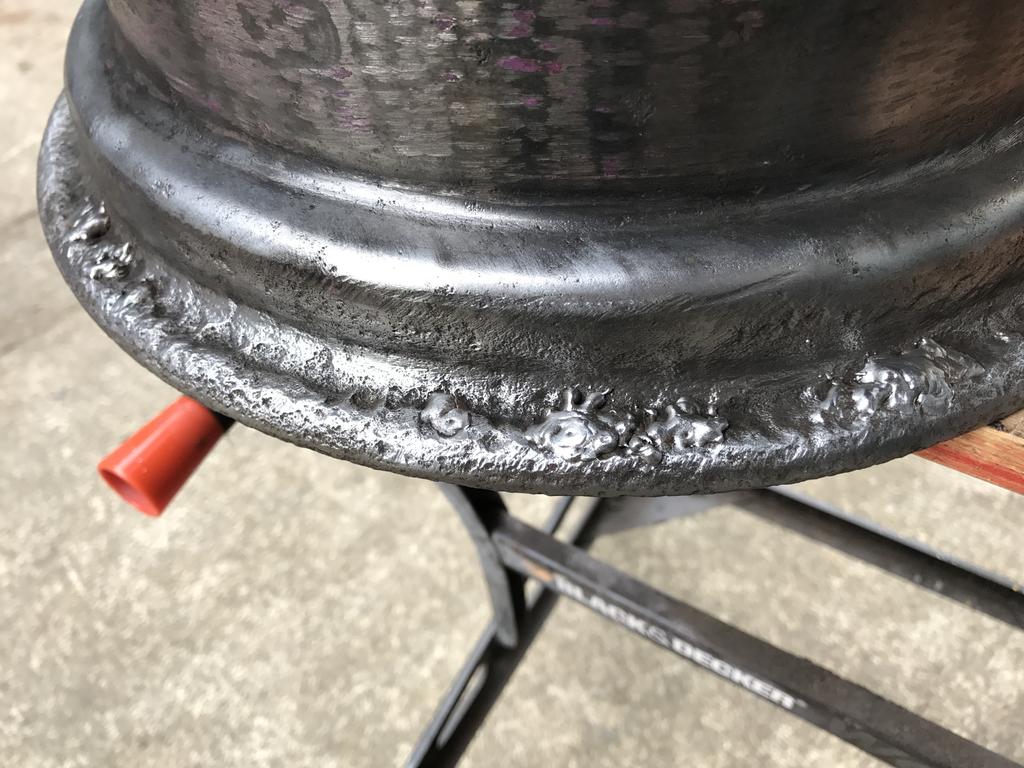
Heres one of the wheels cleaned up, notice all of the welding. We have replaced a lot of metal which had completely rusted away.
The chassis was primed, its currently in the stages of being painted red.
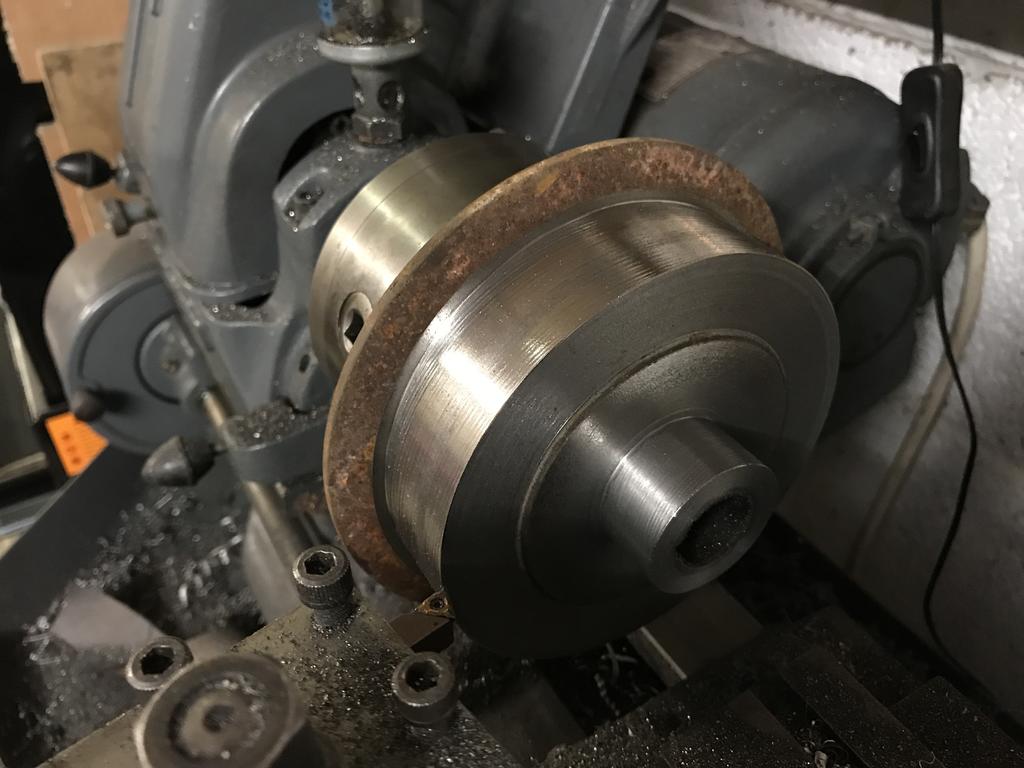
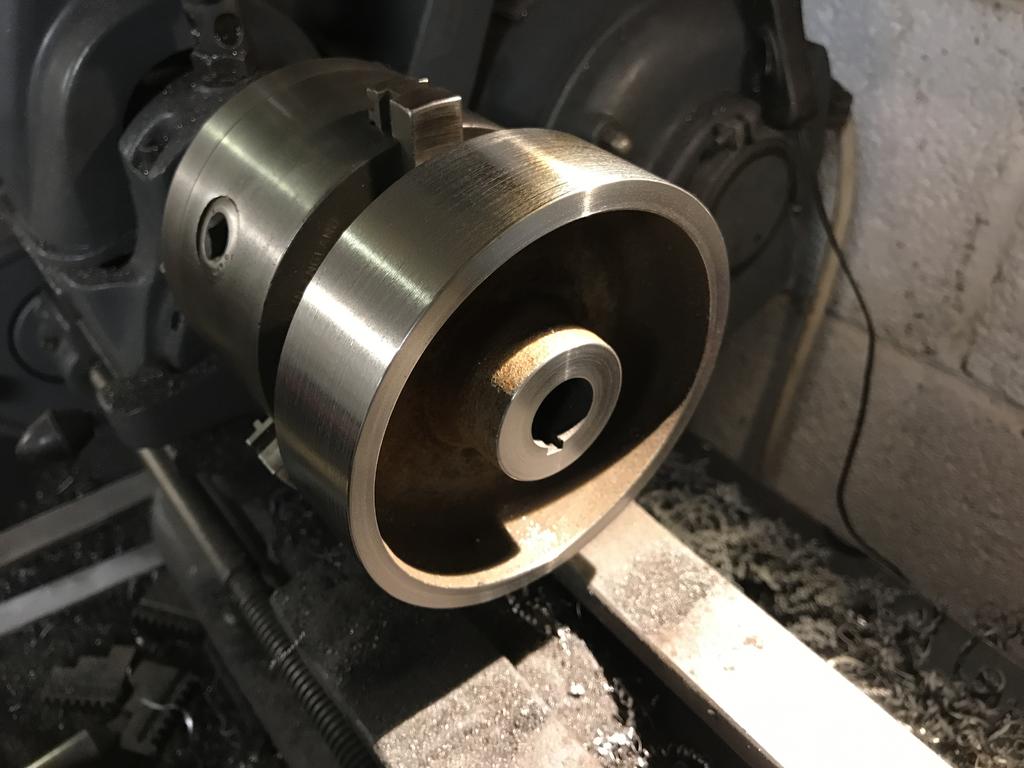
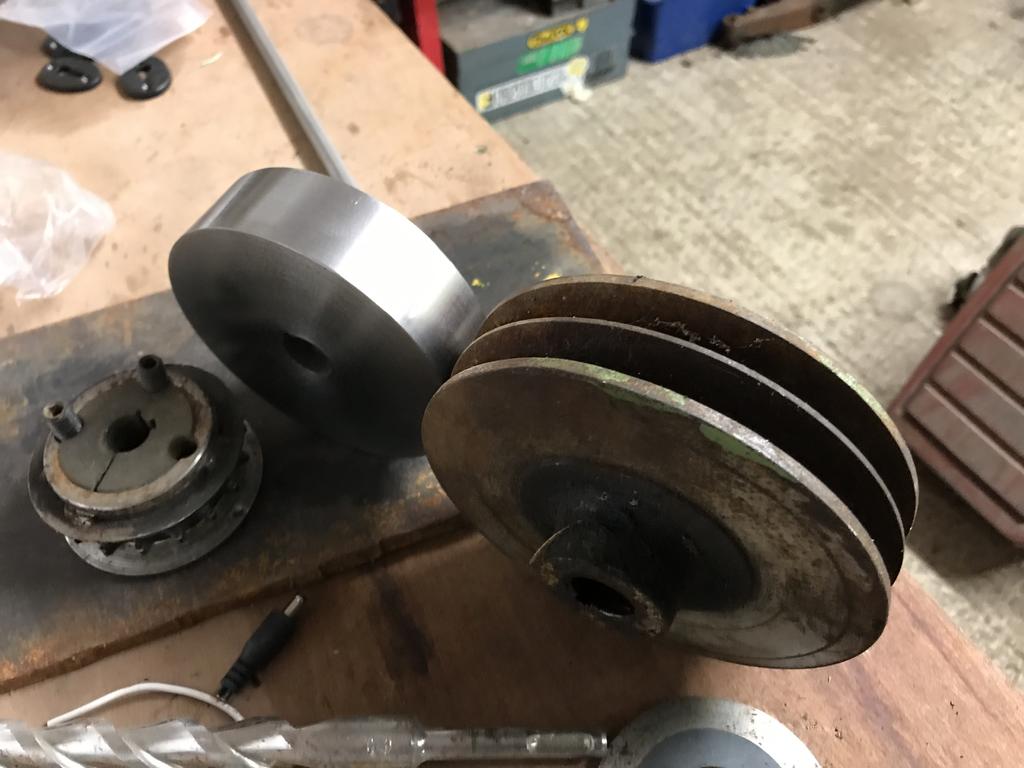
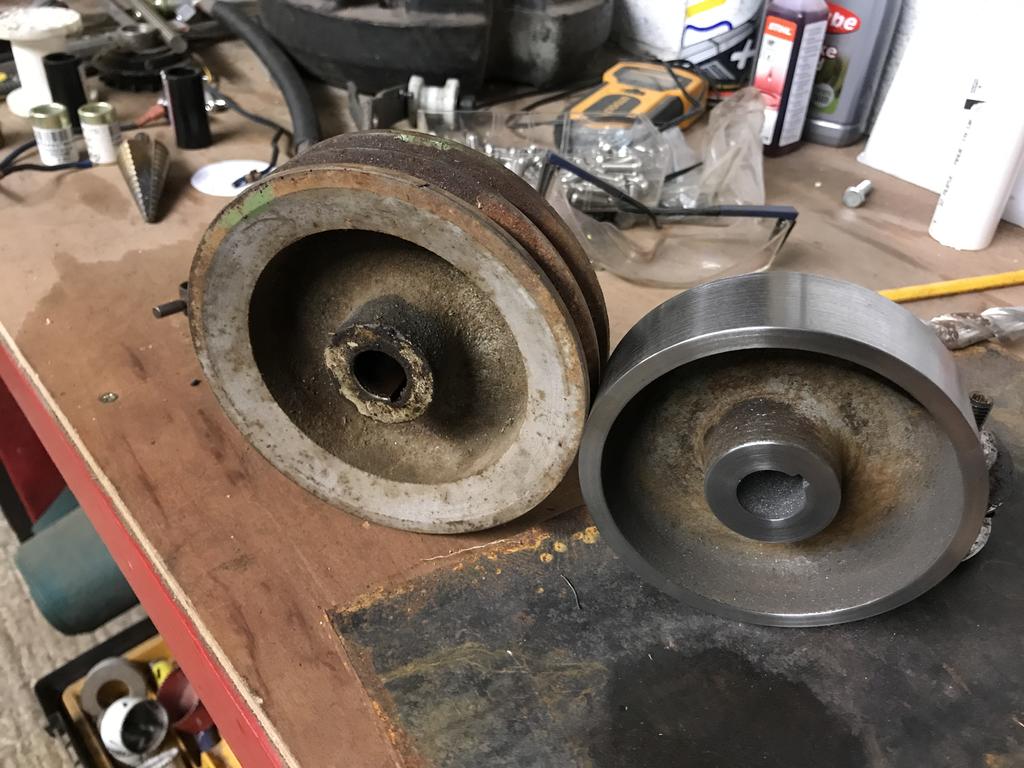
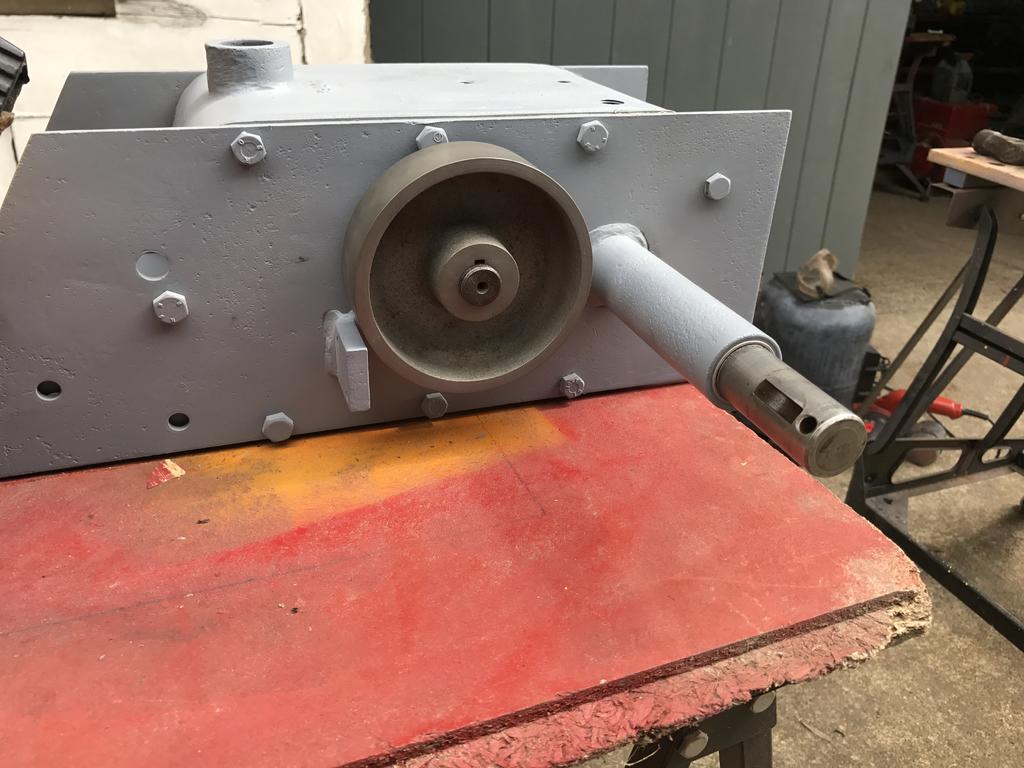
The brake drum for the trans was missing so when I was at Newby hall I took some measurements from Chris' RJ. We had a cast pulley hanging around which was a near identical casting to the original and the bore and keyway were the same. With lots of turning I ended up with as perfect a match as I would ever get


")
Wheel Horse RJ-58 Restoration
in Step by Step restoration
Posted
Some more progress on the restoration
Original tyres cleaned up and back on the salvaged rims and looking good.
Rolling on four wheels for the first time in many years after previously being butchered by someone.
The tie rod for the steering
I purchased the steering wheel from America which came off a cub cadet, the difference between a CC one and a WH one is that the CC one is splined, I wasn't able to get a drill in to drill a hole for a roll pin so the alternative was to fashion a clamp. It works very well so i'm happy.
The end of the steering column was mangled so a new piece was welded on, this also helped to make sure the steering wheel fit on snugly.
All painted up